 Free shipping on orders over £29,85


How do you pour epoxy resin over a flower?
Step-by-step guide for perfect flower encapsulation in resin


Encasing flowers in epoxy resin creates stunning, lasting jewellery or decorative items that trap a moment of natural beauty forever. This guide shows you exactly how to pour resin over a flower, keeping the colours vivid and the finish crystal clear—ideal for creative projects ranging from pendants to table art.
What You’ll Need
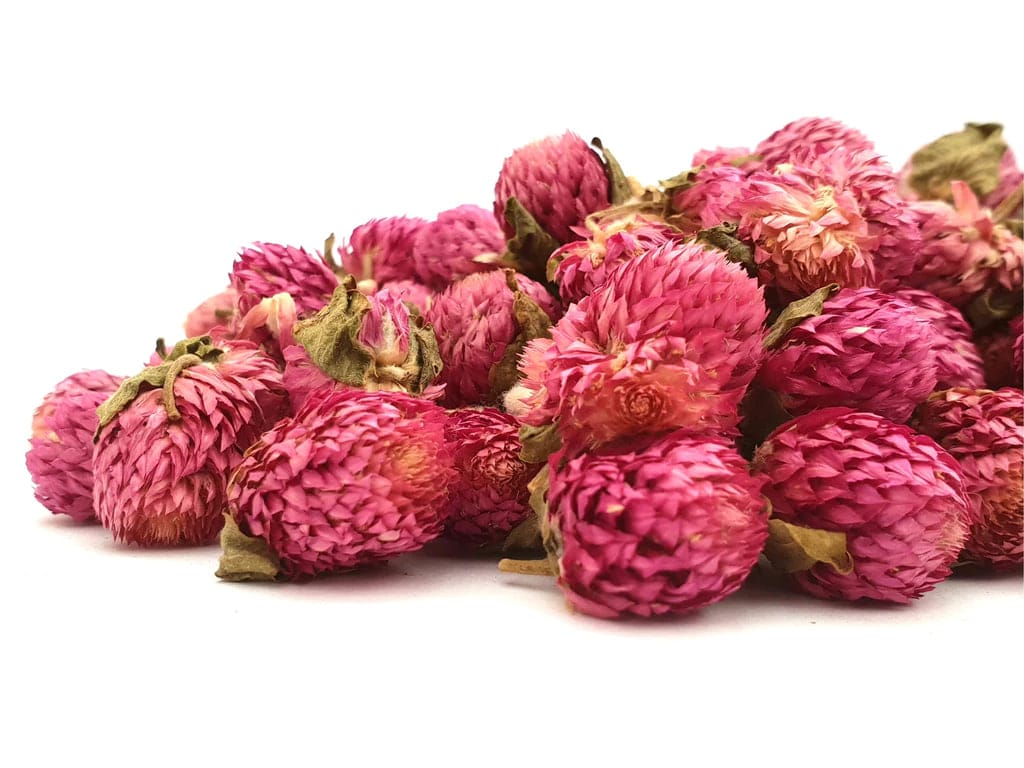
- Natural Dried Flowers for Art Projects and Epoxy Resin Casting – Wholly dried flowers keep their form and colour in resin.
- “Evershine Collection” – Artisan Jewellery Epoxy Resin Kit with 100+ Accessories – A beginner-friendly kit with clear resin and tools for casting small items.
- “One-2-One” – Epoxy Resin for Handcraft, 1:1 Mixing Ratio – High transparency, excellent for embedding delicate shapes.
- “Icrystal” – Clear Epoxy Resin – Odourless Formula – Up to 1.5cm – For projects needing thicker clear layers.
- Silicone mould or casting form of your choice
- Gloves, mixing cups, and stirring sticks
- Optional: tweezers, toothpicks, lighter or heat gun (for bubbles)

Essential Materials for Resin Flower Casting
Using dried flowers guarantees the best results as they retain colour and integrity under resin. Select a clear epoxy resin suitable for small crafts, such as the Evershine Collection or One-2-One Epoxy Resin. For deeper casts, Icrystal resin performs well while remaining bubble-free and exceptionally transparent.

Step 1: Prepare and Position Your Flower
Begin by selecting a flower that is completely dry—any moisture can cause colour loss or mould inside the resin. Ensure your flower is thoroughly dried before you begin. If needed, press the flower for a few days between absorbent papers to remove all moisture. Once dry, place it in your clean silicone mould. Carefully arrange the petals for the best visual effect. Use tweezers for precise placement without damaging the bloom.
Step 2: Mix Your Epoxy Resin
Put on gloves and prepare your resin according to the kit instructions. Always wear gloves to avoid skin irritation. Many crafters prefer the Evershine Collection for small jewellery or the One-2-One Epoxy Resin for easy 1:1 mixing. Stir gently in a disposable cup, scraping the sides and bottom, until no streaks remain. Avoid whipping in extra air—bubbles can obscure your flower. Let the mixed resin rest for a minute so trapped air has time to rise.
Step 3: Pour in Layers and Embed the Flower
Pour a thin initial layer of resin into the mould—this will form the base and prevent bubbles beneath the flower. Gently lay the dried flower onto this base, adjusting its position with tweezers or a toothpick. Wait 10–20 minutes for the base to become tacky, which helps keep the flower submerged. Then slowly pour more resin on top, fully covering the flower. Work in thin layers if a thicker finish is required, letting each layer partially cure before the next to minimise bubbles and keep the flower in place. If using Icrystal resin, remember not to exceed 1.5cm thickness per pour for optimal clarity.
Step 4: Remove Bubbles and Finish Curing
Inspect your poured resin for bubbles, which can collect around the petals or centre. Use a clear, bubble-free resin mix and, if needed, carefully pass a lighter or heat gun briefly over the surface to help release bubbles. Allow the resin to cure according to package directions—most require 12–24 hours. Allow the resin to set fully before demoulding or handling the final piece, as early removal may warp the finish or disturb the embed.

Tips, Mistakes, and Troubleshooting
Avoid pouring resin too thickly—use several shallow layers for big moulds. If your flower starts to float or discolour, ensure it’s completely dry and try sealing before embedding. Seal flowers if needed with a quick brush of resin to stop air pockets and discolouration, especially for delicate or large blooms. Work on a level surface away from dust for the clearest result and store unused dried flowers in a dry container.
Achieving Crystal-Clear Results
Layering your resin and using well-dried, sealed flowers help prevent bubbles and cloudiness. A slow, careful pour with patience between layers ensures your flower remains centred and perfectly preserved with clarity. Keep your workspace dust-free and let each layer cure undisturbed for a professional, glasslike finish.

- Natural Dried Flowers for Art Projects and Epoxy Resin CastingPrice range: £5.45 through £7.85Natural Dried Flowers for Art Projects and Epoxy Resin Casting are prepared for immediate use, suitable for resin crafts following the given theme.
- "Evershine Collection" – Artisan Jewellery Epoxy Resin Kit with 100+ Accessories£20.85This starter kit includes 500g of clear epoxy resin with 100+ accessories, designed for jewellery makers and craft enthusiasts.
 "One-2-One" – Epoxy Resin for Handcraft, 1:1 Mixing RatioPrice range: £14.85 through £56.85"One-2-One" epoxy resin is a medium viscosity, non-toxic product designed for crafting with easy 1:1 mixing, suitable for jewellery and decorative…
 "Icrystal" – Clear Epoxy Resin – Odourless Formula – Up to 1.5cmPrice range: £11.65 through £954.85"Icrystal" offers transparent, odourless epoxy resin suitable for clear coating projects with up to 1.5cm layer thickness.
Frequently Asked Questions
How do I prepare flowers for epoxy resin?
Dry flowers completely before use. Press or air-dry them to remove all moisture, preventing cloudiness and discolouration in resin.
Can I embed fresh flowers in resin?
Using fresh flowers is not recommended as trapped moisture can cause mould and colour fading. Always use well-dried flowers.
How do I eliminate bubbles around embedded flowers?
Apply resin in thin layers, allow resting time, and use a heat gun or lighter lightly on the surface to release bubbles.
What is the curing time for epoxy resin projects?
Most resin projects cure within 12–24 hours, but for best results, leave your piece undisturbed until it is fully hardened.
What is the best resin type for flowers?
Clear, low-viscosity epoxy resin is ideal as it pours evenly, traps fewer bubbles, and showcases embedded flowers vividly.
Should I seal dried flowers before embedding?
Sealing prevents bubbles and preserves delicate petals. Brush a thin coat of resin on the flower and let it cure before full embedding.