 Free shipping on orders over £29,85


How to preserve a bouquet in resin?
Step-by-step guide to creating long-lasting floral keepsakes


Preserving a bouquet in resin is a wonderful way to create an everlasting keepsake from cherished flowers, whether it’s wedding blooms, a special arrangement, or a meaningful gift. This guide will walk you through the entire process, helping you to achieve a clear and beautiful result that lasts, no matter your level of experience.
What You’ll Need
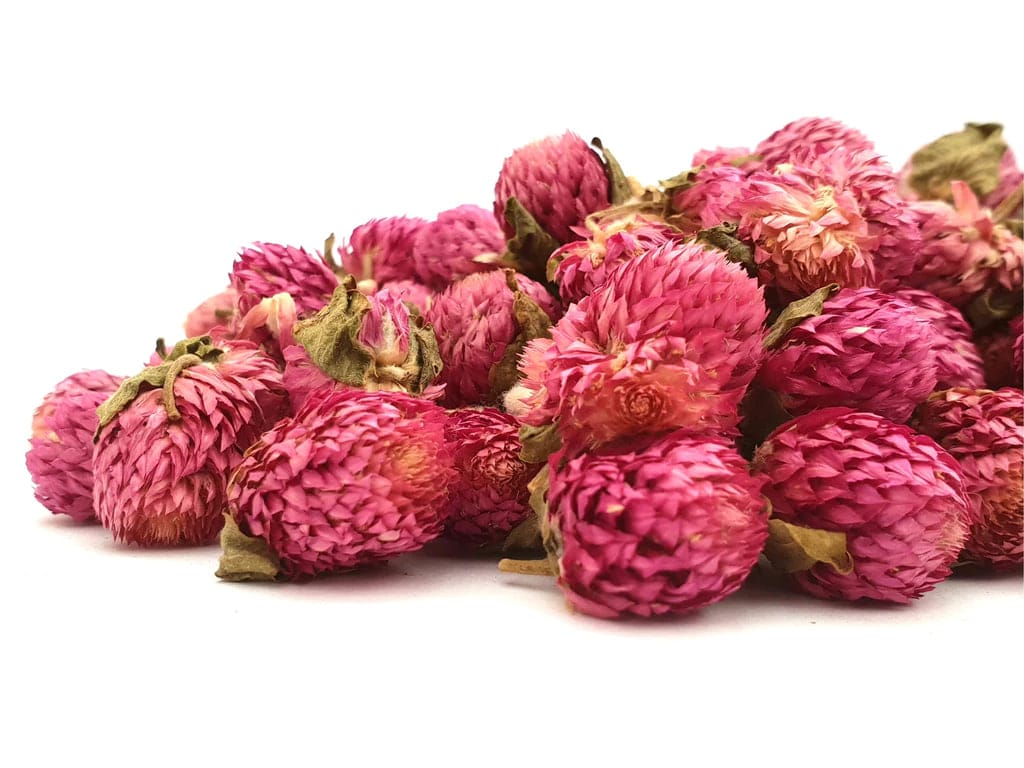
- Natural Dried Flowers for Art Projects and Epoxy Resin Casting — pre-dried blooms ready for resin work
- “Trasparente” – Multipurpose Clear Epoxy Resin for Casting – Up to 2cm — for smaller items and thin casts
- “EpoxyTable 5-Five” – Deep Pour Epoxy Resin for Tables and Large Projects – Up to 5cm — for projects requiring a thicker pour
- “Epoxytable 10-Ten” – Deep Pour Epoxy Resin for Tables, Up to 10cm Casting — for especially deep arrangements or large blocks
- Mould of your chosen shape and size (silicone is recommended for easy release)
- Mixing cups and sticks
- Nitrile gloves and protective apron
- Paper towels and a dust cover

Inspiration: The Beauty of Resin-Preserved Bouquets
Preserving flowers in resin captures sentimental arrangements in a timeless, crystal-clear medium. Whether for a memorial, wedding keepsake, or decorative accent, resin offers a modern and durable solution for floral art.

Step 1: Prepare Your Flowers
Before embedding any bouquet in resin, flowers must be fully dried to prevent moisture causing discolouration or decay over time. Pressed or air-dried flowers both work, but ensure they are crisp and moisture-free. Remove any damaged petals or foliage and arrange your composition in advance, as the resin process is not forgiving once underway. Preserve your bouquet in the right conditions to maintain its natural beauty during casting. If you prefer a quick and reliable option, Natural Dried Flowers for Art Projects and Epoxy Resin Casting are pre-prepared and ideal for immediate use.
Step 2: Set Up Your Workspace
Find a clean, dry, and well-ventilated area with a flat surface for working. Cover surfaces to protect from spills and ensure your tools and materials are organised within reach. Always wear gloves and work in a ventilated space to protect your hands and lungs from potential irritants in uncured resin. Arrange your selected flowers in the mould before mixing the resin, as you’ll want to act swiftly once pouring begins.
Step 3: Mix and Pour the Resin
Choose your resin according to the thickness required: for delicate jewellery or thin casts, use “Trasparente”; for casts up to 5cm, “EpoxyTable 5-Five” offers clarity and working time; for deeper projects, opt for “Epoxytable 10-Ten”. Measure and mix according to the manufacturer’s instructions, blending thoroughly but gently to minimise bubbles. Avoid trapping moisture within the resin by ensuring your bouquet and mould are perfectly dry.
Pour a thin initial layer to ‘anchor’ your flowers, let it partially cure until tacky, then arrange the bouquet and gently cover with resin, pouring in layers if necessary.
Step 4: Layer and Cure for Lasting Clarity
Larger projects or deeper moulds benefit from layering to manage heat and reduce bubbles. Pour the resin in layers for best results, allowing each to partially set before adding the next (refer to your resin’s recommended layering times). Use a toothpick or bubble popper to remove any trapped air, particularly around petals and stems, for maximum clarity. Cover your project with a dust shield while curing and allow sufficient time for the resin to fully harden before demoulding.

Tips and Common Mistakes
Take your time arranging flowers to avoid crowding, which can cause blooms to shift as resin is poured. Control room temperature to stay within the recommended range for your chosen resin. Avoid hurried mixing and pouring, which introduces bubbles and may spoil the clarity of your piece. Always check that your bouquet is dry and free from moisture, as this is the most common cause of cloudiness or resin failure.
Technique Highlight: Achieving Bubble-Free Resin
To minimise bubbles, always mix resin slowly and pour in thin layers. Tack each layer with a heat gun if needed and keep your workspace dust-free for the most professional finish.

- Natural Dried Flowers for Art Projects and Epoxy Resin CastingPrice range: £5.45 through £7.85Natural Dried Flowers are prepared for immediate use, suitable for integration into resin art including jewellery and home décor.
- “Epoxytable 10-Ten” – Deep Pour Epoxy Resin for Tables, Up to 10cm CastingPrice range: £33.85 through £334.85“Epoxytable 10-Ten” is suitable for deep epoxy pours up to 10cm, designed to preserve the clarity and quality of embedded bouquets.
 "EpoxyTable 5-Five" – Deep Pour Epoxy Resin for Tables and Large Projects – Up to 5cmPrice range: £16.85 through £1,099.85"EpoxyTable 5-Five" is a deep pour epoxy resin designed for projects up to 5cm thick, suitable for preserving bouquets with clear, scratch-resistant…
 "Trasparente" – Multipurpose Clear Epoxy Resin for Casting – Up to 2cmPrice range: £8.45 through £948.85"Trasparente" is an ultra-clear, self-levelling epoxy resin suitable for detailed castings and tables up to 2cm thick.
Frequently Asked Questions
What resin should I use for preserving bouquets in resin?
Choose resin according to mould depth: up to 2cm use 'Trasparente'; up to 5cm use EpoxyTable 5-Five; for deeper casts use Epoxytable 10-Ten.
How do I prepare and dry flowers for embedding in resin?
Air-dry or press your flowers thoroughly. All moisture must be removed before casting to prevent browning or resin clouding.
How can I prevent bubbles from forming around my flowers when pouring resin?
Pour slowly, mix gently, and use a heat gun between layers to remove bubbles. Place flowers after the base layer is tacky.
Will my resin-preserved bouquet turn yellow with age?
High-quality resins such as those with UV filters resist yellowing. Store out of direct sunlight to further preserve clarity.
Can I put fresh flowers directly in resin?
No, fresh flowers contain moisture which leads to discolouration and decay. Always dry flowers completely before embedding.
How long should I wait for my resin bouquet project to fully cure?
Cure times vary, but most epoxy resins require 24–72 hours for a full hard cure. Always check manufacturer recommendations.
What if the surface of my resin piece is not perfectly smooth?
Once fully cured, resin can be wet-sanded and polished for a glassy finish. Work gently to avoid damaging embedded flowers.
What temperature should my workspace be for preserving a bouquet in resin?
Aim for 20–25°C in a low-humidity environment for optimal working time and clear results.