 Free shipping on orders over £29,85


how to paint an old resin staircase
Refresh tired resin stairs with professional preparation and painting

If your resin staircase has seen better days, painting it is an effective way to restore style and durability. Whether your goal is to revive faded colour, repair unsightly marks, or simply update the look, painting a resin staircase is achievable with care and proper technique. This guide walks you through every step for a professional finish, with a focus on preparation and application to ensure lasting, beautiful results on your resin stairs.
What You’ll Need
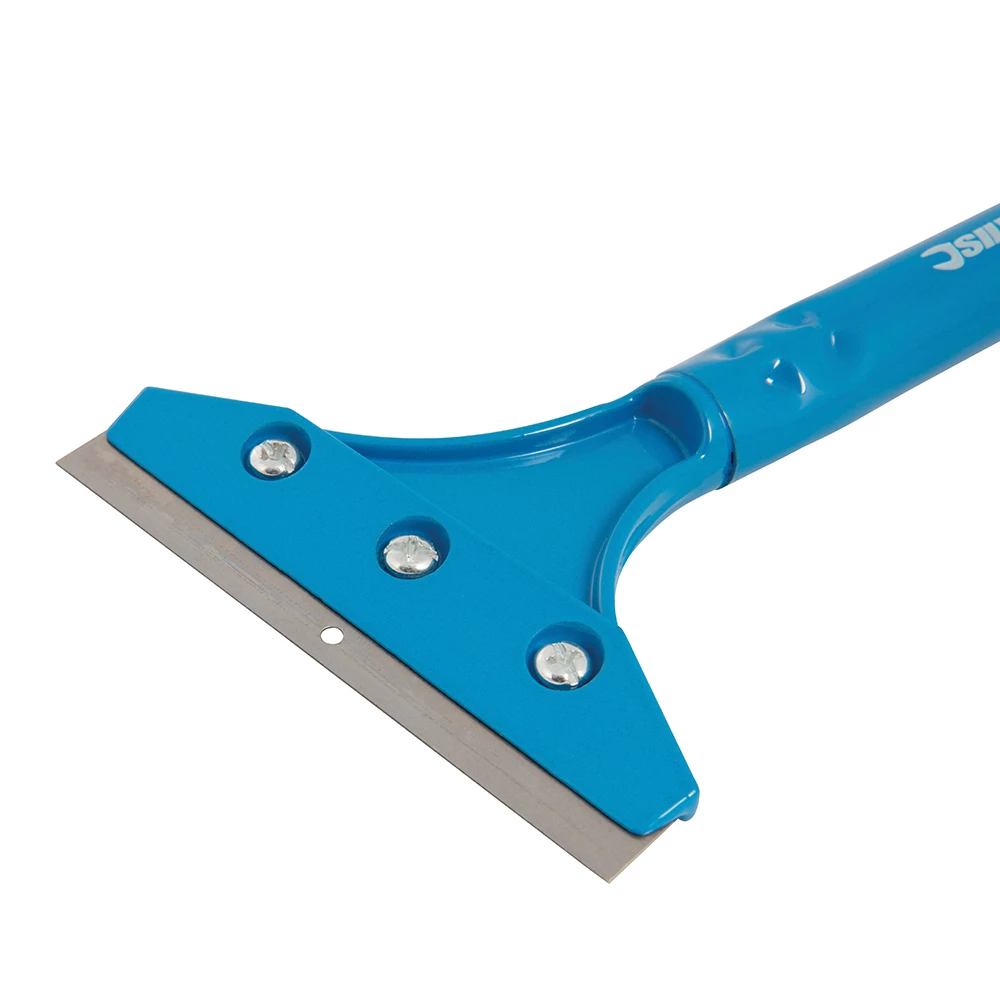
- Heavy Duty Scraper for Paint and Epoxy Resin Removal – for removing flaking or loose paint, old coatings, or stubborn debris from flat or textured steps
- Scraper for Paint & Dry Resin Removal – 10 Double-Sided Blades – for smooth surfaces and tight corners, ideal for careful paint stripping
- Resin & Paint Application Rollers – Short-Pile, Large, and Sponge Types – for even paint application and professional results
- Fine grit sandpaper (e.g. 180–240 grit) for gentle abrasion
- Degreasing cleaner or mild detergent solution
- Clean microfibre cloths
- Painter’s tape and dust sheets
- Primer suitable for resin/plastic surfaces
- Quality paint formulated for use on resin (epoxy-based or specialist floor paints preferred)
- Protective gloves and safety glasses
Preparing Resin Surfaces for Painting
Proper surface preparation is essential before painting resin staircases. Use a scraper to remove flaking paint, then sand lightly to promote adhesion and ensure a lasting, professional result.
Step 1: Clear and Clean the Staircase Thoroughly
Remove all items from the staircase, including runners, mats, or decorative pieces. Sweep or vacuum any dust and debris. Next, wash the entire surface using a mild detergent or degreasing cleaner. Rinse thoroughly and allow to dry completely. Neglecting this step can lead to poor paint adhesion and visible imperfections.

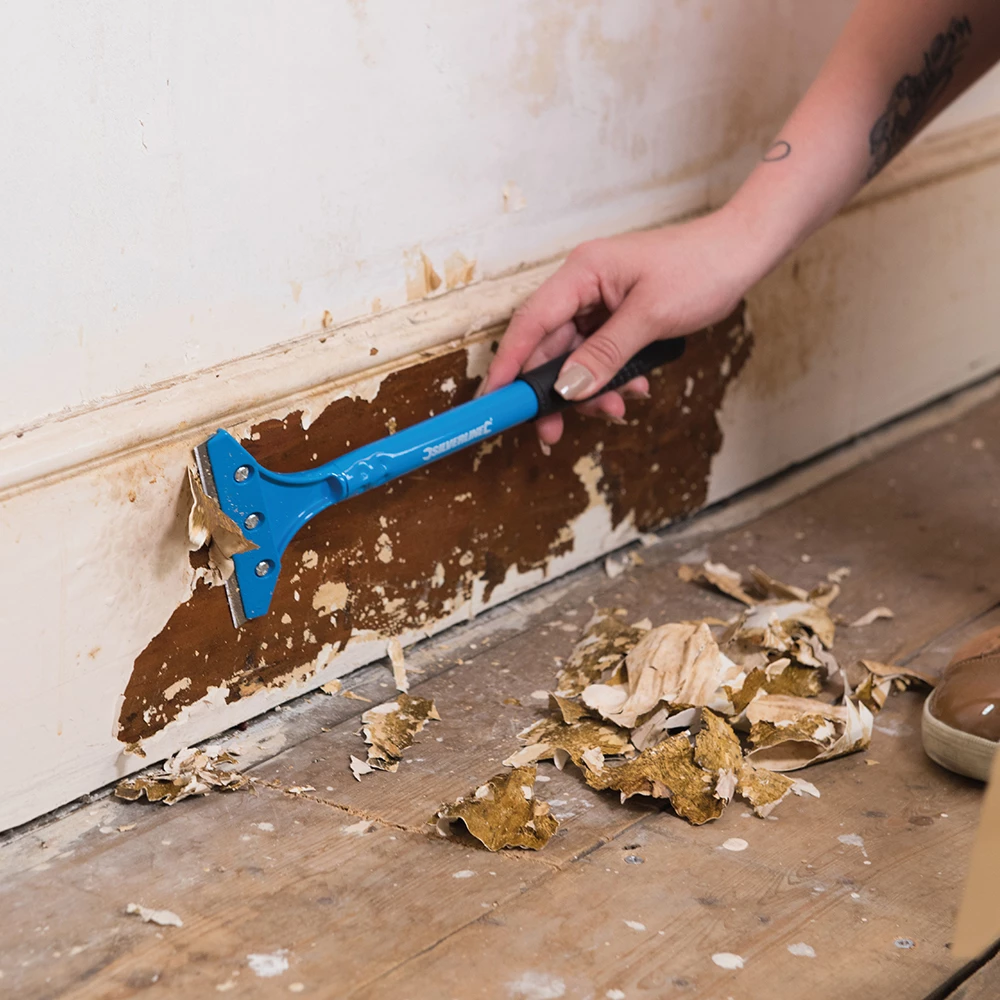
Step 2: Remove Old Paint and Surface Defects
Inspect your resin stairs for peeling, flaking paint, or stubborn marks. Mechanically remove loose coatings using a suitable scraper. For larger or textured areas, the Heavy Duty Scraper for Paint and Epoxy Resin Removal is ideal, offering comfort and precision for thorough preparation. For delicate or smooth sections, try the Scraper for Paint & Dry Resin Removal – 10 Double-Sided Blades to gently lift old layers without gouging the resin.
After scraping, deal with glossy, shiny, or uneven spots by sanding lightly with fine-grit sandpaper. This helps the new paint adhere and provides a uniform base.
Step 3: Mask, Prime, and Prepare for Painting
Once the surface is free of dust, degreased, and dry, mask off adjacent surfaces with painter’s tape. Lay dust sheets around the working area to protect floors. Apply a primer designed for resin or plastic substrates—this is crucial for proper adhesion and a durable finish. Follow the manufacturer’s drying times before proceeding. Skipping or rushing this step may cause premature paint peeling.
Step 4: Apply Paint for a Smooth, Long-Lasting Finish
Stir your selected resin-compatible paint thoroughly. Pour into a paint tray. For best results, use appropriate rollers such as the Resin & Paint Application Rollers – Short-Pile, Large, and Sponge Types. Short-pile rollers suit step treads and risers, while larger rollers are ideal for landings or broader areas. Always roll in even strokes to minimise marks and maintain a consistent finish. Allow each coat to dry fully before applying additional layers, following the paint manufacturer’s instructions for the number of coats and drying intervals.

Step 5: Finishing Touches and Curing
Once the final coat is dry to the touch, carefully remove all masking tape. Avoid heavy use of the stairs until the paint has cured completely—this may take several days depending on the paint and ambient conditions. Patience during curing is vital for a hardened, scuff-resistant surface and a polished appearance.
Tips and Troubleshooting for Painting Resin Staircases
Thorough preparation is key to a lasting finish. Skipping cleaning or sanding can lead to poor adhesion or visible brush marks. Take the time to scrape and prime fully. If brush marks or roller lines persist, lightly sand between coats with fine-grit paper before recoating. Spots where paint does not adhere may need further degreasing or additional sanding. For optimal safety, always ventilate your workspace well and use personal protective equipment.
Choose the right roller for smooth, even coverage and always follow drying time recommendations to prevent tacky or soft finishes. If in doubt, test your paint on a hidden section first. Address drips or runs immediately with your roller, and avoid overly thick coats which can lead to uneven curing or chipping.
Achieving a Professional Finish on Resin
Uniform paint application is best achieved with appropriate rollers. Work with even strokes, avoid overloading, and allow each coat to dry fully for durable, attractive staircases.
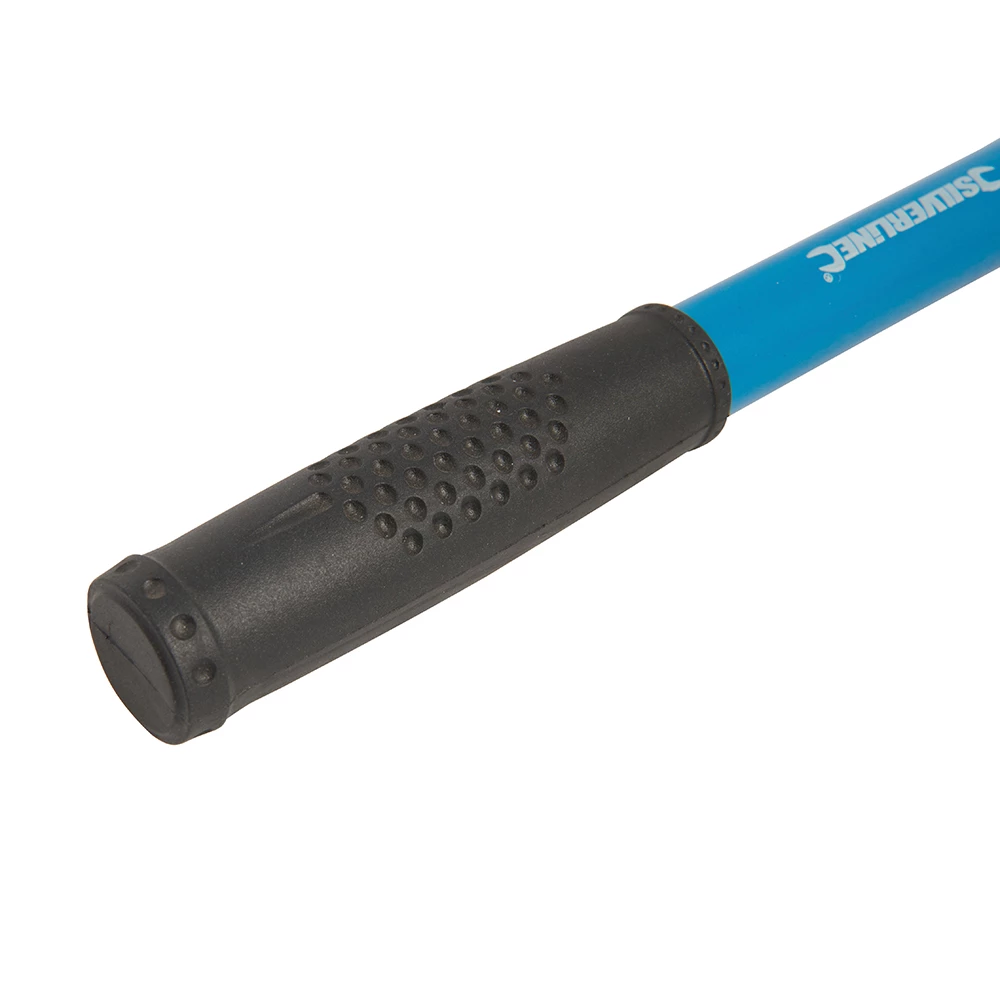
- Heavy Duty Scraper for Paint and Epoxy Resin Removal£8.35The Heavy Duty Scraper offers a lightweight design and razor-sharp blade for effective removal tasks relevant to painting projects on resin…
- Scraper for Paint & Dry Resin Removal – 10 Double-Sided Blades£4.65Scraper designed for effective paint removal from windows and smooth surfaces, featuring tool-free blade change and safety storage.
 Resin & Paint Application Rollers – Short-Pile, Large, and Sponge TypesPrice range: £3.45 through £4.85Rollers suitable for epoxy resin applications, designed to provide precision and uniform coverage on resin surfaces.
Frequently Asked Questions
Can I paint directly on a resin staircase without primer?
No, use a primer suitable for resin or plastic to promote paint adhesion and prevent peeling.
What is the best way to remove old paint from resin stairs?
A quality scraper helps remove loose paint. Smooth surfaces may need a light sanding for best results.
Which type of paint should I use on resin staircases?
Choose an epoxy-based floor paint or specialist paint for resin surfaces for a strong, long-lasting finish.
How long should I wait before walking on painted resin stairs?
Allow the final coat to cure, usually several days, before returning the stairs to normal use for best durability.
Why is my paint not sticking to the resin stairs?
This is usually caused by poor cleaning or sanding before painting, or not using the correct primer.
Are all rollers suitable for applying paint to resin staircases?
Use rollers designed for resin or smooth surfaces. Short-pile rollers help achieve an even finish.