 Free shipping on orders over £29,85


How do you remove air bubbles from epoxy resin?
Achieve smooth, professional resin results with these techniques.

If you have ever finished an epoxy resin project only to discover trapped air bubbles, you know how frustrating it can be. This guide will help you understand why bubbles form, how to reliably remove them, and how to create a perfectly smooth and professional finish for your next resin artwork, jewellery piece, or home décor.
What You’ll Need
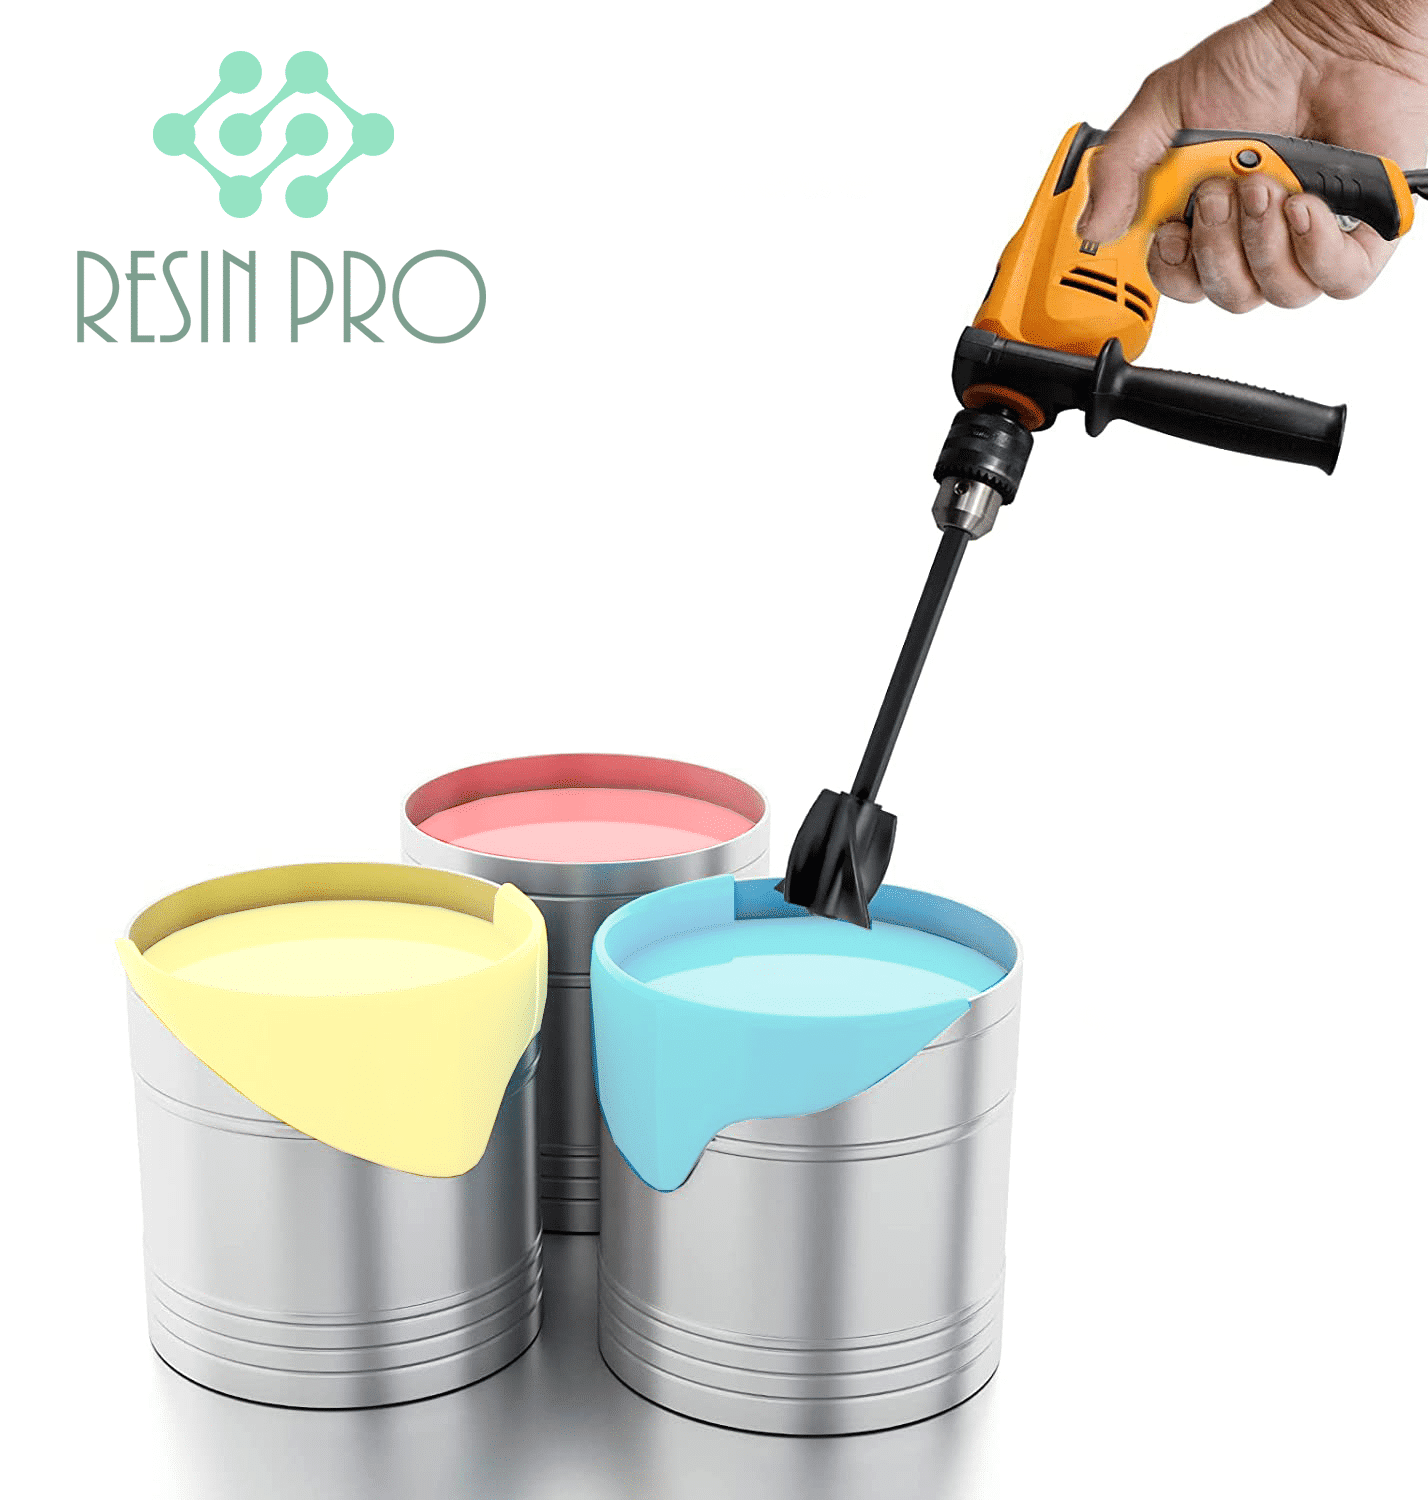
- Anti Bubble Mixer for Epoxy Resin – Reusable Mixing Tool: A carefully designed tool for gentle, bubble-free resin mixing.
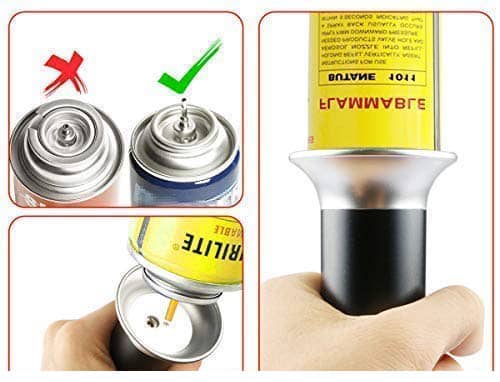
- Gas Heat Gun for Epoxy Resin – Precision Tool for Bubble Removal and Finishing: Ideal for quickly and precisely heating the resin surface to pop bubbles.
- 1500W Heat Gun for Crafting and Epoxy Resin Projects – Two Heat Settings: Useful for larger projects or surfaces that need uniform heat application.
- Latex gloves (for safe handling)
- Protective workspace covering
- Mixing containers and spatulas

Essential Tools for Bubble-Free Epoxy
Using the right tools, such as a Anti Bubble Mixer for Epoxy Resin or a heat gun, ensures you have maximum control over your resin mix. These products are specifically developed to help resin artists and crafters tackle the most common cause of imperfections—trapped bubbles—at each stage of their project.
Step 1: Mix Slowly and Carefully
Most air bubbles in epoxy resin arise during mixing. Begin by combining your resin and hardener according to the manufacturer’s instructions, ensuring accurate measurements and room temperature conditions. Mix slowly and gently to avoid trapping air; rapid stirring or whipping introduces unnecessary bubbles that can be difficult to remove later.
If available, use the Anti Bubble Mixer for Epoxy Resin – Reusable Mixing Tool to achieve a thorough yet gentle mix. Its design helps minimise bubble creation while blending the two components, making it especially useful for artists and DIYers who want a smooth finish.
Step 2: Let the Resin Rest
After mixing, allow your resin to sit in the mixing container for a few minutes. Many of the smaller bubbles will naturally rise to the surface and pop on their own. This is particularly effective with low-viscosity resins or when room temperature helps bubbles move upward unimpeded.
Inspect the top of your mixture and consider scooping away any visible clusters of bubbles using a spatula or clean stick. This patient approach can resolve much of the trapped air before pouring.
Step 3: Pour and Spread Carefully
When pouring the resin into your mould or onto your surface, do so in thin, even layers. Pouring from a moderate height allows larger bubbles to escape as they break on contact with the surface. Gently move the mixture to the edges, avoiding rapid motion that could trap more air beneath the resin.
For layered projects, such as river tables or artwork, repeat the resting and inspection period between each pour for best results.
Step 4: Use Targeted Heat to Remove Surface Bubbles
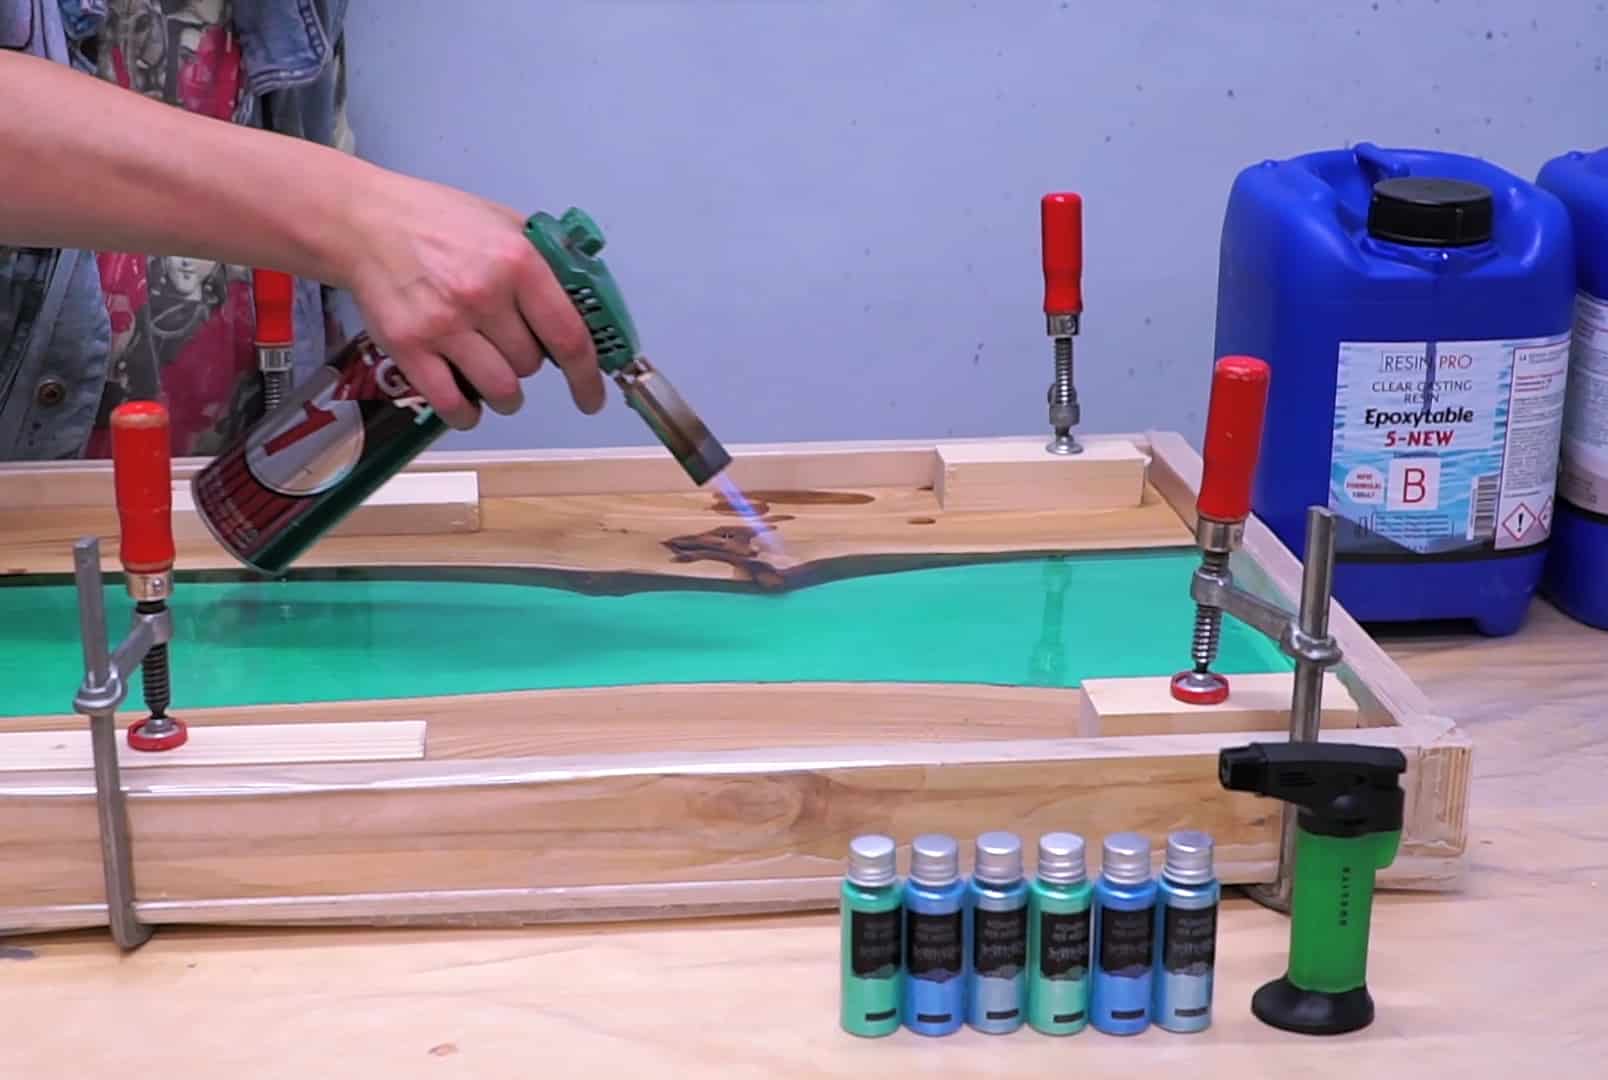
Now it’s time to address any persistent bubbles with careful heat application. Immediately after pouring (while the resin is still workable), use a heat gun in controlled, smooth passes across the surface. Apply heat cautiously for best results; hold the tool several centimetres above the resin and move continuously to prevent overheating.
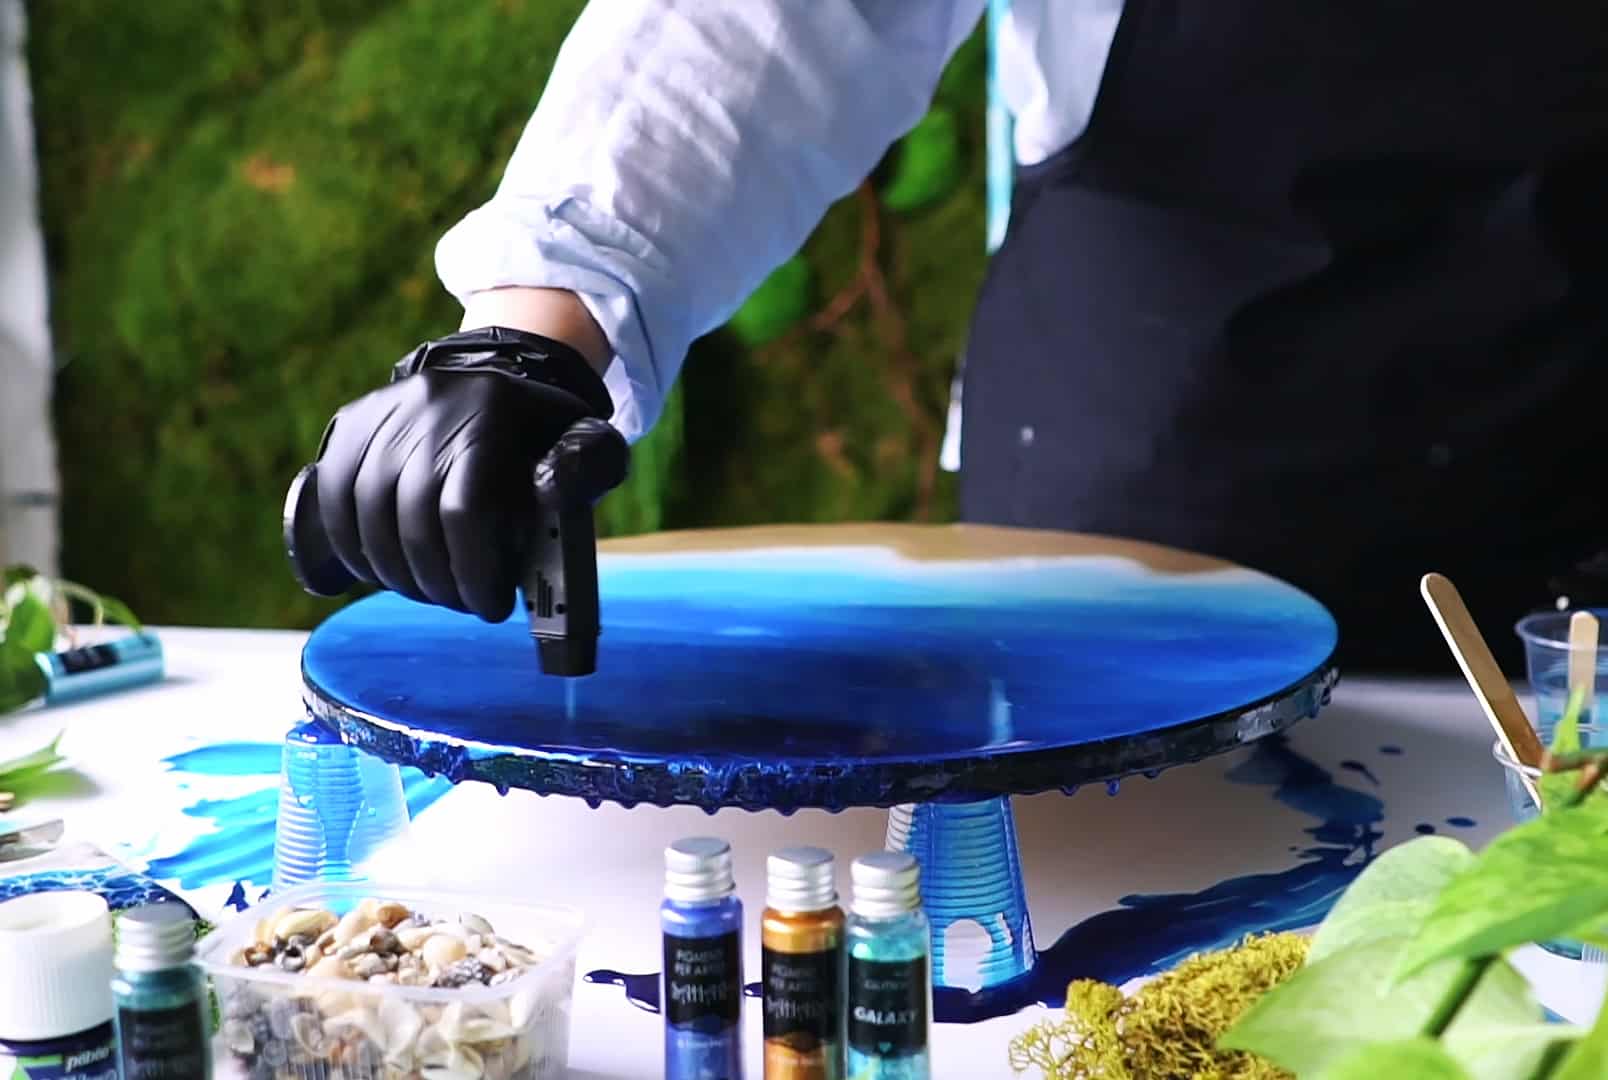
For smaller projects or delicate details, the Gas Heat Gun for Epoxy Resin – Precision Tool for Bubble Removal and Finishing offers excellent control in tight spaces. For wider surfaces, a 1500W Heat Gun for Crafting and Epoxy Resin Projects – Two Heat Settings provides broad, even heat. Always follow manufacturer guidance in handling these tools.

Step 5: Allow to Cure in a Dust-Free Area
Once your surface is bubble-free, let the resin cure fully in a dust-proof, vibration-free area. Any disturbance now could introduce new air or imperfections. Cover your project with a box or dome if necessary to shield it from particles and ensure a flawless finish.
Patience is essential; resist the urge to move or touch the piece until it has hardened appropriately.
Tips and Troubleshooting for a Bubble-Free Finish
- Do not overheat the resin surface. Excessive heat can damage the finish or cause yellowing.
- Work in a room with stable, moderate temperatures (around 20–25°C is ideal) to help bubbles rise.
- Humidity can trap additional air and moisture in resin, so aim to work in a dry environment.
- Avoid mixing in containers with narrow bases as these trap more air – shallow, wide bowls are best.
- Always test methods on a small piece first to fine-tune your process before tackling large pours or important projects.
Resin Bubble Removal: Expert Advice
Consistent practice and patience will help you master bubble-free results over time. Don’t be discouraged by the first imperfect project—refining your mixing and heating technique can transform your results. For advice or to choose the right bubble removal tools, our team is here to help.
- Anti Bubble Mixer for Epoxy Resin – Reusable Mixing Tool£4.45The Anti Bubble Mixer is designed for epoxy resin projects, providing a consistent finish with reduced bubble formation.
- Gas Heat Gun for Epoxy Resin – Precision Tool for Bubble Removal and FinishingPrice range: £4.15 through £13.85The Gas Heat Gun offers precision heating to reduce bubbles and improve the finish of epoxy resin projects.
- 1500W Heat Gun for Crafting and Epoxy Resin Projects – Two Heat Settings£27.85The 1500W Heat Gun is designed for epoxy resin projects, suitable for bubble removal to support a smooth finish.
Frequently Asked Questions
What causes air bubbles in epoxy resin?
Air bubbles form from rapid mixing, high viscosity, or pouring too quickly. Temperature and humidity can also introduce trapped air.
Can I use a torch to remove bubbles?
A torch can be effective, but use caution to prevent overheating or burning the resin surface.
What's the ideal room temperature for removing bubbles?
Aim for 20–25°C. Stable temperatures allow bubbles to rise more easily before and after pouring.
Should I treat thick and thin pours differently?
Yes. Thinner layers allow bubbles to escape easily; thicker pours may need more heating passes and slower mixing.
What if I notice bubbles after curing?
You can sand and re-coat the resin to restore a smooth surface. Prevent bubbles by following best practices from the start.
Is it safe to use a heat gun near resin?
Yes, if you follow safety guidelines, use on low settings, and keep the tool moving to avoid burns or uneven curing.