 Free shipping on orders over £29,85


How do you embed a flower in resin?
Step-by-step guide to stunning botanical resin art


Preserving flowers in resin allows you to create beautiful, lasting keepsakes such as jewellery, coasters, ornaments, and art pieces. This guide walks you through the complete process of embedding a flower in resin, highlighting practical tips and technical advice to ensure a flawless, crystal-clear finish. Whether you’re a beginner or an experienced crafter, you will learn the essential steps for success and how to avoid common mistakes.
What You’ll Need
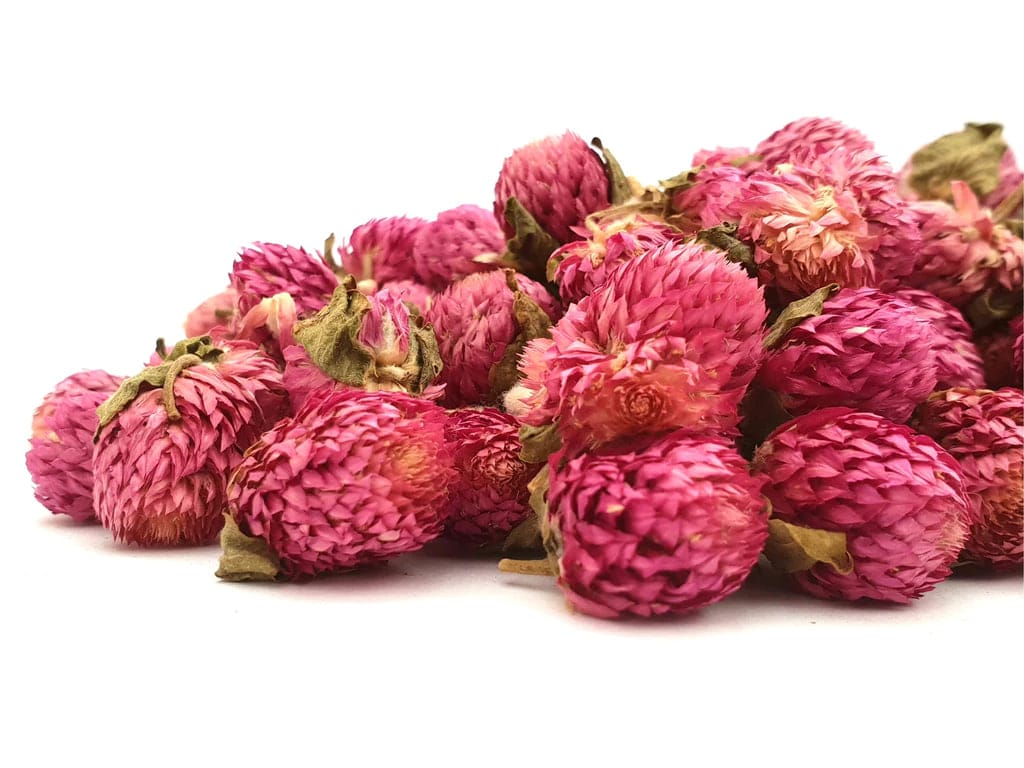
- Natural Dried Flowers for Art Projects and Epoxy Resin Casting – prepped for embedding and available in assorted varieties.
- “Trasparente” – Multipurpose Clear Epoxy Resin for Casting – Up to 2cm – ultra-clear, self-levelling resin perfect for botanical preservation.
- Silicone moulds of your chosen shape (e.g. jewellery, coasters).
- Gloves, mixing sticks, and disposable cups.
- Pipettes or tweezers for precise placement.
- Protective workspace mat or covering.

Preparing Your Materials for Flower Embedding
Using pre-dried flowers ensures vivid colour and stability in resin projects. Position your flowers on a clean surface and select a clear epoxy for the sharpest results. Arrange all tools within easy reach—this helps keep your workspace organised and the process stress-free.

Step 1: Prepare the Workspace and Flowers
Begin by preparing your workspace. Cover your surface with a protective mat or newspaper and ensure good ventilation. Gather all materials before starting. Carefully inspect your dried flowers, brushing away debris and trimming stems if needed. Fully dried flowers work best since moisture can interact poorly with resin, potentially causing cloudiness or decay. Should you wish to use your own dried botanicals, confirm they are crisp and moisture-free.
Work in a dust-free, ventilated environment for best clarity. Organising tools beforehand prevents rushed movements that could introduce dust or disturb the setting resin.
Step 2: Mix and Pour the First Resin Layer
Following the manufacturer’s instructions, use a precise ratio to mix your epoxy resin. The “Trasparente” – Multipurpose Clear Epoxy Resin for Casting – Up to 2cm is ideal as it offers excellent transparency and incorporates an integrated UV filter to help prevent yellowing.
Mix slowly using clean sticks to avoid air bubbles. Pour a thin first layer into your silicone mould. This creates a base and helps hold the flower in place. Allow this layer to sit for a short period so any air bubbles can rise and pop.
Allow time for air bubbles to rise and dissipate before embedding. Patience at this stage ensures your finished piece remains beautifully clear.
Step 3: Position and Embed the Flower
Gently place the dried flower on the partially set resin base using tweezers. The flower must be completely flat, with any protruding parts pressed gently into the resin. If petals or leaves are lifting, carefully arrange them so they lay flush against the surface. For thicker flowers, consider embedding in several layers to avoid areas becoming trapped above the surface.
Optionally, apply a dab of resin over the flower to tack it in place and minimise trapped air pockets. Some crafters lightly seal fragile flowers with a thin coat of resin or spray beforehand to lock in colour and shape, especially for intricate designs. Seal flowers if they are not fully dried to prevent moisture issues; otherwise, moisture can affect clarity and preservation long term.
Step 4: Complete the Pour and Cure
Mix a new batch of resin and pour carefully over the arranged flower, filling the mould to the required depth. Pour slowly to avoid shifts in placement and spread the resin evenly. Resin like “Evershine Collection” – Artisan Jewellery Epoxy Resin Kit with 100+ Accessories can also be suitable for small-scale projects or jewellery.
Divide the pour into 1–2cm layers if the mould is deep, allowing each to partially cure before adding the next. This prevents excess heat buildup and minimises bubble formation, helping the flower remain suspended in the centre for a flawless appearance.
Pour in layers to keep the flower suspended in clear resin. If bubbles appear, gently pop them using a toothpick or by blowing lightly over the surface.

Step 5: Demould and Finish
Once the resin has cured fully—as guided by your chosen epoxy—gently remove the piece from its silicone mould. If needed, sand edges or polish the surface for a glossy finish, taking care not to scratch the resin. Always follow safety instructions for handling epoxy and avoid rushing this stage.
Your finished piece will showcase the embedded flower against a crystal-clear background, ready to be used or gifted.
Tips and Troubleshooting Common Mistakes
Avoid over-mixing the resin, which can introduce bubbles. Slow, steady mixing is best. For best results, work at room temperature to help bubbles escape more easily.
If flowers float or shift, anchor them between layers or gently tap them into position with a stick. Trapped moisture is a common cause of cloudiness; always use fully dried flowers and consider a light pre-sealant if in doubt. Should the surface appear dull, finish with a polish or an additional very thin resin coat for enhanced shine.
Showcase: Embedded Flower Art and Resin Jewellery
Crystal-clear resin work reveals every petal. Experiment with placement and mould shapes to create one-of-a-kind jewellery, ornaments, and gifts. When layering, let your creativity shine by combining several flower types for a vibrant botanical look.

- Natural Dried Flowers for Art Projects and Epoxy Resin CastingPrice range: £5.45 through £7.85Natural Dried Flowers are ready to use and suited for epoxy resin art projects and crafting in the flower embedding theme.
 "Trasparente" – Multipurpose Clear Epoxy Resin for Casting – Up to 2cmPrice range: £8.45 through £948.85"Trasparente" is a clear casting epoxy resin suitable for detailed projects up to 2cm thick for art and woodworking.
- "Evershine Collection" – Artisan Jewellery Epoxy Resin Kit with 100+ Accessories£20.85"Evershine Collection" kit includes clear 1:1 epoxy resin and over 100 accessories, designed for creating jewellery with embedded flowers.
 Free Step-by-Step Lesson – "Pomegranate Trays" by Natalia NatirumOriginal price was: £99.00.£0.00Current price is: £0.00.Free video tutorial by Natalia Natirum demonstrates creating resin pomegranate trays, suitable for embedding flowers in resin.
Frequently Asked Questions
Can I use fresh flowers for embedding in resin?
It's best to use thoroughly dried flowers, as fresh ones may rot or become cloudy over time when trapped in resin.
What kind of resin works best for embedding flowers?
A clear casting epoxy such as 'Trasparente' is recommended for superior transparency and preservation.
How do you avoid bubbles when embedding flowers?
Mix your resin slowly and pour in layers. Pop surface bubbles with a toothpick or gentle heat if needed.
Will resin change the colour of flowers over time?
A UV-protected resin helps preserve colours, but slight fading may occur over many years if exposed to sunlight.
Can I add more than one flower or layer them in resin?
Yes, you can embed multiple flowers in layers for a 3D effect, pouring and curing each layer separately.
How long does epoxy resin take to cure when embedding flowers?
Typical curing times are 24–48 hours, but always check your resin’s label for specific guidance.