 Free shipping on orders over £29,85


How to prevent air bubbles in epoxy resin
Master smooth epoxy finishes by preventing unwanted bubbles

Bubbles in epoxy resin can ruin the clarity and quality of your finished piece, whether you’re casting jewellery, coating a tabletop, or crafting bespoke art. This guide explains proven methods to minimise or completely avoid air bubbles in your epoxy resin, ensuring a professional, flawless result every time.
What You’ll Need
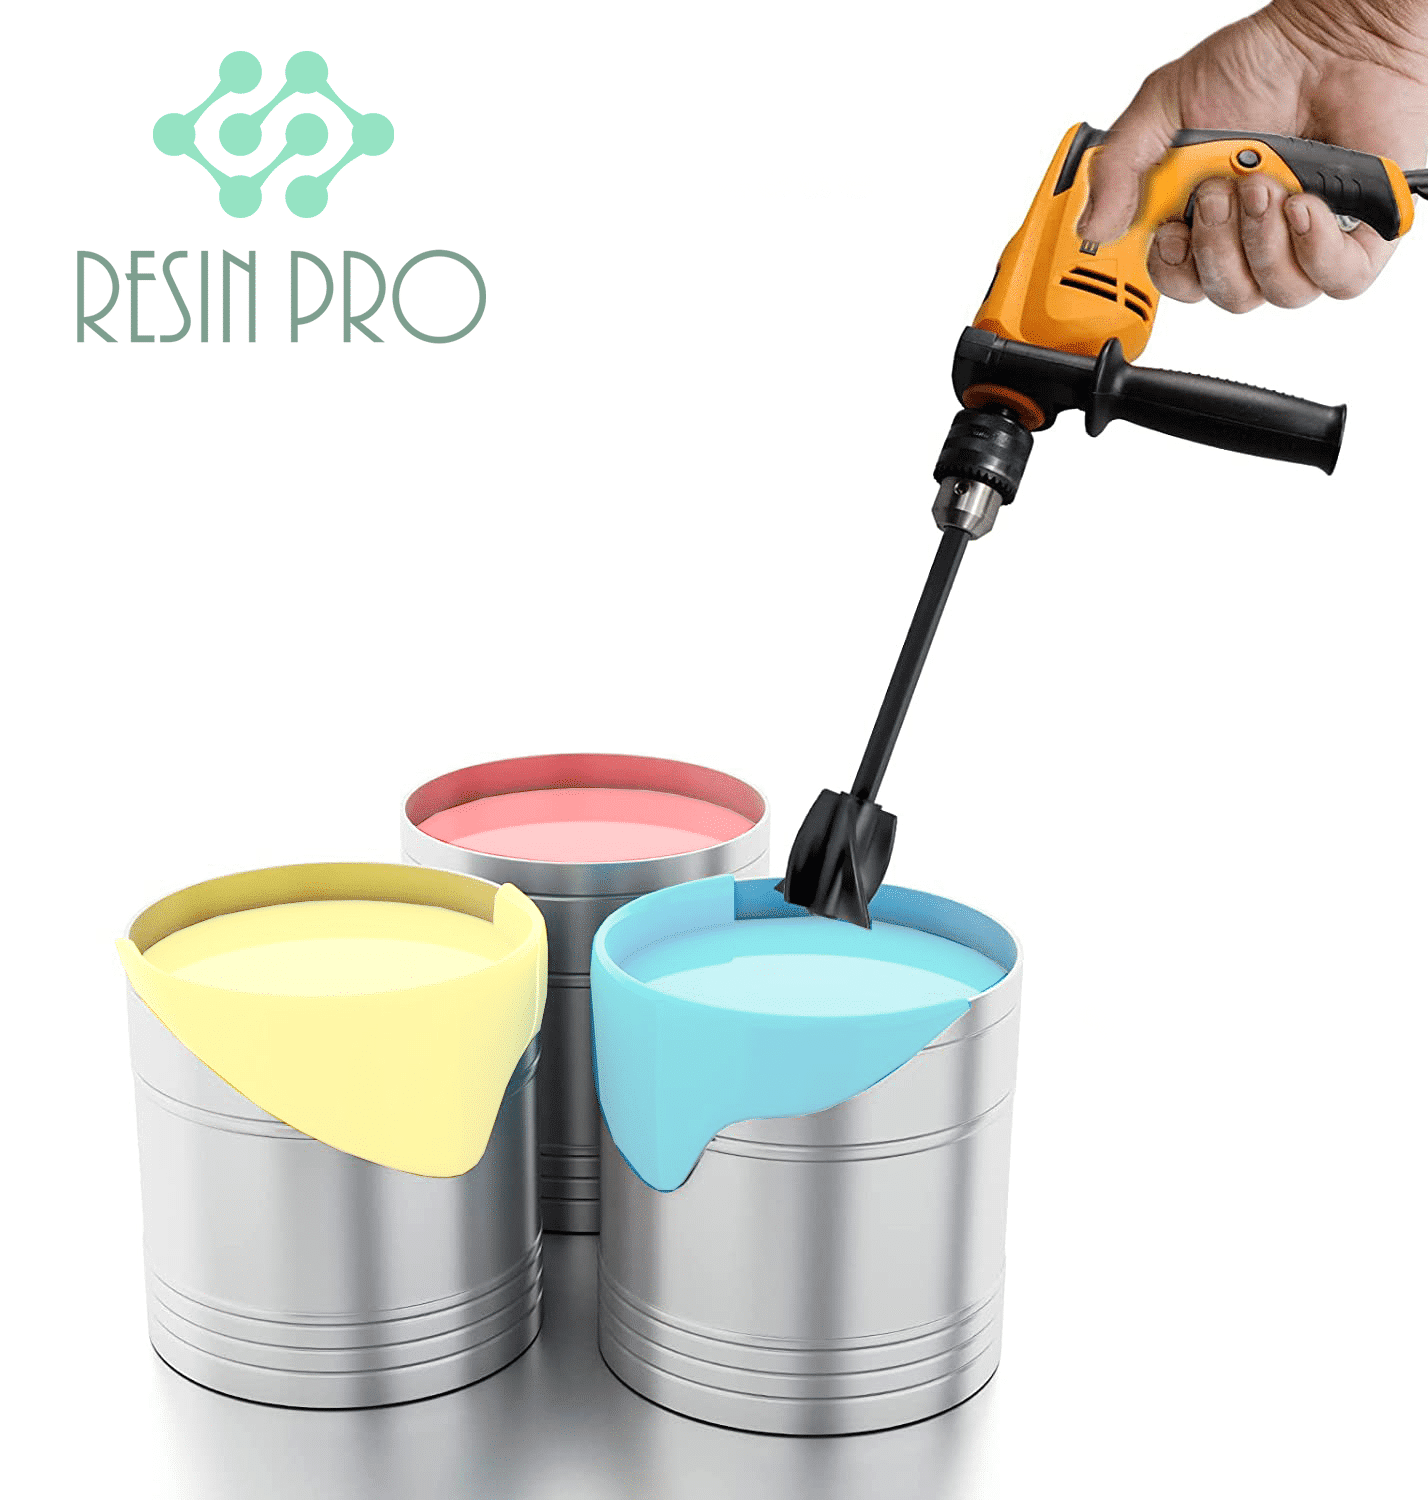
- Anti Bubble Mixer for Epoxy Resin – Reusable Mixing Tool: A tool specifically designed for gentle, bubble-free mixing.
- Pure Isopropyl Alcohol 99.9% – 1000ml Bottle for Epoxy Resin Projects & DIY: For removing bubbles after pouring or for surface effects.
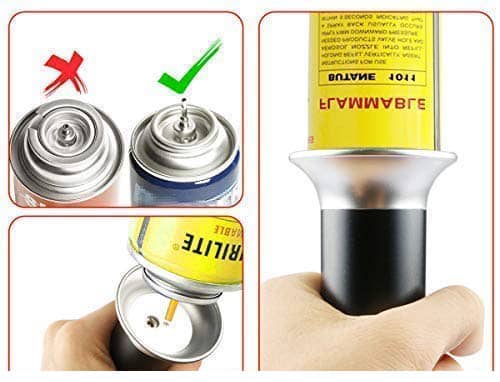
- Gas Heat Gun for Epoxy Resin – Precision Tool for Bubble Removal and Finishing: For eliminating surface bubbles and achieving a smooth finish.
- Protective gloves and mask: For your safety when handling chemicals.
- Clean, dust-free workspace.
- Mixing cups and stir sticks.

Visual Tools and Mixing Techniques
See the Anti Bubble Mixer for Epoxy Resin – Reusable Mixing Tool in action, showcasing steady, slow mixing for a bubble-free finish. High-quality videos and images illustrate exactly how gentle stirring can dramatically reduce trapped air while achieving consistent mixing of resin and hardener.
Step 1: Use a gentle mixing method
Use a gentle mixing method to minimise air introduction. Combine your resin and hardener slowly, in a steady circular motion. Vigorous stirring will create foam and trap pockets of air, making bubble-removal more difficult later.
For best results, consider a dedicated tool such as the Anti Bubble Mixer for Epoxy Resin – Reusable Mixing Tool. This specially designed mixer stirs with minimal agitation, greatly reducing the likelihood of bubbles being dispersed throughout your mixture.
Always scrape the sides and bottom of your mixing container, but do so gently to prevent raw or unmixed material, while still keeping the action bubble-free.
Step 2: Allow time for bubbles to rise
Once the resin and hardener are combined, allow time for bubbles to rise naturally before pouring. Let the mixture rest in the container for a few minutes to encourage any air trapped during mixing to float to the surface.
Patience here pays off, especially for larger projects. If possible, cover the container lightly to keep contaminants out while waiting, and avoid stirring again before pouring.
Step 3: Warm the resin slightly before pouring
Warm the resin slightly before pouring by placing the closed resin bottles in a warm water bath for 10-15 minutes. This reduces viscosity, making it easier for trapped bubbles to escape during and after mixing.
Ensure the bottles are tightly sealed to prevent water contamination, and dry them thoroughly before opening. Do not overheat, as high temperatures may accelerate curing or cause other problems.
Step 4: Remove bubbles on the surface
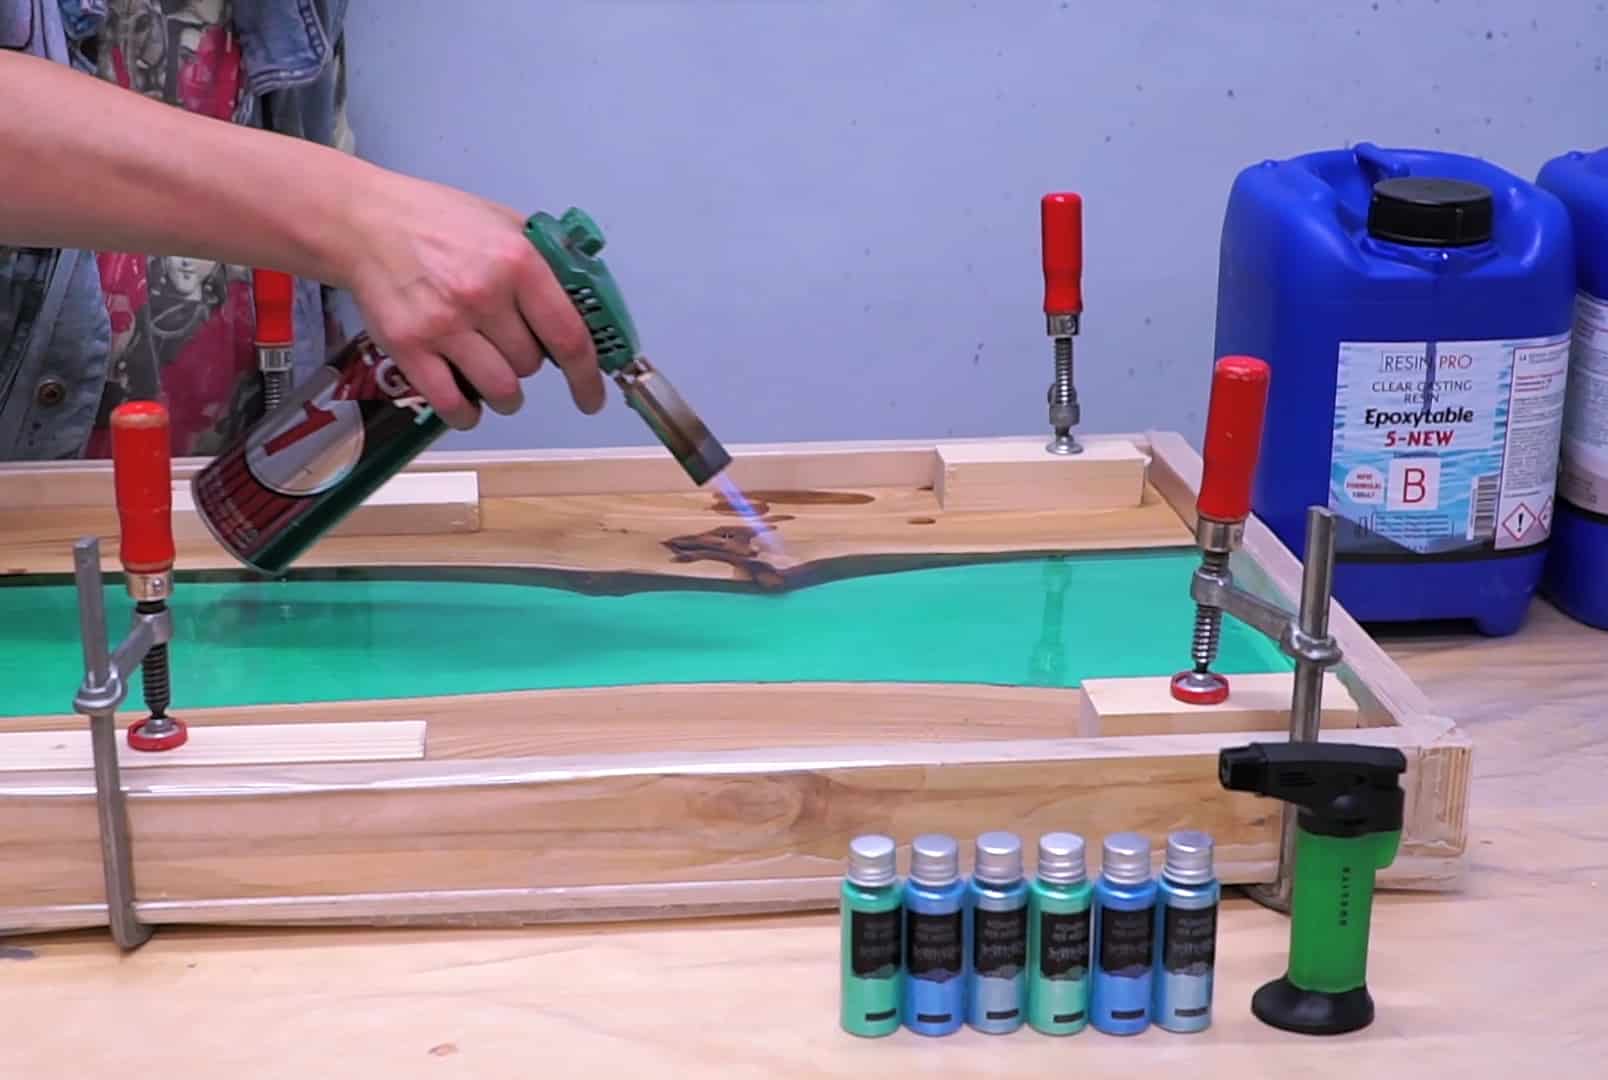
After pouring the resin, many bubbles will rise to the surface. To eliminate these, remove bubbles on the surface promptly using brief, controlled heat. A Gas Heat Gun for Epoxy Resin – Precision Tool for Bubble Removal and Finishing is ideal, directing heat just above the resin to burst bubbles without burning the material.
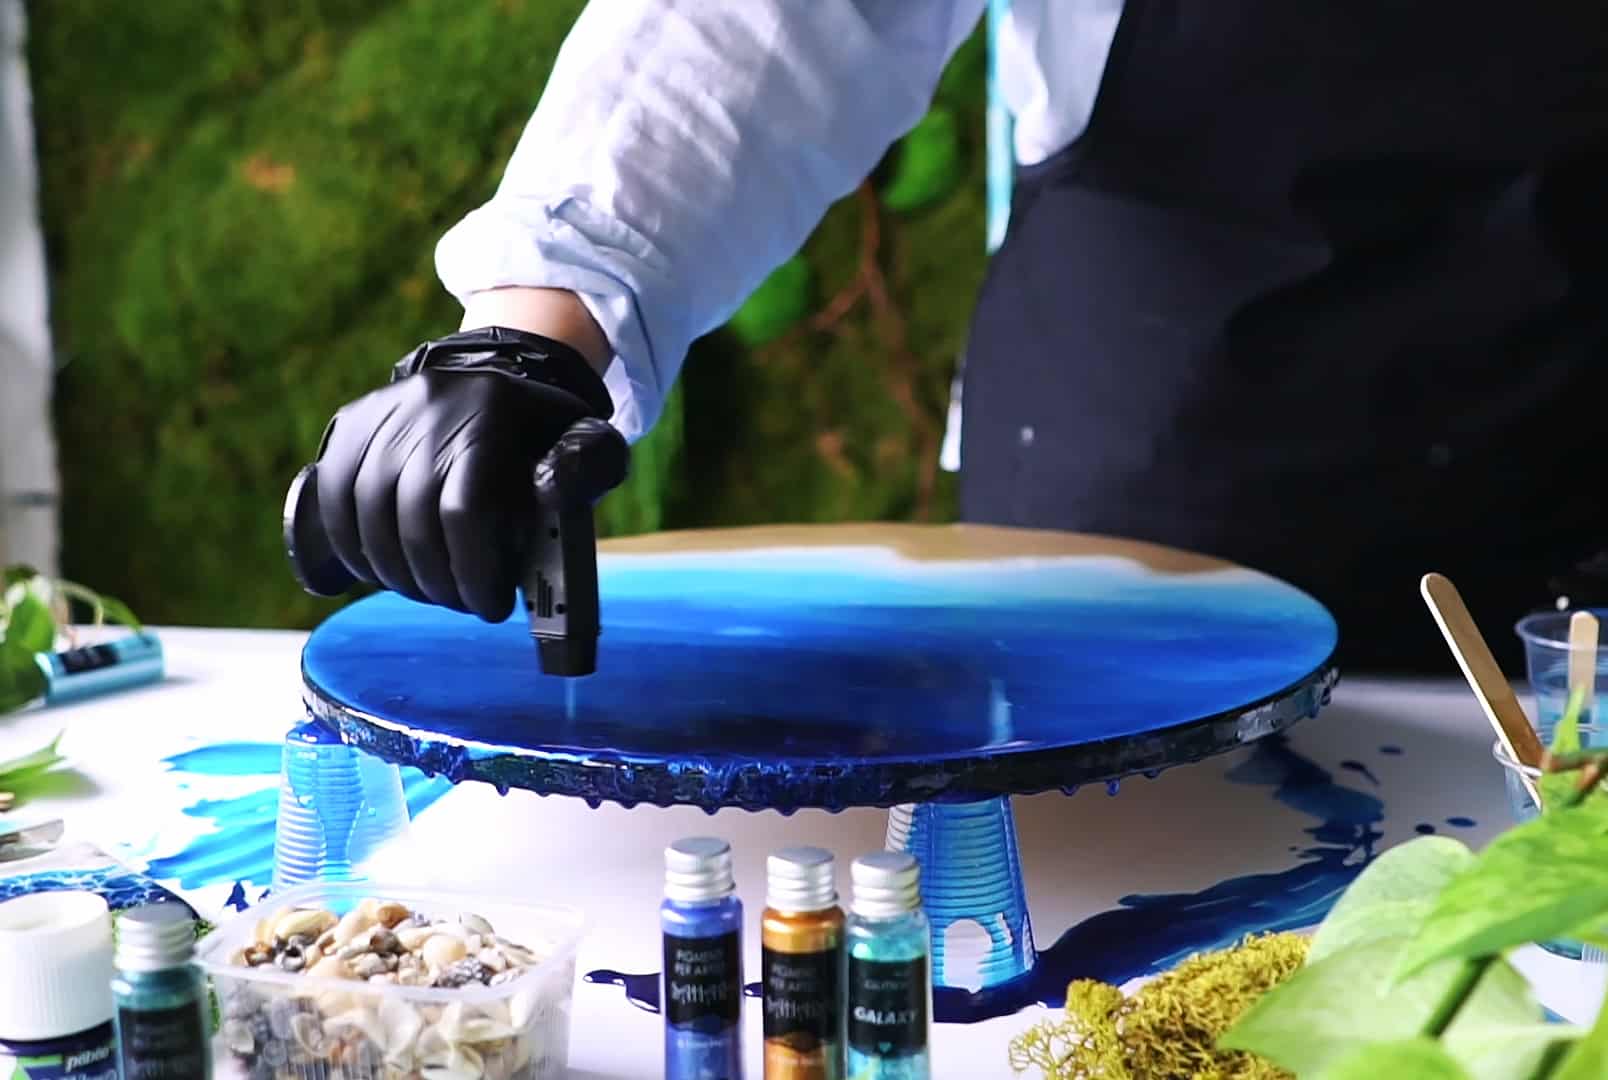
Alternatively, emphasise safety and avoid open flames. For smaller surface bubbles, a few drops of Pure Isopropyl Alcohol 99.9% – 1000ml Bottle for Epoxy Resin Projects & DIY misted using a fine spray can swiftly pop persistent bubbles. Always let alcohol evaporate fully before applying any heat.
Tips and Troubleshooting for Bubble-Free Results
Work in a dust-free, draught-free environment with stable temperatures to reduce the chance of bubbles forming or becoming trapped. Avoid pouring resin in thick layers, as deeper pours increase the risk of bubbles getting stuck.
If bubbles persist despite all precautions, re-examine your mixing speed, the cleanliness of your workspace, and ensure your tools are entirely dry and oil-free. Remember, practice makes perfect. Making notes on your method will help you refine your process for even better results next time.
Surface Finishing and Bubble Removal
Watch how the Gas Heat Gun for Epoxy Resin – Precision Tool for Bubble Removal and Finishing is applied just above the resin surface to release stubborn air bubbles effectively. Gain confidence in handling heat tools and using isopropyl alcohol for advanced bubble prevention and a crystal-clear finish on your projects.

- Anti Bubble Mixer for Epoxy Resin – Reusable Mixing Tool£4.45The Anti Bubble Mixer for Epoxy Resin is designed for smooth mixing and reducing air bubbles in epoxy projects.
- Pure Isopropyl Alcohol 99.9% – 1000ml Bottle for Epoxy Resin Projects & DIYPrice range: £9.85 through £19.85Pure Isopropyl Alcohol at 99.9% purity is used to remove bubbles and create effects in epoxy resin projects.
- Gas Heat Gun for Epoxy Resin – Precision Tool for Bubble Removal and FinishingPrice range: £4.15 through £13.85The Gas Heat Gun provides precise heating to reduce bubbles and improve the finish of epoxy resin projects within the theme of bubble prevention.
Frequently Asked Questions
Why are bubbles forming in my epoxy resin?
Bubbles often result from vigorous mixing, pouring onto porous surfaces, or applying resin in thick layers. Careful preparation and slow mixing help minimise this issue.
Is it safe to use heat guns on epoxy resin?
Yes, when used briefly and not in one spot for too long. Always follow the tool’s guidelines and never overheat the resin to avoid surface defects.
When should isopropyl alcohol be used on resin?
It should be used after pouring to pop surface bubbles or to create artistic effects, taking care to allow full evaporation before using heat.
Can I prevent bubbles by warming resin before use?
Yes, slightly warming resin lowers viscosity and helps air bubbles escape, leading to a clearer, smoother finish.
Should I use a torch or heat gun for bubbles?
A heat gun offers more controlled, even heating for safe bubble removal, while torches present greater risk of overheating or burning the resin.
What is the best way to mix epoxy resin without bubbles?
Mix slowly and steadily, using a gentle mixing tool, and avoid whipping action to keep air from being trapped in your resin.
How thick can I pour resin before bubbles become an issue?
Thicker pours trap more bubbles. Always check the resin manufacturer’s instructions for maximum layer thickness to achieve best results.