 Free shipping on orders over £29,85


how to avoid bubbles in resin
Master resin techniques for flawless, bubble-free finishes every time.

Achieving glass-clear, bubble-free resin is a mark of skill for every resin artist, crafter, or DIY enthusiast. Bubbles can ruin the pristine look of resin projects, from intricate jewellery to bold river tables. This guide covers proven techniques for avoiding bubbles in your resin pours, ensuring a professional result for any project.
What You’ll Need
- Anti Bubble Mixer for Epoxy Resin – Reusable Mixing Tool: Designed for mixing epoxy resin gently to help prevent bubbles and ensure a smooth finish.
- “Icrystal” – Clear Epoxy Resin – Odourless Formula – Up to 1.5cm: A clear, odourless epoxy resin suitable for DIY, woodworking, and surface coatings.
- “Art Pro Deluxe” – Ultra-High Viscosity Epoxy Resin for Artists: An ultra-high viscosity epoxy resin designed for precise control in resin art and glossy finish layers.
- “Epoxytable 10-Ten” – Deep Pour Epoxy Resin for Tables, Up to 10cm Casting: Epoxy resin formulated for deep pour applications, suitable for tables and artistic projects.
- Protective gloves, level work surface, heat gun or torch (for popping surface bubbles), and a dust cover.

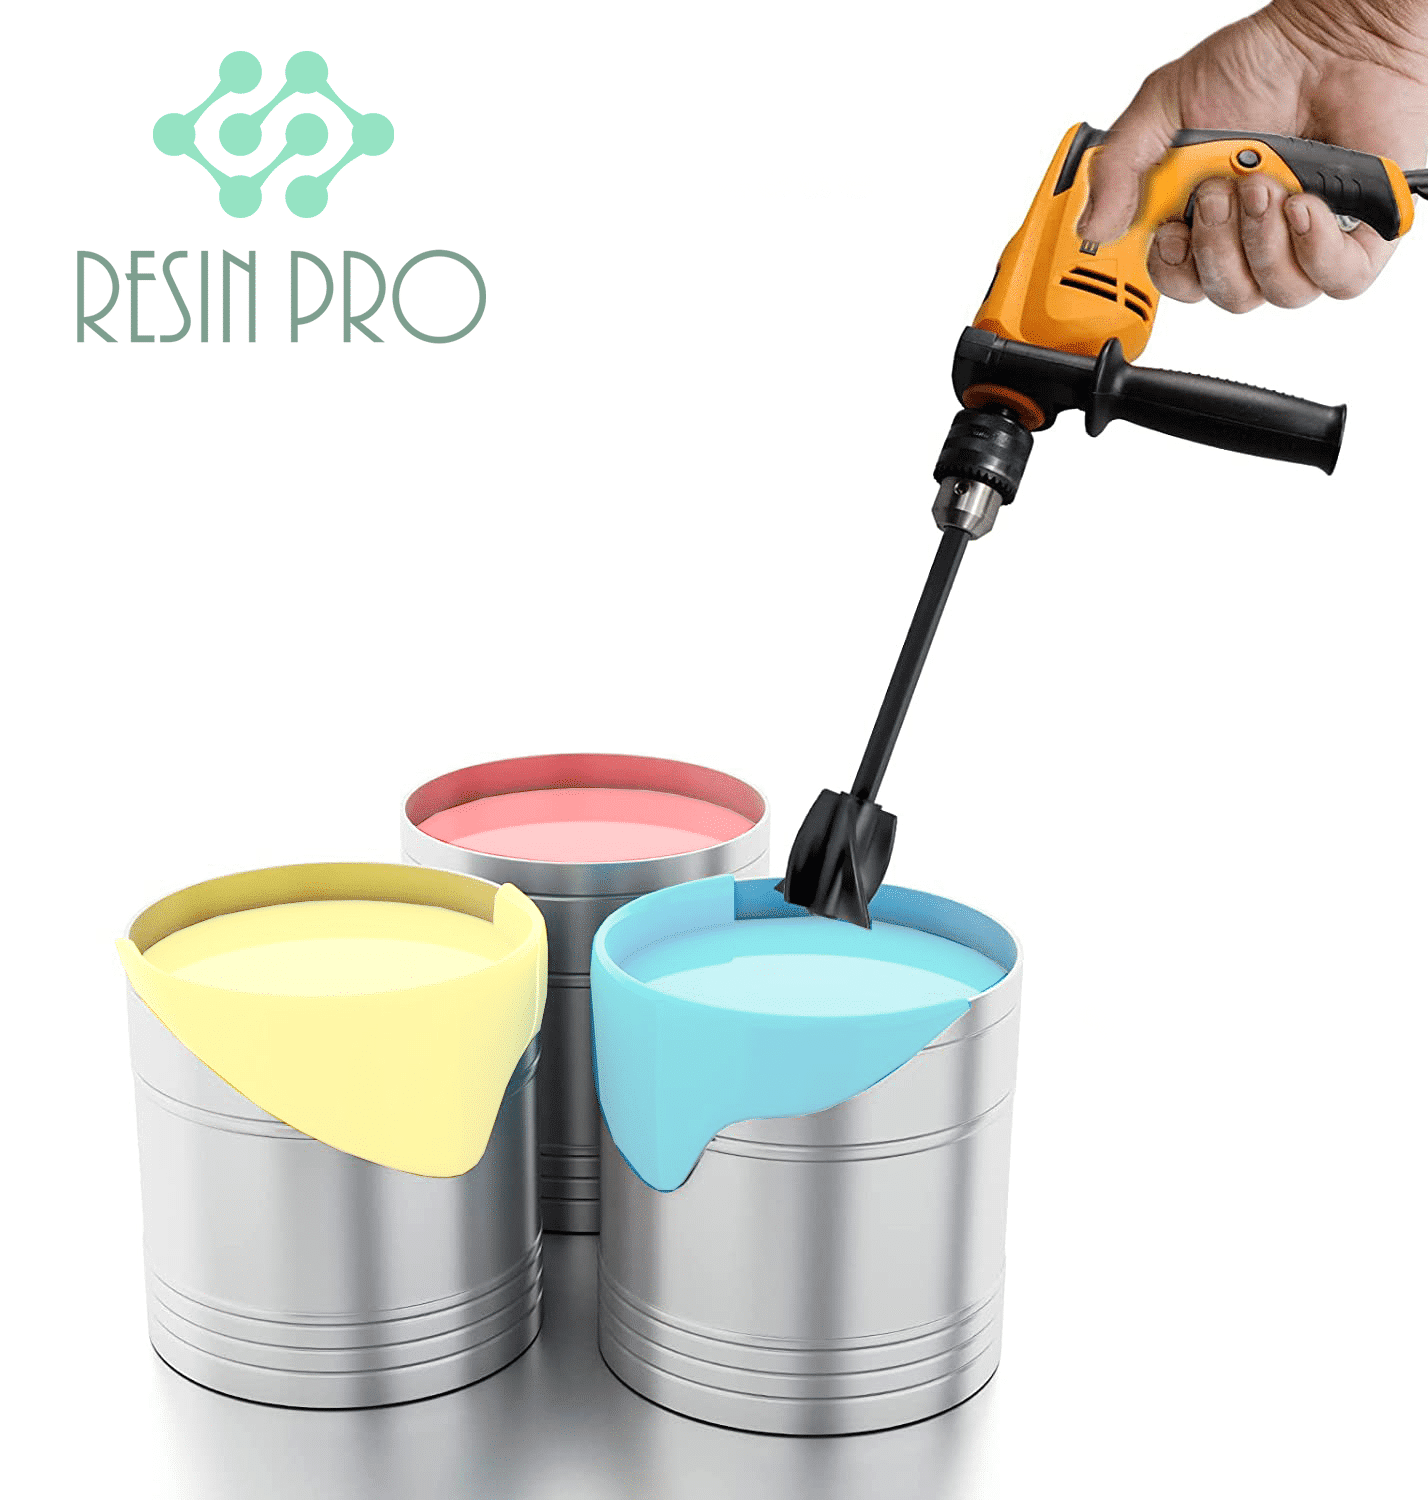
Visual Guide to Mixing Epoxy Resin Without Bubbles
Proper mixing technique is essential for bubble-free resin. Stir slowly and consistently, and always use the right spatula or tool for the job to achieve a flawless blend.

Step 1: Mix the Resin Gently and Thoroughly
The way you mix resin is critical for minimising trapped air. Combine the resin and hardener according to the manufacturer’s instructions, ensuring the exact mixing ratio. Mix the resin gently and thoroughly, scraping the sides and bottom of the mixing container. A slow, controlled motion prevents excessive air incorporation, unlike vigorous or fast stirring—one of the most common mistakes.
For even better results, use a dedicated tool like the Anti Bubble Mixer for Epoxy Resin – Reusable Mixing Tool, which is designed to gently combine resin components and minimise bubble formation.
Step 2: Allow Bubbles to Rise and Pop
After mixing, let the resin sit undisturbed for a few minutes to allow air bubbles to surface. Allow bubbles to rise and pop naturally; most bubbles will float to the top in this period. If necessary, gently exhale over the surface or use a heat gun on a low setting to help break residual bubbles—but avoid holding the heat too close or too long, as overheating can cause other issues.
Step 3: Pour Slowly in Thin Layers
When pouring the resin into your mould or onto your surface, pour slowly in thin layers and as close to the surface as possible. Thin layers allow bubbles to escape more easily and also help you catch imperfections before they cure. If using a pourable resin for coatings or shallow crafts, “Icrystal” – Clear Epoxy Resin – Odourless Formula – Up to 1.5cm is especially suited for such applications thanks to its self-levelling properties.

Step 4: Use Heat Carefully
To remove any last surface bubbles, a brief pass with a heat gun or torch can work wonders. Use heat carefully—wave the heat source quickly and evenly above the resin surface to avoid burning or overheating. This method is particularly helpful with thicker, slower-curing resins such as “Epoxytable 10-Ten” – Deep Pour Epoxy Resin for Tables, Up to 10cm Casting, as its low viscosity and long open time allow more bubbles to rise before curing.

Step 5: Protect Your Work from Dust
Dust particles can cause micro-bubbles or surface defects when they land on uncured resin. Protect your work from dust by using a cover (such as an inverted crate or box) for the entire curing period. Ensure your workspace is clean and free from sudden draughts or disturbances.
Tips and Troubleshooting: Achieving Bubble-Free Resin Results
Choose low-viscosity resin for deep pours, such as “Epoxytable 10-Ten”, which allows bubbles to escape more readily in thick castings. For detailed art, a higher viscosity resin like “Art Pro Deluxe” can reduce mixing turbulence when creating ocean, geode or swirl effects.
Never mix too vigorously and use room-temperature resin and hardener for easier blending. Avoid humidity and damp workspaces, as moisture can lead to cloudiness and tiny bubbles. Finally, patience is key: let each layer cure properly before adding the next.
Demonstrating Heat Gun Use for Surface Bubbles
Applying gentle heat to freshly poured resin helps release trapped air. Glide a heat gun in quick passes above the surface to pop any remaining bubbles for a flawless finish.

- Anti Bubble Mixer for Epoxy Resin – Reusable Mixing Tool£4.45The Anti Bubble Mixer is designed for epoxy resin projects to help avoid bubbles by gentle stirring and is reusable.
- "Icrystal" – Clear Epoxy Resin – Odourless Formula – Up to 1.5cmPrice range: £11.65 through £954.85Clear epoxy resin with odourless formula, designed for creative projects and surface coatings with a focus on transparency.
 "Art Pro Deluxe" – Ultra-High Viscosity Epoxy Resin for ArtistsPrice range: £33.85 through £287.85Art Pro Deluxe is an ultra-high viscosity epoxy resin suitable for defined resin art and glossy finishes.
 “Epoxytable 10-Ten” – Deep Pour Epoxy Resin for Tables, Up to 10cm CastingPrice range: £33.85 through £334.85“Epoxytable 10-Ten” is suitable for creating tables and deep pour resin castings up to 10cm with low viscosity for bubble reduction.
Frequently Asked Questions
Does my mixing technique affect resin bubbles?
Yes. Vigorous mixing introduces more air, whereas slow, thorough mixing keeps bubbles to a minimum.
Can I remove bubbles after pouring resin?
Yes. Use a heat gun or torch over the surface right after pouring to pop remaining bubbles before the resin cures.
Which type of resin is best for bubble-free results?
Low-viscosity resins are best for deep pours, while self-levelling, high-clarity formulas work well for art and coatings.
Can humidity cause bubbles in resin?
High humidity or moisture can cause bubbles and cloudiness in resin. Work in a dry, controlled environment for best results.
Does pouring in thin layers help reduce bubbles?
Yes. Thin layers make it easier for bubbles to rise and escape before the resin starts to cure.
How do I prevent dust contamination while resin cures?
Cover your project with a clean container or box and work in a tidy, calm environment to avoid dust and debris.