 Free shipping on orders over £29,85
 Shipping Tracking!



 Google
 Facebook
Can One Product Fix Leaks and Waterproof an RV Roof?
← Back to DIY RV roof waterproofing
Quick answer
Single-product RV roof leak repair is possible with reinforced polyester or polyurethane systems that bond and seal in one pass. These products fill cracks and create a waterproof membrane, but the result depends on roof material and surface preparation. On heavily weathered or flexing roofs, a two-step approach often lasts longer: first a structural repair or primer, then a dedicated waterproof topcoat. This combination reduces the chance of water re-entering through hairline movement or UV-aged areas.

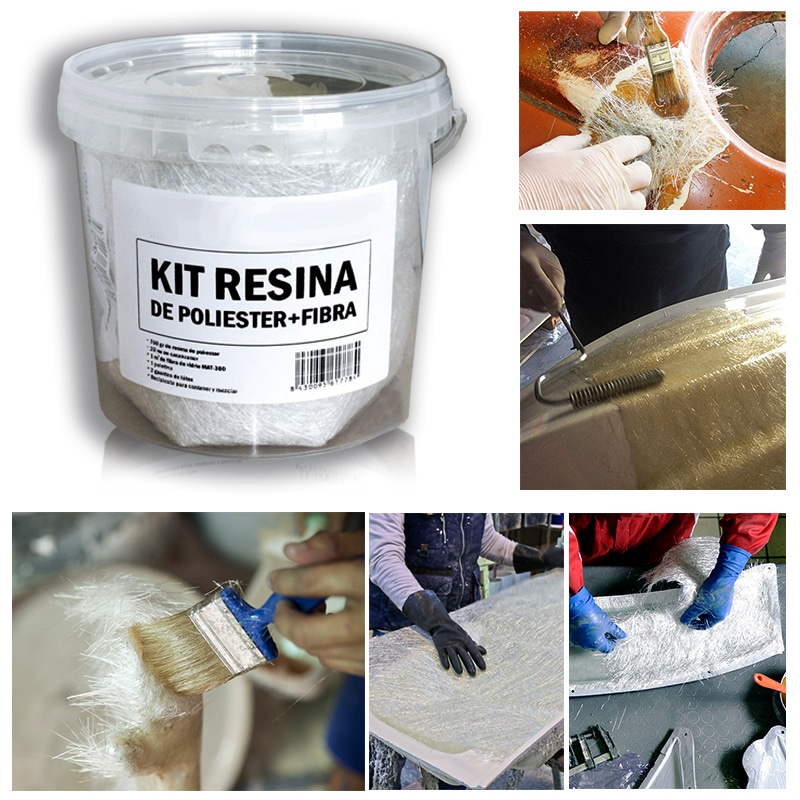
Plenty of DIYers want a single tin that stops the drip and seals the roof in one go. In practice, the answer comes down to the condition of the roof and the type of product you choose.
When a single repair product can do both jobs
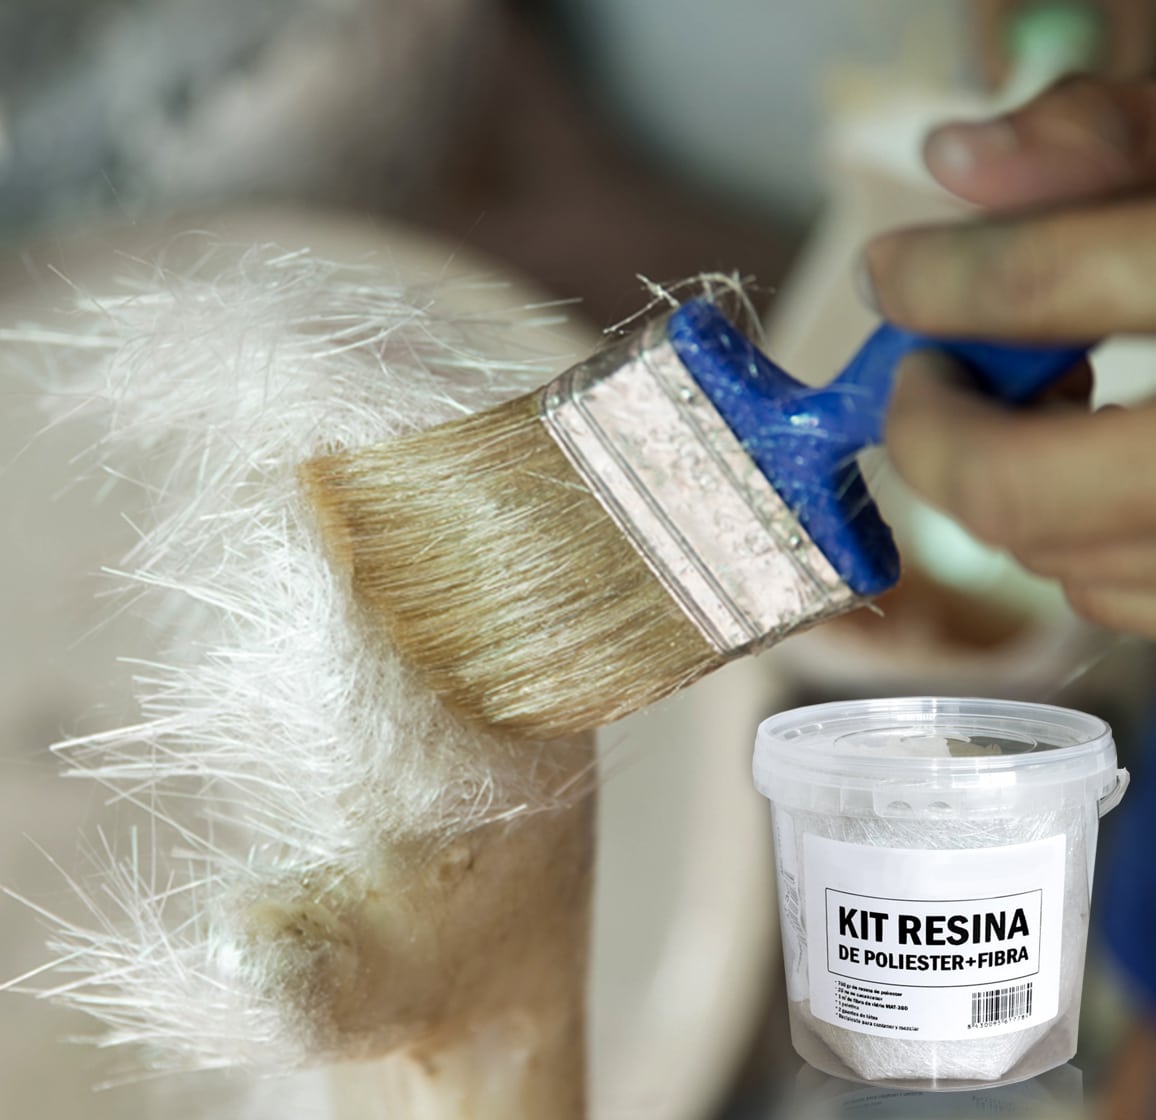
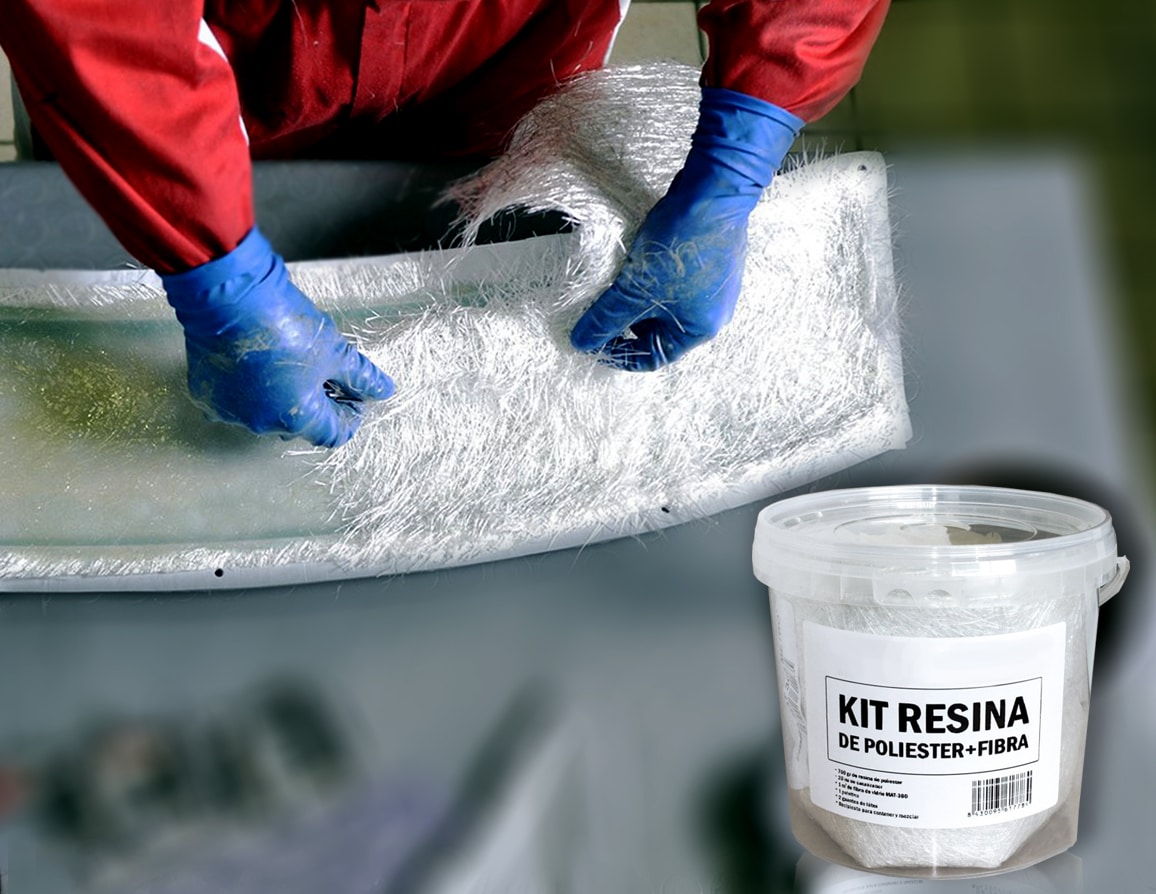
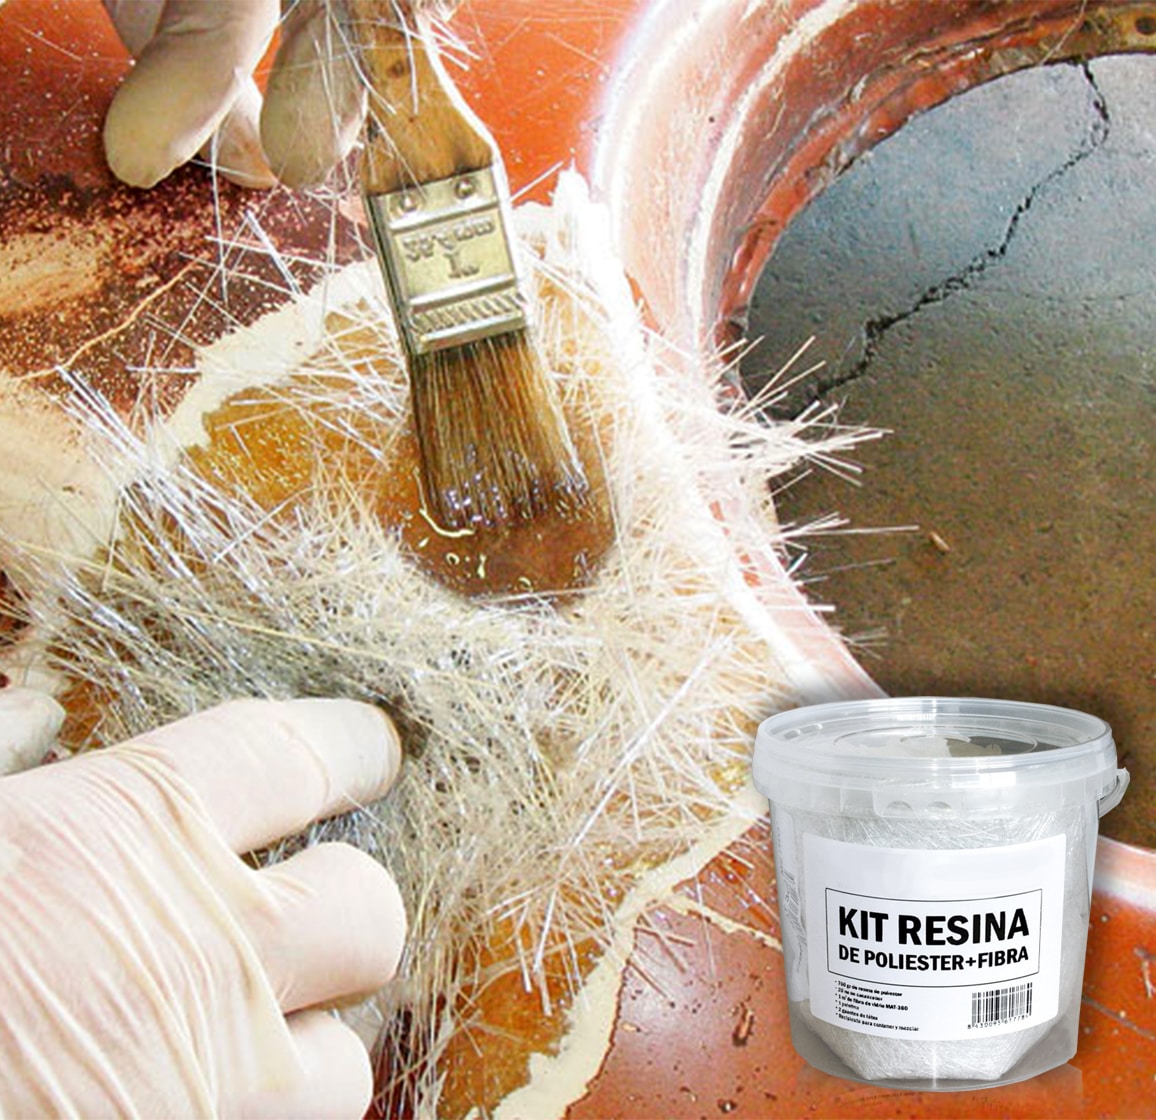
A reinforced repair system can seal and waterproof in one application when the damage is localised and the surrounding roof surface is still sound. The Resin Fibreglass Repair Kit is a practical example: its orthophthalic polyester resin soaks into the fibreglass mat and cures to a rigid, waterproof layer that closes cracks and small punctures.
This combined approach works best where:
- The roof deck is rigid and shows no widespread softening or delamination.
- Leaks are coming from discrete cracks, seams, or minor impact damage.
- The surface can be thoroughly cleaned, dried, and lightly abraded before application.
- The repair area will not be constantly flexing or walked on without protection.
Why a separate waterproof coating still helps
Even when a repair kit seals a leak, the cured patch can sit under direct UV, standing water, and repeated temperature movement. A polyurethane topcoat such as Prolux PU coating adds a weather-resistant layer over the repair and the surrounding roof. That extra layer can bridge hairline movement and reduce the chance of water finding a new path around the patch.
Consider a separate topcoat when:
- The roof is exposed to strong sun or regular ponding water.
- You want a consistent finish across the whole roof, not just the repaired area.
- The roof is occasionally walked on and would benefit from an anti-slip option.
- You are maintaining an older roof where future leaks are likely.
When a two-stage approach matters
A reliable DIY sequence is to repair first and protect second. Start by inspecting the roof and marking all cracks, lifted seams, and soft spots. Clean the area, remove loose material, and dry it completely. Apply the reinforced repair to restore structural strength and stop the immediate leak. Once cured, apply a compatible waterproof coating across the repaired zone and, if possible, the surrounding surface.
This two-stage approach means you are not relying on a single patch to do everything indefinitely. It is especially useful on older fibreglass or coated metal roofs where small failures can spread over time.
Related products
Related guides
Choosing between a one-pot fix and a repair-plus-coating system depends on the condition of the roof and how long you need the protection to last. For help with preparation, product selection, and step-by-step roof care, visit the DIY RV roof waterproofing guide.