 Free shipping on orders over £29,85
 Shipping Tracking!



 Google
 Facebook
Can Waterproofing Products Be Used for Interiors and Exteriors?
← Back to DIY motorhome waterproofing
Quick answer
Motorhome waterproofing products are often formulated for both interior and exterior surfaces, but suitability depends on the specific formulation and the surface being treated. Coatings, repair kits and fillers can work across different areas, yet each product has recommended uses, preparation requirements and curing conditions that should be checked on the label or technical sheet. Matching the product to the environment helps avoid premature failure.

If you are planning a DIY waterproofing job, the short answer is yes—many products can cross between interior and exterior use. The practical detail is in choosing the right type for the location and making sure surfaces are clean, dry and compatible before you start.
Interior vs exterior: what actually changes
Interior and exterior surfaces put different demands on a waterproofing product. Outside, panels and seams are more likely to face rain, UV exposure, temperature swings and standing water. Inside, moisture tends to come from condensation, shower areas or small leaks, and adhesion to tiles, plastics and painted surfaces becomes more important.
Because of this, a product that works well on an exterior roof edge may still be suitable indoors, but the preparation and drying conditions can differ. Always check whether the product data sheet lists your specific surface and environment.
Matching products to common interior and exterior jobs
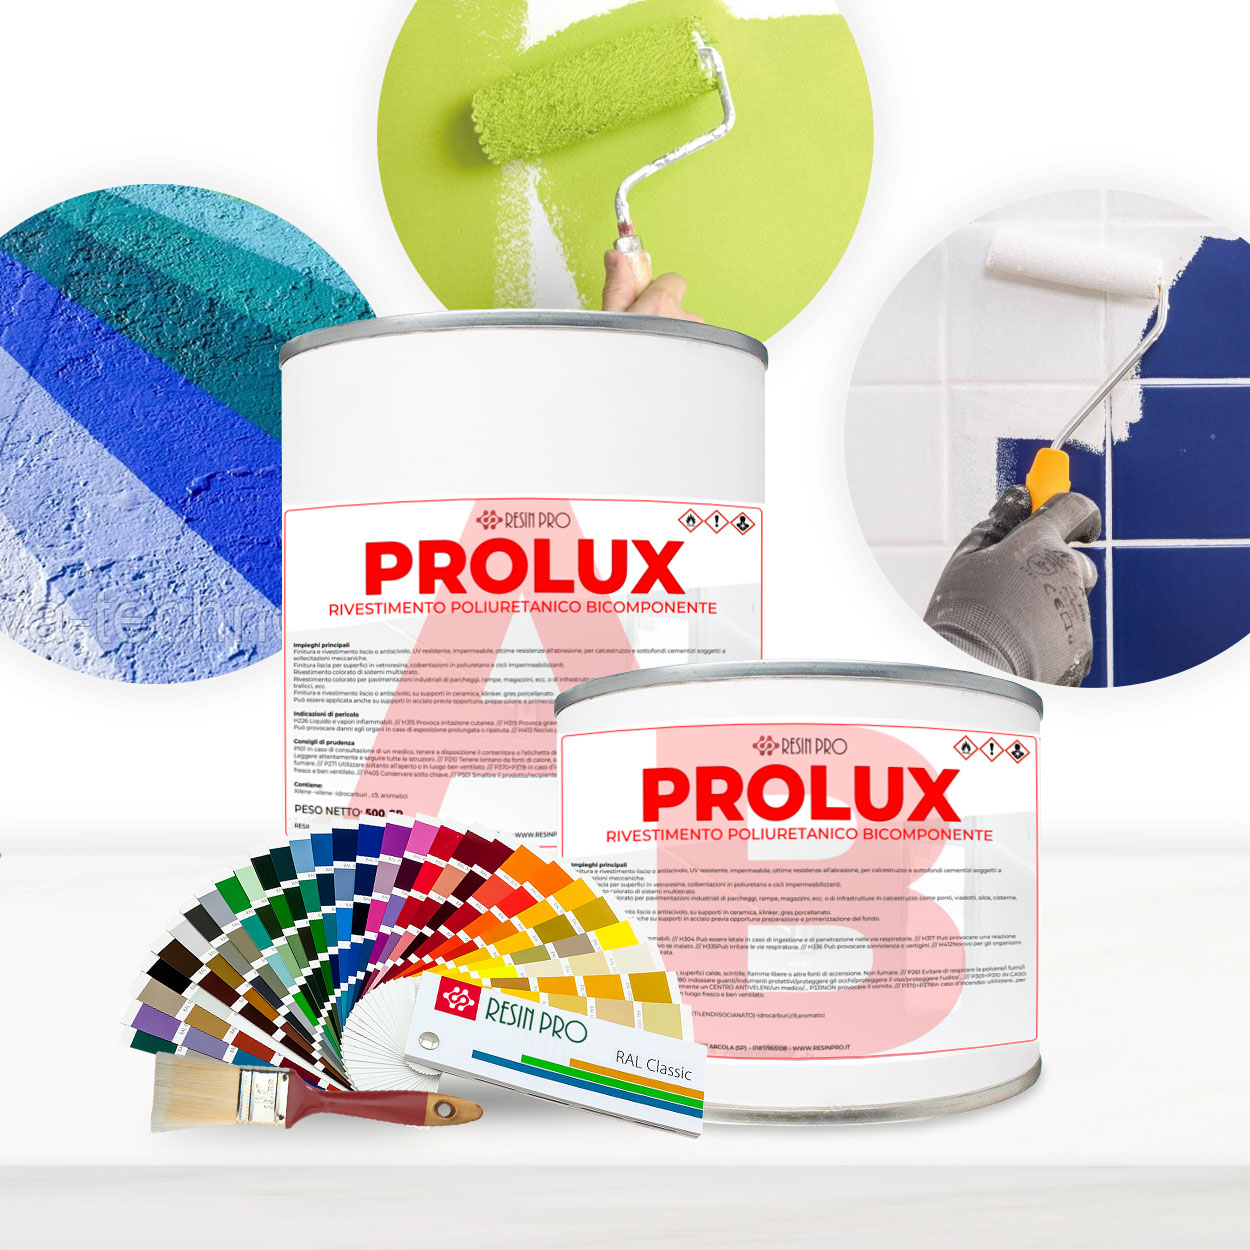
Some waterproofing systems are designed to work across both settings. For example, a two-component polyurethane coating like Prolux PU coating can be applied to tiles, concrete, plastic and prepared metal, and is described as resistant to UV, abrasion and weathering. That makes it a practical option for interior wet areas as well as exterior surfaces that need a protective finish.
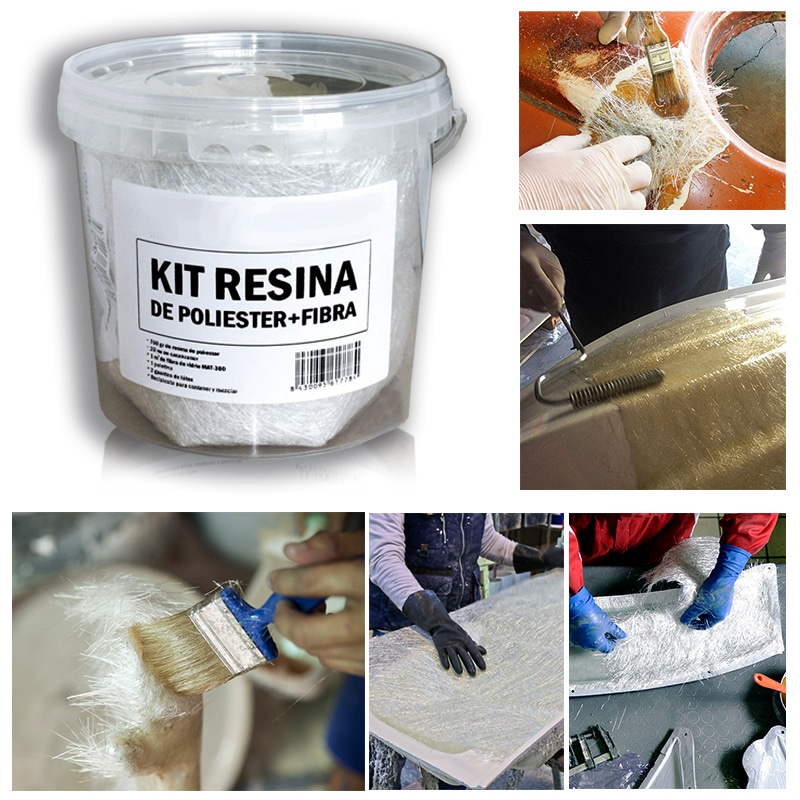
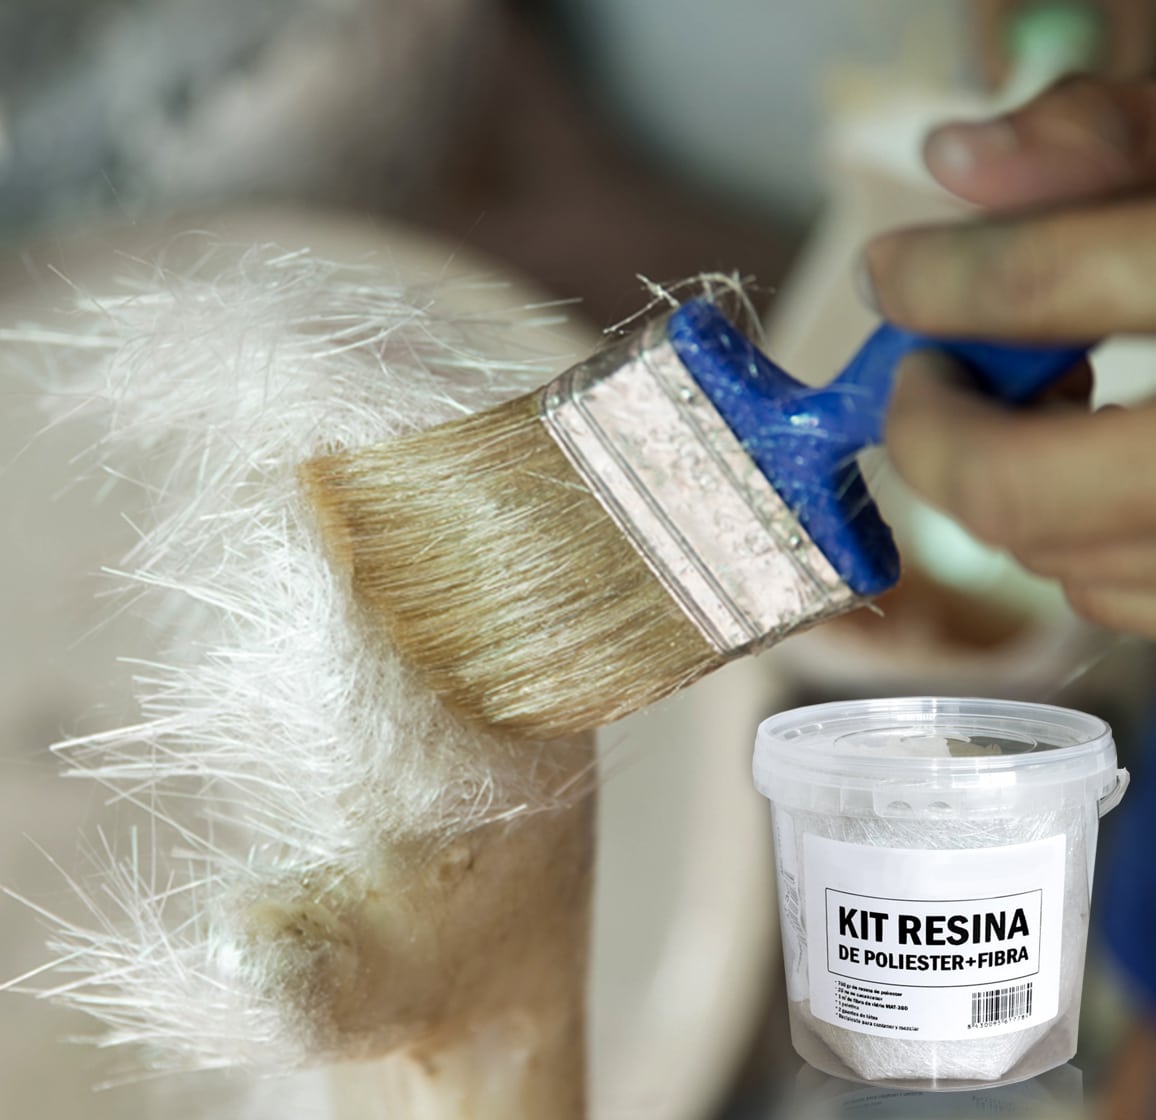
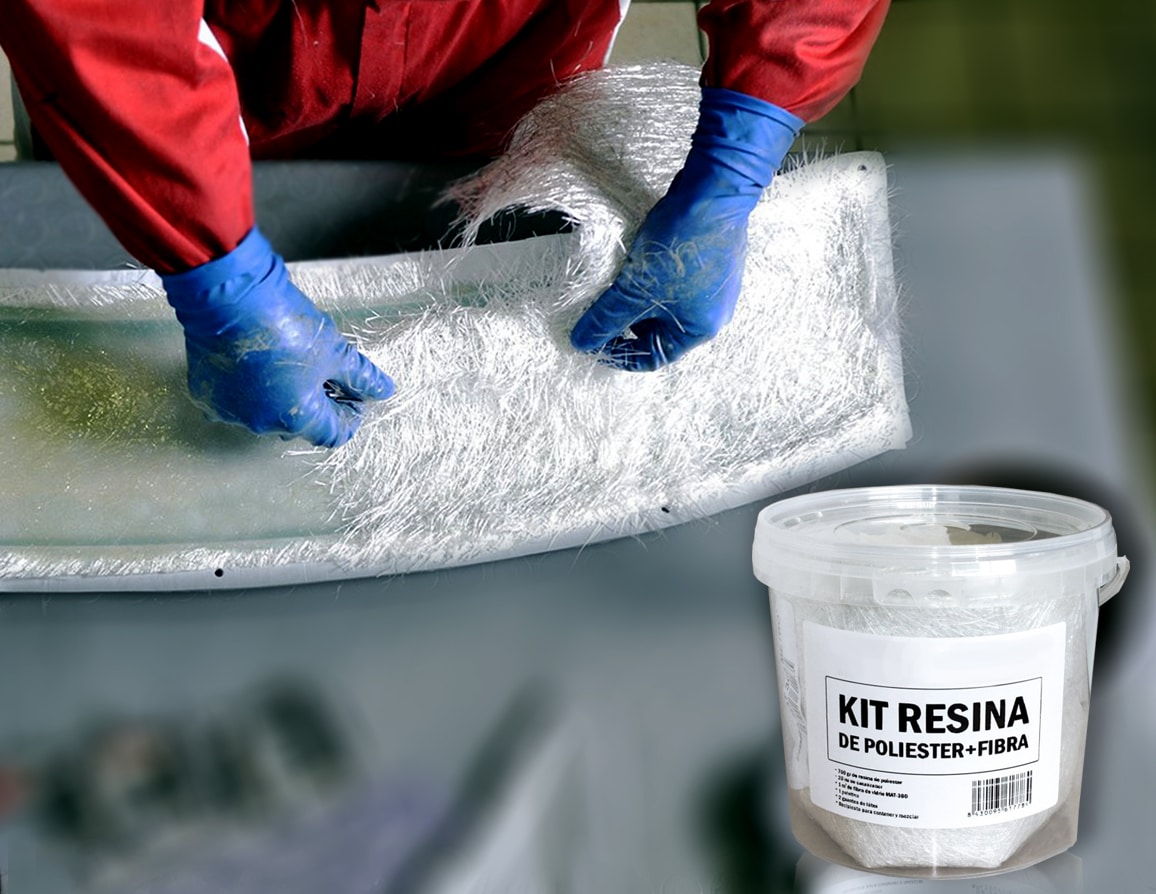
- Structural repairs: A fibreglass repair kit can bond rigid surfaces such as fibreglass, metal and wood, and is often used where a waterproof, impact-resistant repair is needed.
- Crack and dent filling: A fibreglass-reinforced putty is useful for filling deeper damage before sanding and painting, with moisture resistance suited to bodywork repairs.
- Protective coatings: Two-component PU systems offer a smooth finish for floors and tiles in damp or high-traffic areas.
When interior vs exterior suitability matters most
This decision matters most when you are repairing a motorhome area that spans both conditions, such as a rooflight surround, a shower tray edge or a storage locker floor. A product that is only rated for one environment may fail quickly if used in the other, so take the time to confirm the product’s stated scope.
- Check the label for your exact surface type and whether interior or exterior use is listed.
- Confirm the recommended temperature and humidity range, especially for epoxy or polyester systems that can be sensitive to damp or cold conditions.
- Use adequate ventilation and follow the product’s safe handling guidance in enclosed spaces.
- Test a small hidden area first when working on an unfamiliar material.
Related products
Related guides
Once you have matched the product to the area you are treating, the rest of the job comes down to careful preparation and realistic drying times. For more help with sealing seams, preparing surfaces and using the right repair materials, see the main DIY motorhome waterproofing guide.