 Free shipping on orders over £29,85
 Shipping Tracking!



 Google
 Facebook
Roof Resin Care: Preparation, Mixing and Ventilation
← Back to Quick Camper Roof Maintenance
Quick answer
Roof resin care involves three practical steps before and during application: cleaning and keying the surface, mixing resin and hardener in the correct ratio, and keeping the work area well ventilated. These steps reduce the risk of poor adhesion, incomplete curing, or fume build-up, and help a camper roof repair last longer. The exact requirements vary by product, so the manufacturer’s instructions should always take priority.

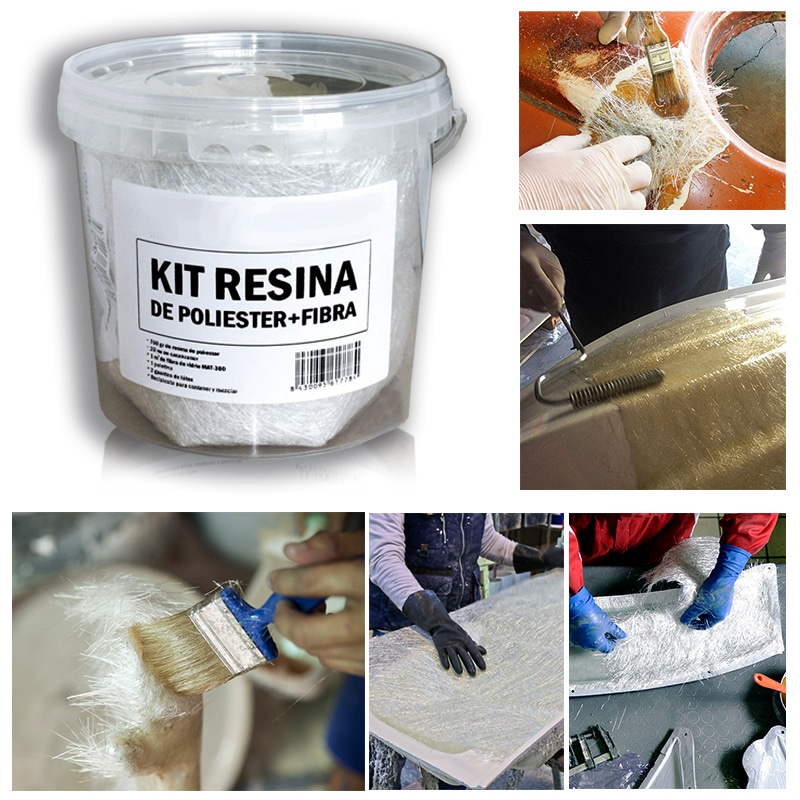
Camper roofs face constant temperature swings, sunlight and moisture, so care during resin application can make the difference between a quick patch and a lasting repair. A little extra preparation usually means fewer problems with adhesion and curing.
Surface preparation before applying roof resin
Most roof resin problems start beneath the resin, not in the resin itself. Remove loose material, flaking paint, dirt, grease and any old sealant that could stop the resin from bonding. For glossy or smooth surfaces, lightly abrading the area helps create a mechanical key. After sanding or scraping, wipe the surface down and make sure it is dry before mixing anything.
- Remove loose debris and old coatings that could interfere with adhesion.
- Lightly sand smooth or glossy areas to improve grip.
- Clean and dry the repair zone before mixing resin.
Correct mixing and working time
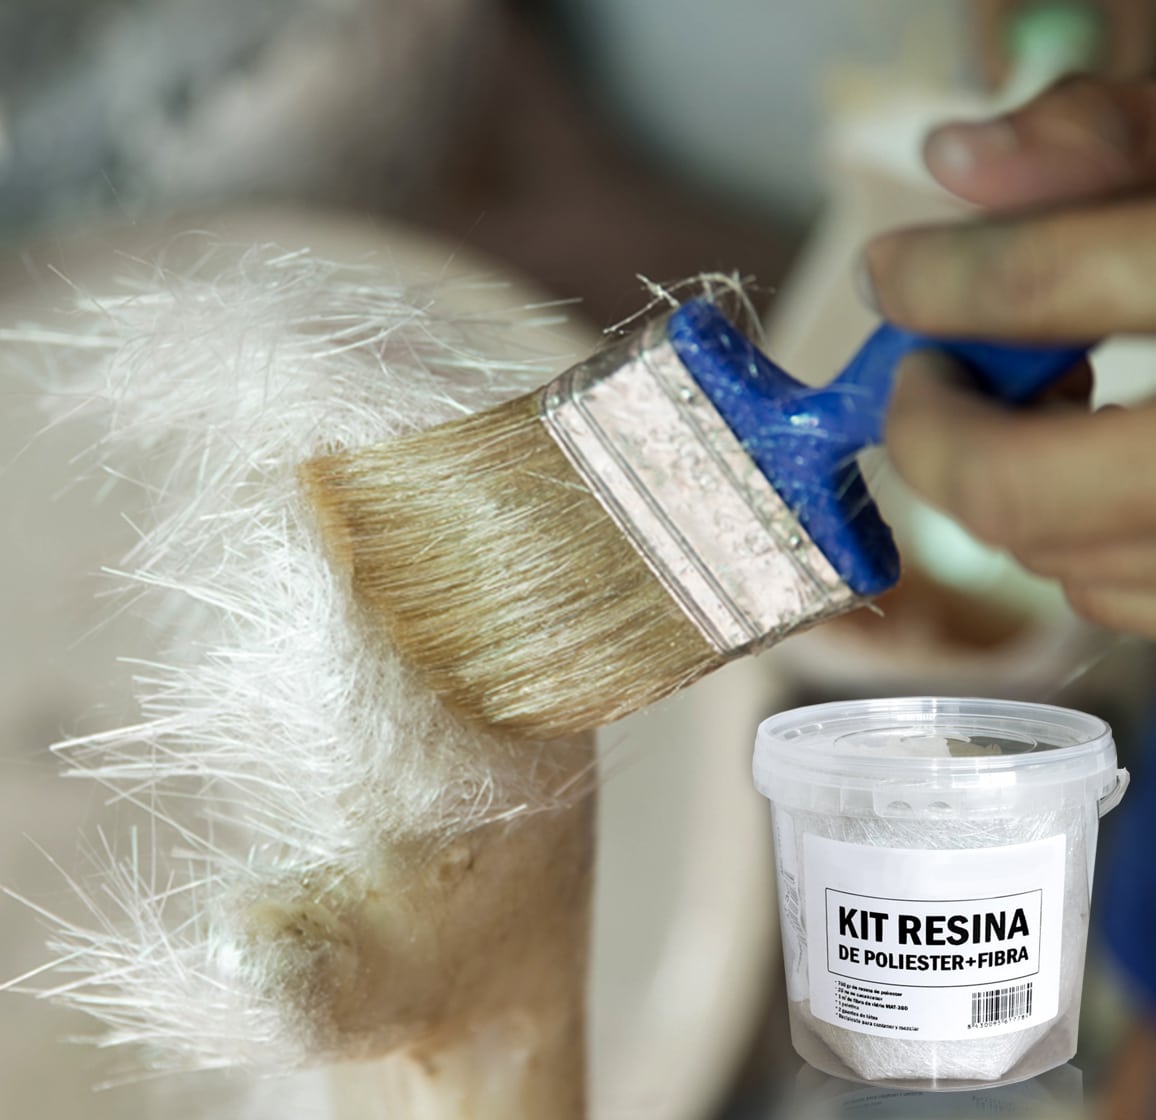
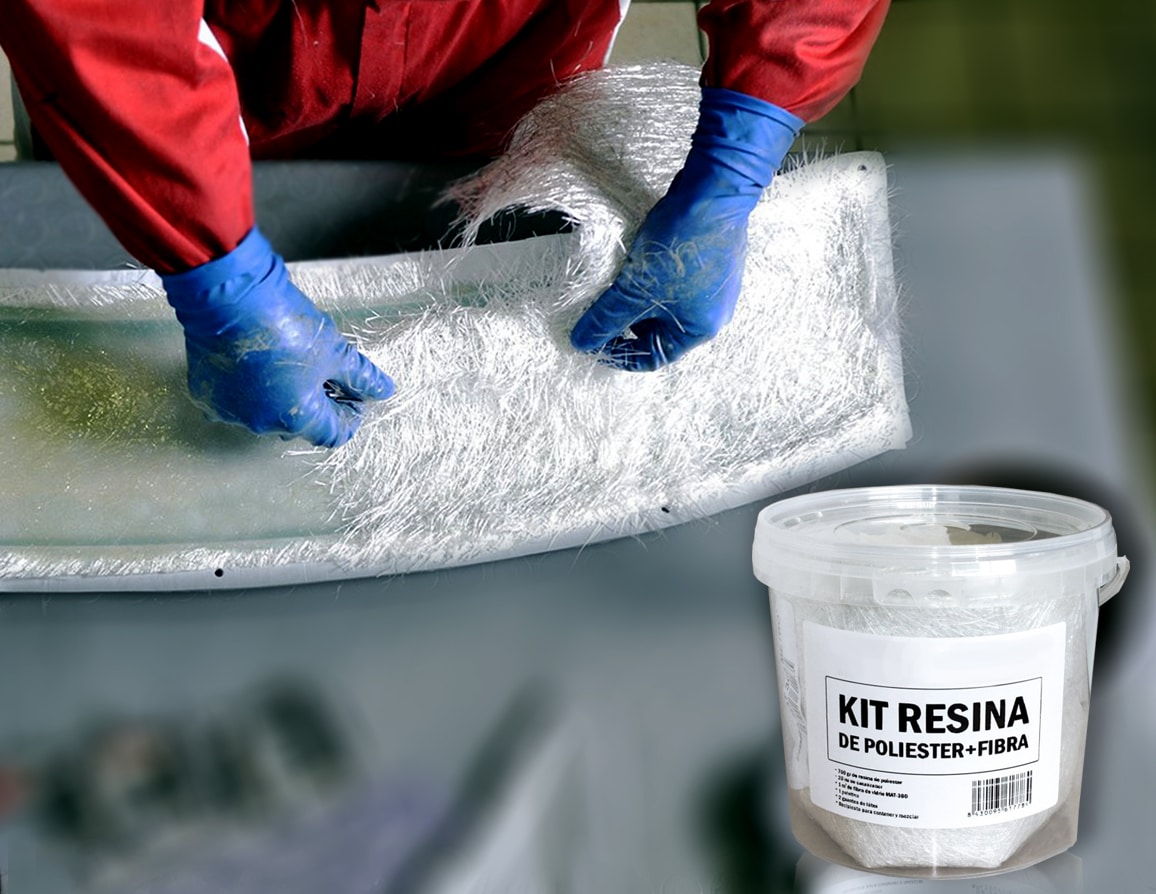
Roof resins are usually supplied as a resin component and a hardener. Follow the ratio stated on the product rather than guessing, because too little hardener can leave the repair tacky and too much can cause it to cure too quickly or become brittle. Mix only the amount you can apply within the working time, especially on a warm roof surface where curing may speed up.
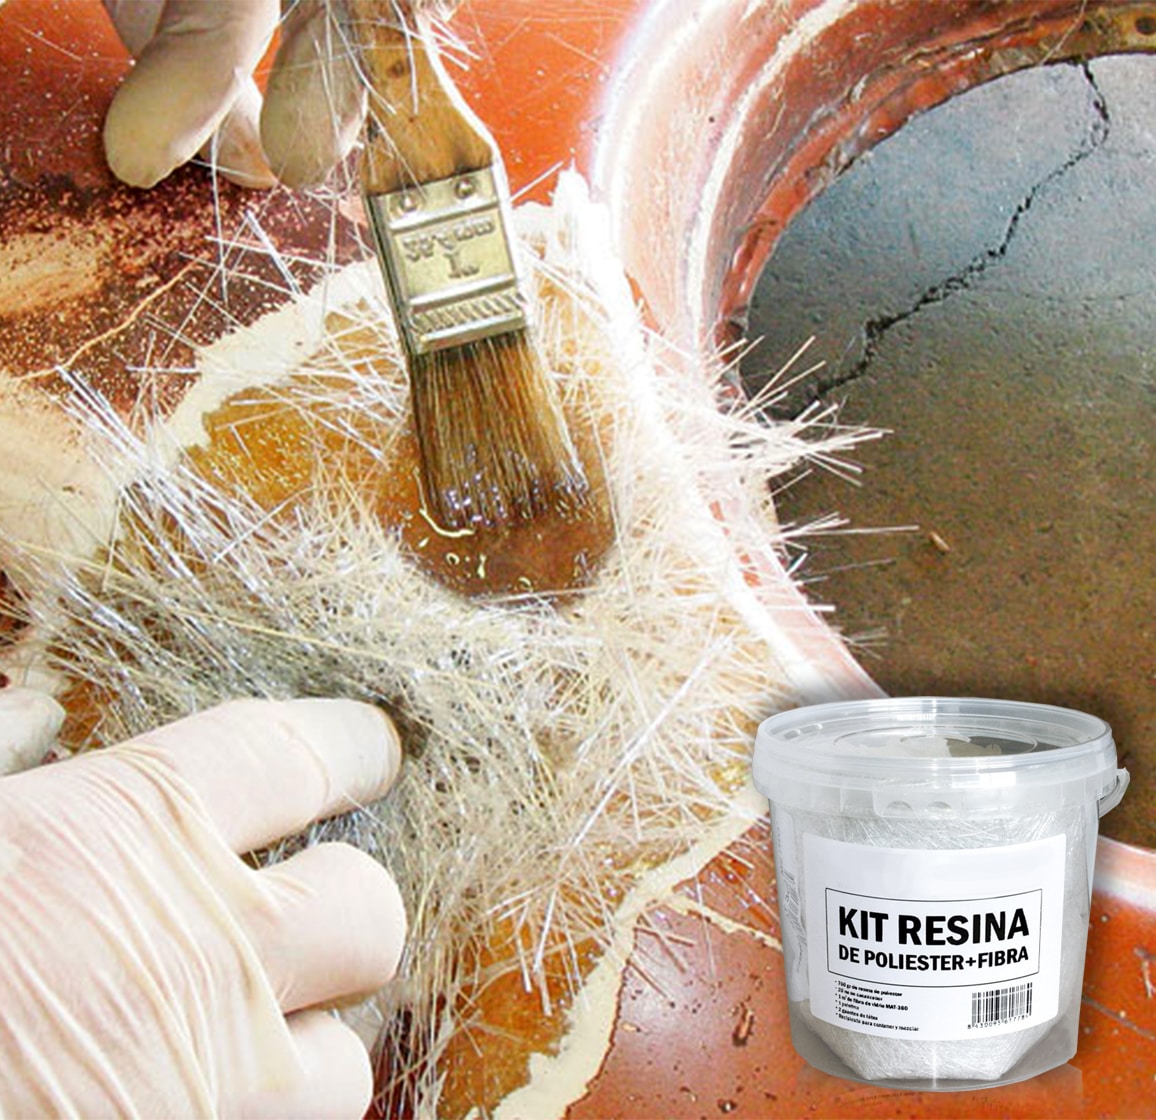
Many roof repair kits, such as the Resin Fibreglass Repair Kit, include the resin, hardener and application basics in one box, which can make mixing and cleanup more straightforward.
- Follow the manufacturer’s ratio for resin and hardener.
- Mix in small batches to avoid waste and rushed application.
- Be aware that heat on a roof can shorten pot life.
Ventilation and personal care on the roof
Resin products can give off strong vapours during mixing and curing, so work in open air where possible. Avoid leaning directly over the mixing container and keep the work area clear of anything that could cause ignition if the product data sheet calls for it. Wear suitable gloves and eye protection, and keep resin off your skin.
When this matters: enclosed or sheltered roof areas can trap fumes, so extra ventilation is important even if the repair seems small.
Related products
Related guides
Careful roof resin application supports the quicker maintenance routines covered in the quick camper roof maintenance guidance. Once the resin is mixed and applied in the right conditions, it is easier to get a durable result without redoing the job.