 Free shipping on orders over £29,85
 Shipping Tracking!



 Google
 Facebook
Epoxy resin: how to apply it
Quick answer
Epoxy resin is a two-part synthetic material prized for its high-gloss finish, strength, and versatility in casting, coating, and artistic projects. Proper application of epoxy involves careful surface preparation, precise measuring and mixing, controlled pouring, and attention to curing conditions to achieve a clear, durable, and bubble-free result. Used for tables, artwork, jewellery, and restoration, epoxy resin delivers a striking, long-lasting finish when handled with care and precision.


Your comprehensive guide to a smooth, professional resin application
Whether you are crafting bespoke tabletops, producing sparkling jewellery, or sealing an artwork, applying epoxy resin correctly is vital for a professional finish. This guide provides clear, step-by-step instructions from surface preparation to the final curing, emphasising best practices for safety, clarity, and durability.
What You’ll Need
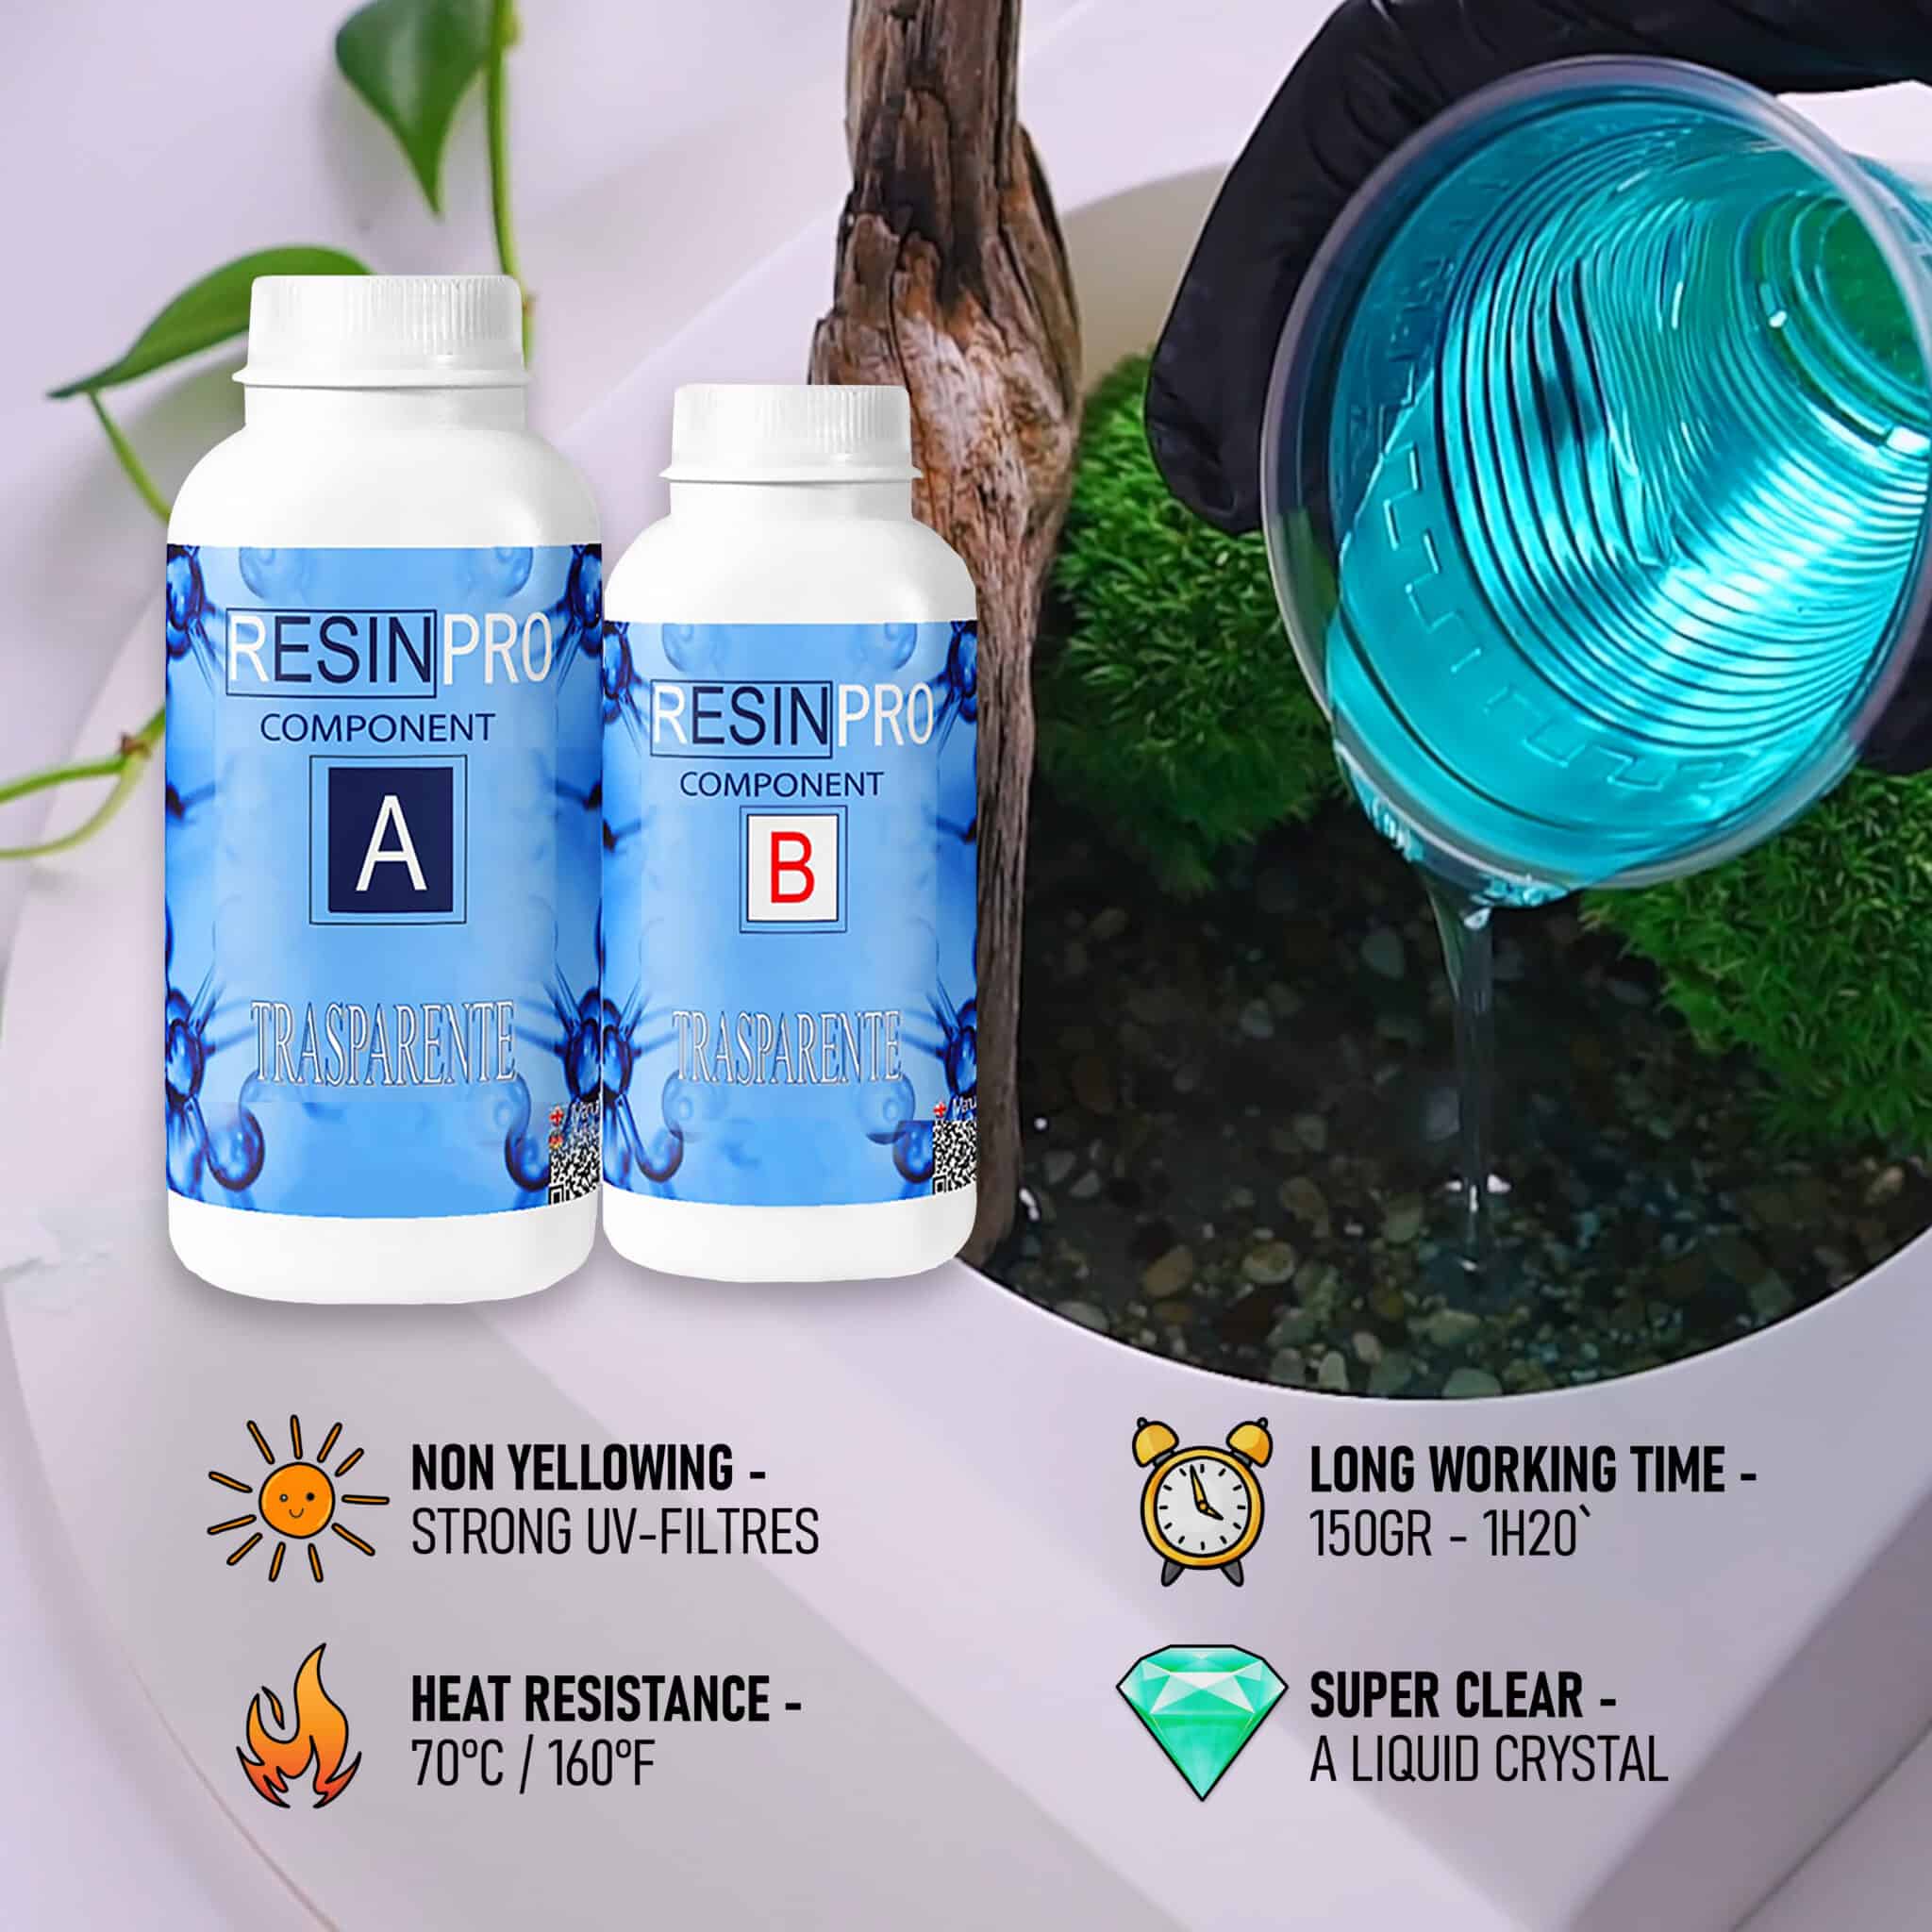
- “Trasparente” – Multipurpose Clear Epoxy Resin for Casting – Up to 2cm: For casting up to 2cm, ideal for detailed or smaller projects.
- “Epoxytable 10-Ten” – Deep Pour Epoxy Resin for Tables, Up to 10cm Casting: Suitable for large, thick-pour projects such as river tables.
- “EpoxyTable 5-Five” – Deep Pour Epoxy Resin for Tables and Large Projects – Up to 5cm: Preferred for mid-range pours in decorative and functional pieces.
- “One-2-One” – Epoxy Resin for Handcraft, 1:1 Mixing Ratio: A practical choice for crafts and jewellery with easy 1:1 mixing.
- Protective gloves and eye protection
- Accurate digital weighing scales or measuring cups (according to resin type)
- Mixing sticks or spatula
- Plastic sheeting or disposable coverings for your workspace
- Spirit level (for surfaces)

Workspace Preparation and Safety
Protective measures are essential when working with epoxy resin: Lay down plastic sheeting or disposable covers to save your workspace from spills and drips. Always use gloves, eye protection, and ensure the area is free of dust and potential contaminants. Good ventilation helps control fumes and keeps your environment safe.
Step 1: Prepare the Surface and Workspace
Protect your workspace with plastic sheeting or disposable covers to catch any drips. Place your project on a level surface; uneven setups can lead to spills or uneven coverage. Make sure the surface is clean, dry, and free from dust or grease—wipe thoroughly with a lint-free cloth and, if needed, a solvent suitable for your base material.
Always wear gloves and eye protection when mixing or pouring epoxy. Work in a well-ventilated space to minimise fume exposure and keep hair, clothing, and tools away from the resin area to avoid contamination. Prepare all your tools and materials in advance to ensure a smooth workflow.


Step 2: Accurately Measure and Mix Epoxy
Precision at this stage is critical. Ensure you measure components by either weight or volume according to your resin type. For example, “One-2-One” – Epoxy Resin for Handcraft, 1:1 Mixing Ratio is mixed by equal parts volume, simplifying accurate preparation for jewellery or crafts. Always follow the product’s specific instructions for the correct ratio.
Pour the resin and hardener into a clean mixing container. Use slow, deliberate mixing motions and scrape the sides and bottom thoroughly. Mix until the blend is completely uniform, typically for 2–3 minutes (or as per instructions). Insufficient or rushed mixing is the top cause of soft spots or incomplete curing.
Step 3: Pour the Epoxy Resin Evenly
After thorough mixing, pour the resin immediately to avoid premature hardening in the mixing container. Pour the epoxy in a thin, even layer to minimise the risk of bubbles or overheating. For deeper pours, such as those using “EpoxyTable 5-Five” – Deep Pour Epoxy Resin for Tables and Large Projects – Up to 5cm, Work in several layers and allow each to partially cure before adding the next if your project exceeds the recommended single-pour depth.
Use a spreader or spatula for coatings. For bubbles, lightly pass a heat gun or torch above the surface—do not linger, as overheating may cause issues. For river tables or castings with “Epoxytable 10-Ten”, low exothermic reaction formulas help avoid overheating even in thicker pours, but take care not to exceed maximum layer guidance.

Step 4: Allow Resin to Cure Safely
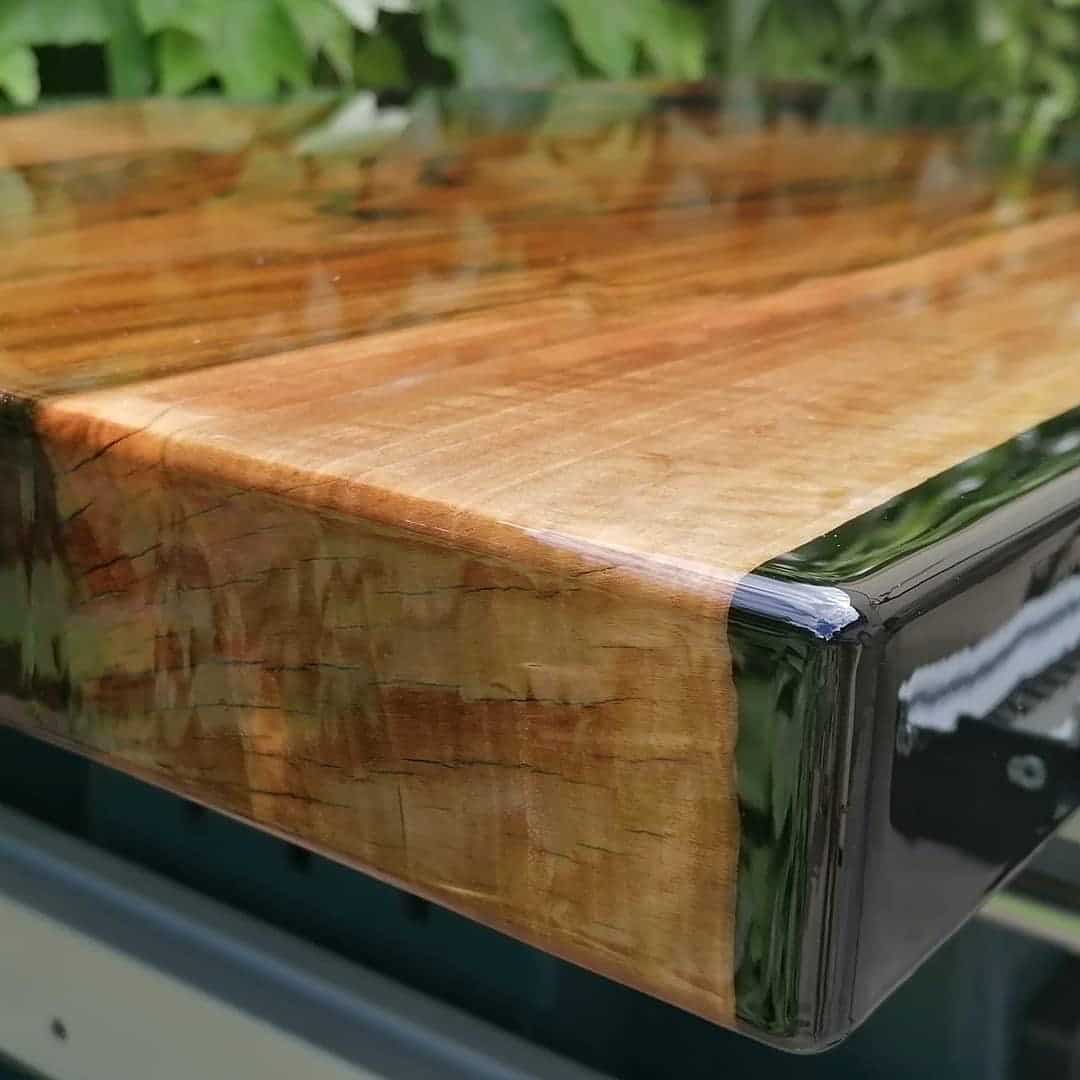
Allow your resin to cure undisturbed for the time specified by the manufacturer. Cover the project to protect from dust or debris. Temperature and humidity play a significant part: cure at recommended room temperatures and avoid working in damp conditions. Premature handling or environmental fluctuations can disrupt the finish.
Check the product instructions of your chosen resin—full cure may take from 24 to 72 hours depending on the formulation. Avoid moving or sanding until completely set for optimal clarity and durability.
Tips for Success and Common Mistakes
Store and mix resin at room temperature for optimal flow. Avoid introducing moisture or using damp tools as this can cloud the finish. Always use new or scrupulously clean containers for mixing.
Common mistakes include using the wrong resin depth (leading to overheating), imprecise measurements, and rushing the curing phase. If layering, allow each pour to reach the recommended stage before proceeding. Patience results in the best clarity and strength.

Advanced Application and Finishing Touches
Achieving a professional epoxy finish relies on careful technique: Pour in recommended layer depths, allow layers to cure undisturbed, and gently remove bubbles using heat if necessary. If polishing or sanding after curing, always begin with a fine grit and clean thoroughly between steps for optimal gloss and clarity.

- "Trasparente" – Multipurpose Clear Epoxy Resin for Casting – Up to 2cmPrice range: £8.95 through £397.95"Trasparente" is a transparent multipurpose epoxy resin delivering a glossy, self-levelling finish suitable for casting up to 2cm layers.
- “Epoxytable 10-Ten” – Deep Pour Epoxy Resin for Tables, Up to 10cm CastingPrice range: £35.95 through £351.95Epoxytable 10-Ten is designed for creating tables with super-deep castings up to 10cm and offers features suited for detailed epoxy resin…
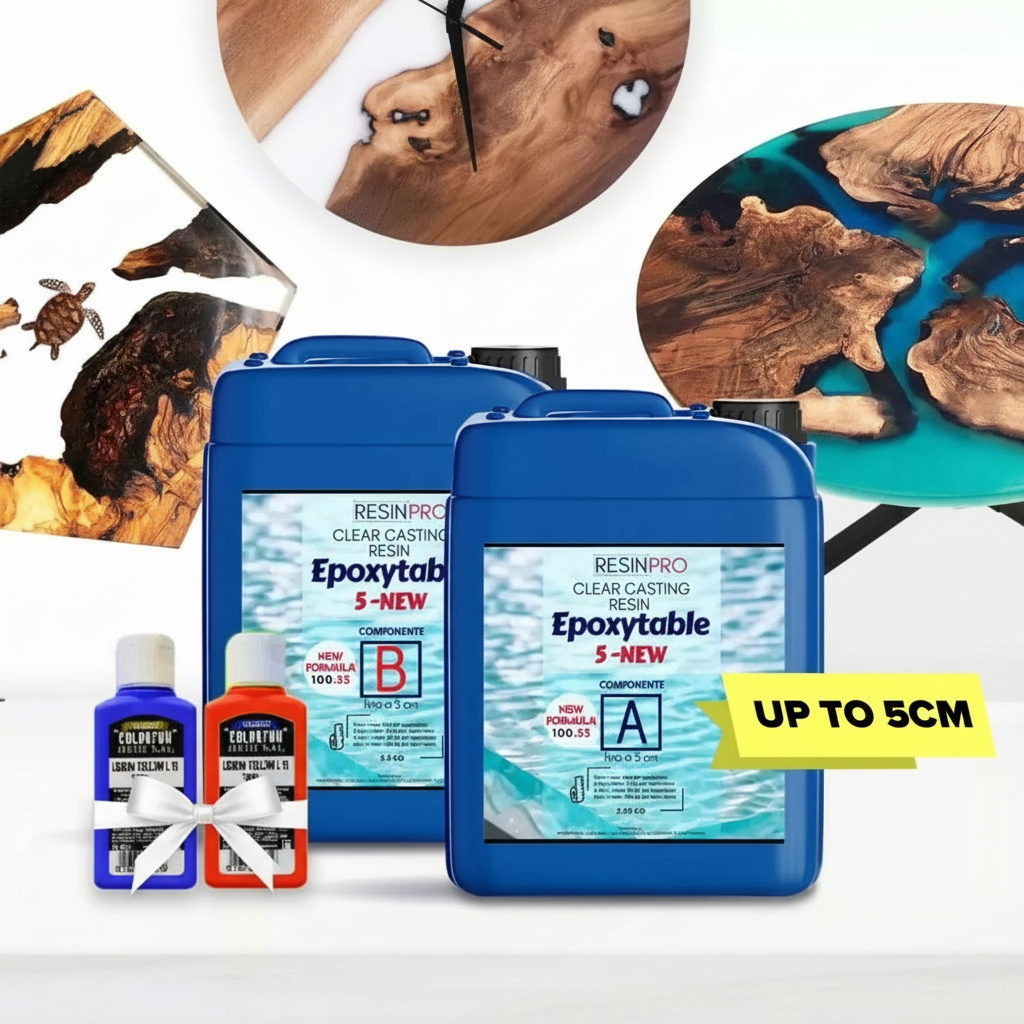 "EpoxyTable 5-Five" – Deep Pour Epoxy Resin for Tables and Large Projects – Up to 5cmPrice range: £17.95 through £1,154.95"EpoxyTable 5-Five" is suitable for deep pours up to 5cm, offering UV resistance and a scratch-resistant finish for tables and large projects.
 "One-2-One" – Epoxy Resin for Handcraft, 1:1 Mixing RatioPrice range: £15.95 through £59.95"One-2-One" epoxy resin offers a medium viscosity and a 1:1 mixing ratio for safe, clear handcraft projects.
Frequently Asked Questions
How long does epoxy resin take to cure?
Curing typically takes 24 to 72 hours depending on resin formulation and conditions. Always refer to your product’s instructions for exact timing.
How can I avoid bubbles when applying epoxy resin?
Mix slowly, pour in thin layers, and use a heat gun or torch to remove bubbles from the surface soon after pouring.
What safety precautions should I follow when using epoxy resin?
Wear gloves and eye protection, work in a ventilated space, and prevent skin or eye contact with uncured resin or hardener.
What happens if I mix epoxy resin incorrectly?
Inaccurate mixing ratios or insufficient blending will lead to sticky, soft, or weak spots and possibly incomplete curing.
When do I need to layer epoxy resin pours?
Layer when your project exceeds the recommended maximum pour depth. Allow partial curing between each layer for best results.
Can I sand or polish cured epoxy resin?
Yes, once fully cured, you can sand with fine grit and polish for a smooth, glossy finish. Clean between steps to avoid scratches.
How should I store mixed or unused epoxy?
Use freshly mixed epoxy immediately. Store unmixed resin and hardener tightly sealed in a cool, dry place, away from sunlight.