 Free shipping on orders over £29,85
 Shipping Tracking!



 Google
 Facebook
How can I remove air bubbles from epoxy resin?
Practical steps to achieve crystal-clear epoxy resin results

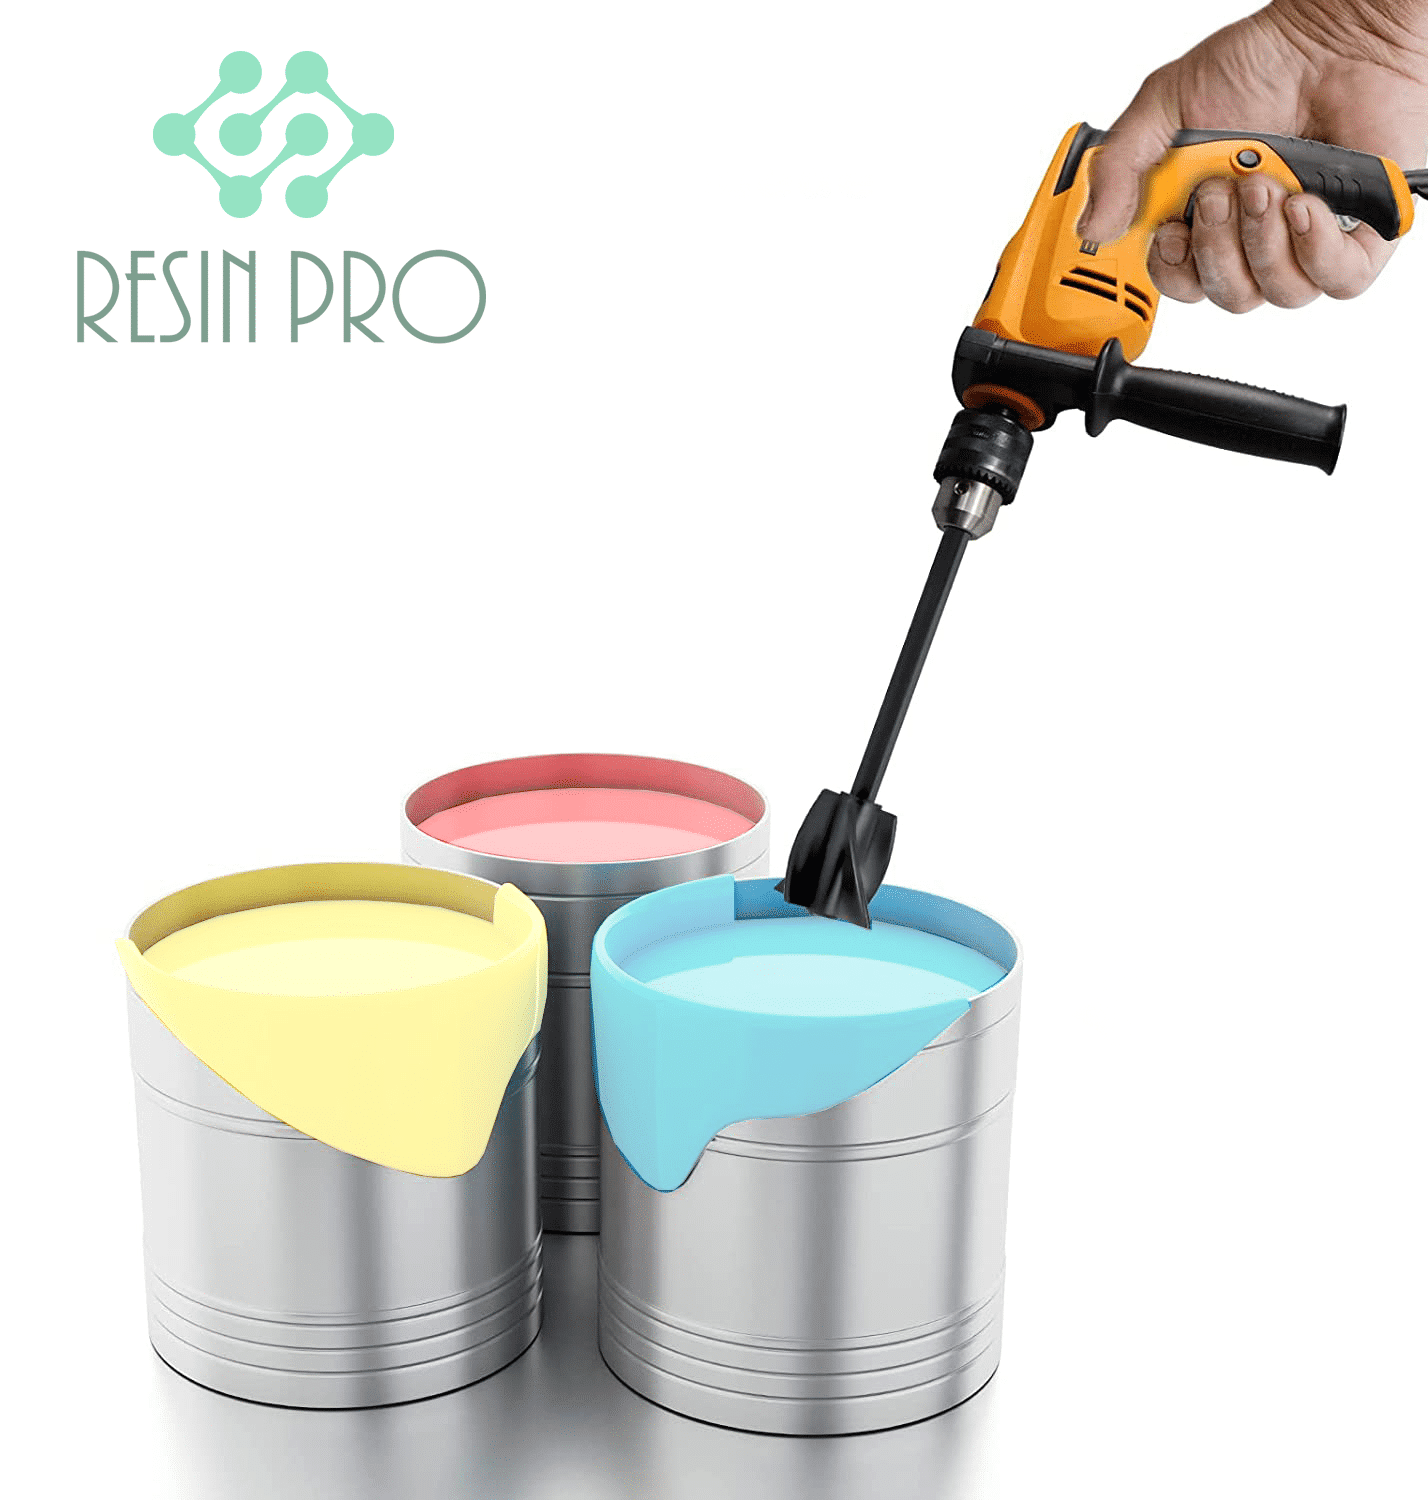
Achieving a flawless, glass-like finish with epoxy resin can be challenging when pesky air bubbles surface within your work. This guide explains tried and tested methods for eliminating bubbles from epoxy resin, helping you create professional-quality results every time. Whether you are a hobbyist or an experienced resin artist, you’ll find practical steps and tips tailored for bubble-free finishes.
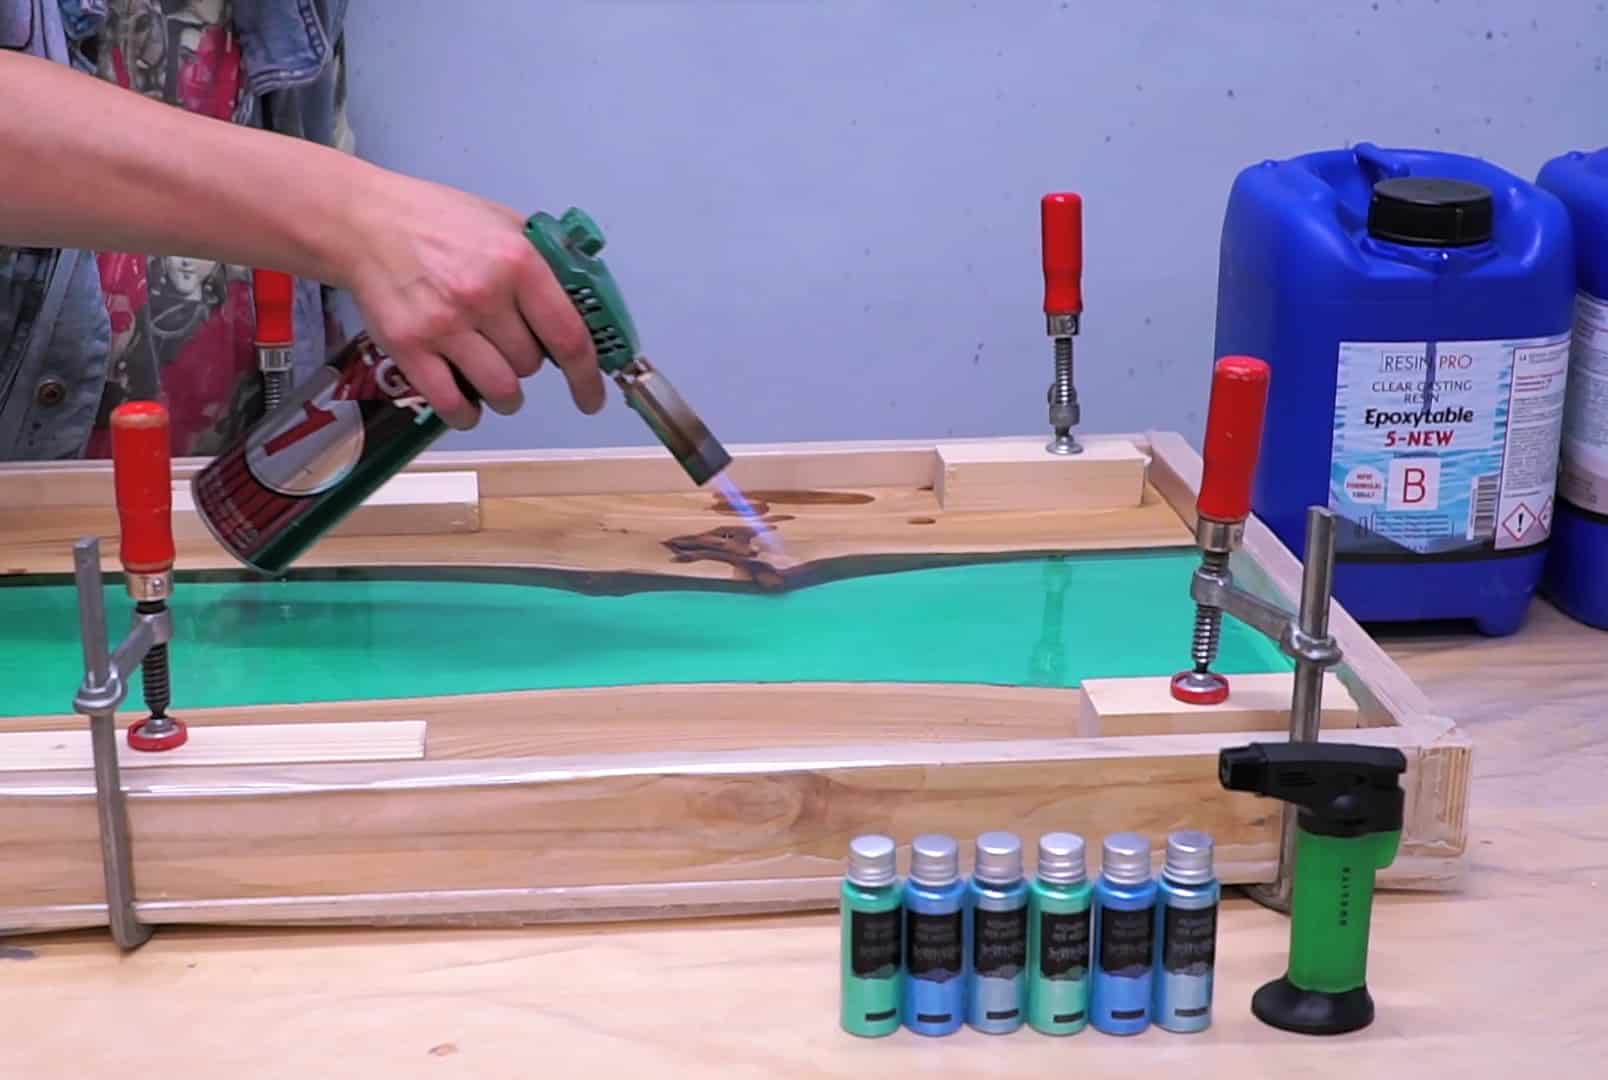
What You’ll Need
- Anti Bubble Mixer for Epoxy Resin – Reusable Mixing Tool: A mixing tool designed to reduce bubble formation in epoxy resin applications.
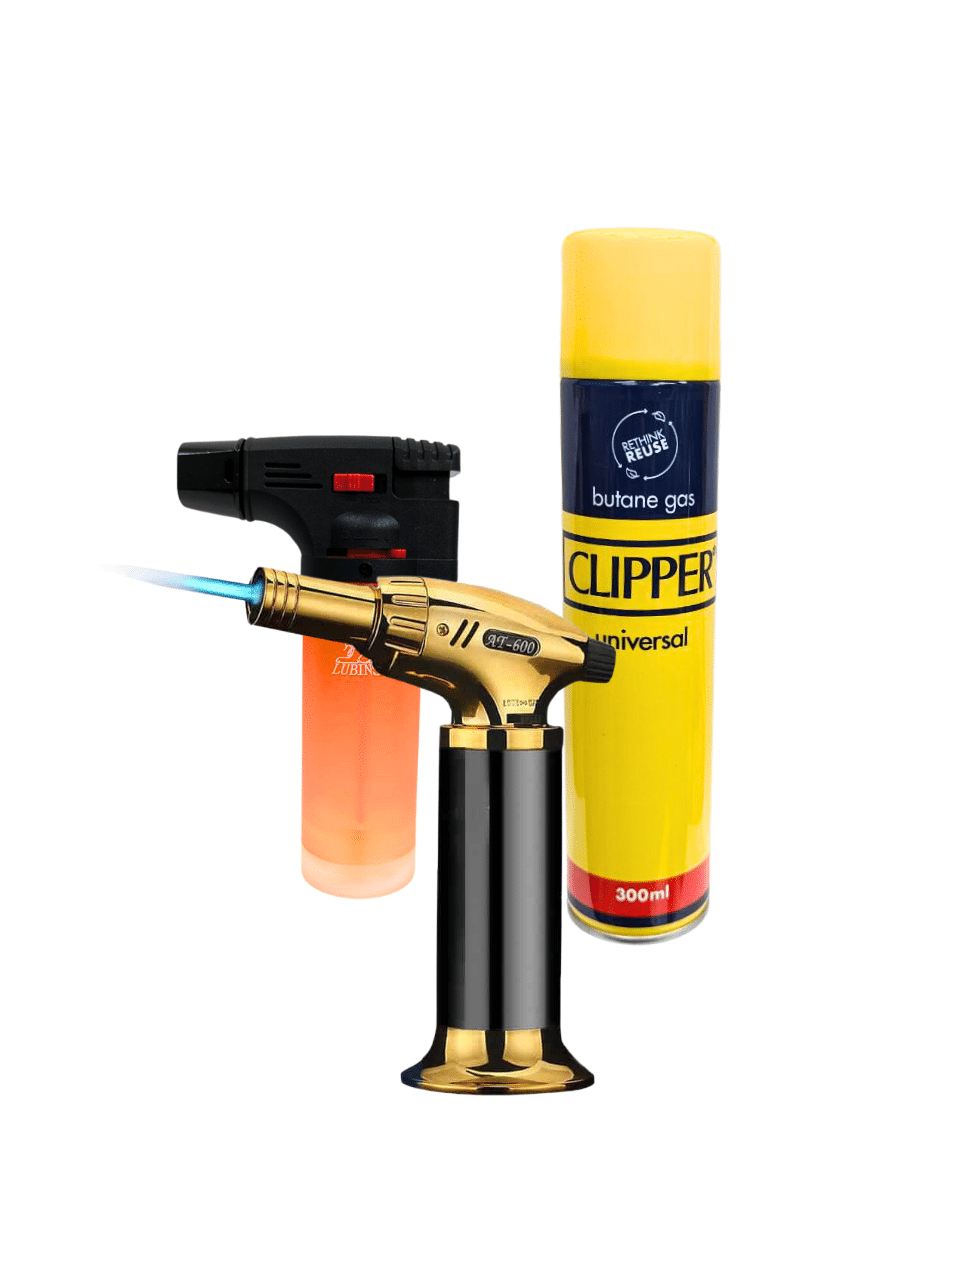
- Gas Heat Gun for Epoxy Resin – Precision Tool for Bubble Removal and Finishing: A precision heating tool for refining resin surfaces and releasing trapped air.
- Pure Isopropyl Alcohol 99.9% – 1000ml Bottle for Epoxy Resin Projects & DIY: Ideal for eliminating bubble clusters and smoothing the finish.
- Disposable gloves and suitable mixing containers
- Cotton swabs or paper towels (for clean-up)
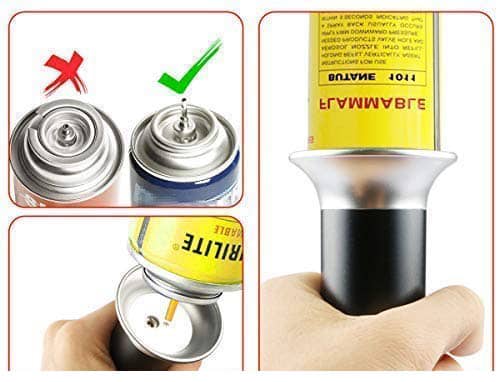
Visual Guide: Minimising and Eliminating Resin Bubbles
View step-by-step images demonstrating correct mixing technique, optimal resting period, and safe use of heat and isopropyl alcohol for a flawless finish.
Step 1: Stir Slowly to Minimise Trapped Air
Most air bubbles are introduced during the mixing process. Stir slowly to minimise trapped air—a deliberate, gentle mixing action reduces turbulence that pulls air into your resin. Be sure to scrape the sides and bottom of your mixing vessel thoroughly to ensure even incorporation. Quick or vigorous stirring is a common mistake, often resulting in cloudy, bubble-filled resin.
For best results, use the Anti Bubble Mixer for Epoxy Resin – Reusable Mixing Tool, which is specially designed to blend resin and hardener smoothly without excessive agitation, further limiting bubble formation.

Step 2: Allow the Resin to Rest Before Pouring
Once thoroughly mixed, allow the resin to rest before pouring. Set your container aside for 2–5 minutes. This pause lets smaller bubbles rise naturally to the surface, where many will burst on their own. Avoid disturbing the mixture during this time. Skipping this wait often traps bubbles in your final piece, so patience pays off.
Step 3: Use Gentle Heat to Release Bubbles
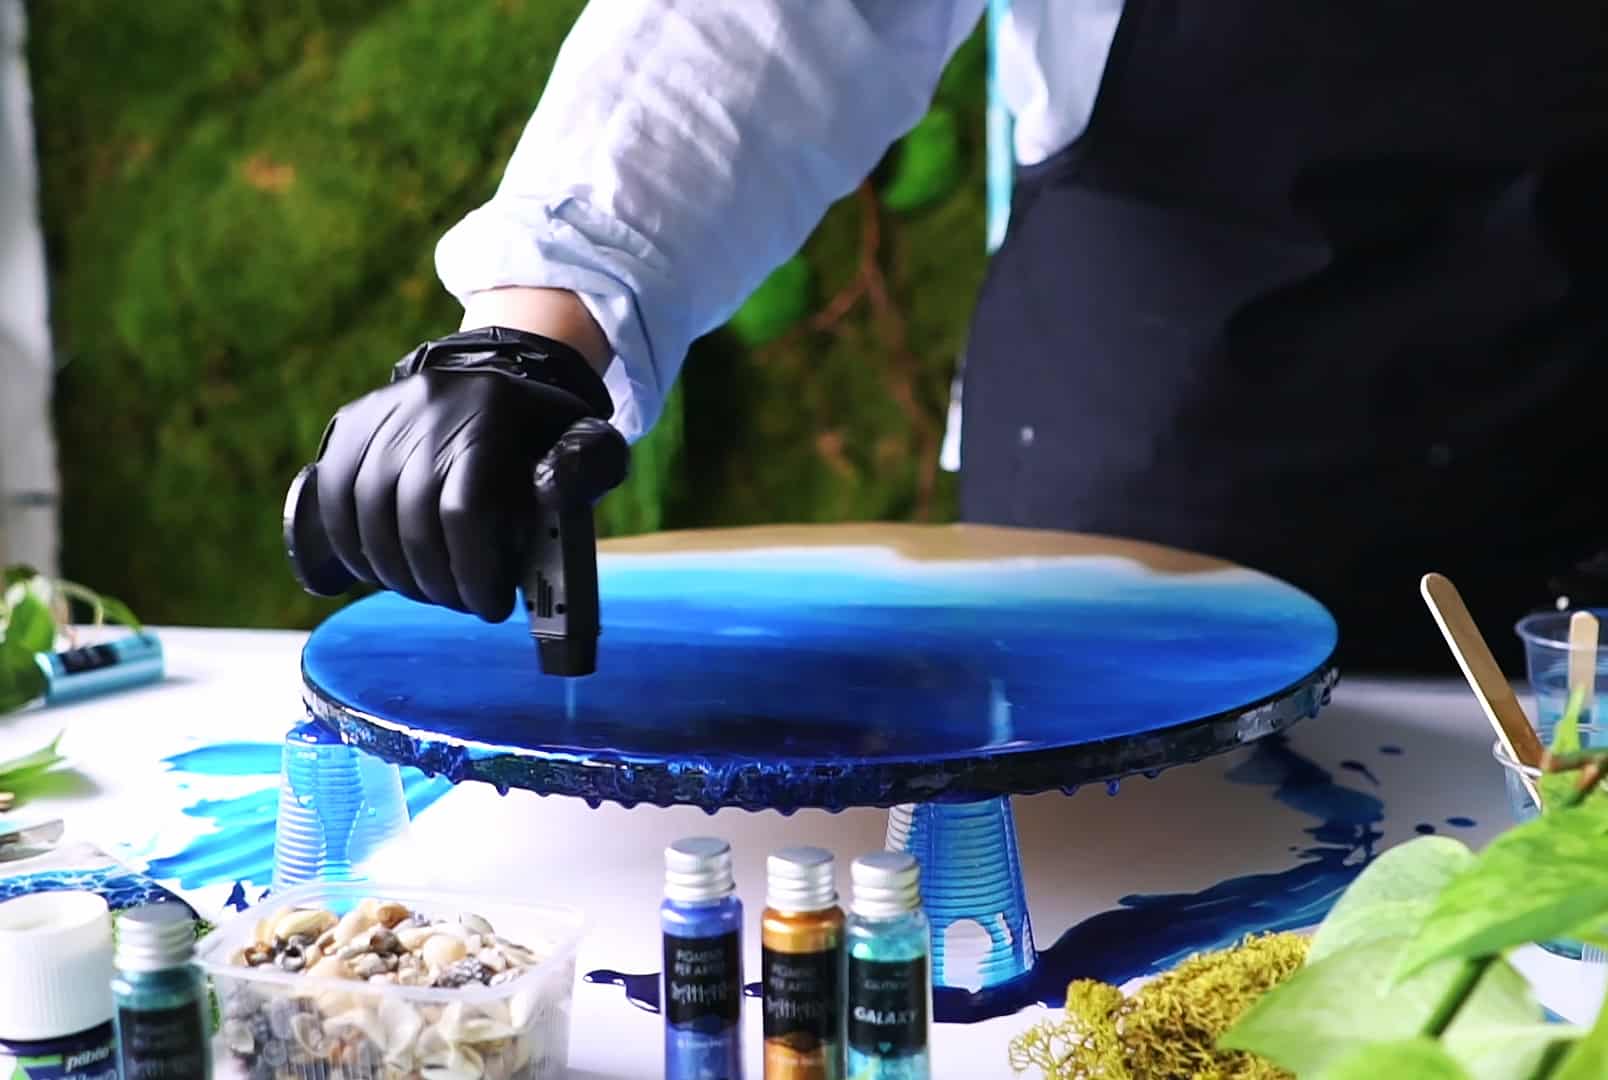
If bubbles are still visible after pouring, gently warm the resin surface. This encourages bubbles to expand and pop. Use gentle heat to release bubbles by waving a heat gun a few centimetres above the piece, keeping it moving to avoid scorching. Direct the airflow lightly over the entire area, repeating as necessary.
A dedicated tool such as the Gas Heat Gun for Epoxy Resin – Precision Tool for Bubble Removal and Finishing works especially well for this purpose, giving you precise control and professional, bubble-free results.
Step 4: Apply Isopropyl Alcohol for Final Touch-Ups
In some cases, tiny surface bubbles may persist. Apply isopropyl alcohol for final touch-ups by lightly spritzing or brushing a fine layer of 99.9% isopropyl alcohol over the resin. This immediately breaks down surface tension, causing any remaining micro-bubbles to vanish without disturbing your design.
Pure Isopropyl Alcohol 99.9% – 1000ml Bottle for Epoxy Resin Projects & DIY is highly effective for this step and leaves no residue, ensuring clear, professional results.
Tips, Common Mistakes, and Troubleshooting
To keep your resin projects bubble-free: always work in a dust-free, room-temperature environment; avoid over-mixing; and let the resin rest after blending. Overheating can lead to yellowing or uneven finishes, while pouring too quickly may trap air. If stubborn bubbles persist, repeat gentle heating in short bursts or reapply isopropyl alcohol. Practice and patience are key—mastery comes with experience and careful attention to detail.
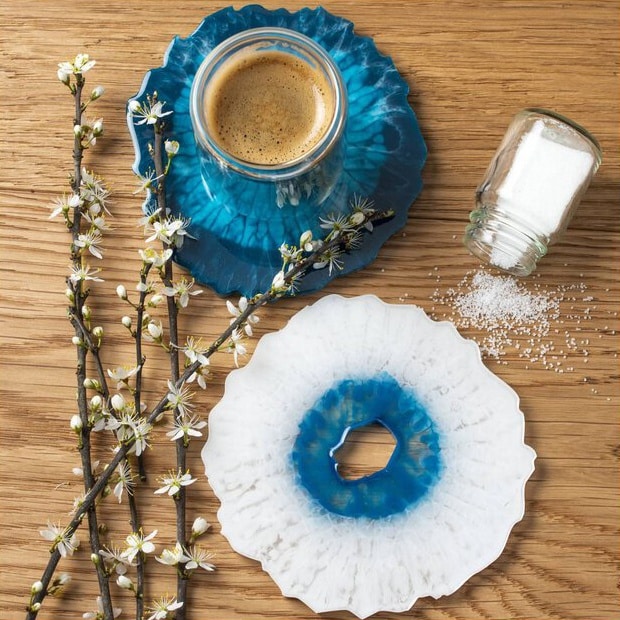
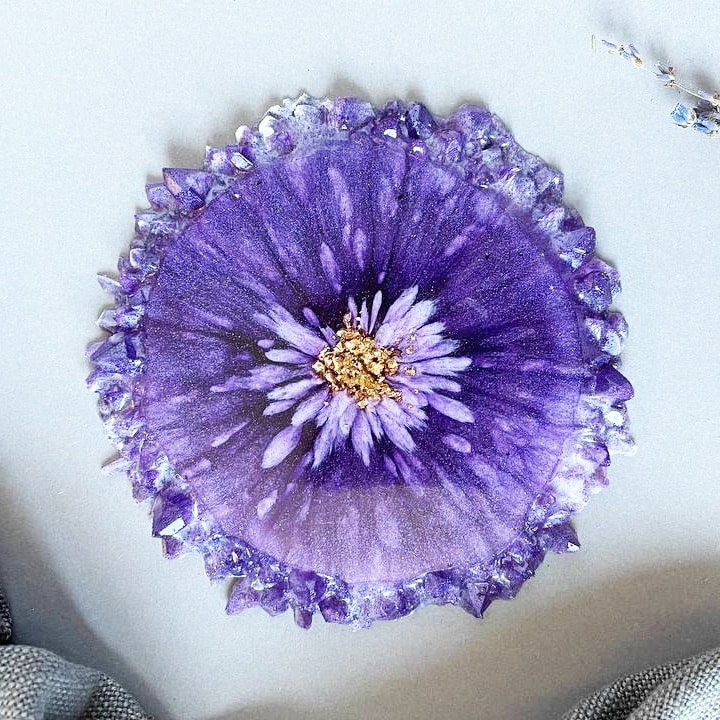
Bubble-Free Inspiration and Troubleshooting Examples
Explore real-world photos and tips from ResinPro customers who have mastered bubble removal—and see their before-and-after project results.
- Anti Bubble Mixer for Epoxy Resin – Reusable Mixing ToolPrice range: £4.95 through £12.45The Anti Bubble Mixer is a reusable tool designed for epoxy resin projects, providing a bubble-free mixing method.
- Gas Heat Gun for Epoxy Resin – Precision Tool for Bubble Removal and FinishingPrice range: £4.45 through £14.95This gas heat gun is designed to quickly reduce bubbles in epoxy resin projects for a smooth, precise finish fitting the theme about removing air…
- Pure Isopropyl Alcohol 99.9% – 1000ml Bottle for Epoxy Resin Projects & DIYPrice range: £10.45 through £20.95Pure Isopropyl Alcohol 99.9% is suitable for epoxy resin projects and helps remove air bubbles and create effects.
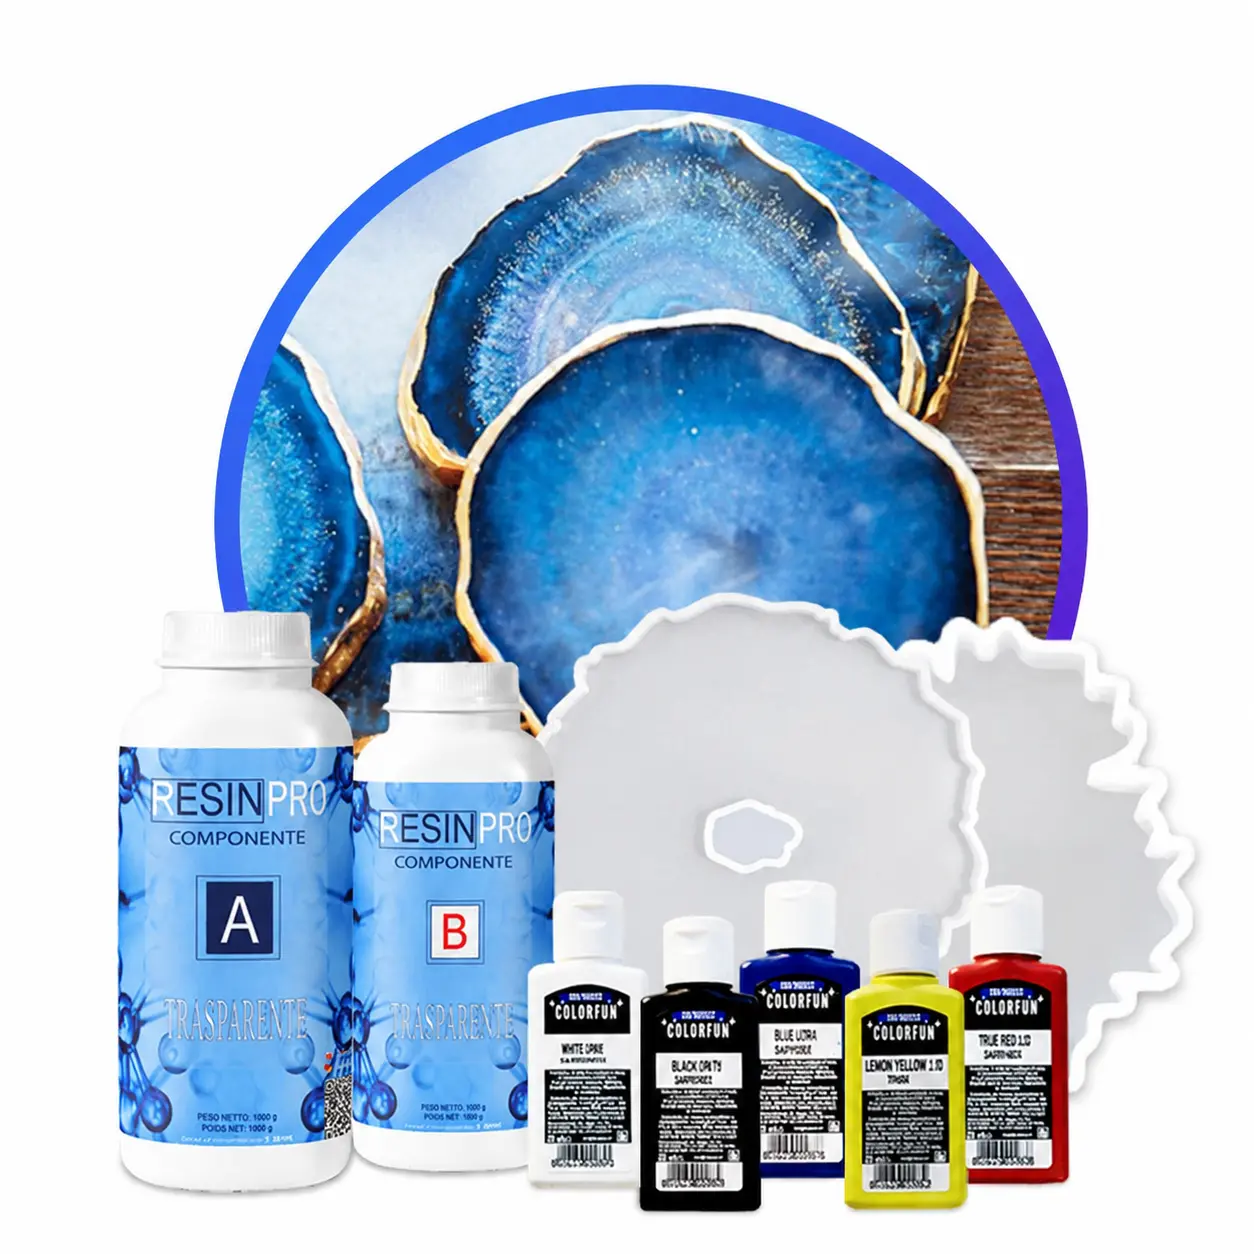
- Resin Geode Coaster Starter Kit – Create Stunning Crystal-Style Coasters at Home£42.85Starter kit for making resin geode coasters with step-by-step instructions, colourants and moulds suitable for beginner resin art.
Frequently Asked Questions
How do I remove air bubbles during mixing?
Mix epoxy resin slowly and carefully with a proper tool to minimise the introduction of air and reduce bubble formation.
Can I use a heat gun to remove bubbles?
Yes, a heat gun helps bubbles rise and burst at the surface. Keep it moving to avoid overheating the resin.
Should I let resin rest before pouring?
Allowing the resin to rest after mixing lets trapped bubbles surface and pop, improving clarity and smoothness.
Can isopropyl alcohol remove remaining bubbles?
A light mist or brush of isopropyl alcohol breaks surface tension and helps remaining small bubbles disappear.
What are common mistakes in bubble removal?
Over-mixing, pouring too fast, or using excessive heat can create or trap more bubbles in the resin.
How long should resin rest after pouring?
Let resin sit for 15–20 minutes after pouring to allow bubbles to rise before gently using heat or alcohol.