 Free shipping on orders over £29,85
 Shipping Tracking!



 Google
 Facebook
How can I remove air bubbles from resin?
Step-by-step methods to achieve smooth, flawless resin results.

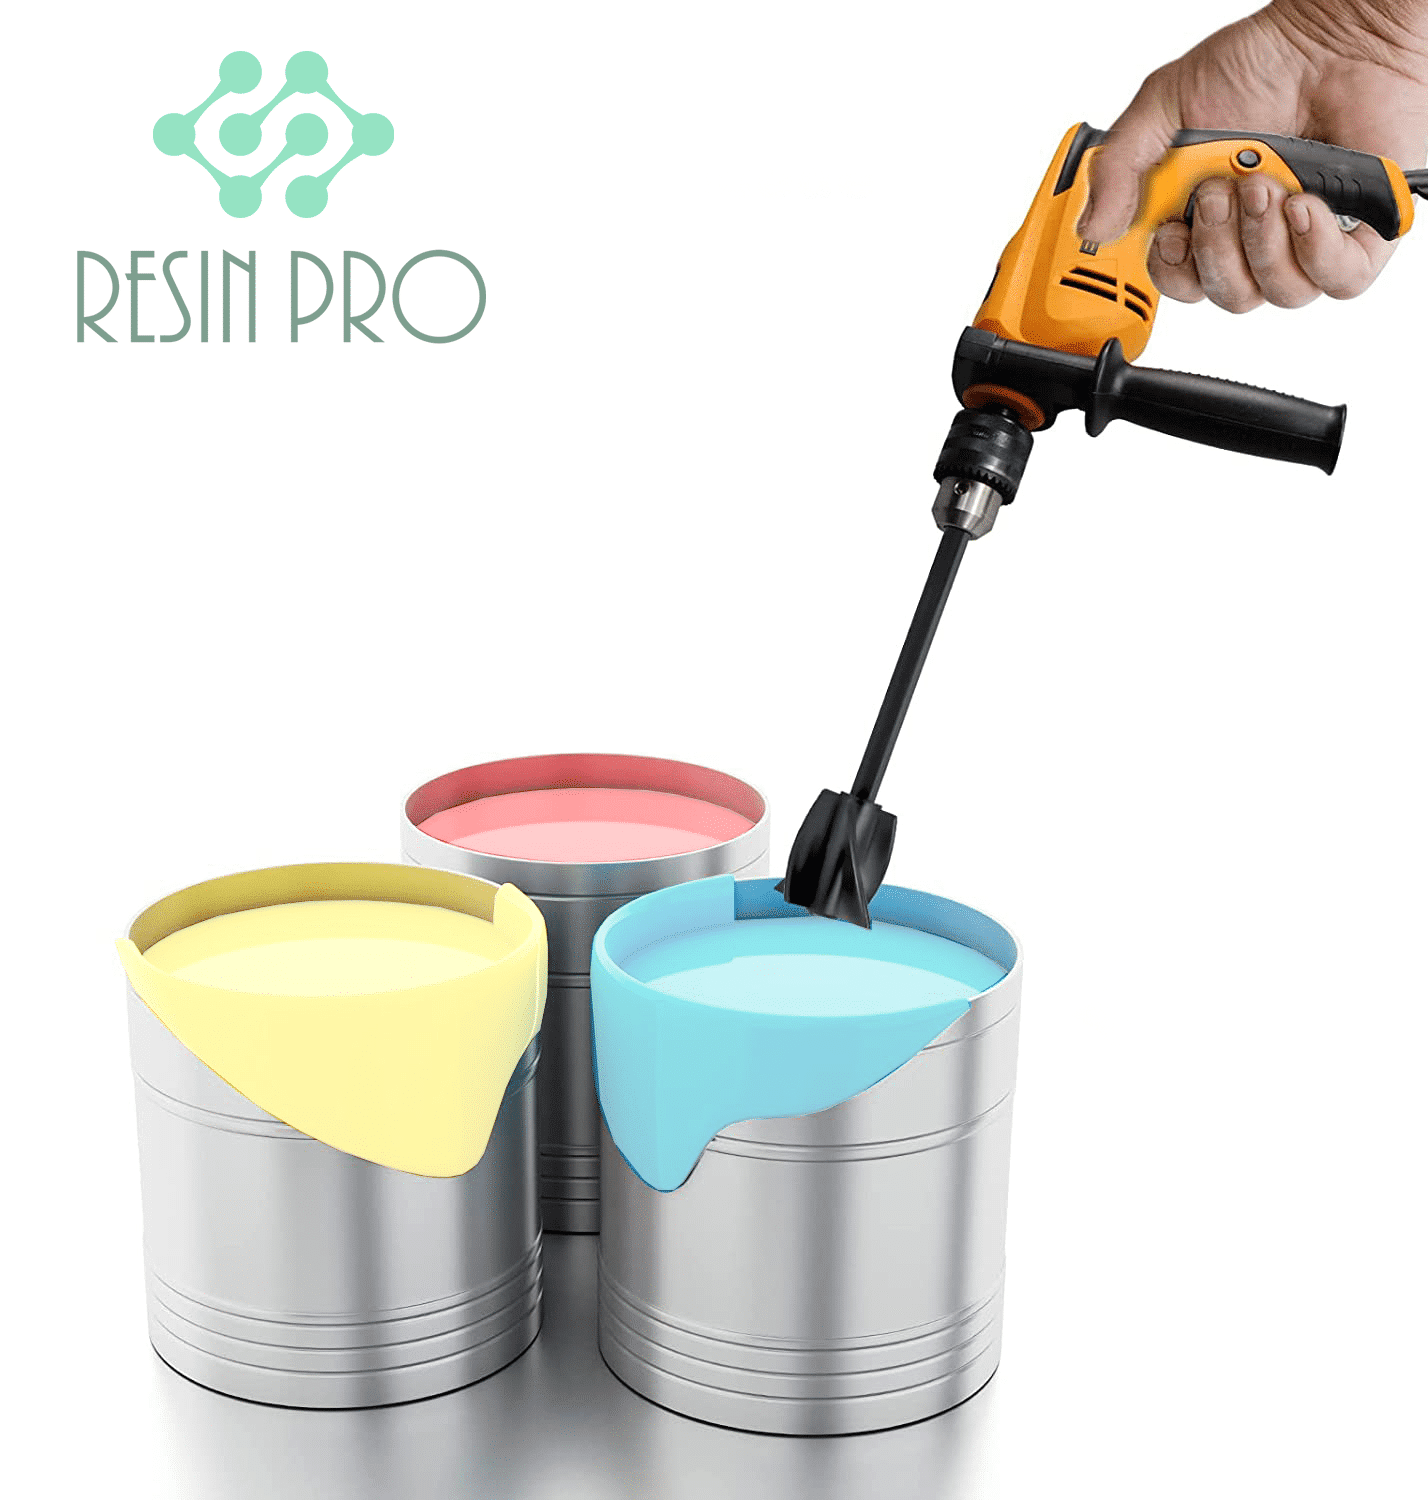
Achieving a bubble-free resin finish is vital for professional results in resin art, jewellery, and DIY projects. Persistent air bubbles can disrupt the clarity and structure of your creation, often causing disappointment after a great deal of effort. This guide details proven strategies to help you banish bubbles from your epoxy resin—whether you are a beginner or a seasoned artist.
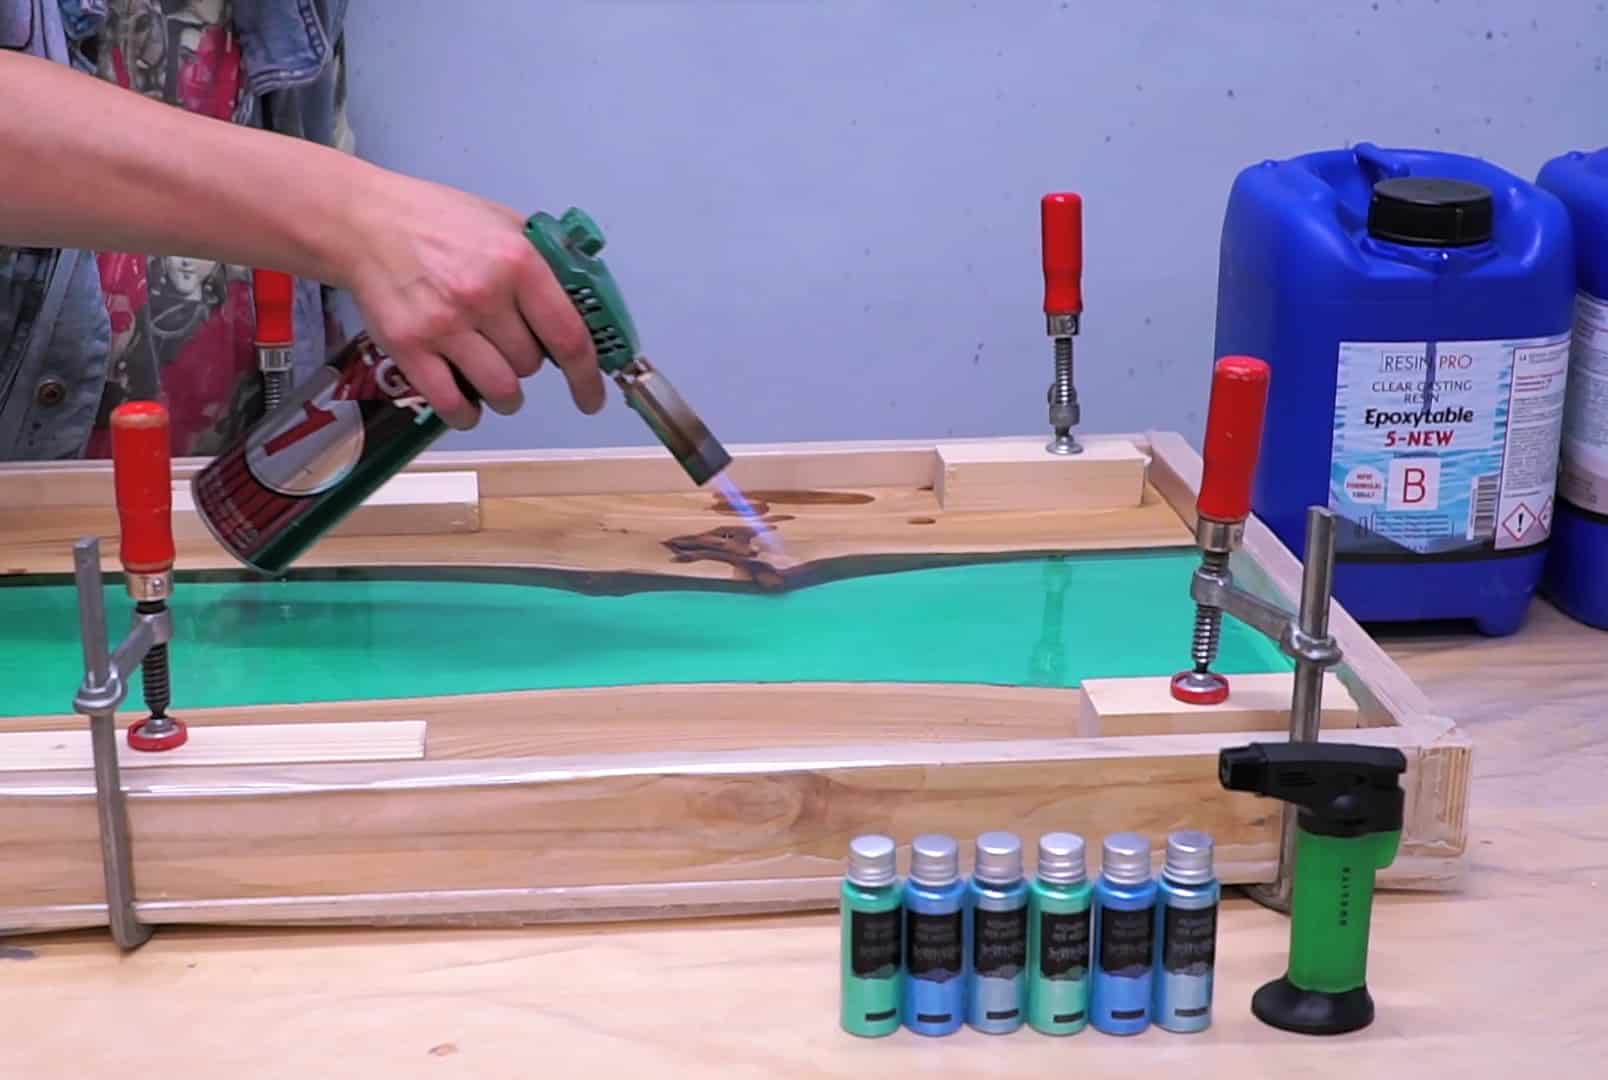
What You’ll Need
- Anti Bubble Mixer for Epoxy Resin – Reusable Mixing Tool – A reusable mixing tool designed to gently stir resin and reduce air entrapment.
- Gas Heat Gun for Epoxy Resin – Precision Tool for Bubble Removal and Finishing – Delivers targeted heat to encourage trapped bubbles to rise and pop.
- Pure Isopropyl Alcohol 99.9% – 1000ml Bottle for Epoxy Resin Projects & DIY – For lightly misting the surface and eliminating stubborn surface bubbles.
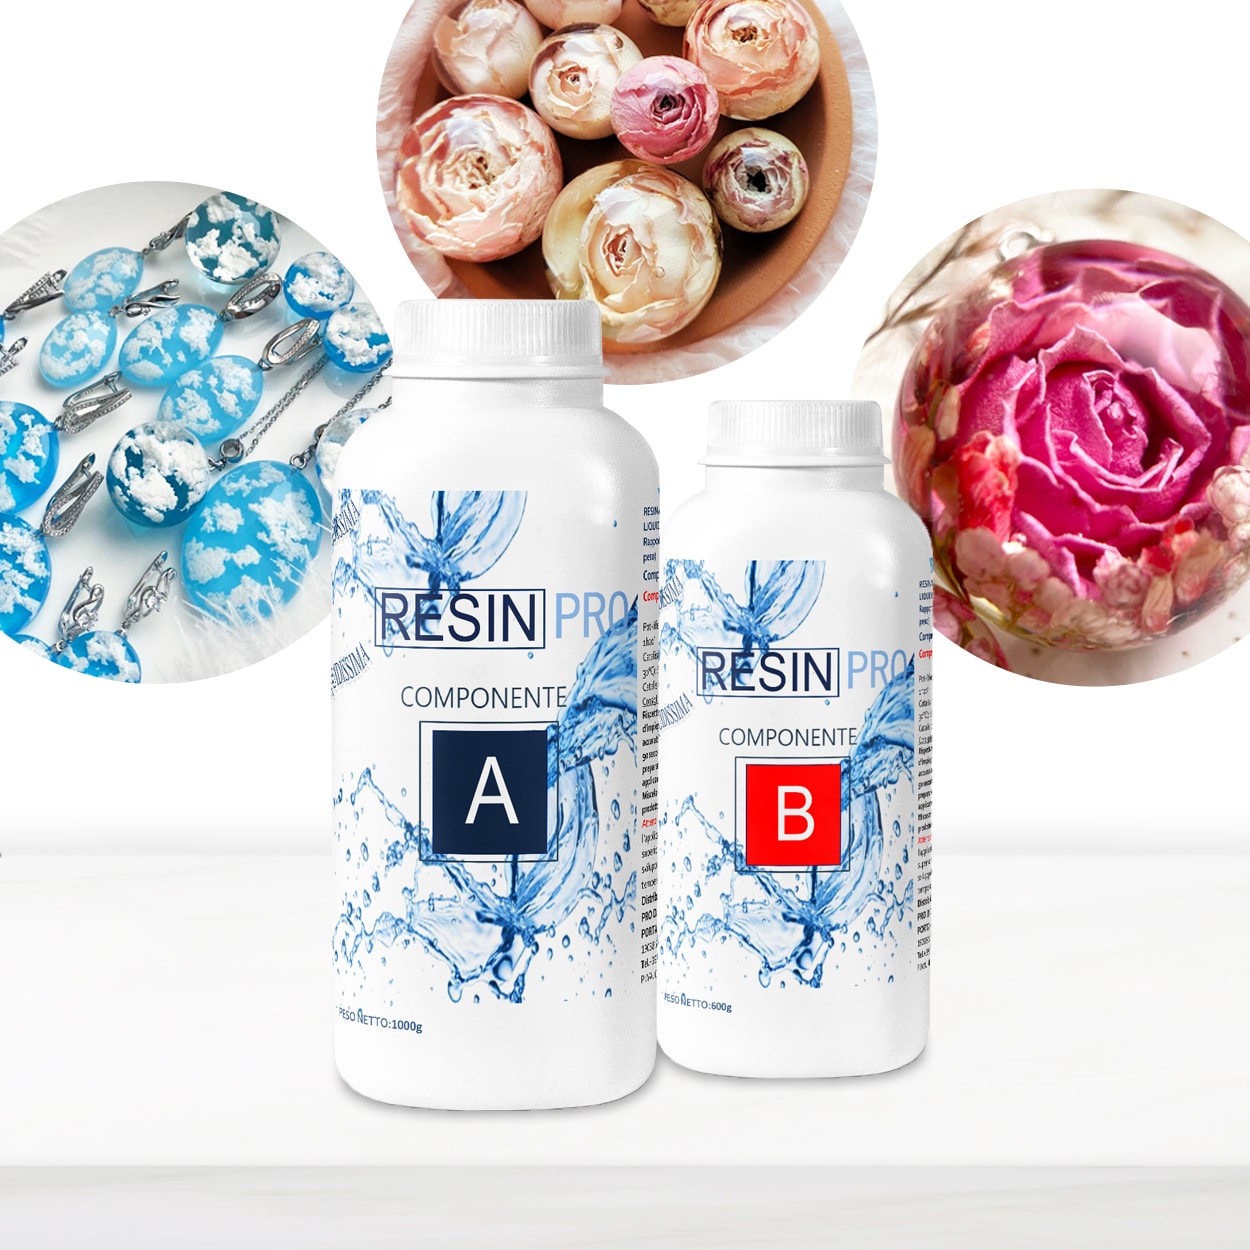
- “Liquidissima” – Epoxy Resin For Creations & Jewellery – A low-viscosity resin specially formulated for fewer bubbles and a smooth finish.
- Protective gloves and apron
- Mixing containers and clean stirring sticks
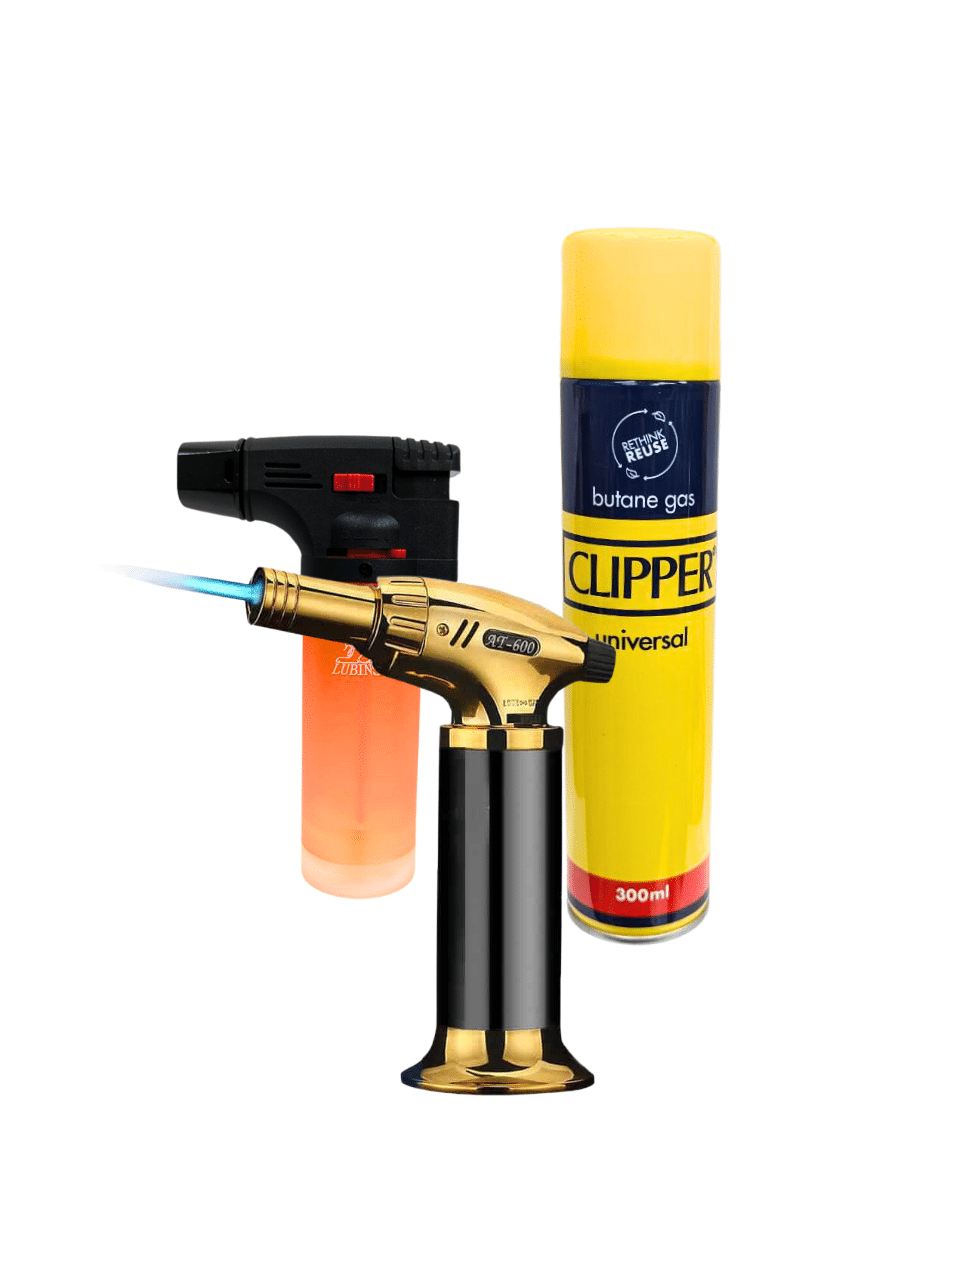
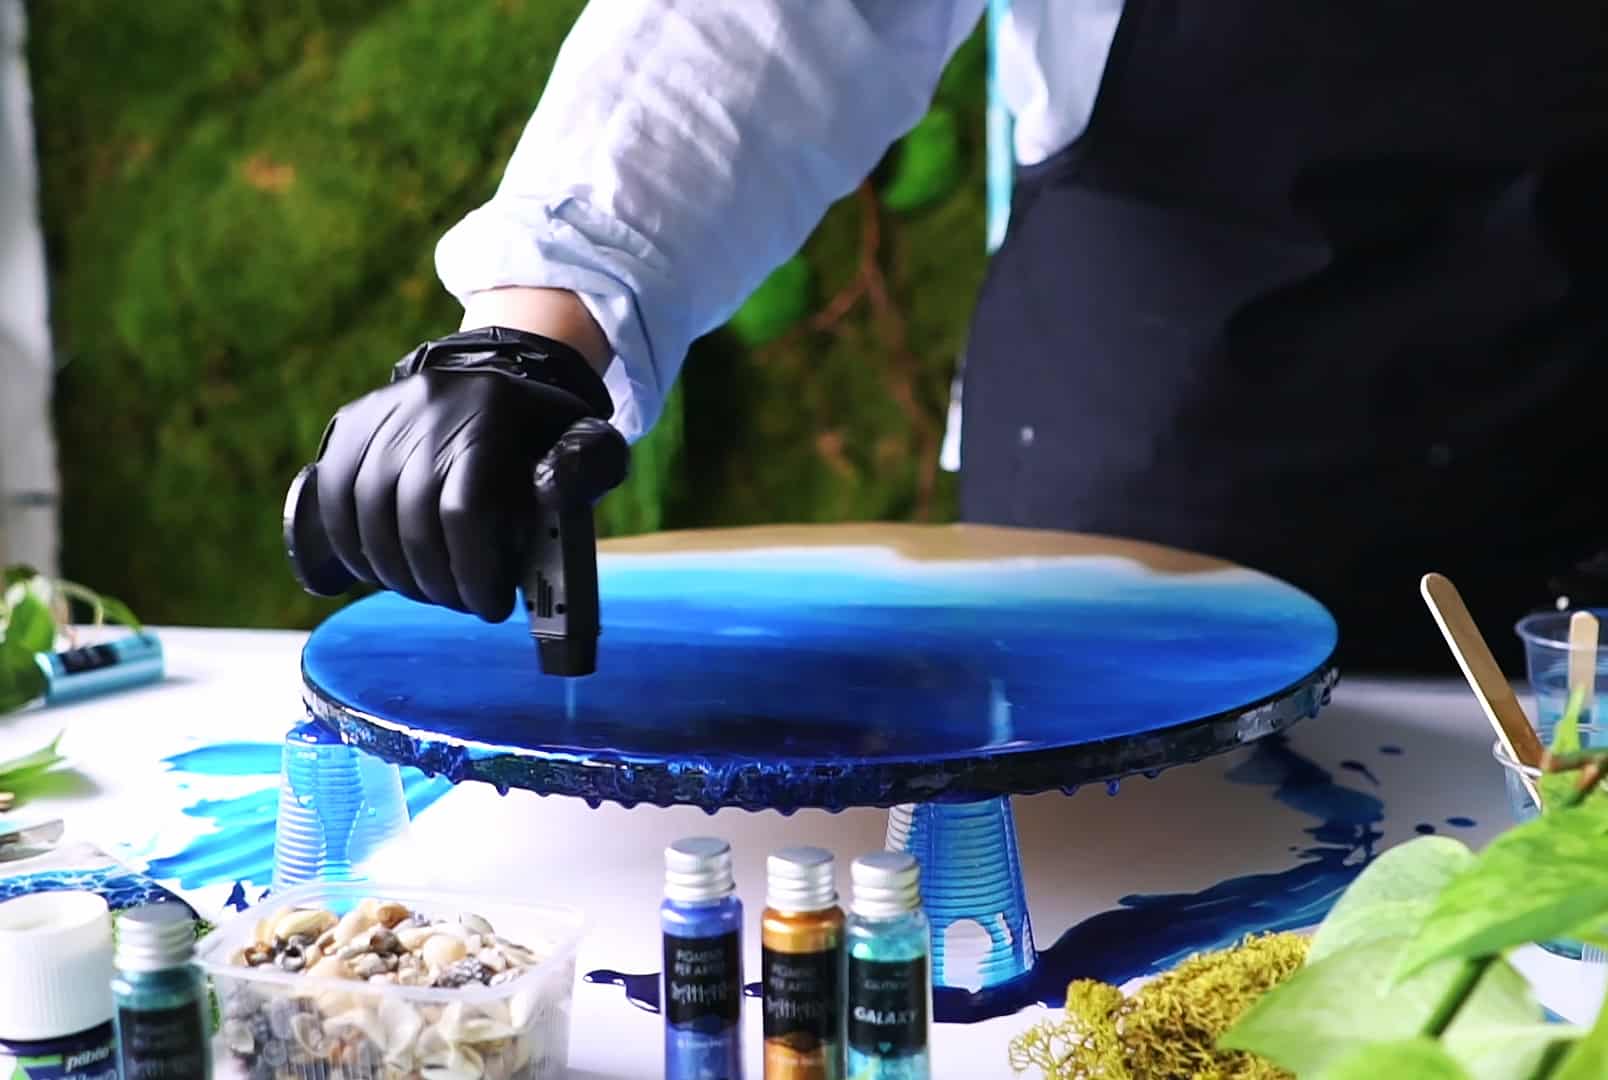
Visual Guide: Essential Tools for Bubble-Free Resin
See the key equipment at work: from precise mixing with the Anti Bubble Mixer for Epoxy Resin, to surface-perfecting techniques with the Gas Heat Gun and Pure Isopropyl Alcohol – each tool plays a role in achieving crystal clear results.
Step 1: Stir Slowly and Deliberately
Most air bubbles are introduced during the mixing phase. Stir slowly and deliberately with smooth, circular movements—avoid vigorous mixing or whipping motions that can incorporate excess air. Scrape the sides and bottom of your container to ensure thorough blending without trapped pockets. Employing a tool such as the Anti Bubble Mixer for Epoxy Resin – Reusable Mixing Tool is ideal for gentle, effective mixing that helps prevent bubbles at the source.
Let the mixed resin stand for a minute or two, allowing larger bubbles a chance to rise to the surface naturally.
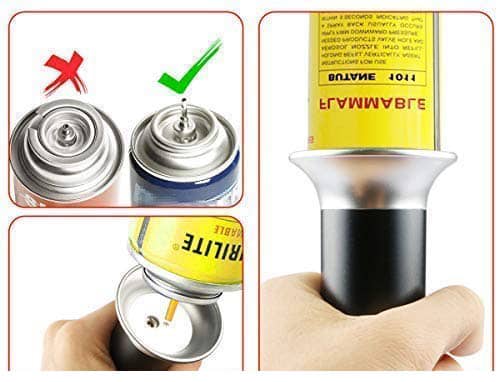

Step 2: Pour Carefully Into Your Mould or Surface
Poor pouring technique can also result in air being trapped in your resin. Pour the resin slowly in a thin stream, holding the container close to the mould or surface. Start from one corner or edge, letting the resin naturally flow and fill the area, which encourages any bubbles to move upwards and escape before being trapped.
Take your time with the pour; patience reduces turbulence and the likelihood of further bubble formation.
Step 3: Apply Gentle Heat to Release Bubbles
Once the resin is poured, scan for surface bubbles. Apply gentle heat using a heat gun, such as the Gas Heat Gun for Epoxy Resin – Precision Tool for Bubble Removal and Finishing. Sweep the tool over the resin’s surface in quick, fluid passes to coax bubbles to the top, where they will pop or disperse. Avoid concentrating heat in one area for too long, as this might scorch the resin or cause uneven curing.
Be mindful of safety: never use gas tools near flammable liquids or in unventilated areas. Always have strong airflow in your workspace.
Step 4: Use Isopropyl Alcohol for Surface Bubbles
For persistent surface bubbles or microbubbles that rise during curing, lightly mist the resin surface with isopropyl alcohol (such as Pure Isopropyl Alcohol 99.9% – 1000ml Bottle for Epoxy Resin Projects & DIY). Use isopropyl alcohol for surface bubbles sparingly: a light spray can speed up bubble release, but excessive use may affect the finished look or compromise clarity if droplets settle on uncured resin.
Avoid using other household sprays or alcohols, as impurities may cause cloudiness or yellowing over time.
Step 5: Select Low-Viscosity Resins for Fewer Bubbles
Some resins are formulated to minimise air entrapment. Select low-viscosity resins for fewer bubbles—products like “Liquidissima” – Epoxy Resin For Creations & Jewellery flow smoothly and allow bubbles to rise and dissipate naturally. Especially for intricate art, detailed jewellery, or moulded pieces, low-viscosity formulas are your best ally against stubborn bubbles.
Always read your resin’s instructions for optimal working temperatures and mixing methods—it may support longer working times or special handling to reduce imperfections.
Tips, Common Mistakes, and Troubleshooting
Work in a warm (but not hot) environment—cool temperatures can cause resins to thicken and trap air. Ensure all tools and moulds are dry and free from contamination, as moisture can generate unexpected bubbles during curing. Try not to overwork or disturb the resin once it has been poured and levelled, as this may introduce new bubbles.
Should any stubborn bubbles persist, gently repeat the heat or alcohol misting process rather than poking or prodding, which may cause marks or uneven finishes. Practice patience; many imperfections self-resolve as the resin levels and cures.
Close-Up: Flawless Resin Results in Action
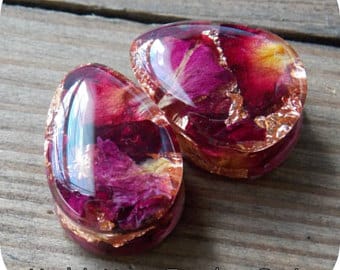
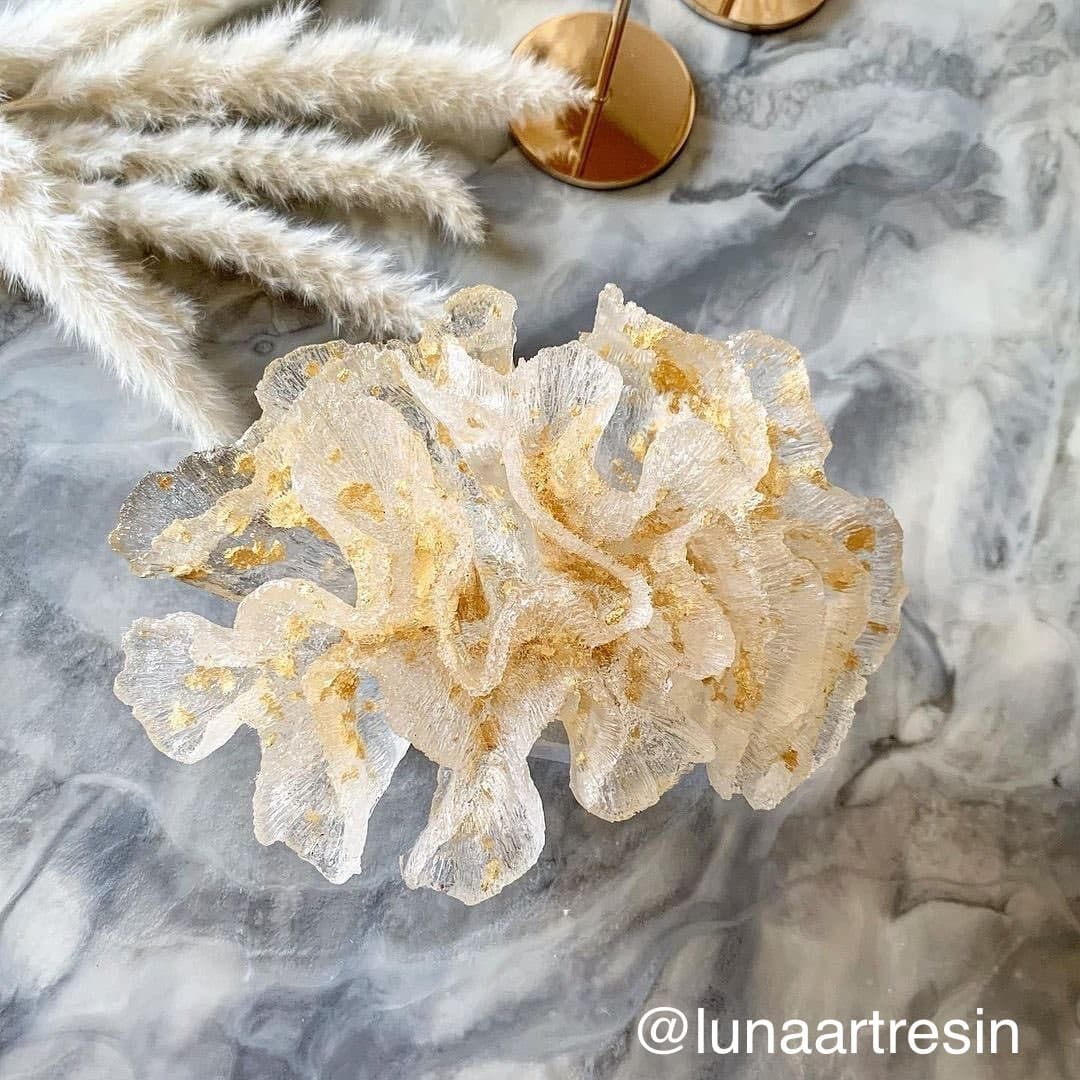
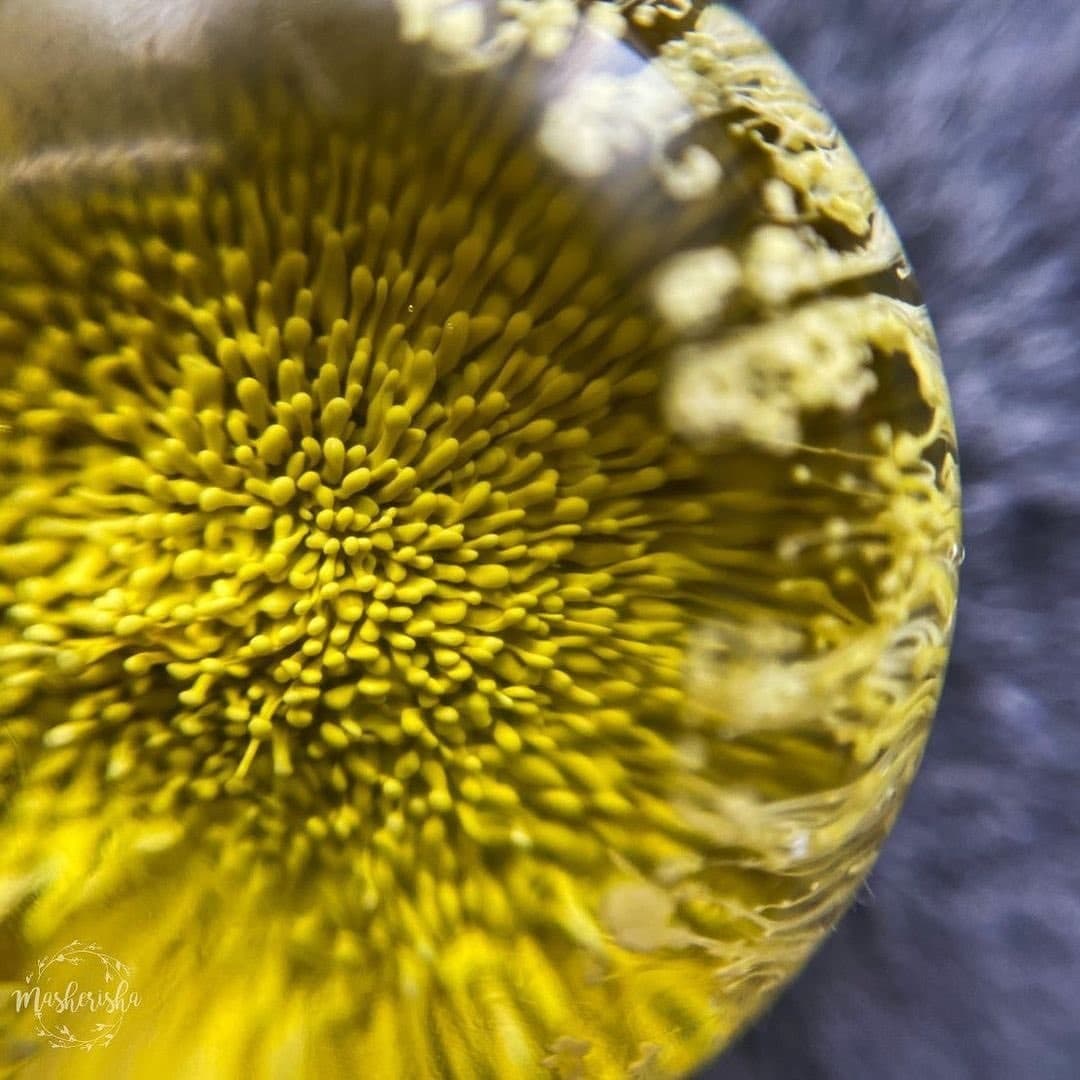
Explore detailed images of bubble-free resin projects and the difference careful technique can make – from jewellery to art pieces, smooth surfaces showcase the effectiveness of proper air bubble removal.
- Anti Bubble Mixer for Epoxy Resin – Reusable Mixing ToolPrice range: £4.95 through £12.45The Anti Bubble Mixer is a reusable tool designed for careful mixing of epoxy resin to avoid bubbles and support a clean finish.
- Gas Heat Gun for Epoxy Resin – Precision Tool for Bubble Removal and FinishingPrice range: £4.45 through £14.95The Gas Heat Gun supports smooth epoxy resin projects by quickly reducing bubbles and offering precise, lightweight handling.
- Pure Isopropyl Alcohol 99.9% – 1000ml Bottle for Epoxy Resin Projects & DIYPrice range: £10.45 through £20.95Pure Isopropyl Alcohol 99.9% in a 1000ml bottle helps remove bubbles and supports resin art effects, suitable for epoxy resin projects.
- "Liquidissima" – Epoxy Resin For Creations & JewelleryPrice range: £12.85 through £31.85"Liquidissima" epoxy resin offers high transparency and self-levelling finish, suitable for intricate moulds in jewellery and creative projects.
Frequently Asked Questions
What is the best way to remove air bubbles from resin?
Mix slowly, pour carefully, then apply gentle heat with a suitable heat gun to pop surface bubbles for an even finish.
Can isopropyl alcohol help remove bubbles from resin?
Yes, a light misting of isopropyl alcohol breaks surface bubbles and aids in achieving smooth finishes.
How can I prevent bubbles when mixing resin?
Stir gently using a slow, circular motion and use dedicated tools to minimise air entrapment during preparation.
Should I use a heat gun to remove bubbles from resin?
A heat gun is highly effective; sweep over the surface to release bubbles, taking care not to overheat the resin.
Are there resin types that produce fewer bubbles?
Low-viscosity resins are specially formulated for bubble-free results, ideal for jewellery and detailed moulds.
What if I notice bubbles in my resin after it cures?
Small surface bubbles can be sanded and re-coated, but internal bubbles usually require prevention during mixing.