 Free shipping on orders over £29,85
 Shipping Tracking!



 Google
 Facebook
How do you polish matte resin?
Step-by-step guide to achieving a flawless gloss on dull resin


Polishing matte resin to a bright, glossy finish transforms dull surfaces into show-stopping centrepieces whether for furniture, art, or jewellery. This guide will walk you through all the essential steps needed to restore shine and clarity to epoxy resin projects, while covering timing, safety, surface preparation, and pitfalls to avoid.

What You’ll Need
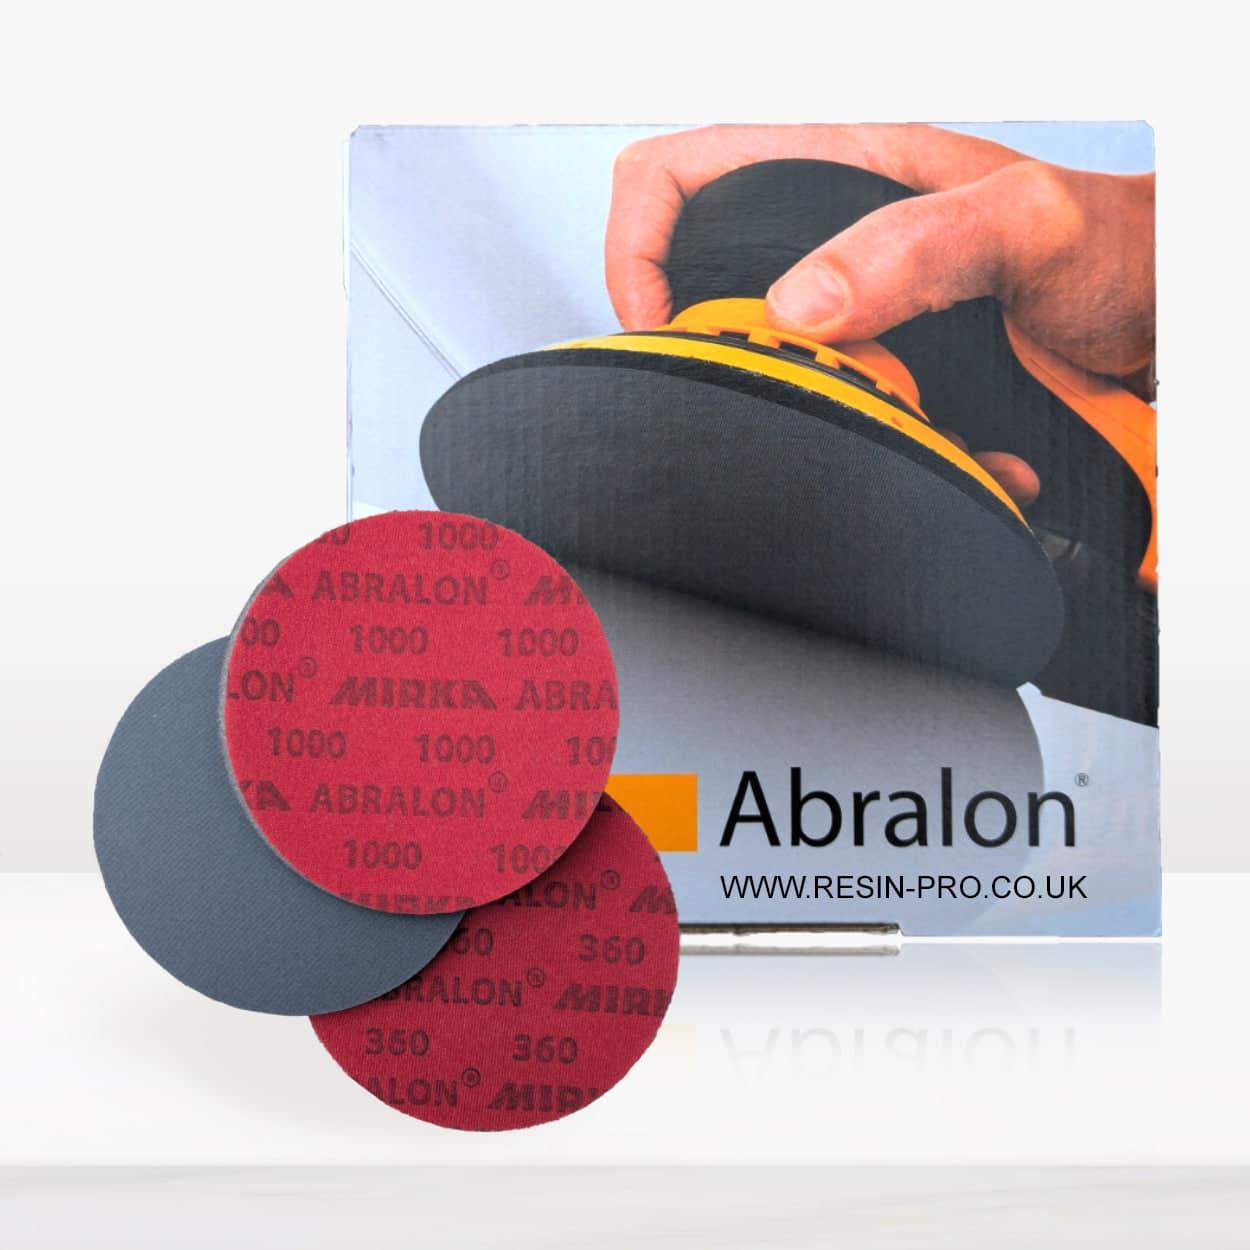
- “Ebonite Abralon” – Sanding Pads 360-4000 Grit for Resin and Wood – for precise sanding and surface refinement
- 1200W Polisher for Sanding and Buffing – Variable Speed, D-Handle – optional, for faster, more consistent polishing
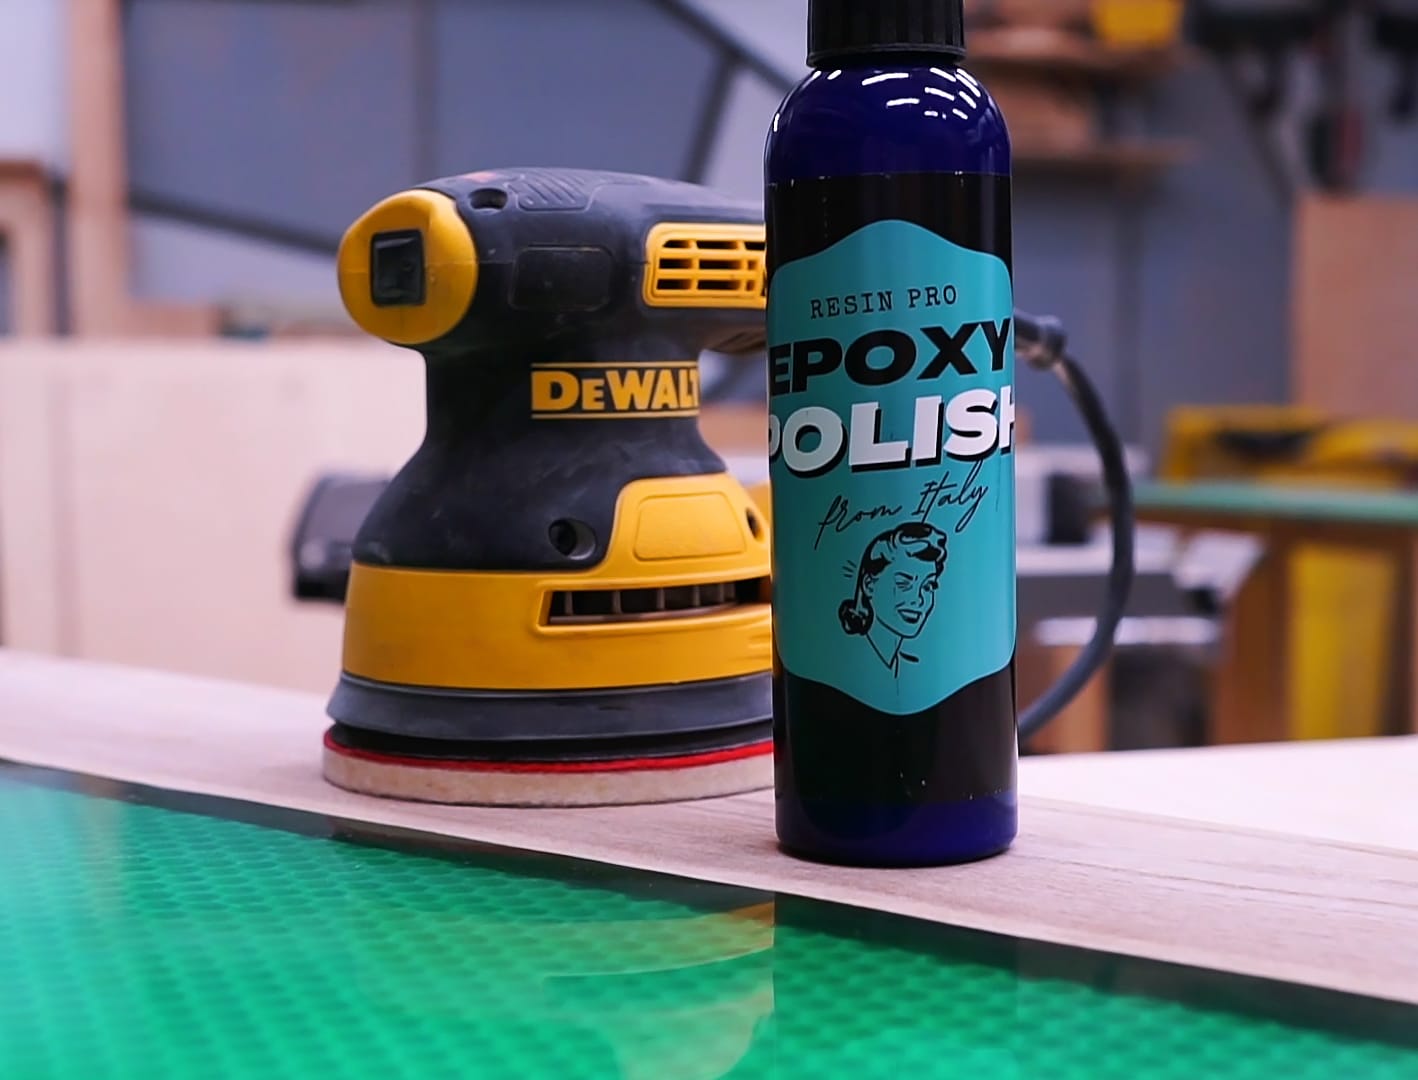
- “Epoxy Polish” – Epoxy Resin Polishing System – for removing micro-scratches and achieving a mirror-like shine
- “Carbon Polish” – Polishing System for Dark and Black Surfaces, 250ml – for optimising finishes on dark or black resin surfaces
- Microfibre cloths, water spray, protective gloves and eyewear

See the Difference Polishing Makes
Before-and-after visuals showcase how even cloudy, scratched resin can become crystal-clear with careful sanding and polishing. Notice the increase in depth and brilliance on completed resin projects.
Step 1: Refine the Matte Resin with Sanding Pads
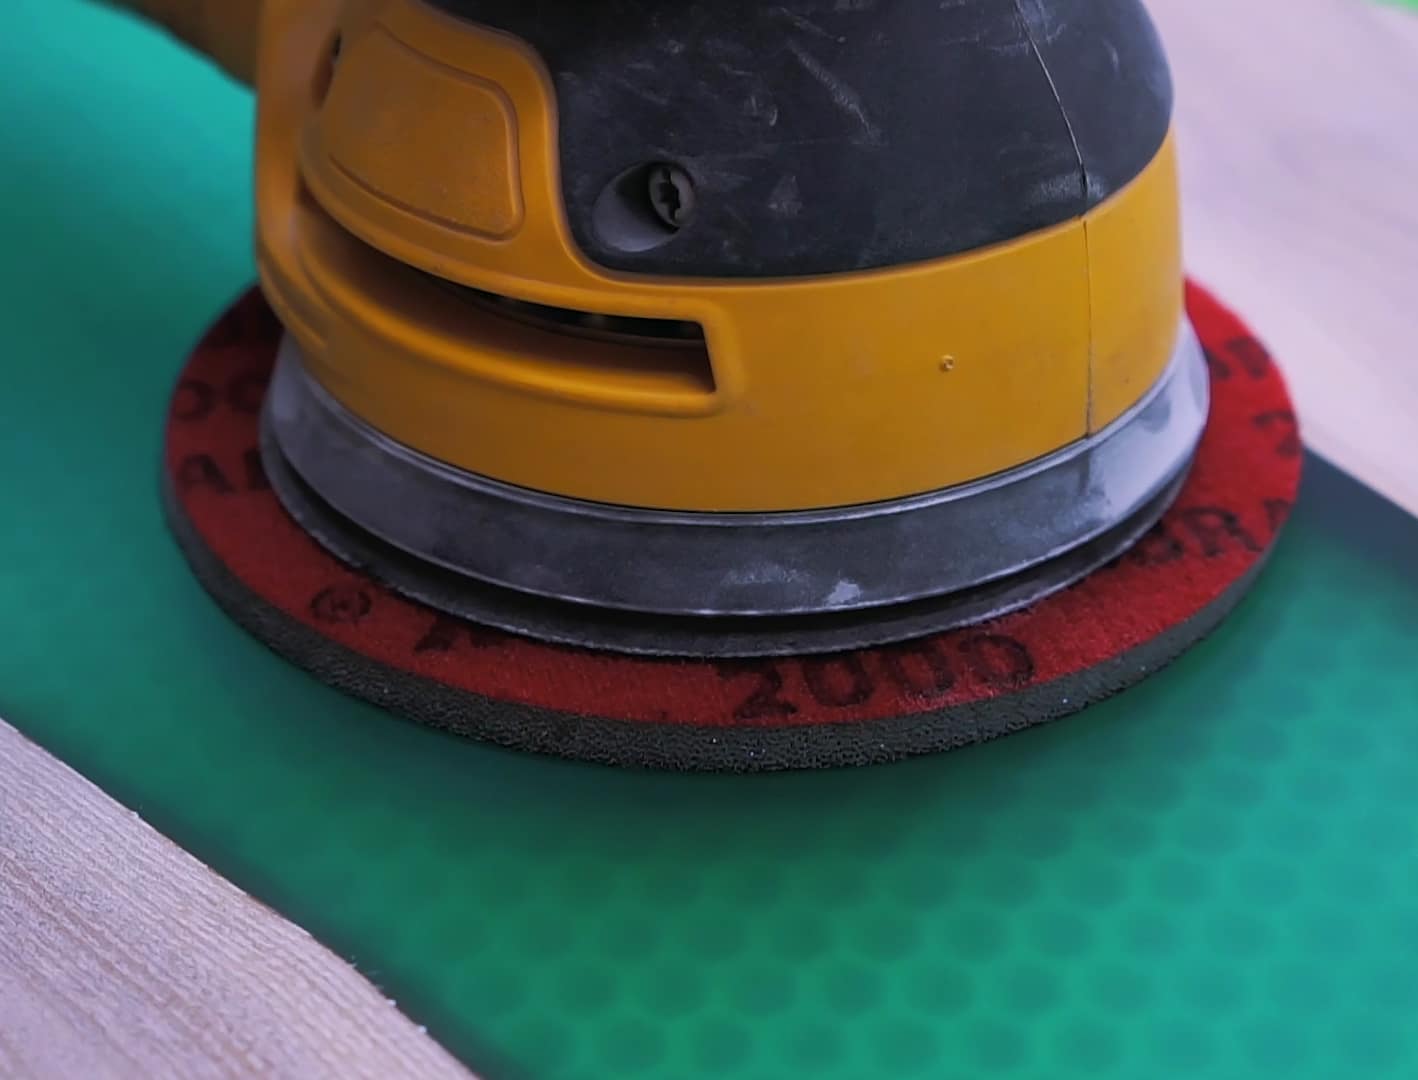
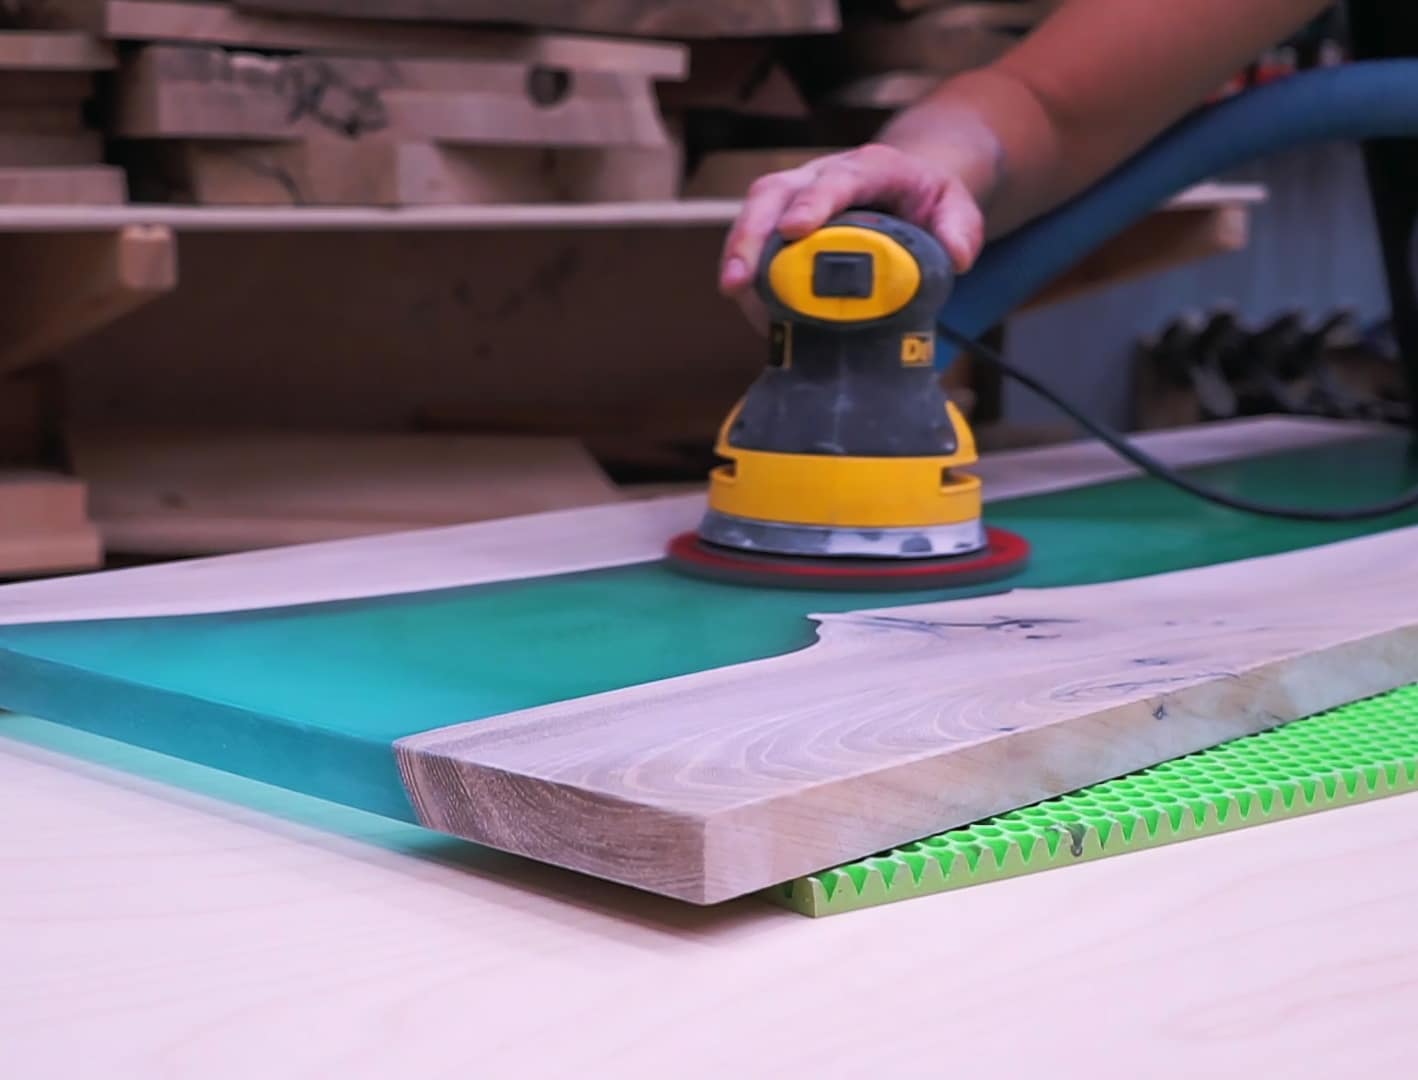
Start your polishing process by gently sanding the resin surface to remove imperfections, surface scratches, or dull patches. Use a series of sanding pads, starting with a coarse grit (360 or 500) and working up through finer grits (up to 4000). Sand uniformly in overlapping circles to maintain a level surface—take care not to focus in one spot too long as this can create dips or unevenness.
“Ebonite Abralon” – Sanding Pads 360-4000 Grit for Resin and Wood are ideal for this step, providing consistent surface pressure and the flexibility to sand either wet or dry. Always wipe away residue between grit changes and inspect for scratch removal before moving to a finer grit.
Step 2: Polish the Surface to Achieve a Glossy Finish
Once you have finished sanding with the highest grit, clean the surface thoroughly to remove all dust. Next, apply a polishing compound intended for resin, using a microfibre cloth or, for best results, a power polisher with a soft pad. Work the polish into the resin in small, circular motions, gradually increasing pressure and speed. This stage removes micro-scratches invisible to the eye and brings up the shine.
For standard and coloured epoxy, an “Epoxy Polish” – Epoxy Resin Polishing System is formulated to remove fine scratches and produce a high-gloss finish. If your project is dark or black, consider the “Carbon Polish” – Polishing System for Dark and Black Surfaces, 250ml to eliminate visible white marks or haze often seen on deep colours.
Step 3: Use a Polisher for a Professional-Grade Shine
Manual polishing can deliver excellent results, especially on smaller objects. For large, flat projects like tabletops or art pieces, a rotary polisher offers faster, more consistent results. Attach a clean, soft pad, and adjust the speed according to the polish manufacturer’s instructions—usually starting slow to spread the compound, before increasing for final buffing. Move evenly across the entire surface, avoiding overheating and pressing too hard, which can cause swirl marks or cloudiness.
The 1200W Polisher for Sanding and Buffing – Variable Speed, D-Handle provides variable speed control and ergonomic handling, letting you fine-tune the finish with confidence.
Step 4: Final Buff and Inspection
After machine or hand polishing, use a clean microfibre cloth to wipe away any polish residue. Inspect the surface under good lighting from multiple angles. If you see any dull spots, haze, or swirl marks, repeat the polishing with a softer pad or use an additional polish specifically targeting your resin type or colour.
Avoid contaminating the surface with dust or cloth fibres at this stage—keep your workspace clean and free from airborne debris, ensuring your finished resin is as clear and reflective as possible.
Tips and Mistakes to Avoid
- Progress gradually through grits – Skipping grits can leave visible marks or cloudy spots.
- Maintain even pressure – Uneven force during sanding or polishing can cause surface waves or uneven shine.
- Consider your desired finish – Matte resins can be left satin-smooth if you stop before the final polish, or pushed to a full gloss with consistent polishing steps.
- Avoid over-polishing – Excessive friction heats the resin, risking surface damage.
If results disappoint, often it is due to skipping sanding grits or insufficient buffing. Take your time at each stage for best outcomes.
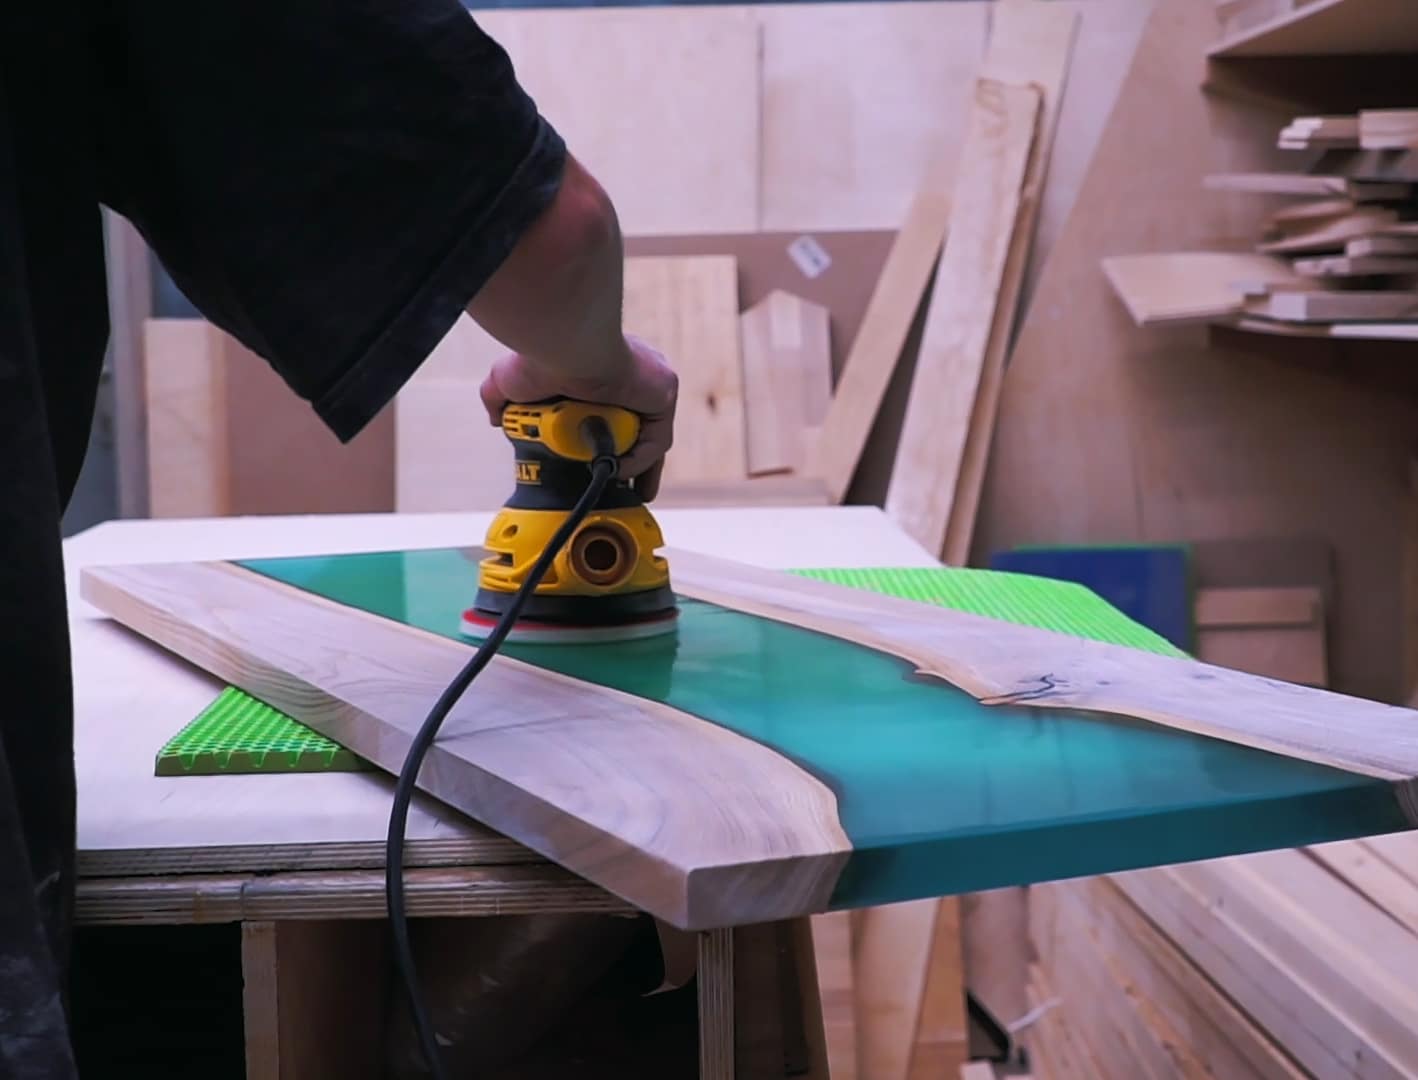
Expert Polish Results in Real Resin Projects
Finished examples demonstrate professionals using polishing systems to achieve a mirror gloss on table tops, jewellery, and art. Observe consistent clarity and reflection across dark and coloured surfaces.

- "Epoxy Polish" – Epoxy Resin Polishing SystemPrice range: £18.95 through £47.45"Epoxy Polish" is designed for restoring resin surfaces to a mirror-like finish with an advanced polishing system.
- "Ebonite Abralon" – Sanding Pads 360-4000 Grit for Resin and Wood£4.15"Ebonite Abralon" sanding pads are designed for polishing epoxy resin and wood surfaces with grits from 360 to 4000.
 1200W Polisher for Sanding and Buffing – Variable Speed, D-Handle£90.45The 1200W Polisher offers variable speed and a sturdy handle, suitable for sanding and polishing epoxy resin projects.
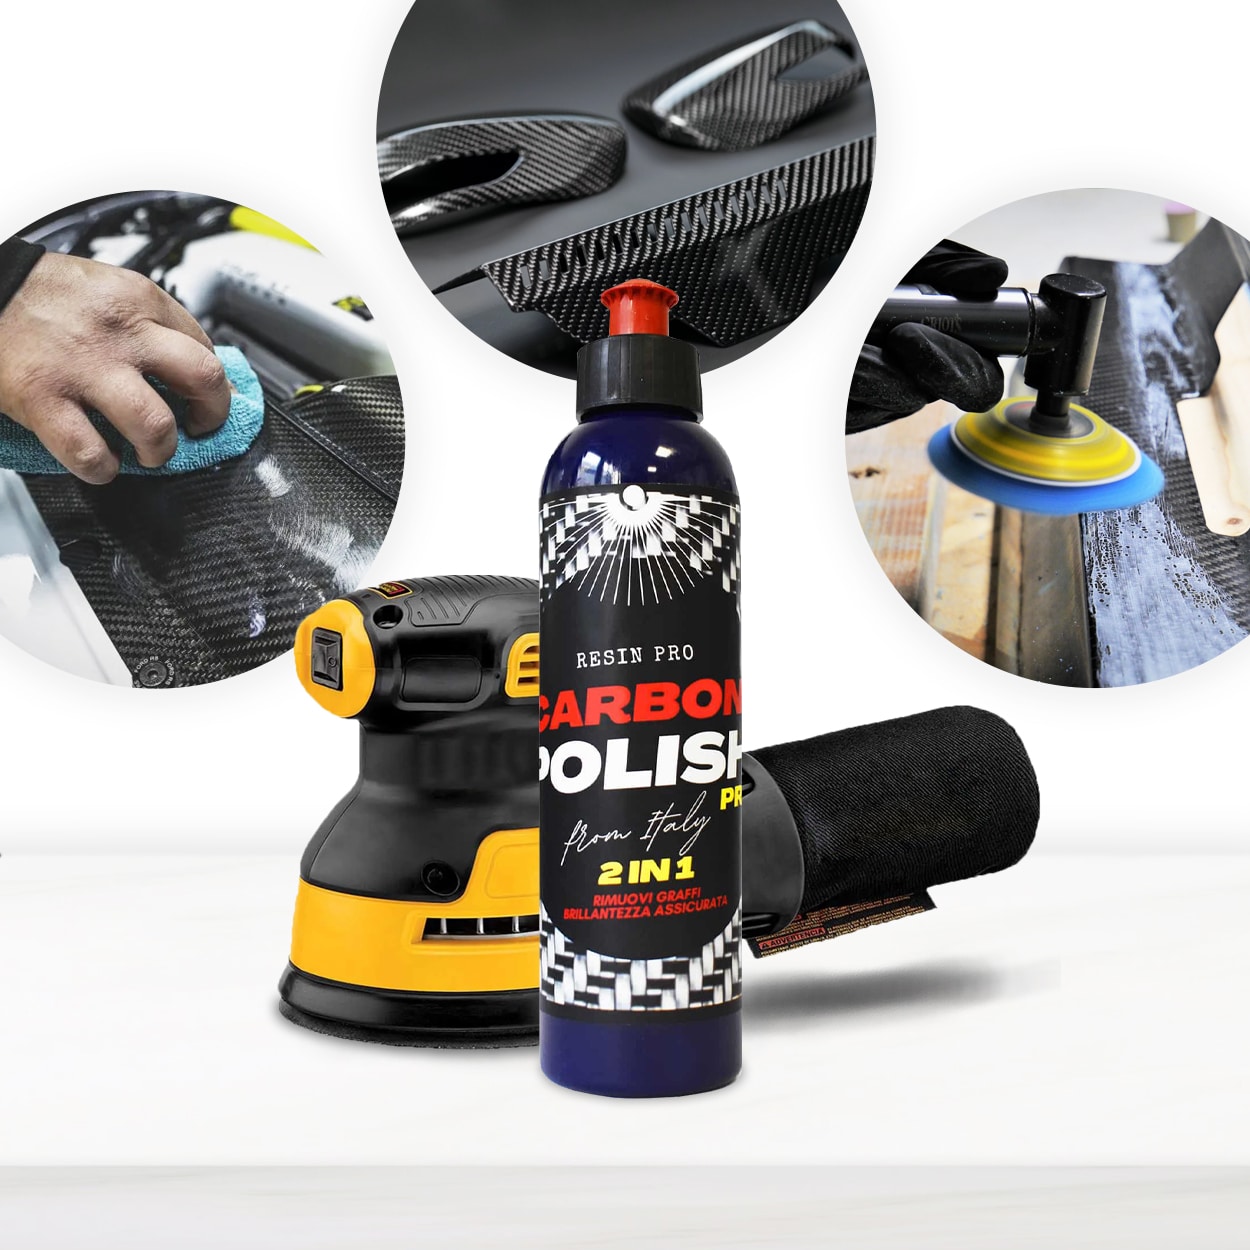 "Carbon Polish" – Polishing System for Dark and Black Surfaces, 250mlPrice range: £18.95 through £47.45Carbon Polish is a polish designed for dark and black surfaces, suitable for epoxy resin projects in the context of polishing matte resin.
Frequently Asked Questions
Do you need a buffer wheel to polish resin?
While hand polishing is possible, a buffer or rotary polisher delivers more consistent and faster results, especially for large or flat surfaces.
Why does resin look cloudy after polishing?
Cloudiness usually results from incomplete sanding, skipping grits, or not fully working the polish into the surface before wiping away residue.
Which polish is best for black epoxy resin?
"Carbon Polish" is formulated for dark and black surfaces to prevent visible white marks or haze.
How do you achieve a high-gloss finish on matte resin?
Sand through all grit stages, then use a dedicated resin polishing system and a power polisher for best results.
Should you wet sand matte resin before polishing?
Wet sanding helps prevent heat build-up and clogging, resulting in a smoother surface before polishing.
Is it better to polish resin by hand or with a machine?
Hand polishing is suitable for small or delicate items, while a machine is ideal for large, flat pieces and ensures an even shine.