 Free shipping on orders over £29,85
 Shipping Tracking!



 Google
 Facebook
How do you remove air bubbles from resin when pouring?
Step-by-step solutions for smooth, bubble-free resin results

Whether you’re a seasoned resin artist or exploring epoxy projects for the first time, ensuring a bubble-free finish is crucial for achieving professional, clear results. This guide will walk you through practical methods and proven tips to remove air bubbles from resin as you pour, so your creations always look their best.
What You’ll Need
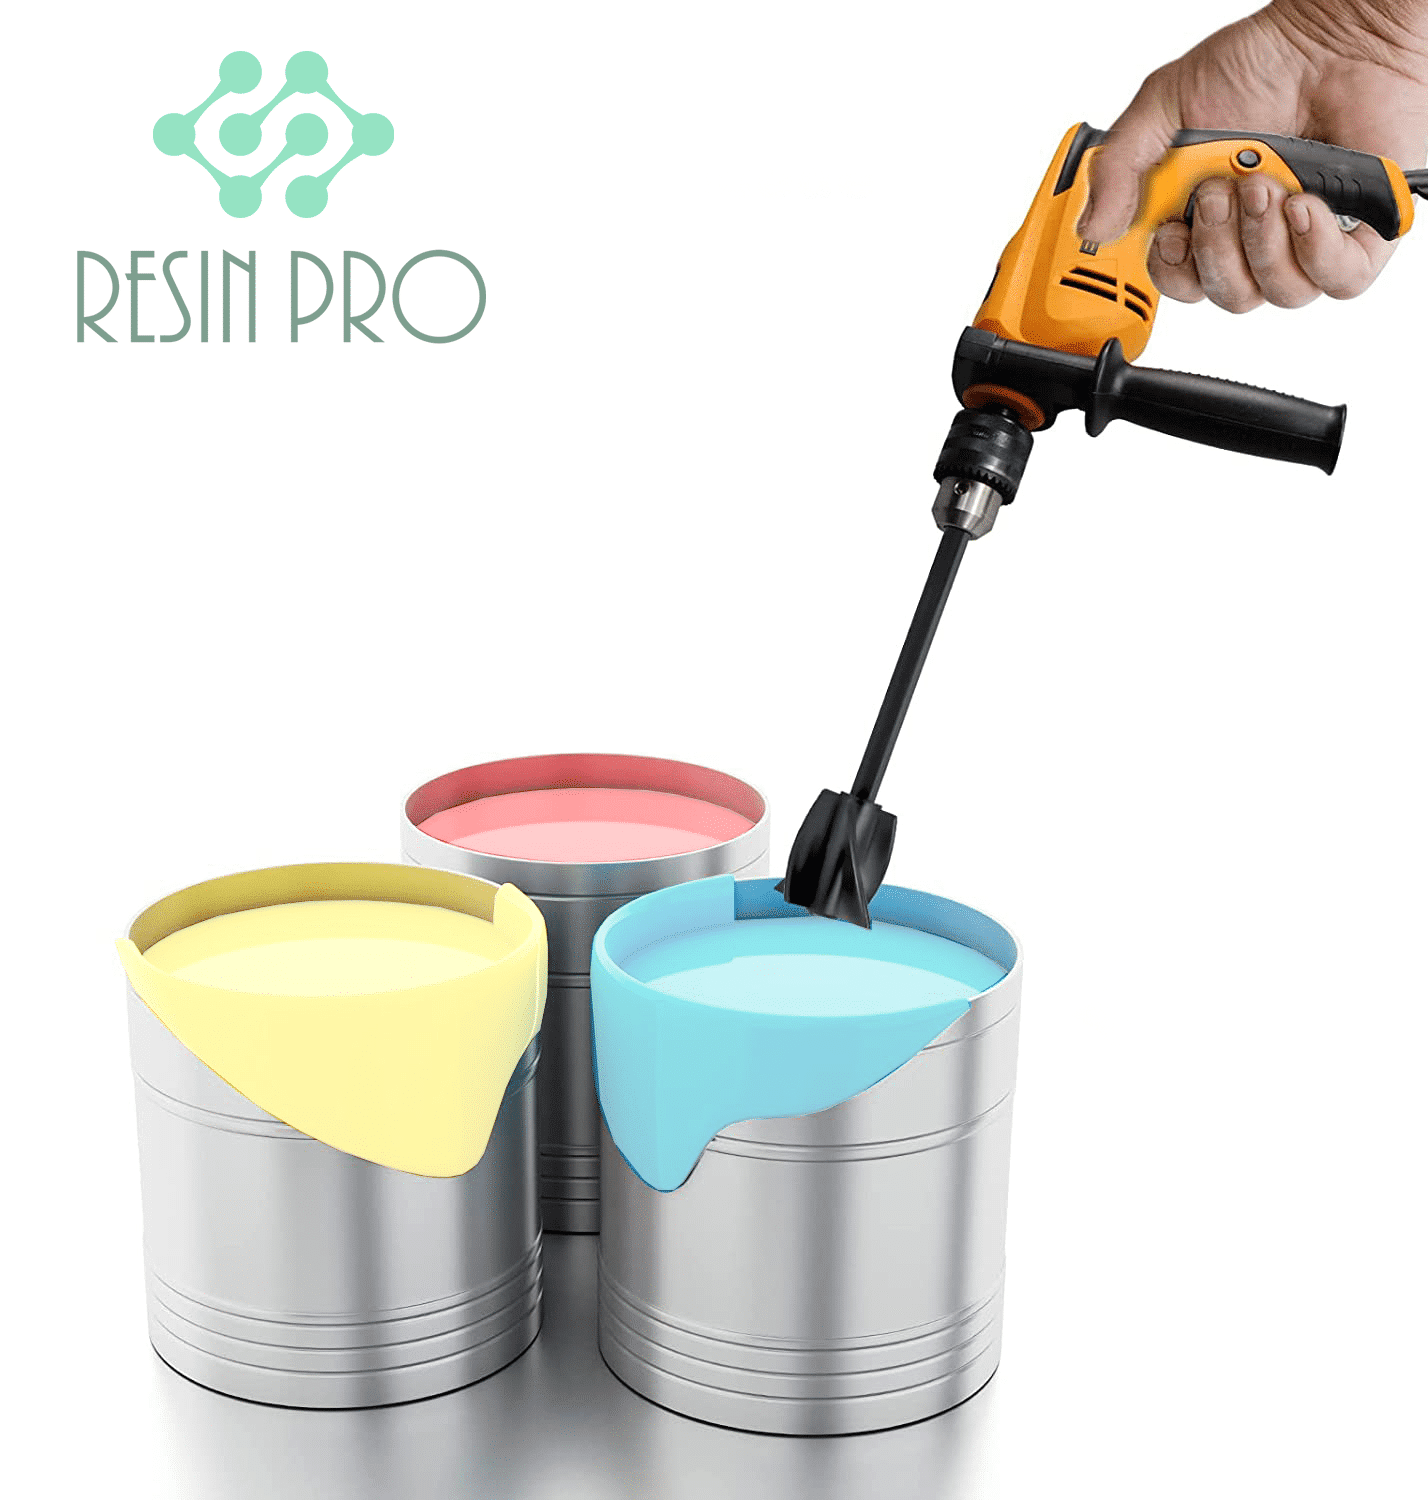
- Anti Bubble Mixer for Epoxy Resin – Reusable Mixing Tool: A specialised tool for gentle, effective mixing that limits air bubble formation.
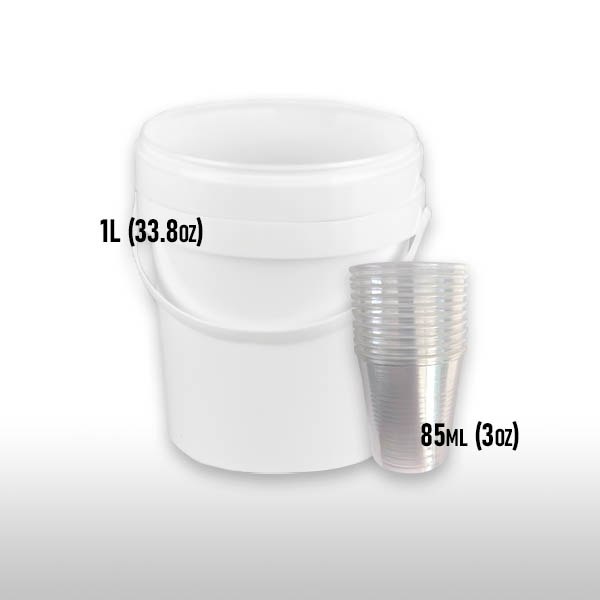
- Mixing Buckets Kit for Epoxy Resin Art – Easy Clean Flexible Design: Practical, flexible buckets for accurate and consistent resin mixing.
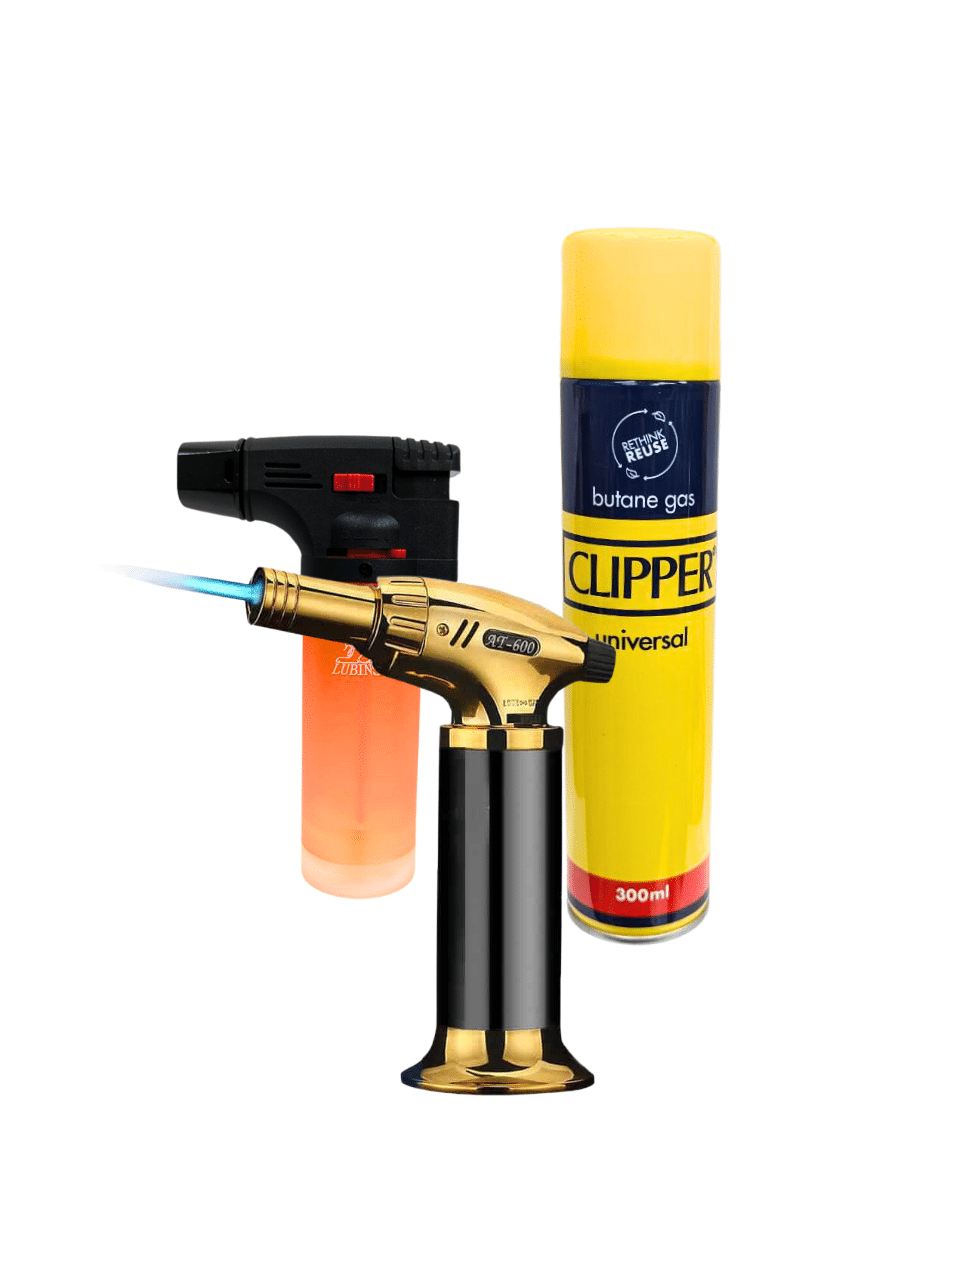
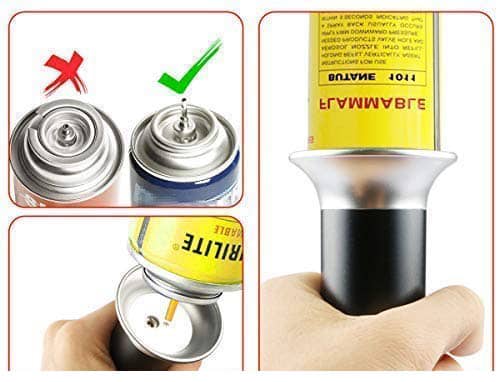
- Gas Heat Gun for Epoxy Resin – Precision Tool for Bubble Removal and Finishing: Offers controlled heat to help surface bubbles escape after pouring.
- Pure Isopropyl Alcohol 99.9% – 1000ml Bottle for Epoxy Resin Projects & DIY: For dispersing surface bubbles gently and enhancing clarity.
- Personal protective equipment: Gloves, goggles, and a ventilated workspace for safety.
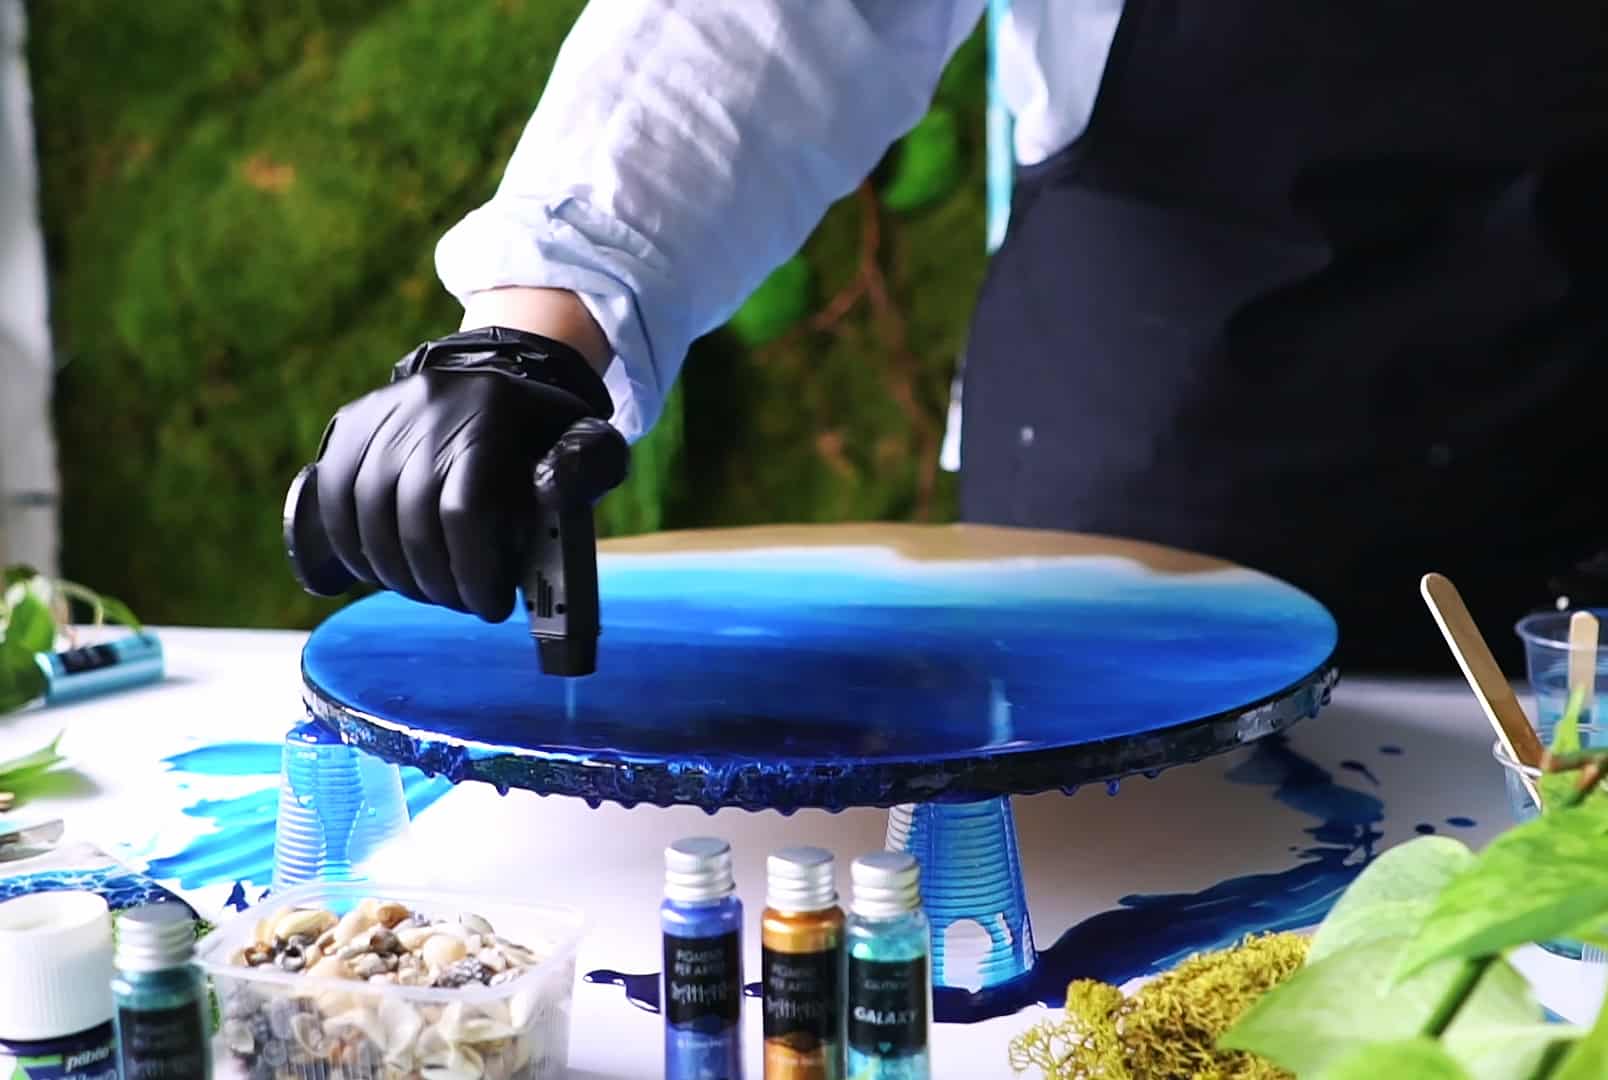
Visual Guide: Bubble-Free Resin Techniques
See hands-on demonstrations for mixing, pouring, and using gentle heat in your workspace. Notice the smooth, clear results achieved by low-speed mixing and proper bubble removal.
Step 1: Mix Your Resin Slowly and Carefully
Proper mixing is the foundation of bubble-free resin. Pour your resin and hardener into a flexible mixing bucket, following the proportions specified by the manufacturer. Always mix slowly and steadily to prevent bubbles. Vigorous or rapid stirring introduces excess air, which becomes difficult to eliminate later.
Consider using an Anti Bubble Mixer, designed with a gentle stirring motion that reduces agitation and air exposure. Scrape the sides and bottom frequently to ensure a uniform blend, and avoid circular whipping motions.

Step 2: Allow Resin to Rest
After mixing, let the resin sit in the container for a few minutes. This pause lets trapped air rise to the surface naturally. Skipping this brief rest can leave excessive bubbles when poured into your mould or onto your art surface.
Avoid tapping or excessively shaking the container, as this can reintroduce bubbles. Patience at this stage will reward you with a clearer pour.
Step 3: Pour Resin in a Thin Stream
When ready, pour your resin in a thin, continuous stream from a moderate height. This minimises the formation of new bubbles and gives those already present a chance to dissipate as they hit the target surface. Pouring too quickly or from a great height can trap more air.
If working with complex mould shapes, try pouring into the lowest point first and gradually filling up to reduce bubble entrapment along sharp corners.
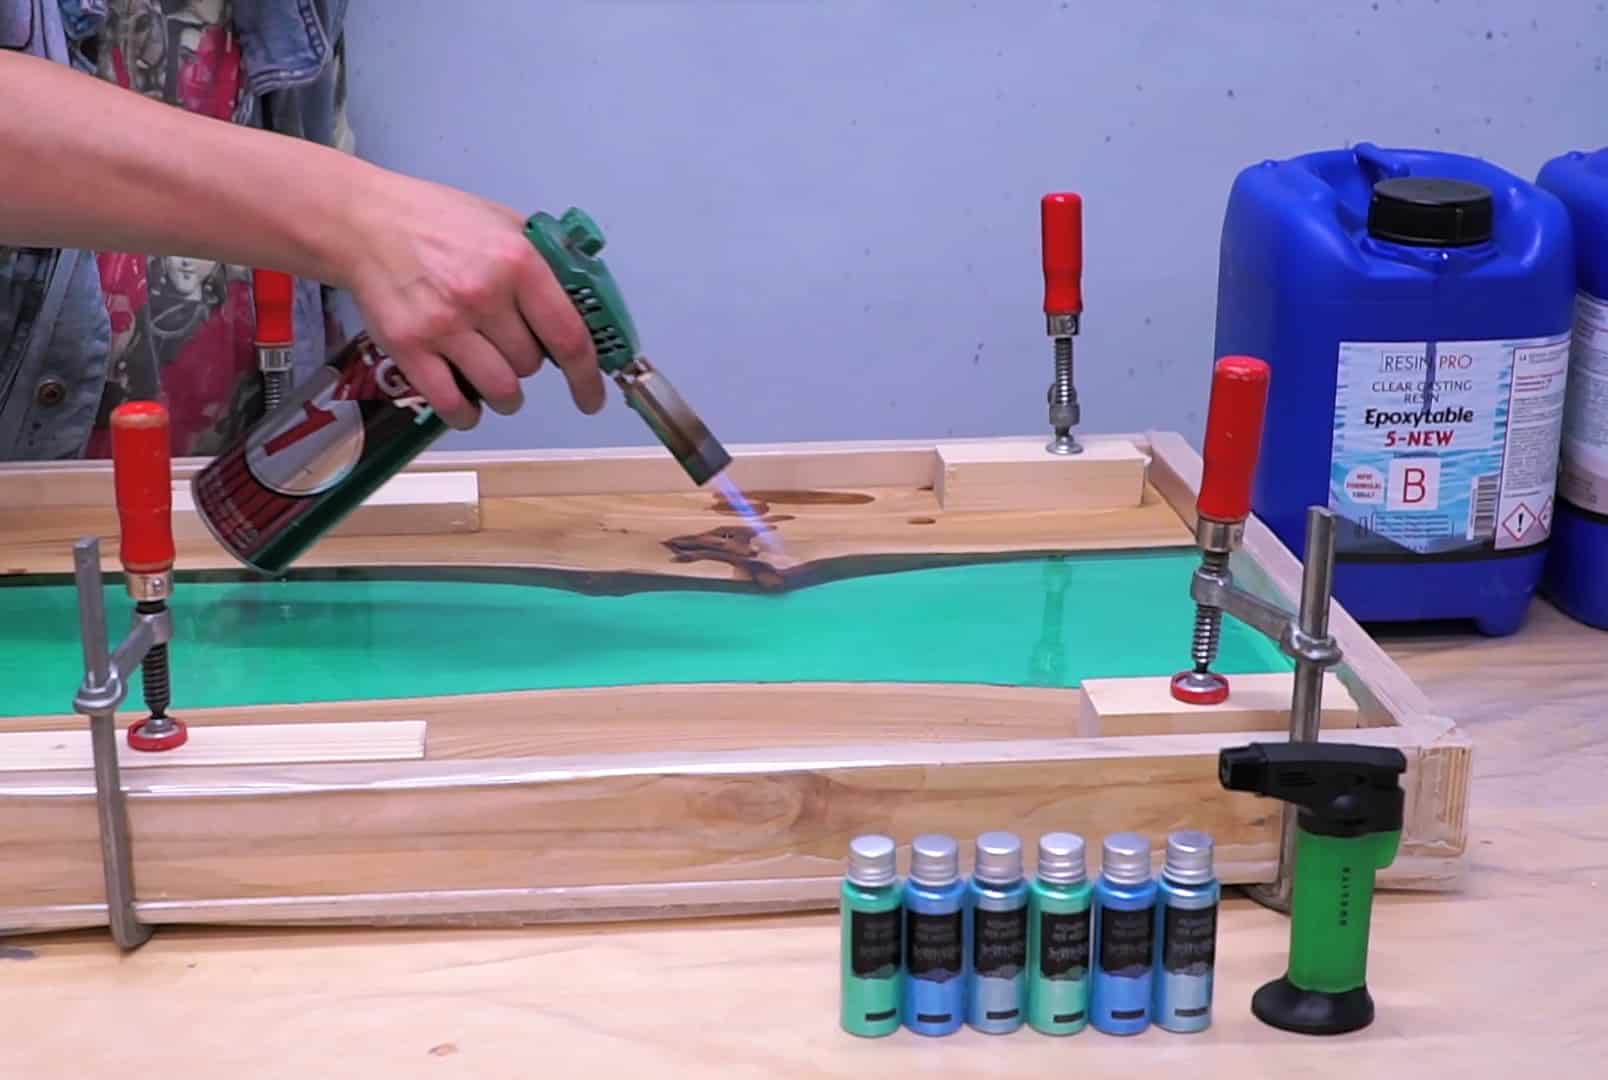
Step 4: Remove Surface Bubbles with Gentle Heat
Once your resin is poured, surface bubbles may still persist. Use gentle heat only after pouring the resin. A Gas Heat Gun for Epoxy Resin allows for precise, controlled heating—just sweep it briefly above the surface. The heat will help bubbles rise and pop, resulting in a glass-smooth finish.
Alternatively, spritzing a fine mist of Pure Isopropyl Alcohol across the surface can break surface tension, releasing smaller bubbles. Do not overheat or overspray, as excessive use may affect the resin’s clarity or curing.
Step 5: Inspect and Correct Before Curing
Conduct a final inspection within the open working time of your resin. Use a pin or toothpick to gently lift out any remaining stubborn bubbles. For larger or deeper pours, work in layers if possible—layered pours make it easier to address bubbles at each stage.
Keep your workspace dust-free, as debris can also become trapped and affect the finish.
Tips, Mistakes, and Troubleshooting for Bubble-Free Resin
- Avoid over-mixing, which can introduce more air and result in cloudiness.
- Bubbles trapped at the bottom are harder to remove later; take care early in the process.
- Always work in a warm room; cold resin is thicker and holds bubbles more stubbornly.
- Use proper PPE and ventilate the area, especially when using heat or alcohol-based products.
- Never use an open flame, which is unsafe and can damage resin clarity.
Close-Up: Tools in Action Against Resin Bubbles
Observe the Gas Heat Gun for Epoxy Resin and Anti Bubble Mixer as they work to release trapped bubbles. Effective use of these accessories leads to pristine resin finishes.
- Gas Heat Gun for Epoxy Resin – Precision Tool for Bubble Removal and FinishingPrice range: £4.45 through £14.95The Gas Heat Gun is a lightweight tool designed for efficient bubble reduction in epoxy resin projects.
- Anti Bubble Mixer for Epoxy Resin – Reusable Mixing ToolPrice range: £4.95 through £12.45The Anti Bubble Mixer is a reusable tool designed for epoxy resin mixing with a focus on reducing air bubbles and time spent.
- Pure Isopropyl Alcohol 99.9% – 1000ml Bottle for Epoxy Resin Projects & DIYPrice range: £10.45 through £20.95Pure Isopropyl Alcohol 99.9% is suitable for epoxy resin projects and assists in removing air bubbles and enhancing resin finishes.
- Mixing Buckets Kit for Epoxy Resin Art – Easy Clean Flexible DesignPrice range: £2.05 through £8.95Mixing Buckets Kit designed for ease of mixing epoxy resins with flexible, easy-clean features suitable for resin art.
Frequently Asked Questions
What are the best tools to remove air bubbles from resin?
Precision heat guns, anti-bubble mixers, and isopropyl alcohol sprays are all effective for bubble removal.
Can you use isopropyl alcohol to get rid of bubbles in resin?
Yes, a fine mist of pure isopropyl alcohol can help surface bubbles disappear quickly and cleanly.
How can I stop bubbles from forming when mixing resin?
Mix slowly with gentle tools and let the resin rest so trapped air can escape naturally.
Is it safe to use a heat gun on resin to remove bubbles?
Yes, as long as you use mild heat and maintain a safe distance from the resin surface.
What mistakes lead to more bubbles in epoxy resin?
Over-mixing, pouring too quickly, and working in cold conditions can increase bubble formation.
How long should I let resin stand after mixing to reduce bubbles?
Let it sit for three to five minutes to allow most air bubbles to rise to the surface before pouring.