 Free shipping on orders over £29,85
 Shipping Tracking!



 Google
 Facebook
How to achieve clean edges in waterproofing?
← Back to Waterproofing for caravan awnings
Quick answer
Clean edges in waterproofing are usually created by applying a water-resistant masking tape to the surrounding area before any resin or PU coating is introduced, then removing the tape promptly after application. This simple sequence keeps the coating inside the intended zone and reduces the risk of feathering, smudges or uneven borders. The method is particularly useful on caravan awnings, where adjoining sections often need a crisp divide between sealed and unsealed surfaces.

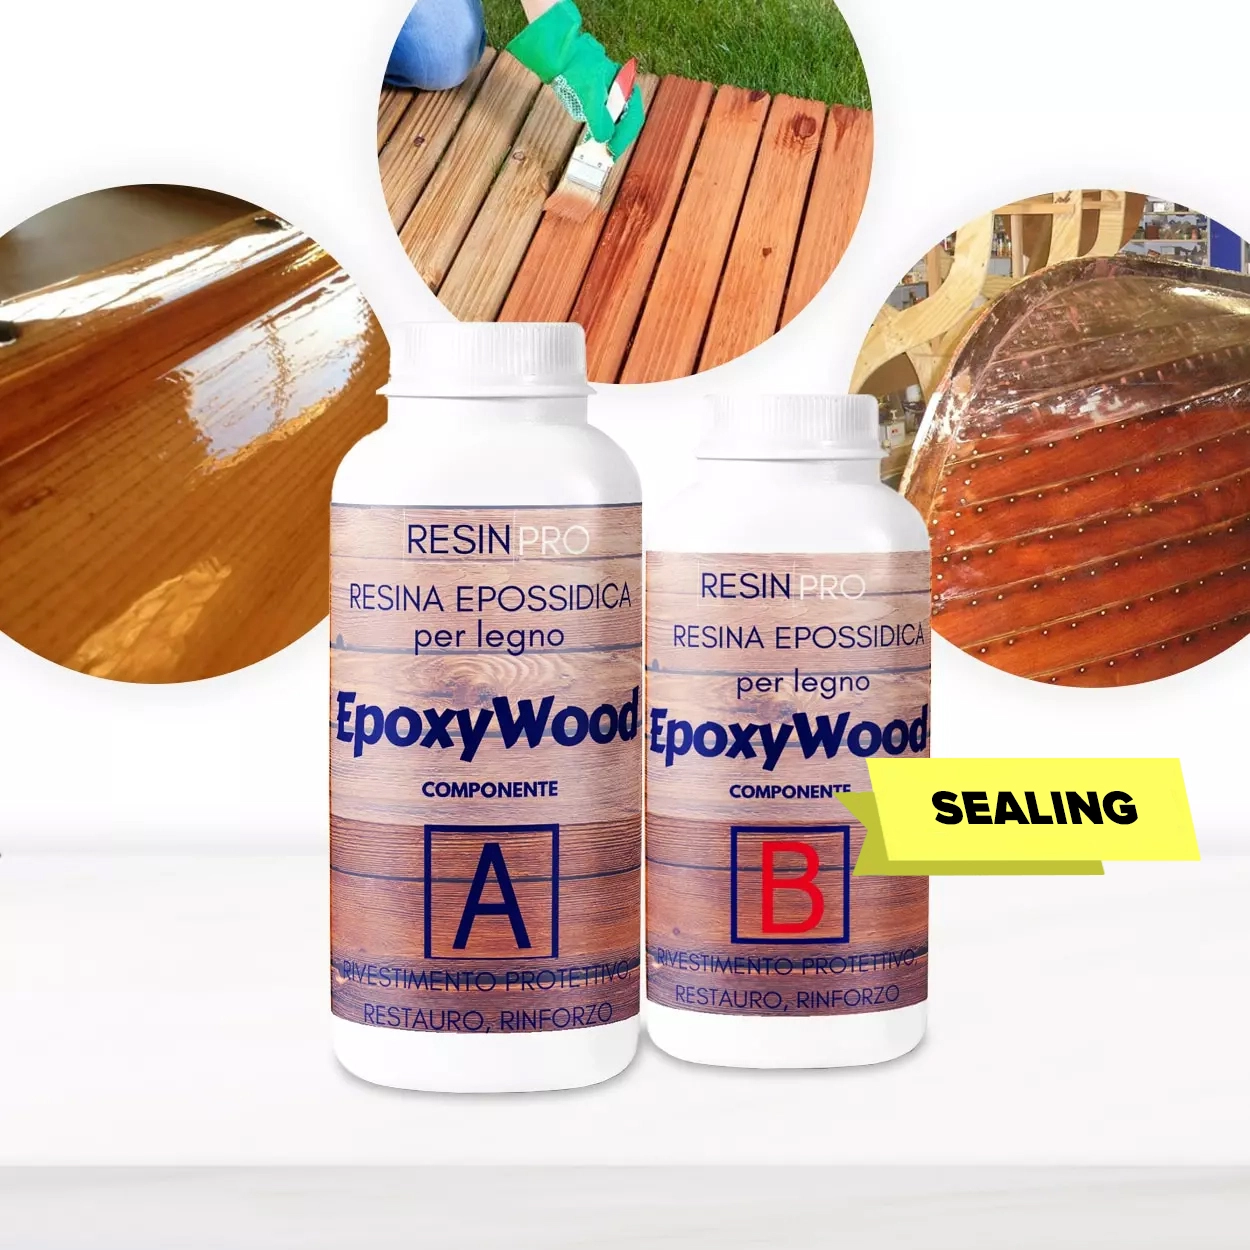
For caravan awning projects, a tidy edge can make the difference between a finish that looks deliberately sealed and one that looks patchy. The process below covers everything from cleaning and tape choice to removal timing, with practical pointers on products that support the job.
Prepare the surface before masking
Clean edges start long before the coating is applied. Wipe the area to remove loose dirt, grease and moisture, and check that the surface is sound. If a previous sealant has become brittle or uneven, lightly sand it back so the new coating can meet a consistent line.
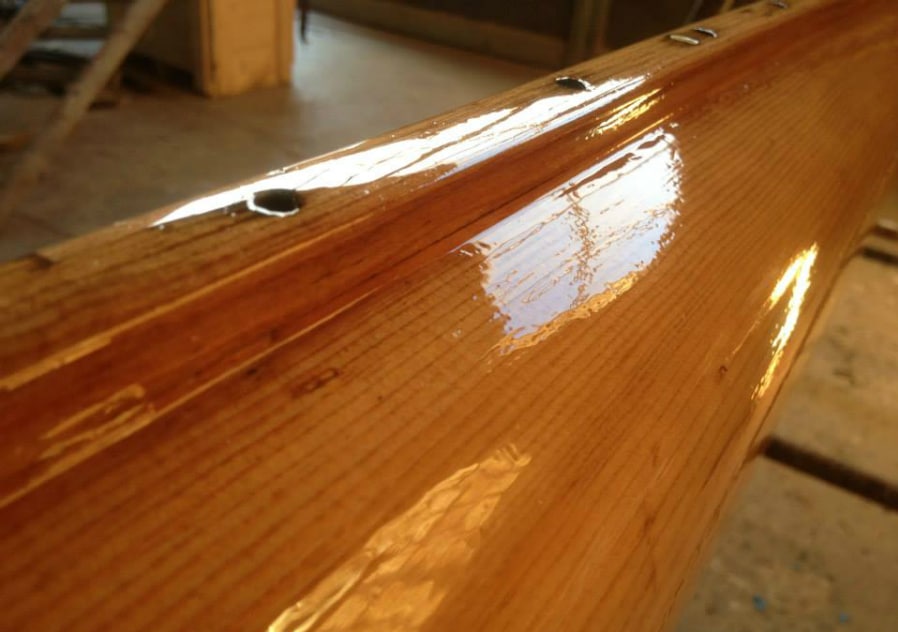
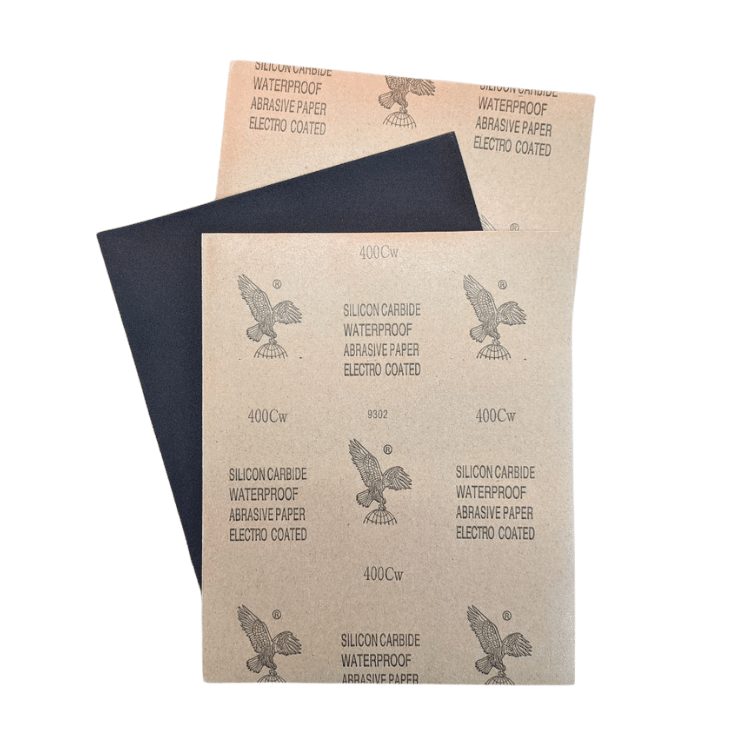
Suitable waterproof abrasive paper, such as A4 waterproof sanding paper, can be used wet or dry to smooth resin, wood or existing coated surfaces without creating excessive dust. Work up through the grits rather than jumping to a coarse finish.
Mask, coat and remove promptly
Choose a tape that can handle moisture and moderate heat. A low-tack, water-resistant masking tape is generally the safer option because it presses down firmly but peels away without leaving a residue. Run your fingernail or a flexible spreader along the tape edge to stop coating from creeping underneath.
- Apply the tape only to clean, dry surfaces.
- Before coating, press the inner edge down firmly.
- Remove the tape once the resin or PU coating is skinned but still slightly flexible; prompt removal typically produces a sharper edge.
For a PU topcoat on larger awning panels or adjacent materials, a product like Prolux PU coating gives a smooth waterproof finish that responds well to masked lines when applied in thin, even passes.
When this matters
Clean edges become more important when a waterproofing line crosses visible joints, trims or colour changes. On a caravan awning, a wobbly boundary can collect water, draw the eye and make the repair look unfinished. The same principle applies to floor edges, window surrounds and any patch where one finish meets another.
Spending a little extra time on taping and removal is usually cheaper than sanding or scraping a hardened overrun later.
Related products
Related guides
Once the edges are sharp and the coating has cured, the sealed area is better positioned to resist moisture at the point where it matters most. For more guidance on selecting the right sealers and coatings for outdoor fabric or rigid panels, revisit the waterproofing for caravan awnings page to build a complete approach.