 Free shipping on orders over £29,85
 Shipping Tracking!



 Google
 Facebook
How to clean and polish transparent resin objects
Guide to restoring clarity and achieving a glossy resin finish


Crystal clear resin objects can lose their stunning finish over time, accumulating dust, fingerprints, or developing tiny scratches through everyday handling. Cleaning and polishing transparent resin is essential for preserving brilliance, restoring clarity, and extending the life of your handmade or cast resin creations. This guide walks you through all the practical steps, best practices, and essential materials to bring dull resin surfaces back to a flawless, glossy shine—whether you are working on jewellery, art pieces, or functional items.

What You’ll Need
- Strong Technical Degreaser for Resin Projects – 100% Natural Formula – for safe, residue-free cleaning before any sanding or polishing.
- Pure Isopropyl Alcohol 99.9% – 1000ml Bottle for Epoxy Resin Projects & DIY – to remove fine particles and prepare the surface for a perfect finish.
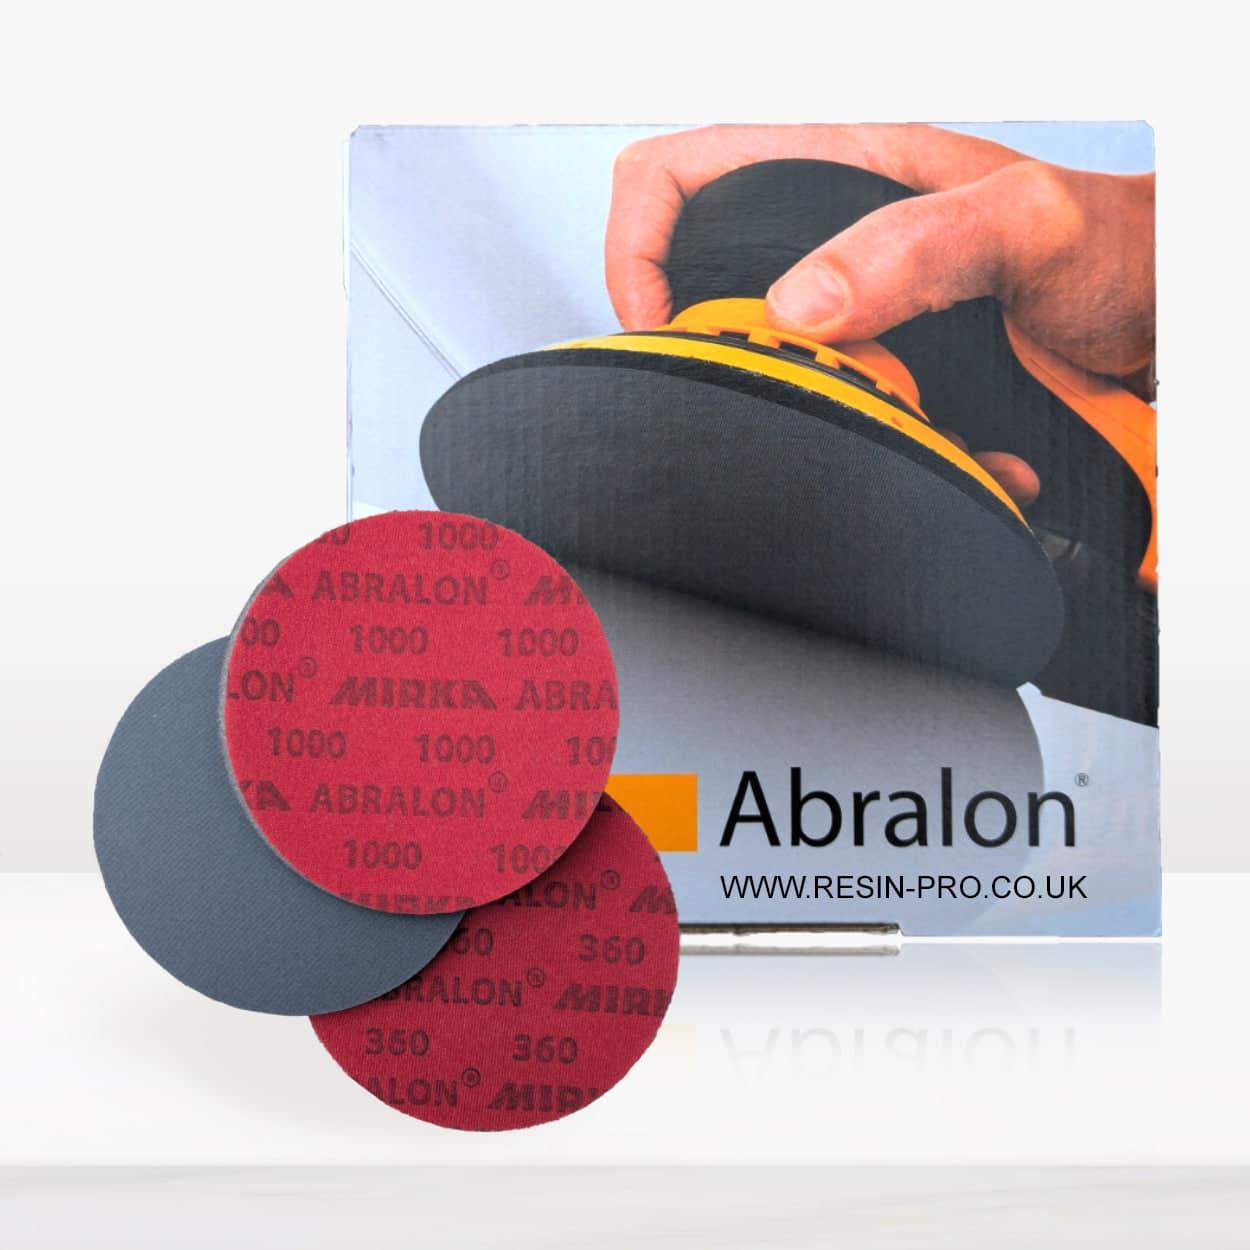
- “Ebonite Abralon” – Sanding Pads 360-4000 Grit for Resin and Wood – for controlled, progressive sanding of surface scratches or casting lines.
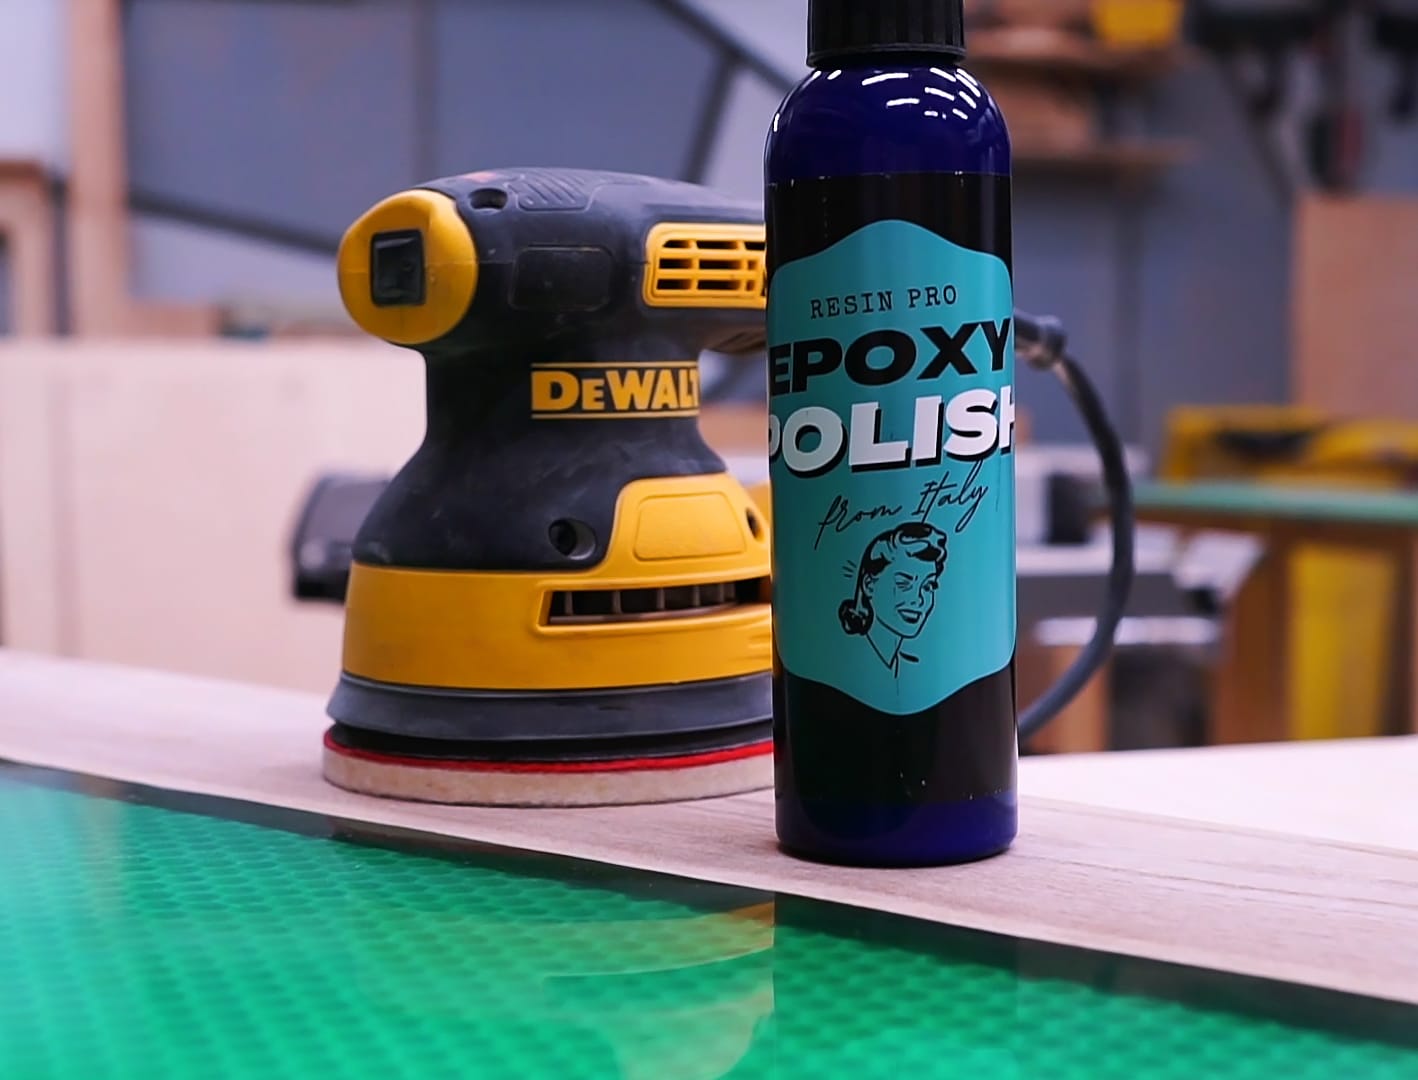
- “Epoxy Polish” – Epoxy Resin Polishing System – for rejuvenating the surface to a high-gloss, professional finish.
- Soft, lint-free cloths or paper towels
- Disposable gloves and protective eyewear
- Dust mask (when sanding)
- Rotary polishing pad (optional for large, flat surfaces)

Essential Materials for Cleaning and Polishing Resin
Selecting the right cleaning agents, sanding pads, and polishing compounds ensures optimal results for transparent resin objects. Use natural degreasers and pure isopropyl alcohol for residue-free preparation, then progress to resin-specific sanding and polish kits for a crystal clear finish.
Step 1: Pre-Clean Your Resin Object
Begin by gently removing surface dust and loose particles from your resin object. Simply rinse with lukewarm water and use a mild, non-abrasive soap. Avoid harsh sponges as they can dull the finish.
For resin pieces exposed to greasy fingerprints or silicone residues, a dedicated degreaser is ideal. Always work in a well-ventilated area and use protective equipment. Allow your item to dry completely before advancing to sanding or polishing.
To ensure the object is truly free from oils and residues, a final wipe-down with a high purity isopropyl alcohol will leave the surface pristine and ready for further steps.
Step 2: Sand Away Imperfections
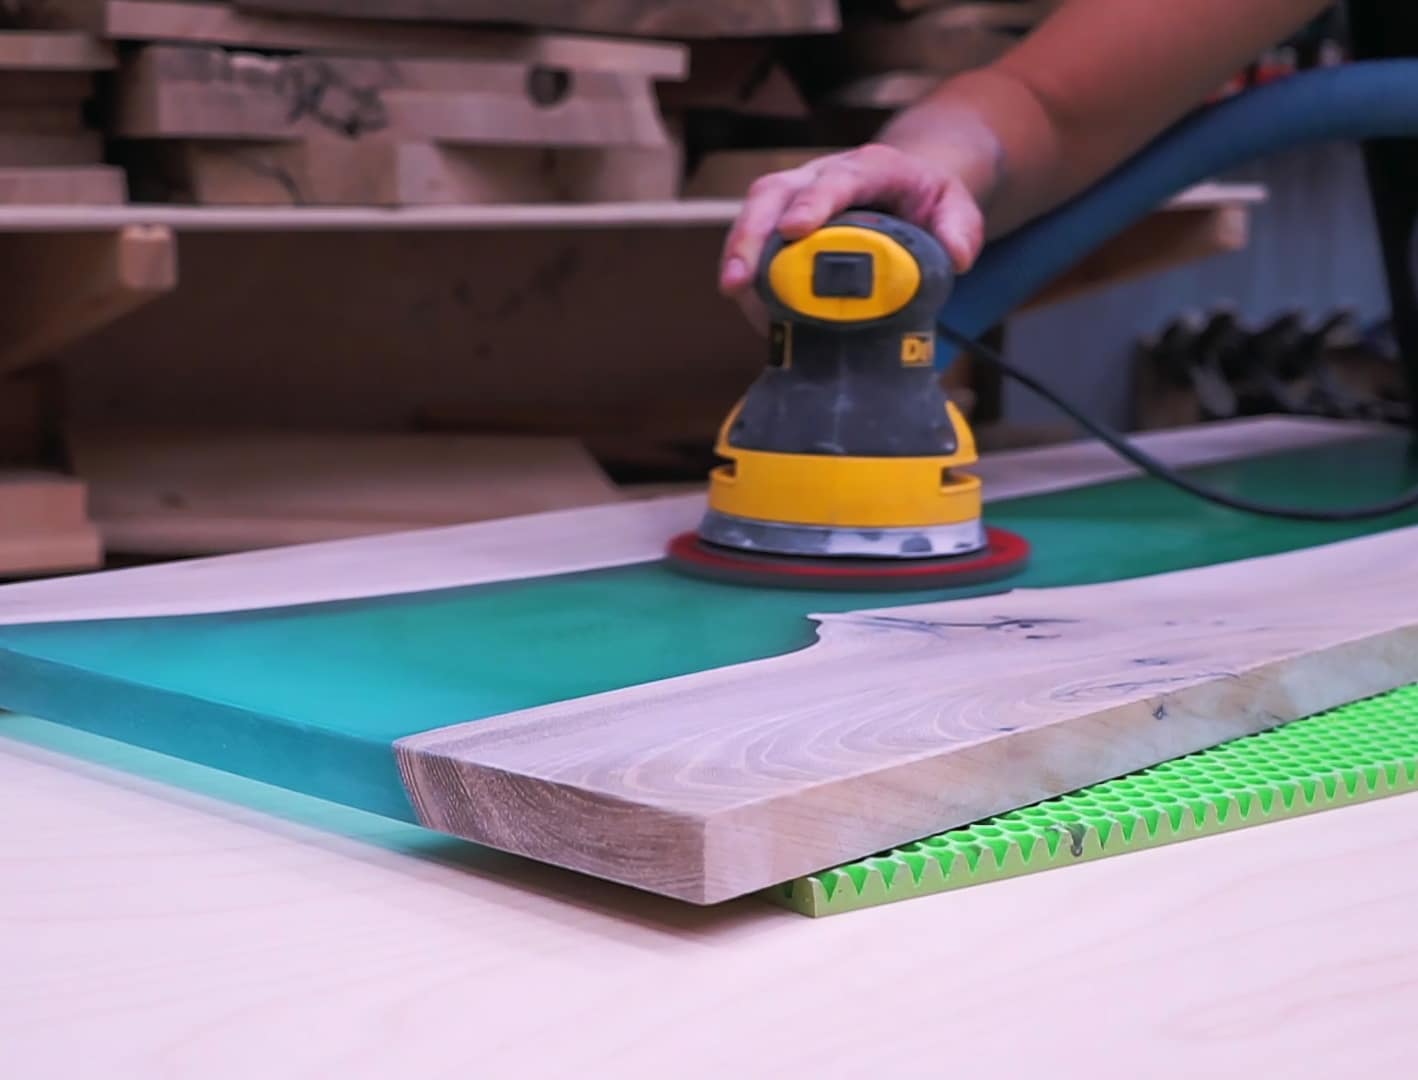
If your transparent resin has minor scratches, casting marks, or unevenness, smoothing the surface is essential before attempting to polish. Sanding must be performed with gradual grit progression. Always start with the lowest necessary grit and move to finer grits—rinsing and wiping between each stage to remove sanding debris.
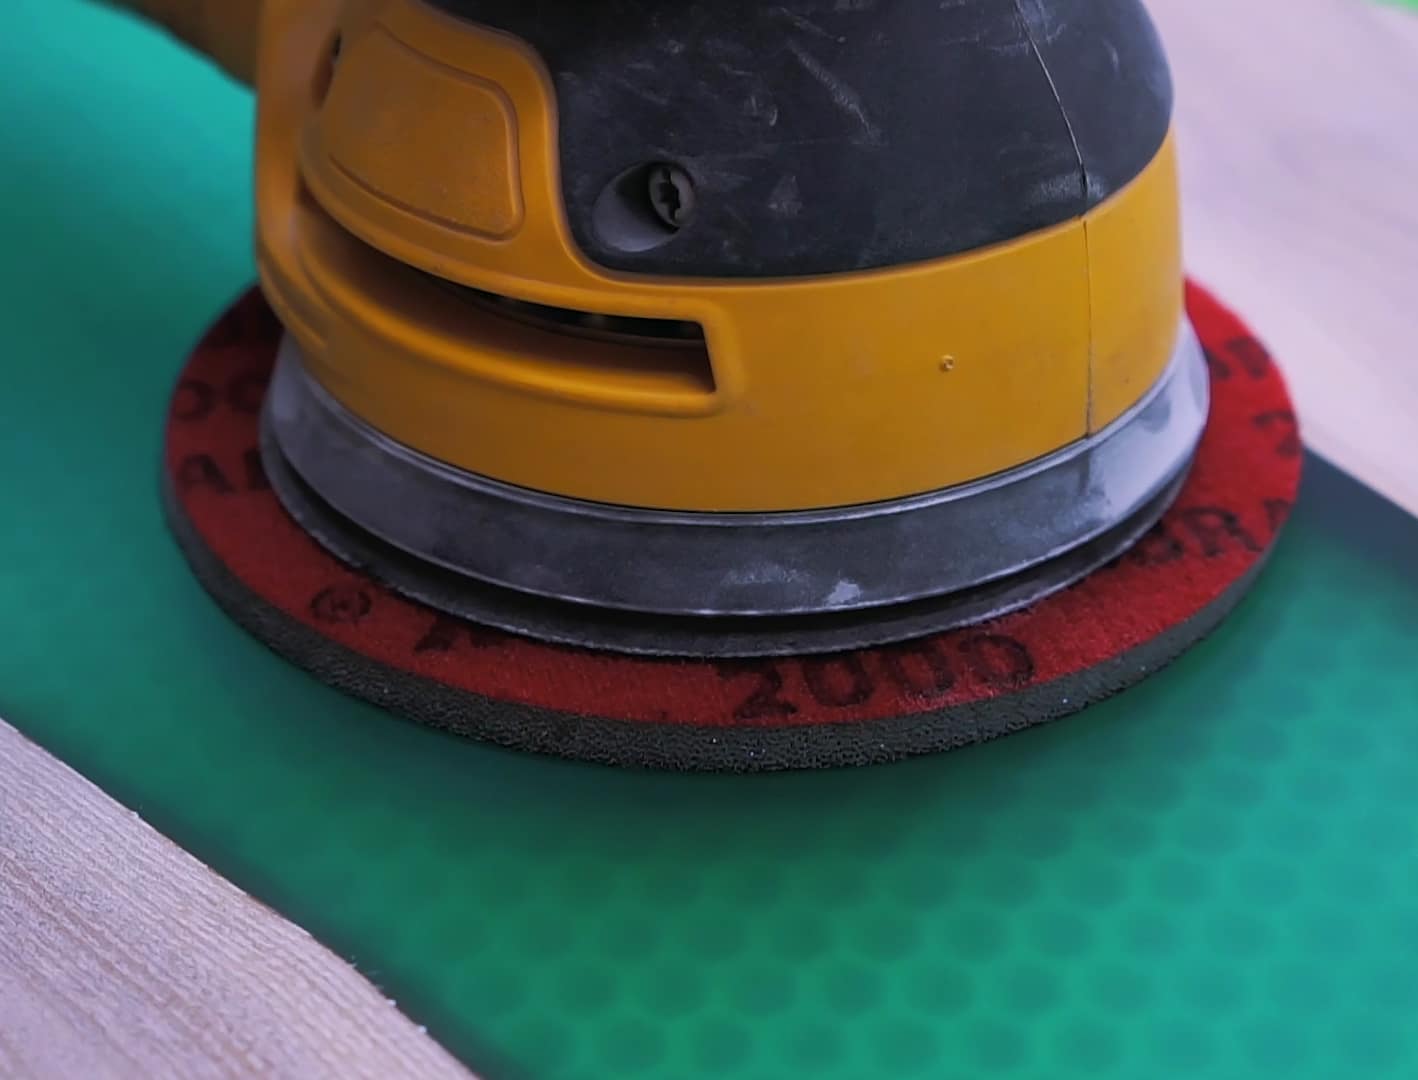
Lightly moisten sanding pads for wet sanding, reducing clogging and minimising dust. Use even, gentle pressure, and sand in a consistent pattern to avoid creating waves. For areas with deeper defects, take your time and do not skip grits as this can lead to visible marks in the final finish.
Step 3: Polish and Restore Gloss
Once your resin is silky-smooth, it’s time to restore clarity and brilliance. Apply a pea-sized amount of resin-specific polish with a soft cloth or applicator pad. Work in small sections and use a circular motion to enhance shine.
Machine polishing with a rotary pad delivers rapid, professional results, especially on larger or flat items. For intricate or smaller pieces, a hand application is often more precise. Over-polishing can lead to surface haze. Stop once the desired gloss is achieved.
Wipe away any residue with a clean, dry cloth, revealing a flawless, crystal clear finish.
Step 4: Final Inspection and Maintenance
Carefully check your resin object from multiple angles under good lighting. If any matte patches or swirl marks remain, repeat the polishing process on those spots. Use soft, lint-free cloths for drying and buffing.
For maintenance, gentle cleaning with soapy water and periodic light polishing will help your object stay brilliant. Avoid abrasive materials and direct exposure to strong UV light, which can dull the clarity of transparent resin over time.
Tips and Troubleshooting for Clear, Glossy Resin
- Always clean thoroughly before sanding or polishing to avoid embedding dirt into the surface.
- Avoid cross-contamination of sanding debris. Change water or cloths between grits.
- If your object still appears foggy, double-check grit progression or repeat the final polish gently.
- Take special care with edges and corners—these are prone to over-sanding.
- Store finished items away from excessive heat or direct sunlight to maintain clarity.
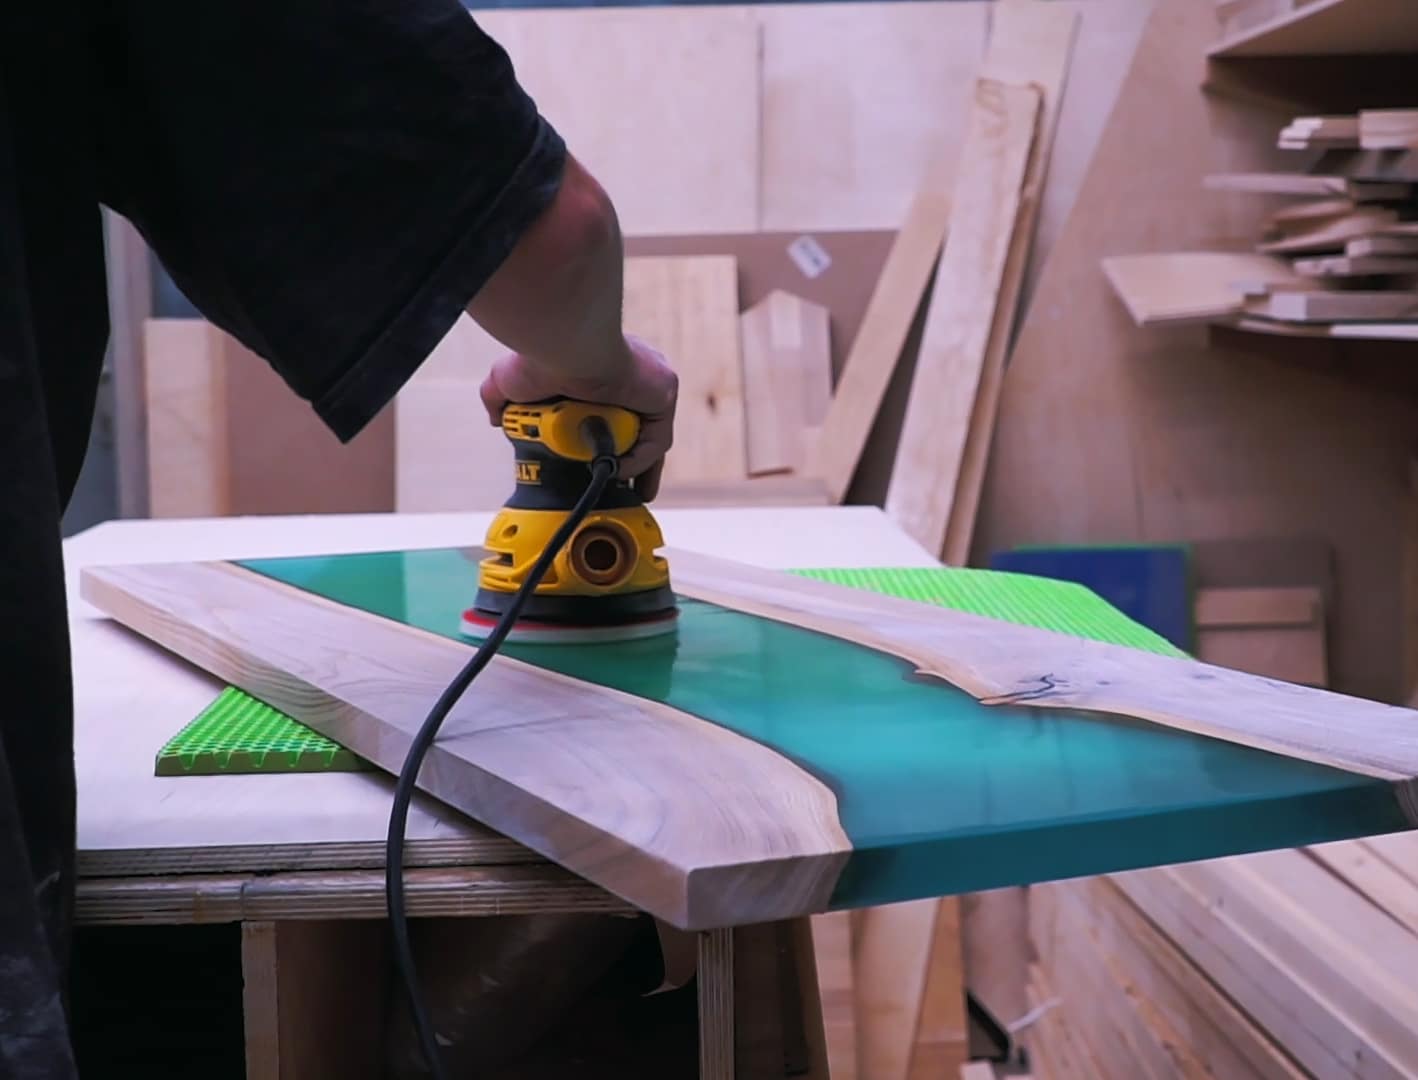
Polishing Techniques and Surface Care
Consistent technique is key: Sand in one direction before switching to a finer grit, polish in circular movements, and always check your work in good light. Maintain your transparent resin items with gentle cleaning and occasional touch-up polishing to keep them looking pristine.

- "Epoxy Polish" – Epoxy Resin Polishing SystemPrice range: £18.95 through £47.45"Epoxy Polish" is designed for polishing epoxy resin and similar materials, suitable for achieving a glossy finish following the theme of cleaning…
- "Ebonite Abralon" – Sanding Pads 360-4000 Grit for Resin and Wood£4.15"Ebonite Abralon" sanding pads suit detailed finishing of resin and wood surfaces within the theme of cleaning and polishing transparent resin.
 Strong Technical Degreaser for Resin Projects – 100% Natural FormulaOriginal price was: £10.95.£9.45Current price is: £9.45.Strong Technical Degreaser is designed for effective and gentle cleaning of epoxy resin and various surfaces in resin projects.
 Pure Isopropyl Alcohol 99.9% – 1000ml Bottle for Epoxy Resin Projects & DIYPrice range: £10.45 through £20.95Pure Isopropyl Alcohol 99.9% is used in epoxy resin projects for bubble removal and cleaning, aligning with resin object cleaning and polishing.
Frequently Asked Questions
What is the safest cleaner for transparent resin surfaces?
A natural, solvent-free degreaser or pure isopropyl alcohol is safe and effective for resin without risking damage or cloudiness.
Should resin always be sanded before polishing?
Only sand if there are surface defects or scratches. Polishing alone is fine on smooth, unmarked resin surfaces.
How do I prevent swirl marks when polishing resin?
Use a resin-specific polish, soft applicators, and clean between stages to avoid swirl marks and haze.
Is car or furniture polish suitable for epoxy resin objects?
It's best to use a polish formulated for resin to ensure a clear, swirl-free finish.
How frequently should transparent resin be cleaned and polished?
Routine cleaning with mild soap is enough; only polish when scratches or dullness appear.
Why has my resin gone cloudy after polishing?
Cloudiness usually means sanding was incomplete or there is residue. Re-sand with fine grit and polish again lightly.