 Free shipping on orders over £29,85
 Shipping Tracking!



 Google
 Facebook
How to polish resin objects to make them shiny
Guide to achieving a smooth, glossy finish on any resin project


If you want your resin art, jewellery, table tops or craft projects to have a stunning, glass-like shine, proper polishing is essential. This guide walks you through the steps required to bring dull or cloudy resin back to vivid clarity using safe techniques suitable for both beginners and seasoned makers. You’ll learn how to prepare, sand, and polish any resin piece for a flawless, high-gloss result.

What You’ll Need
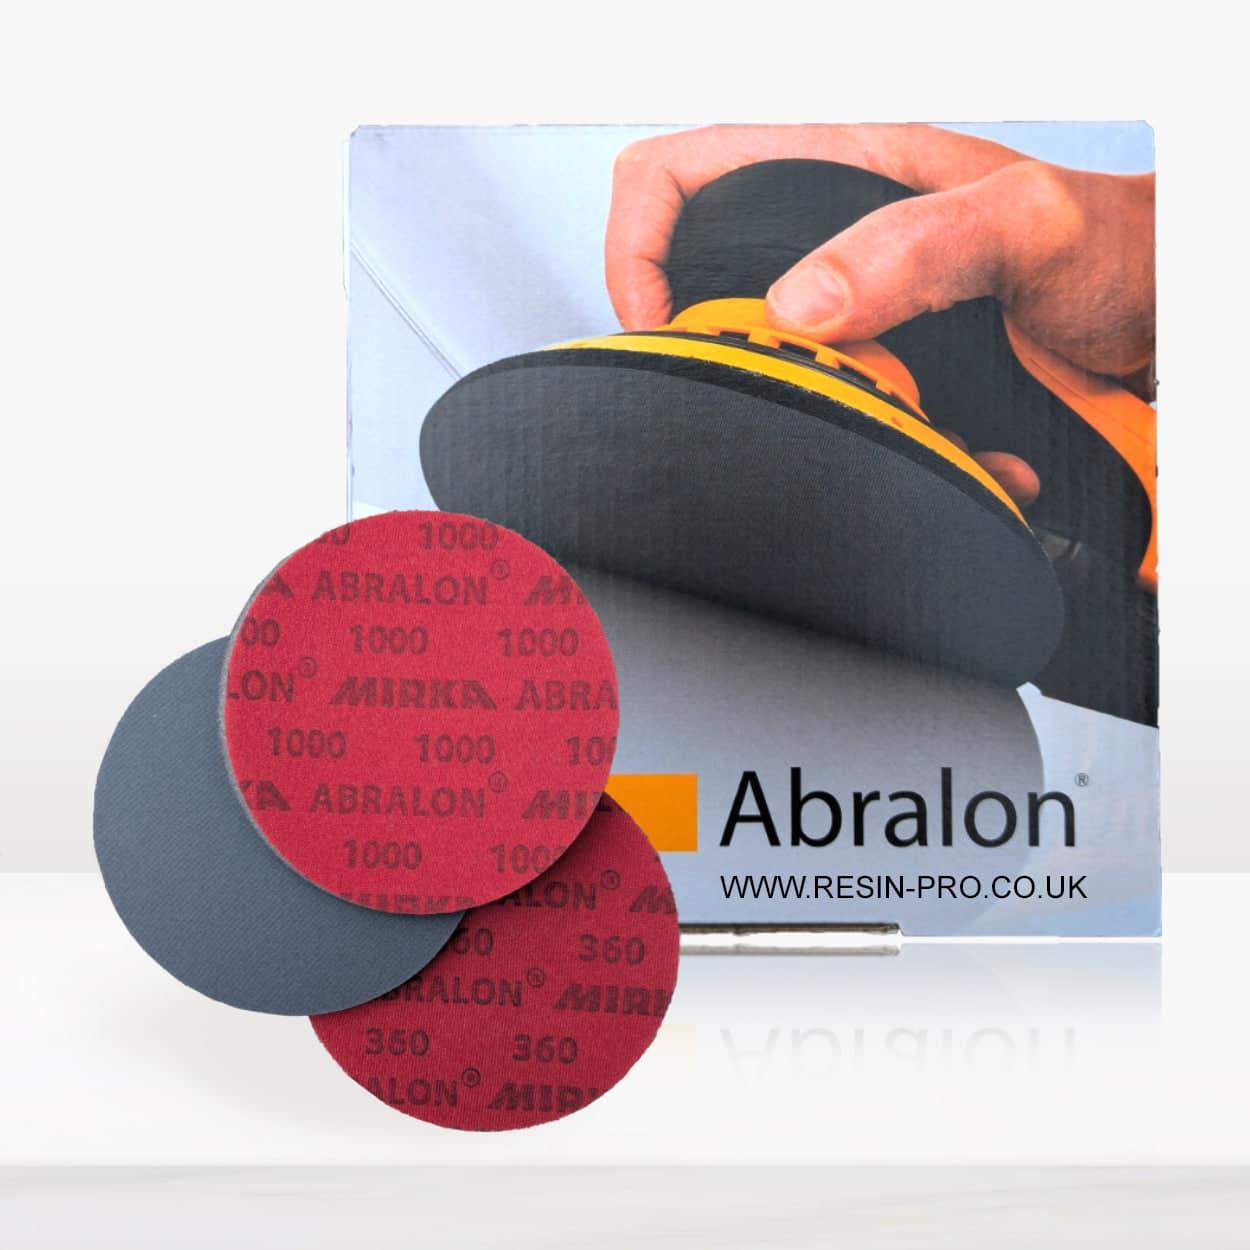
- “Ebonite Abralon” – Sanding Pads 360-4000 Grit for Resin and Wood – for gradual, controlled sanding
- 1200W Polisher for Sanding and Buffing – Variable Speed, D-Handle – for efficient, even polishing on larger pieces
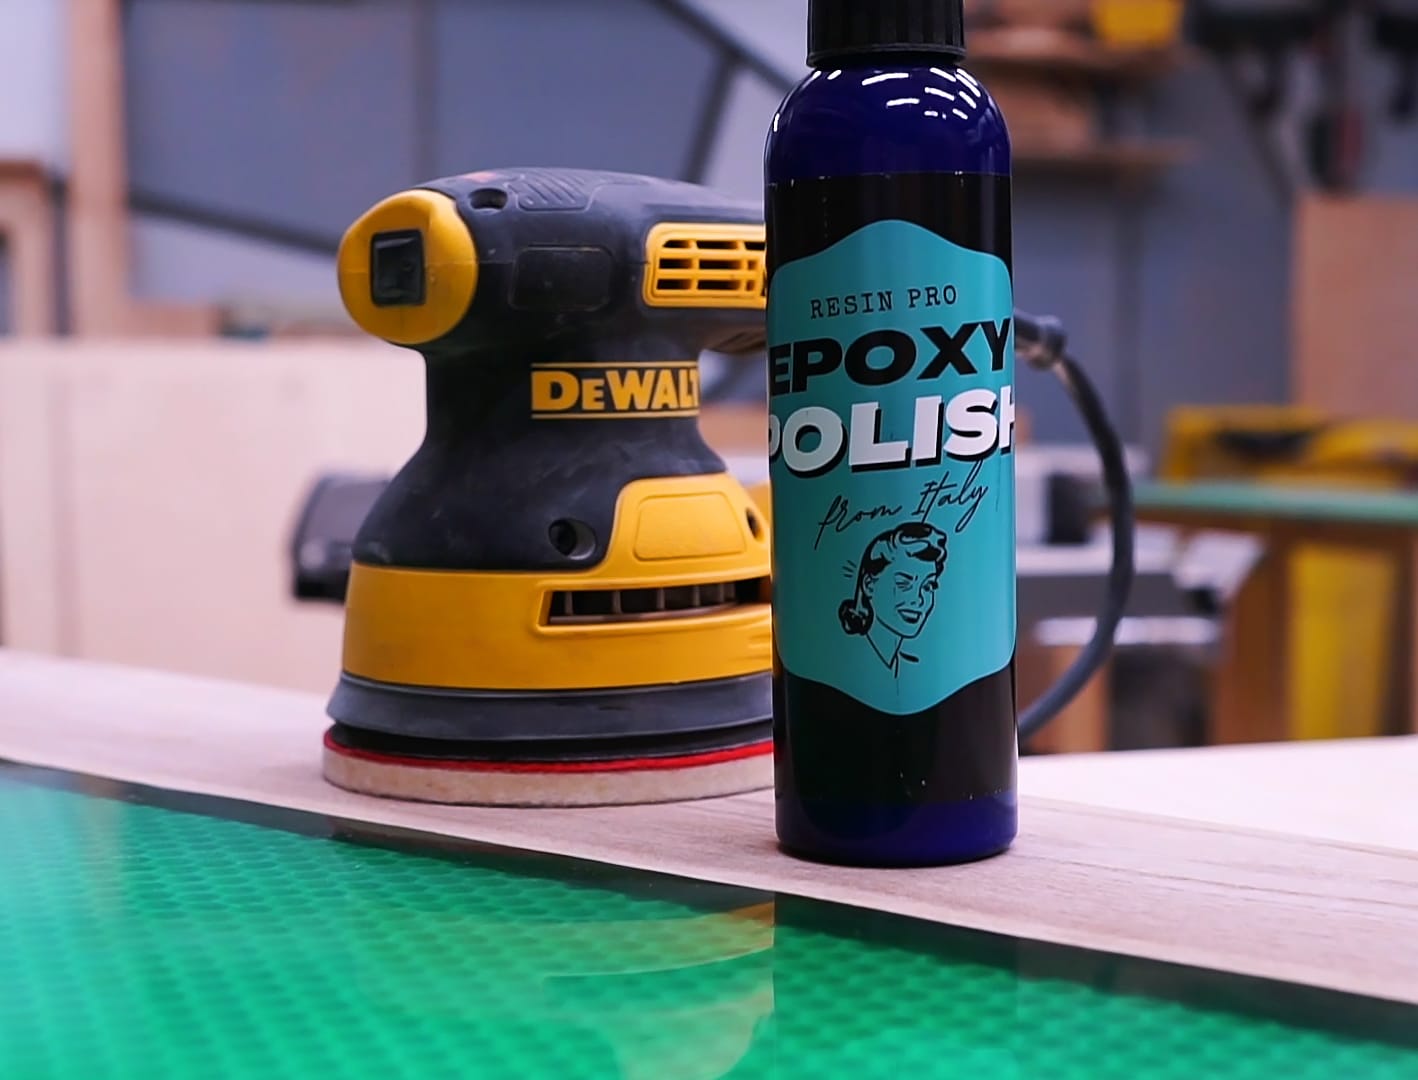
- “Epoxy Polish” – Epoxy Resin Polishing System – for a glossy, professional-grade finish
- “Carbon Polish” – Polishing System for Dark and Black Surfaces, 250ml – for dark-toned resin to avoid white residue
- Clean microfibre cloths, water spray bottle, and protective gloves

Step-by-step visuals for resin polishing
See examples of each sanding and polishing stage to help visualise the process. Close-up images reveal how surfaces transform from matte to brilliant shine with proper technique.
Step 1: Sand Your Resin Surface Evenly
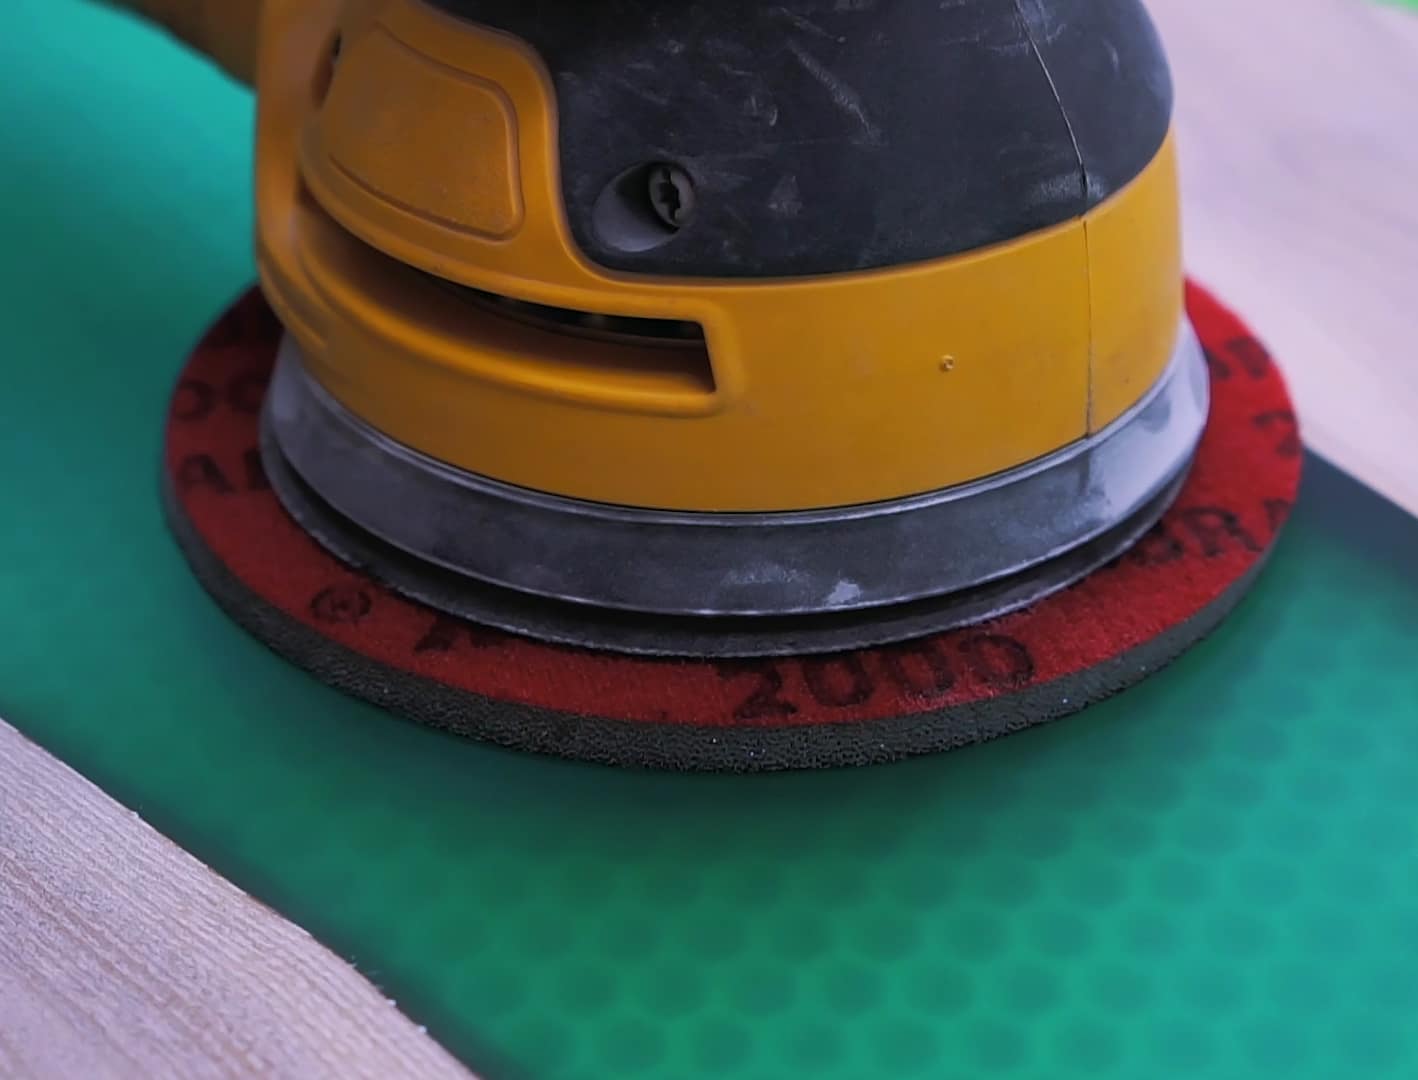
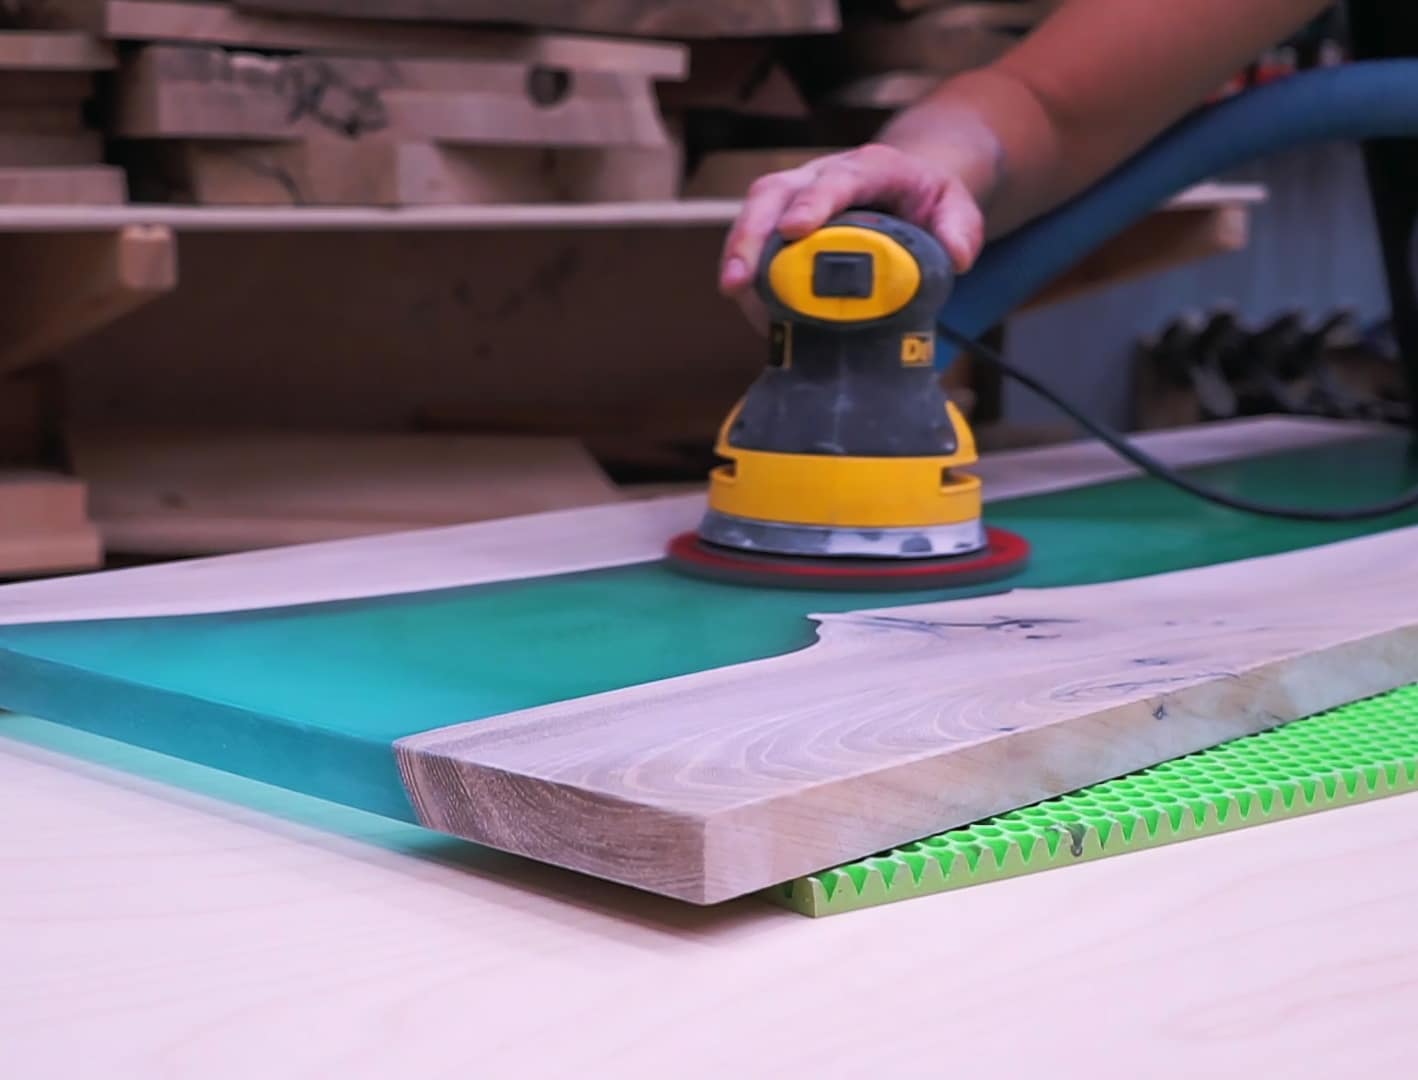
Start by ensuring the resin object is fully cured and free from dust or debris. Begin sanding using a coarse grit sanding pad (around 360 grit) to remove surface imperfections, marks, or unevenness. Sand in a circular motion, keeping steady but gentle pressure for a uniform finish.
Progress through finer grits (600, 1000, 2000 and up to 4000 as needed) to gradually refine the surface and remove scratches from the previous step. Wet sanding is strongly recommended at higher grits: spray a little water on the surface and the pad before moving to a finer grit. Wet sanding prevents scratches during the refining stages and helps to avoid heat build-up.
Do not rush grit progression with sanding pads. Failure to eliminate scratches at each stage can leave visible marks under the final polish.
Step 2: Select and Apply the Appropriate Polishing Cream
Once your resin surface is smooth and lightly matte, it’s time to apply polishing cream. For most standard or clear resin finishes, use a soft cloth or polishing pad with a dedicated formula like “Epoxy Polish” – Epoxy Resin Polishing System to remove haze and increase gloss.
If your project involves dark or black resin, opt for “Carbon Polish” – Polishing System for Dark and Black Surfaces, 250ml, which is designed to brighten these tones without leaving white streaks or residue.
Apply a small amount of cream to the pad or microfibre cloth and polish in small, circular motions. Cover the entire surface systematically. For deep scratches that persist through hand buffing, a motorised tool will help achieve perfect clarity.
Step 3: Buff Using Appropriate Tools for a Mirror Shine
For large or flat resin surfaces, use a dedicated machine such as the 1200W Polisher for Sanding and Buffing – Variable Speed, D-Handle to deliver an even, swirl-free gloss. Keep the tool moving steadily and do not apply excessive pressure – let the polish and the pad do the work.
With smaller or detailed objects, buff gently using a handheld pad or microfibre cloth, ensuring you reach all angles and corners. Always remove excess polish between applications with a clean, dry cloth to prevent streaking and build-up.
Repeat polishing and buffing steps as needed until the desired level of shine is achieved. Conduct a final visual check in bright light to spot missed areas.
Tips, Mistakes, and Troubleshooting
Allow sufficient curing time for resin before polishing to avoid sticky or cloudy results. Choose products suitable for dark or coloured resin to avoid unwanted residue on tinted projects. Test products on an inconspicuous area first if you’re unsure.
If surface dullness or haze remains after polishing, check if you skipped a sanding grit. Always use clean pads and cloths to prevent introducing fresh marks. For persistent scratches, step back to the previous grit and repeat the process carefully before re-polishing.
Remember to work in a dust-free, well-ventilated area and wear protective gloves and a mask if sanding or polishing for extended periods.
Common defects and advanced polish results
Examine real-world before and after photos of resin objects. Notice common issues such as haze, swirl marks or leftover scratches, and how the right technique and product create a crystal clear, mirror-like gloss.

- "Epoxy Polish" – Epoxy Resin Polishing SystemPrice range: £18.95 through £47.45"Epoxy Polish" is a system designed to rejuvenate resin surfaces to a glossy, mirror-like finish suitable for professionals and DIY use.
- "Ebonite Abralon" – Sanding Pads 360-4000 Grit for Resin and Wood£4.15Sanding pads suitable for detailed finishing on epoxy resin and wood, offering a range of grits for polishing to a satin finish.
 1200W Polisher for Sanding and Buffing – Variable Speed, D-Handle£90.451200W Polisher designed for sanding and buffing resin objects with variable speed and improved grip control.
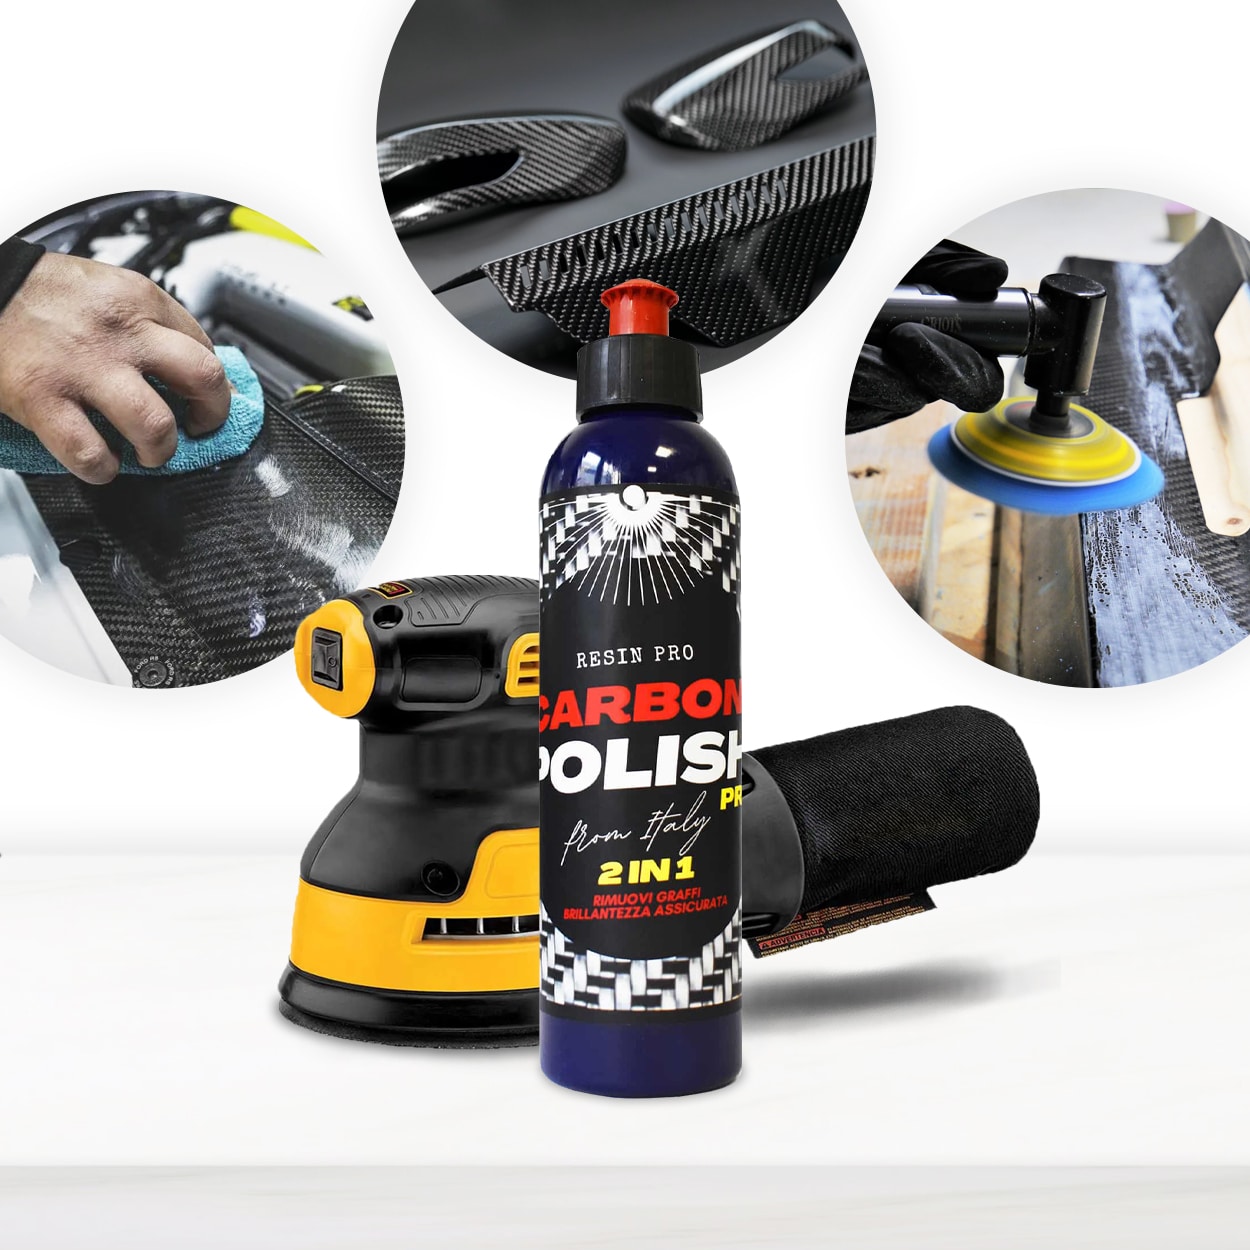 "Carbon Polish" – Polishing System for Dark and Black Surfaces, 250mlPrice range: £18.95 through £47.45Carbon Polish Black is designed for polishing dark surfaces like epoxy resin, providing a clear, residue-free finish in a polish-focused theme.
Frequently Asked Questions
When should I polish versus re-sanding resin?
If visible scratches or unevenness remain after polishing, start at the last sanding grit that removed all marks before polishing again.
What sanding grit should I begin with on resin objects?
Begin with 360 or 600 grit for removing casting marks. Use finer grits as the surface smooths before moving to polish.
Is a machine polisher necessary for shiny resin?
Hand polishing works for small items, but machine polishers ensure better results and even pressure on larger surfaces.
How can I avoid haze or cloudiness while polishing resin?
Remove all sanding marks before polishing and use a polish designed for resin. Work in a dust-free space and wipe residue thoroughly.
Must resin be wet-sanded ahead of polishing?
Wet sanding with high grit pads is highly recommended as it helps reduce deep scratches and prepares the surface for a high-gloss polish.
Is a specialised polish needed for dark or black resin?
Yes, using a dedicated dark surface polish prevents white marks and enhances clarity on black or coloured resin.