 Free shipping on orders over £29,85
 Shipping Tracking!



 Google
 Facebook
How to Prevent Leak Repair Failure in Motorhomes
← Back to Preventing Water Leaks in Motorhomes
Quick answer
Durable motorhome leak repairs are achieved by combining correct surface preparation, accurate mixing and application, and sufficient cure time before exposure to moisture. When one stage is rushed or skipped, the repair may look sound initially but fail once the vehicle returns to movement or weather. This is particularly true on panels that flex, are washed, or sit outdoors in changing temperatures.

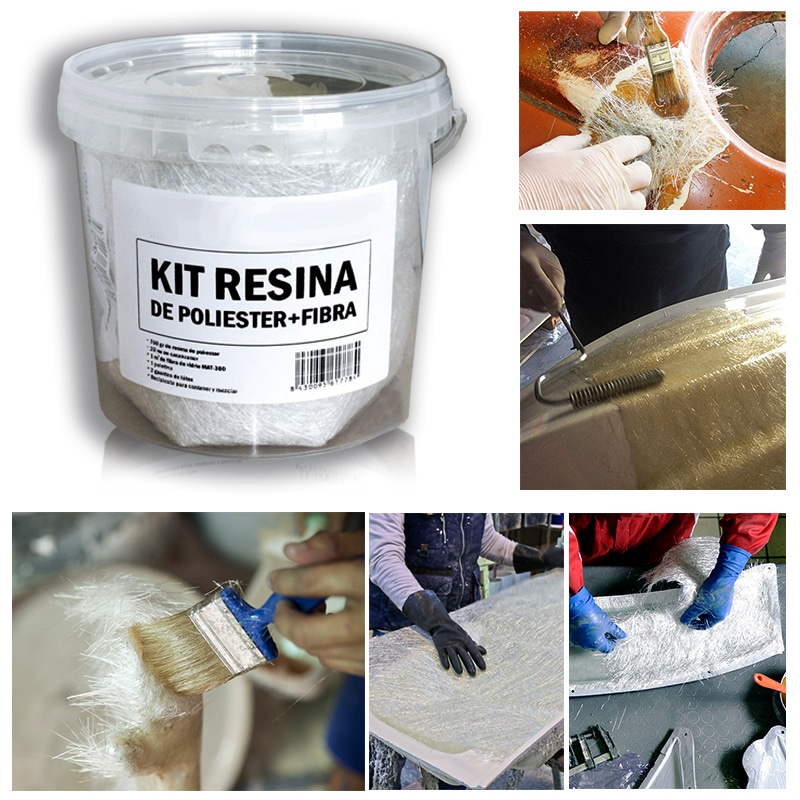
Many early repair failures in motorhomes are not caused by the materials themselves, but by avoidable preparation or timing errors. Using a complete kit such as the Resin Fibreglass Repair Kit can simplify the process because resin, hardener and mat are already matched, but the same discipline still applies to any repair.
Prepare the repair area properly
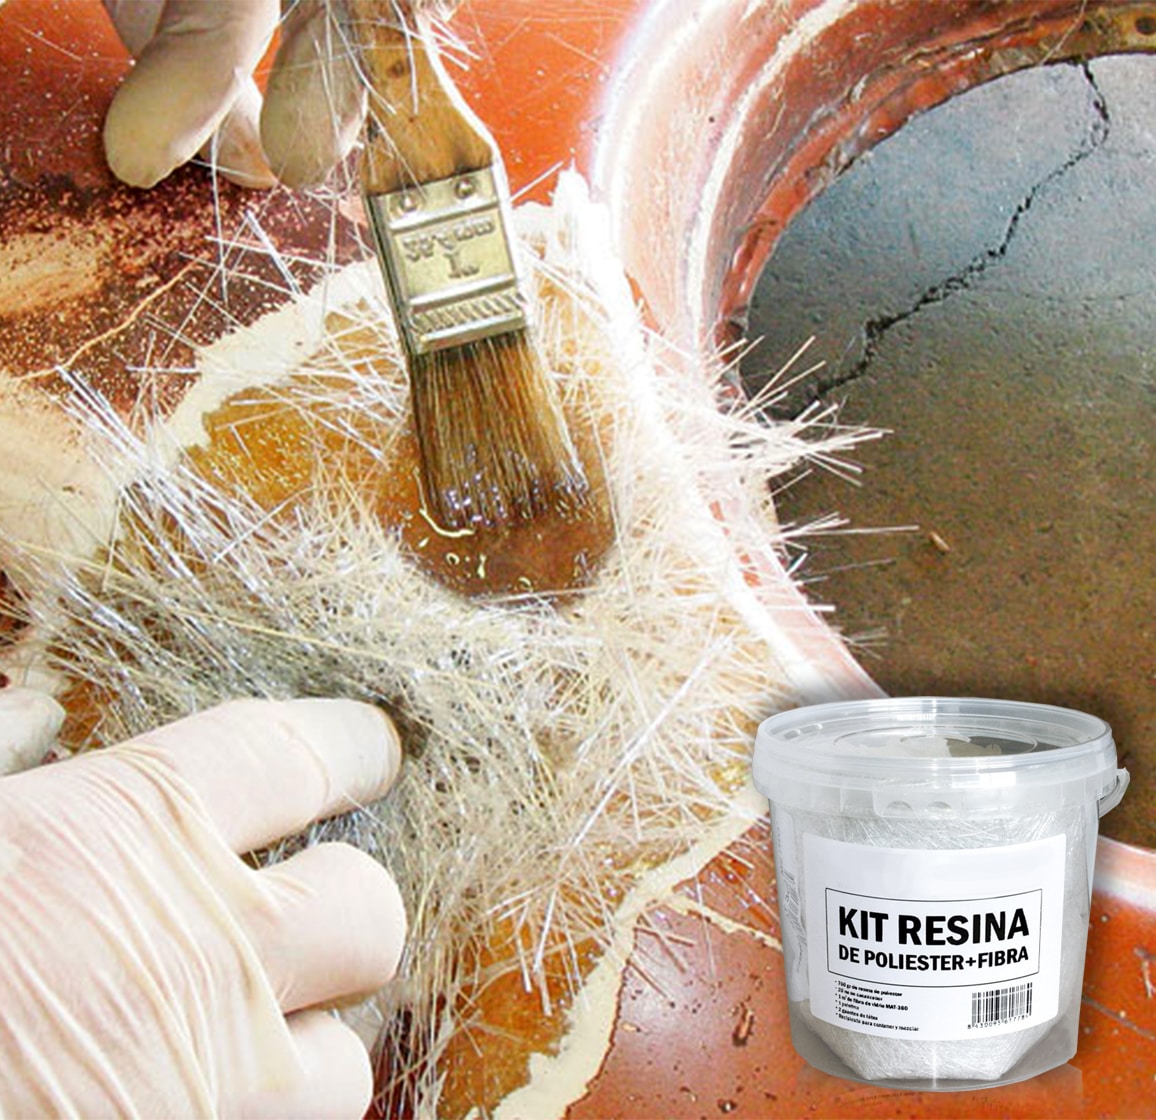
Most repair failures begin beneath the surface. Loose material, dust, wax, grease or trapped moisture stops resin and putty from bonding to the motorhome skin, even if the visible finish looks acceptable. Start by removing any flaking or unsound material, then sand the surrounding area enough to create a clean key.
Where a crack runs through fibreglass, feather the edges so the new layer blends into the original panel rather than sitting on top. Wipe the area with an appropriate degreaser or solvent and allow it to dry completely before applying any two-part resin or filler.
Mix small batches and follow the stated ratio
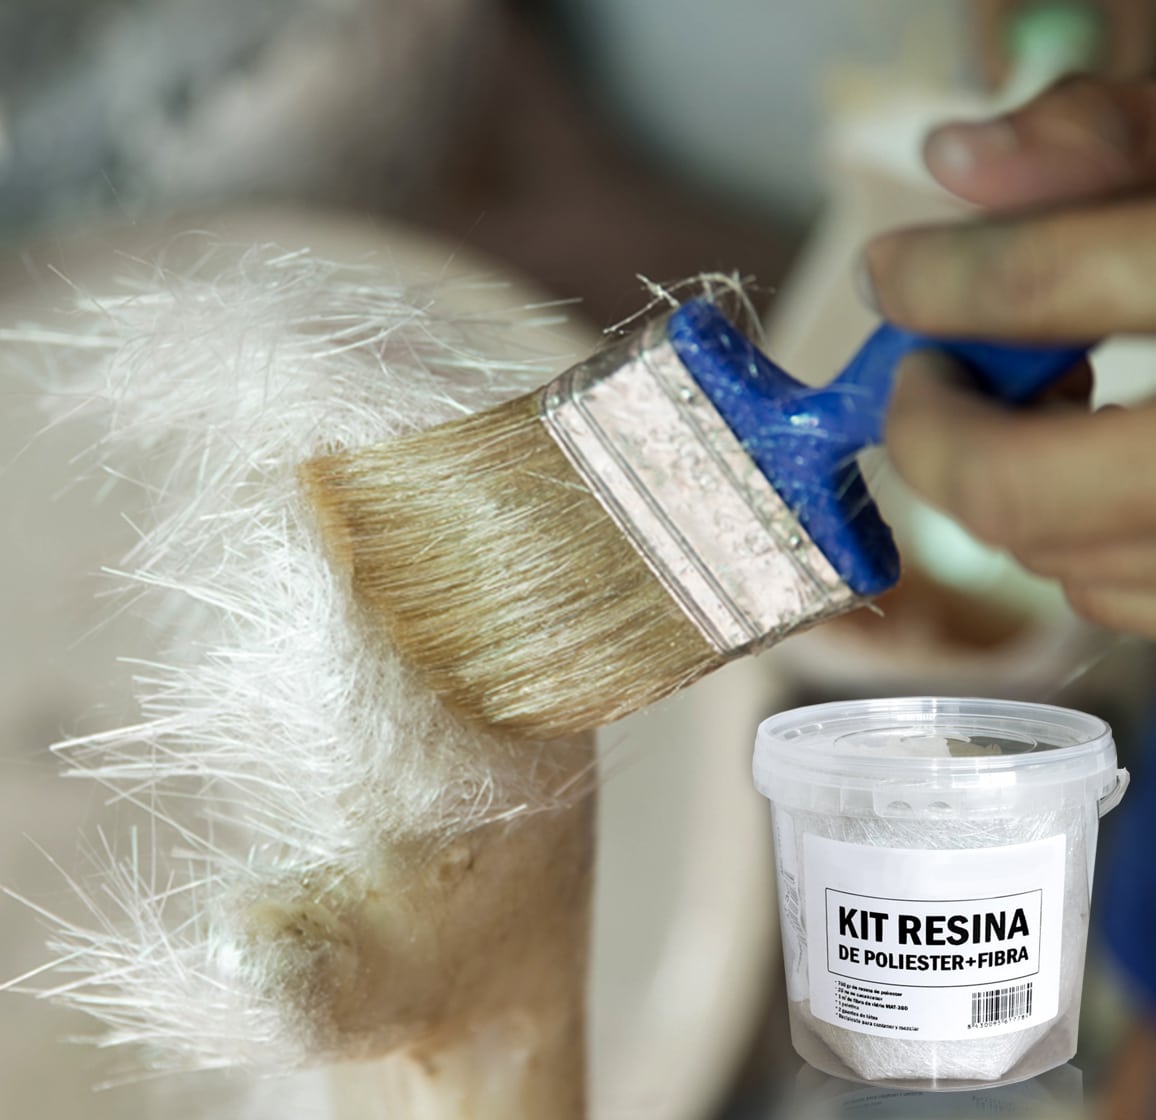
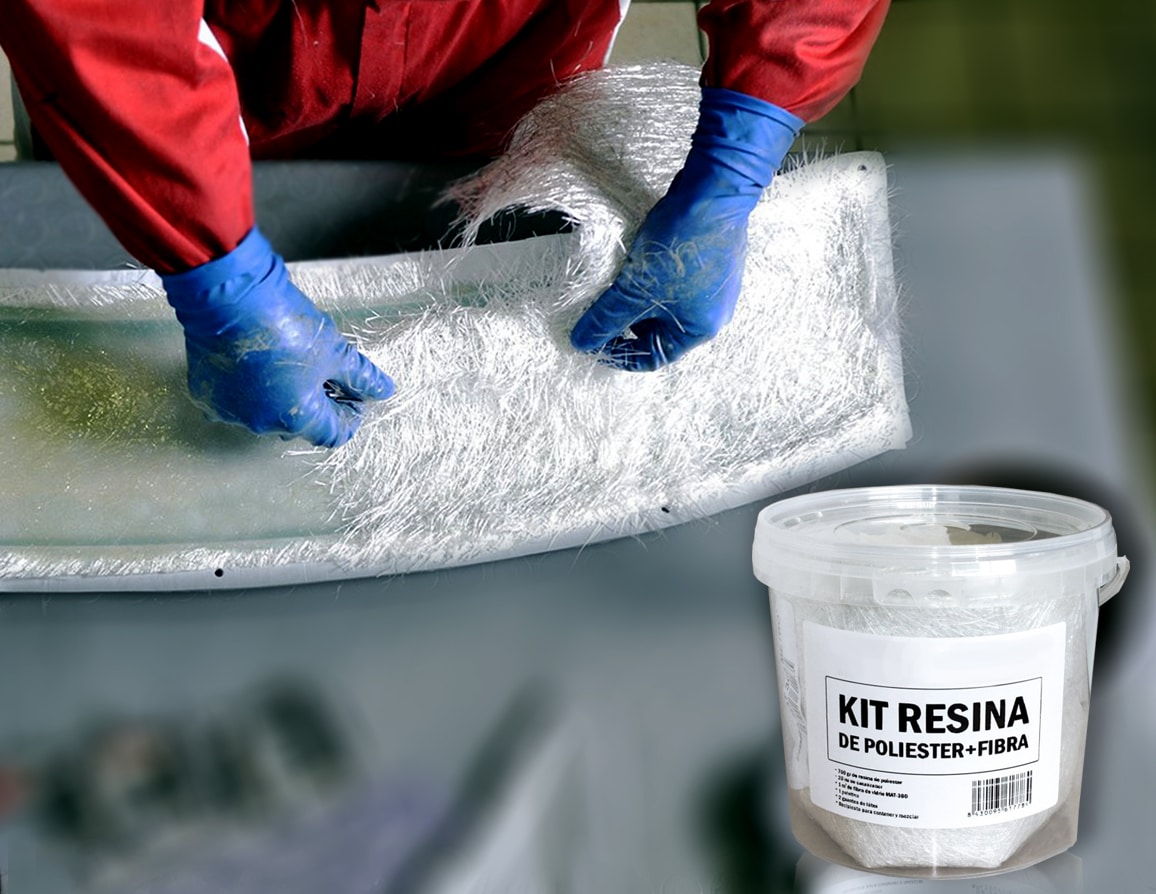
Chemical cure systems only work reliably within the manufacturer’s specified ratio. Adding extra hardener does not always speed curing and can leave a brittle, under-strength repair, while too little can stop the material from hardening fully. Use the quantities supplied or measured for the product you are using.
- Mix thoroughly, including the sides and base of the container.
- Only mix as much material as you can apply within the open working time.
- Keep resin, putty and hardener in a stable temperature range while working.
A complete kit like the Resin Fibreglass Repair Kit removes a lot of guesswork because the resin, hardener and mat are already matched.
When this matters most
These preparation and mixing steps become critical when a motorhome is exposed to vibration, temperature changes and standing water. A repair that is still soft in the centre, or bonded only to dust, may begin to lift once the vehicle moves or the panel flexes.
Allow the full recommended cure time before sanding, painting or returning the area to use. Curing is not simply the point at which the surface feels dry; the material needs enough time to build structural strength. Cold or damp conditions can slow this, so inspect the area before applying any topcoat or sealant.
Related products
Related guides
Consistent repair habits prevent small leaks from turning into recurring water damage. If you are working through a motorhome waterproofing plan, the same principles sit alongside the wider guidance on preventing water leaks in motorhomes.