 Free shipping on orders over £29,85
 Shipping Tracking!



 Google
 Facebook
How to repair scratched epoxy resin
Step-by-step guide to restore resin’s flawless, glossy surface


Epoxy resin is renowned for its high-gloss, glass-like surfaces, but scratches can easily mar its beauty over time. Whether you’re restoring a river table, a piece of resin art, or a coated benchtop, knowing the correct repair process ensures a seamless, restored sheen. This guide will take you through the essential steps to repair scratches and revitalise your epoxy resin projects with professional results.

What You’ll Need
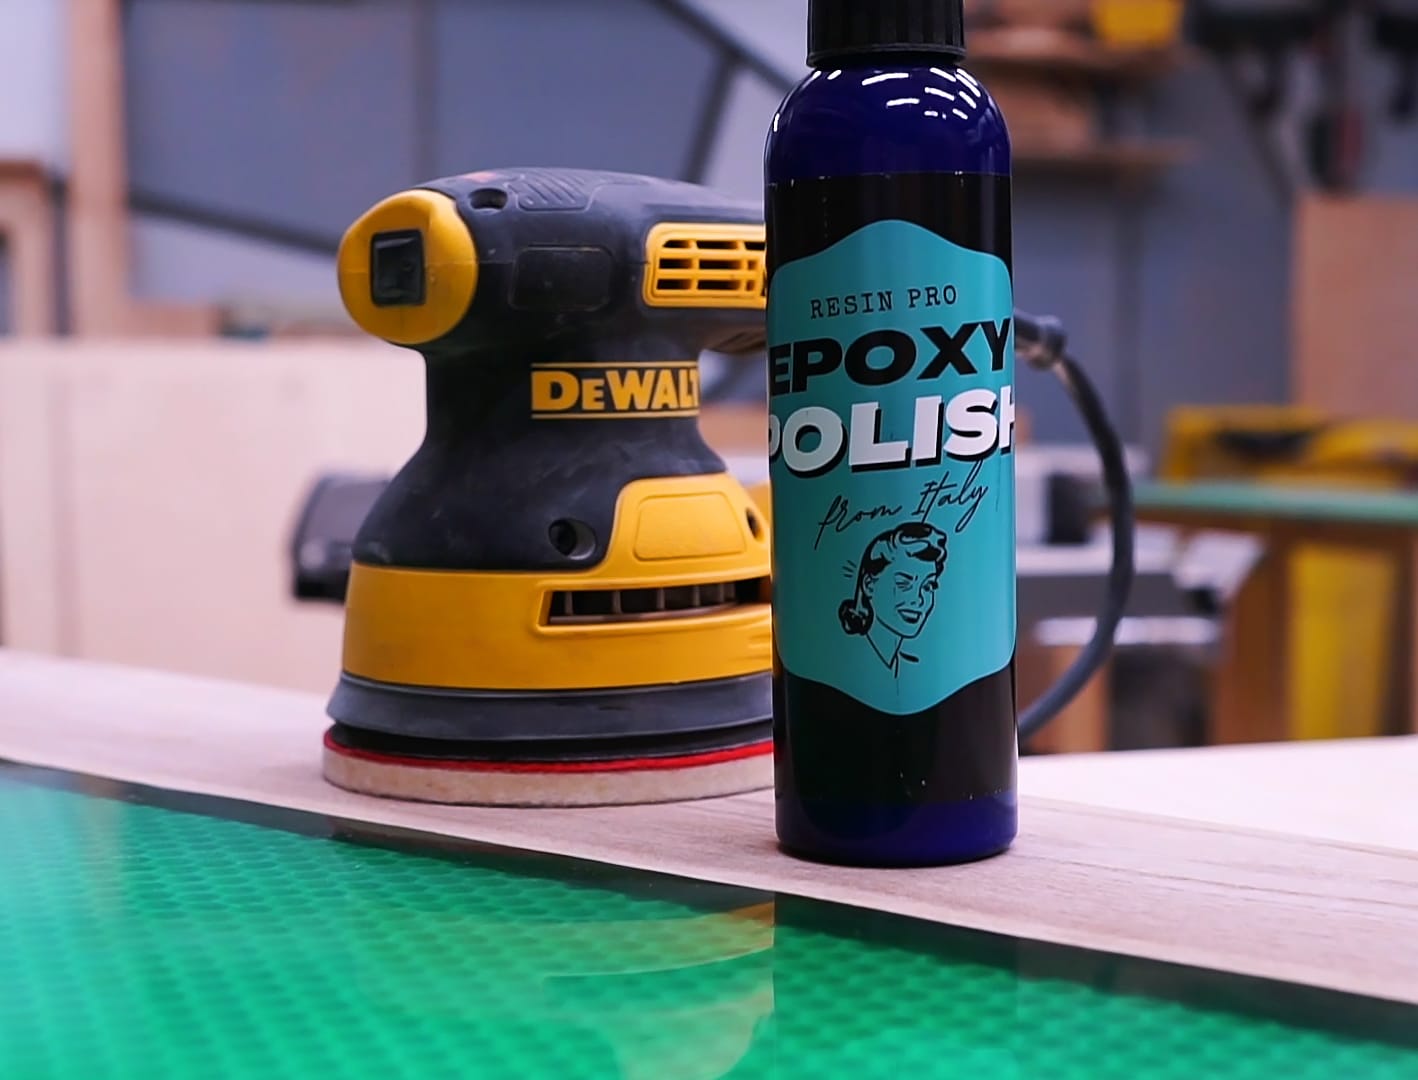
- “Epoxy Polish” – Epoxy Resin Polishing System – For fine scratch removal and gloss restoration
- “Art Pro” – Clear Epoxy Resin for Artists and Surface Coating – For recasting or touch-up coatings (if deep scratches found)
- “Trasparente” – Multipurpose Clear Epoxy Resin for Casting – Up to 2cm – For repairs on thicker layers and surface restoration
- “Icrystal” – Clear Epoxy Resin – Odourless Formula – Up to 1.5cm – For clear, odour-free surface recoating
- Sandpaper (various grits, 400–3000 depending on scratch depth)
- Microfibre cloths
- Polishing pads or rotary polisher (recommended for best finish)
- Nitrile gloves and a dust mask for safety

Essential Materials and Setup
Gather all sanding sheets, cloths, polishing compounds, and your chosen epoxy resin repair products before you begin. Set up a clean, well-ventilated workspace away from dust or direct sunlight to ensure a flawless finish and safe working conditions.
Step 1: Assess and Prepare the Damaged Surface
Begin by closely inspecting your resin piece under strong, direct light so you can truly see the extent of the scratches. Clean the surface with a damp microfibre cloth to remove dust, dirt, or residues as even microscopic grit can worsen scratches during sanding. If there are severe gouges or deep scratches that catch your fingernail, these may require a partial re-coat to level the surface in addition to polishing. For safety, always wear gloves and a dust mask when working with resin repairs or sanding.
Remove all dust and debris thoroughly before sanding to prevent new marks during repair.

Step 2: Sand Out the Scratches Evenly
Use dry or wet sandpaper, starting with a coarse grit (400–800) for deep scratches and working up to very fine grits (1000–3000) for lighter marks. Always sand in even, circular motions and keep the area evenly damp if wet sanding. Rinse and wipe down the surface between each sanding stage to remove particles.
Always sand progressively from coarse to fine grits to avoid visible marks or dullness on the finished surface.
Step 3: Re-Coat with Epoxy Resin for Deep Repairs (If Needed)
If sanding reveals deeper damage or you’ve broken through the original resin layer, apply a fresh coat of epoxy. Choose a resin suitable for your surface thickness and clarity—such as “Art Pro” – Clear Epoxy Resin for Artists and Surface Coating for thin layers, “Trasparente” – Multipurpose Clear Epoxy Resin for Casting – Up to 2cm for thicker pours, or “Icrystal” – Clear Epoxy Resin – Odourless Formula – Up to 1.5cm for odour-sensitive projects. Mix and pour following manufacturer’s guidelines, allow to self-level, and leave to cure fully before proceeding.
Do not rush curing times when re-coating with resin – a fully hardened surface polishes best.


Step 4: Polish to Restore Gloss and Clarity
Once the repaired surface is fully cured, use a dedicated resin polishing system. Apply an appropriate amount of “Epoxy Polish” – Epoxy Resin Polishing System to a foam pad or rotary tool. Work in gentle, overlapping motions to evenly buff the area until swirls and haze disappear and a clear, seamless gloss is restored. Finish by buffing with a clean microfibre cloth for added shine.
Polish only after the surface is clean, dry and fully cured for a streak-free, brilliant result.
Tips, Common Mistakes and Troubleshooting
- If haze or micro-scratches persist after polishing, repeat sanding from a finer grit up and repolish.
- Never use steel wool or harsh abrasives; these can irreversibly damage the surface.
- Always clean thoroughly between every repair step to prevent debris from creating fresh scratches.
- Work in a well-ventilated, dust-free environment for optimal results.
- Test polish in a small, inconspicuous area first, especially on coloured or pigmented pieces.

Polished Finish Inspiration
See the difference precise scratch repair can make—restored clarity and gloss transform resin projects from tired to pristine. From river tables to jewellery boxes, expertly polished surfaces reflect light beautifully and last longer.

- "Epoxy Polish" – Epoxy Resin Polishing SystemPrice range: £18.95 through £47.45"Epoxy Polish" provides an epoxy resin polishing system suitable for removing scratches and restoring gloss finishes on resin projects.
- "Art Pro" – Clear Epoxy Resin for Artists and Surface CoatingPrice range: £19.95 through £267.95Art Pro clear epoxy resin provides a durable, high-gloss, transparent finish suitable for artists and DIY surface coating projects.
 "Trasparente" – Multipurpose Clear Epoxy Resin for Casting – Up to 2cmPrice range: £8.95 through £397.95Clear multipurpose epoxy resin delivering a glossy, self-levelling finish up to 2cm thick, suitable for repair and restoration.
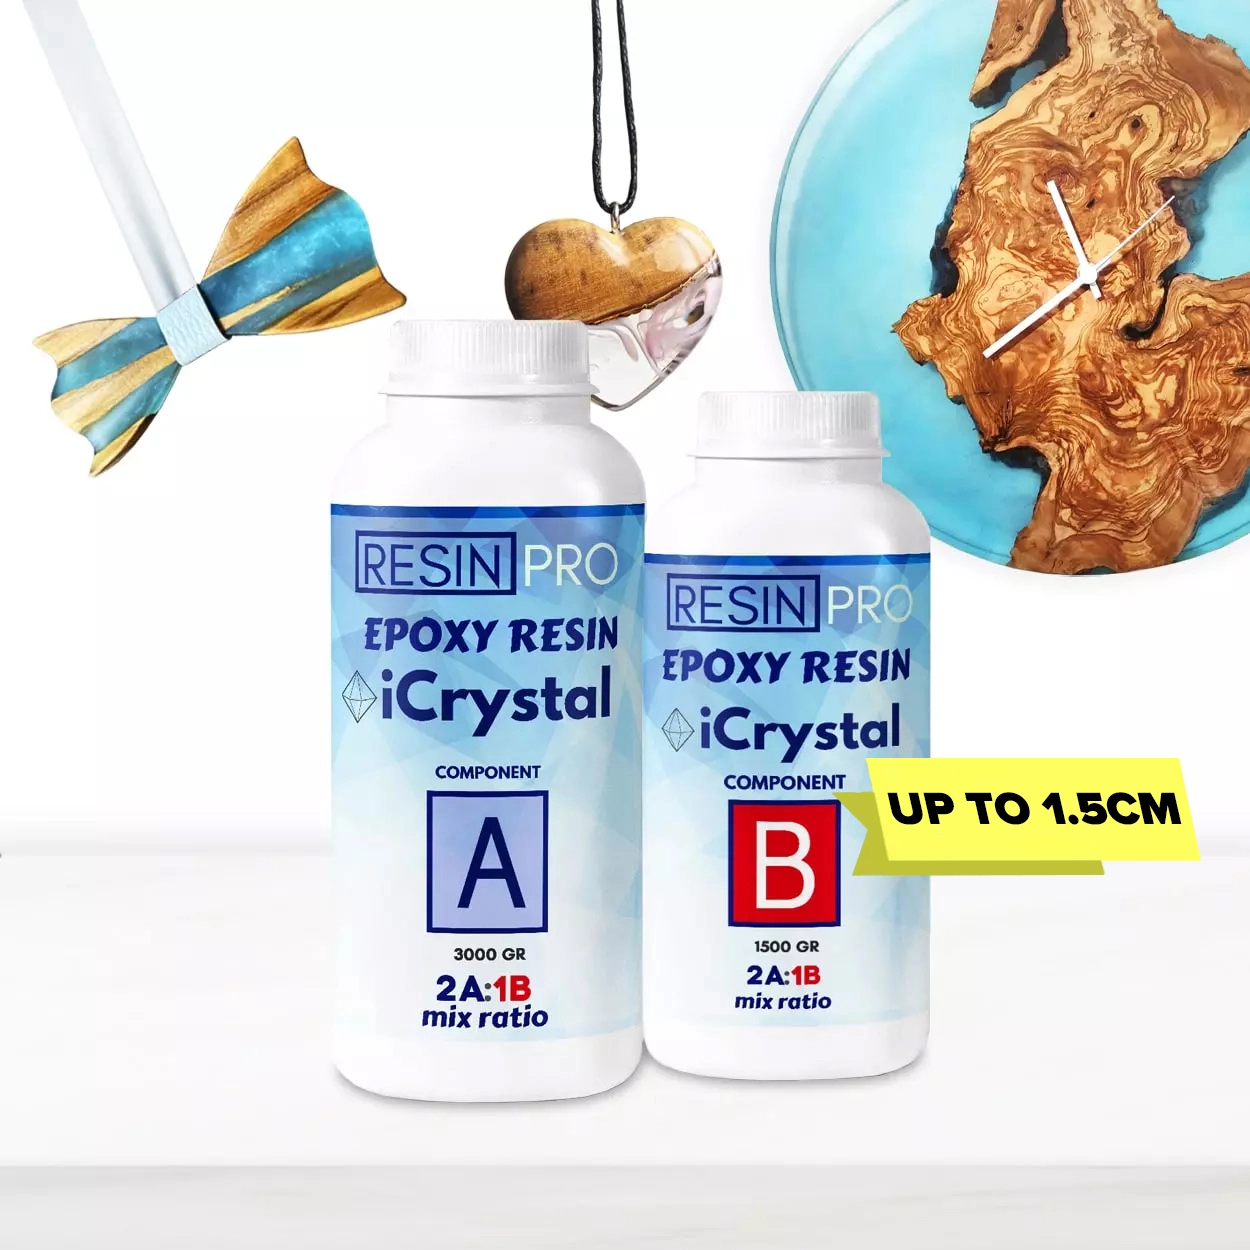 "Icrystal" – Clear Epoxy Resin – Odourless Formula – Up to 1.5cmPrice range: £12.45 through £341.45Clear epoxy resin with odourless formula and high scratch resistance, suitable for table surfaces and repair.
Frequently Asked Questions
Can you fix deep scratches in epoxy resin?
Deep scratches may require re-coating with clear resin and proper sanding to fully restore a level, flawless surface.
Do you need to polish epoxy resin after repairing scratches?
Polishing after sanding or resurfacing brings back the original gloss and removes any micro-abrasions from sanding.
What is the best product to polish scratched epoxy resin?
"Epoxy Polish" – Epoxy Resin Polishing System is designed to safely restore shine and remove fine scratches from resin surfaces.
Can you use any clear epoxy resin for scratch repairs?
Choose a resin matching your project's thickness and clarity requirements. Some resins are better for thin final coatings, others for thicker surfaces.
Is good ventilation needed when repairing epoxy resin surfaces?
Yes, a well-ventilated area prevents build-up of sanding dust and ensures safer application of resins and polishes.
How long should new resin repairs cure before polishing?
Allow fresh resin coatings to cure fully—usually 24–48 hours depending on product—before polishing to achieve a flawless finish.