 Free shipping on orders over £29,85
 Shipping Tracking!



 Google
 Facebook
How to Seal Resin Creations
Achieve durable, glossy protection for all your epoxy resin artworks

Sealing your resin creations is key to protecting their clarity and achieving a flawless, glossy finish. Whether you are an artist, crafter, or DIY enthusiast working on coasters, trays, jewellery, or art panels, mastering this step will help preserve your artwork against scratches, UV damage, and everyday wear. This guide provides detailed steps for properly sealing any resin project, ensuring both professional results and long-term durability.
What You’ll Need
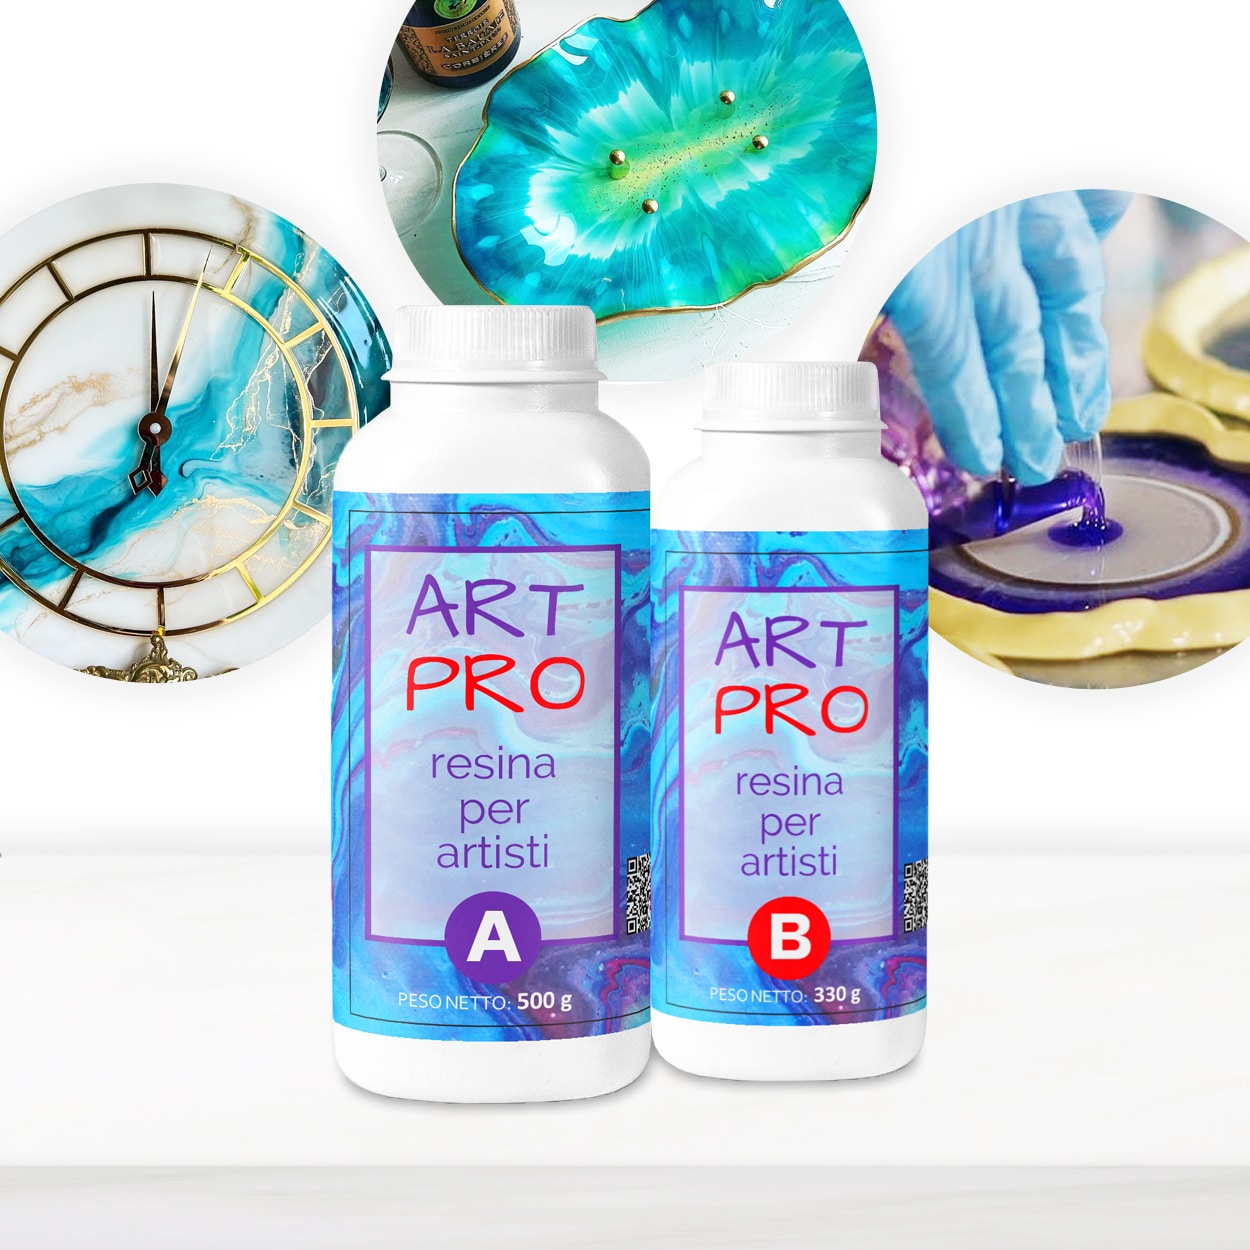
- “Art Pro” – Clear Epoxy Resin for Artists and Surface Coating – Medium viscosity for fine surface coatings on art and decorative pieces
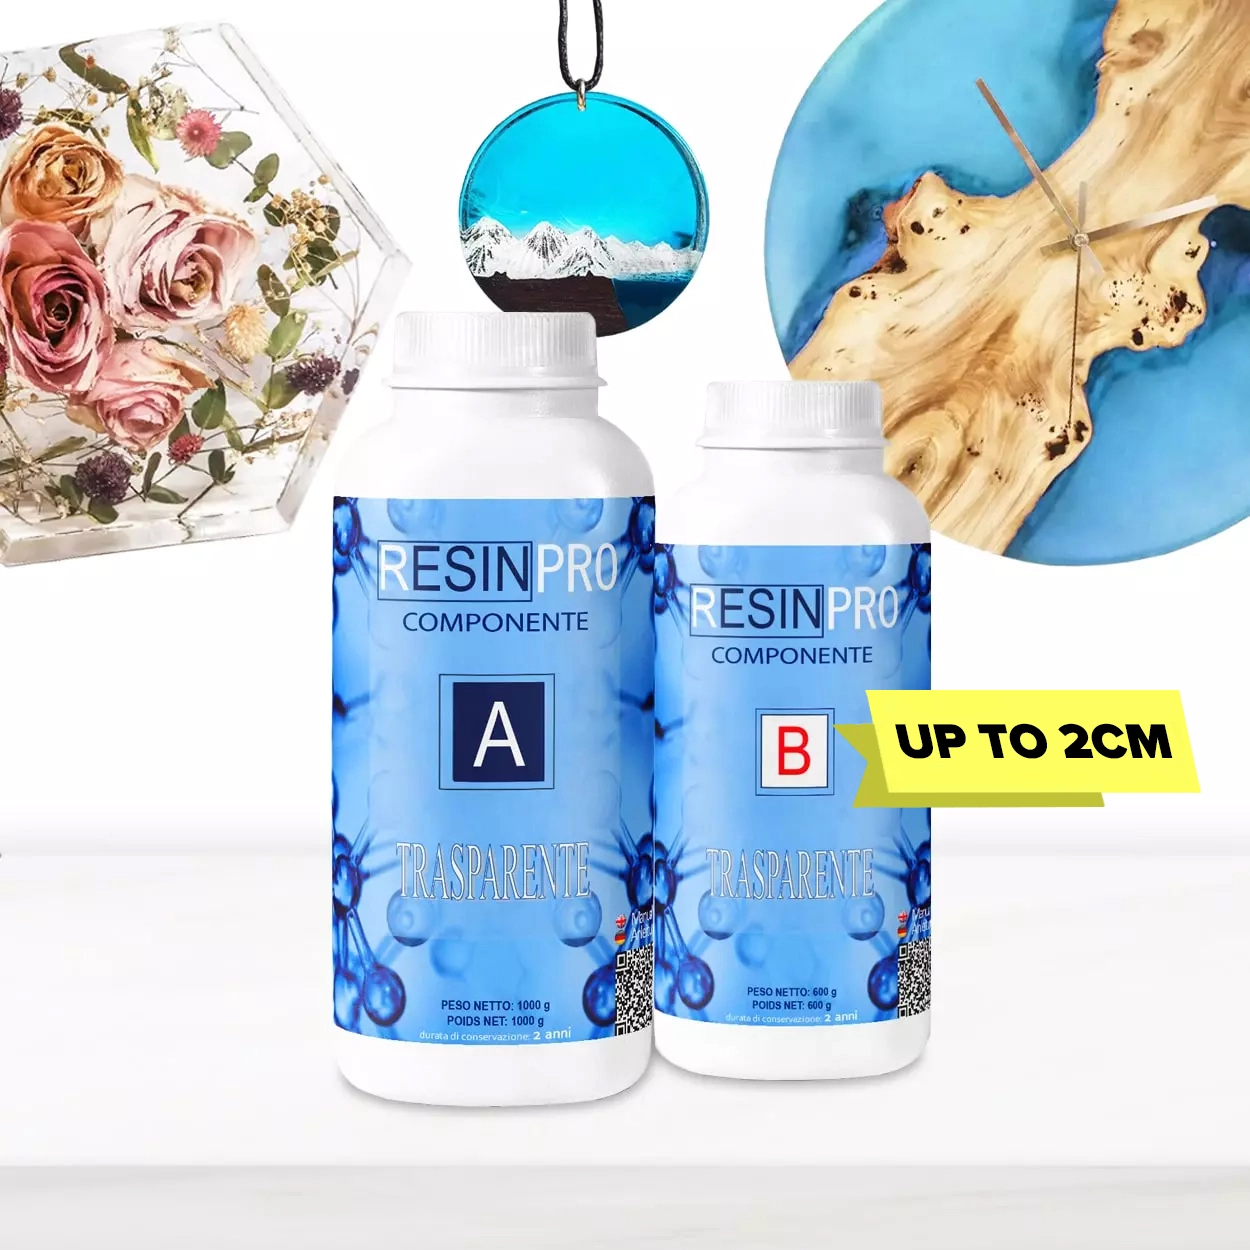
- “Trasparente” – Multipurpose Clear Epoxy Resin for Casting – Up to 2cm – For slightly thicker layers and high scratch resistance
- “Icrystal” – Clear Epoxy Resin – Odourless Formula – Up to 1.5cm – Excellent for odour-free environments and table finishes
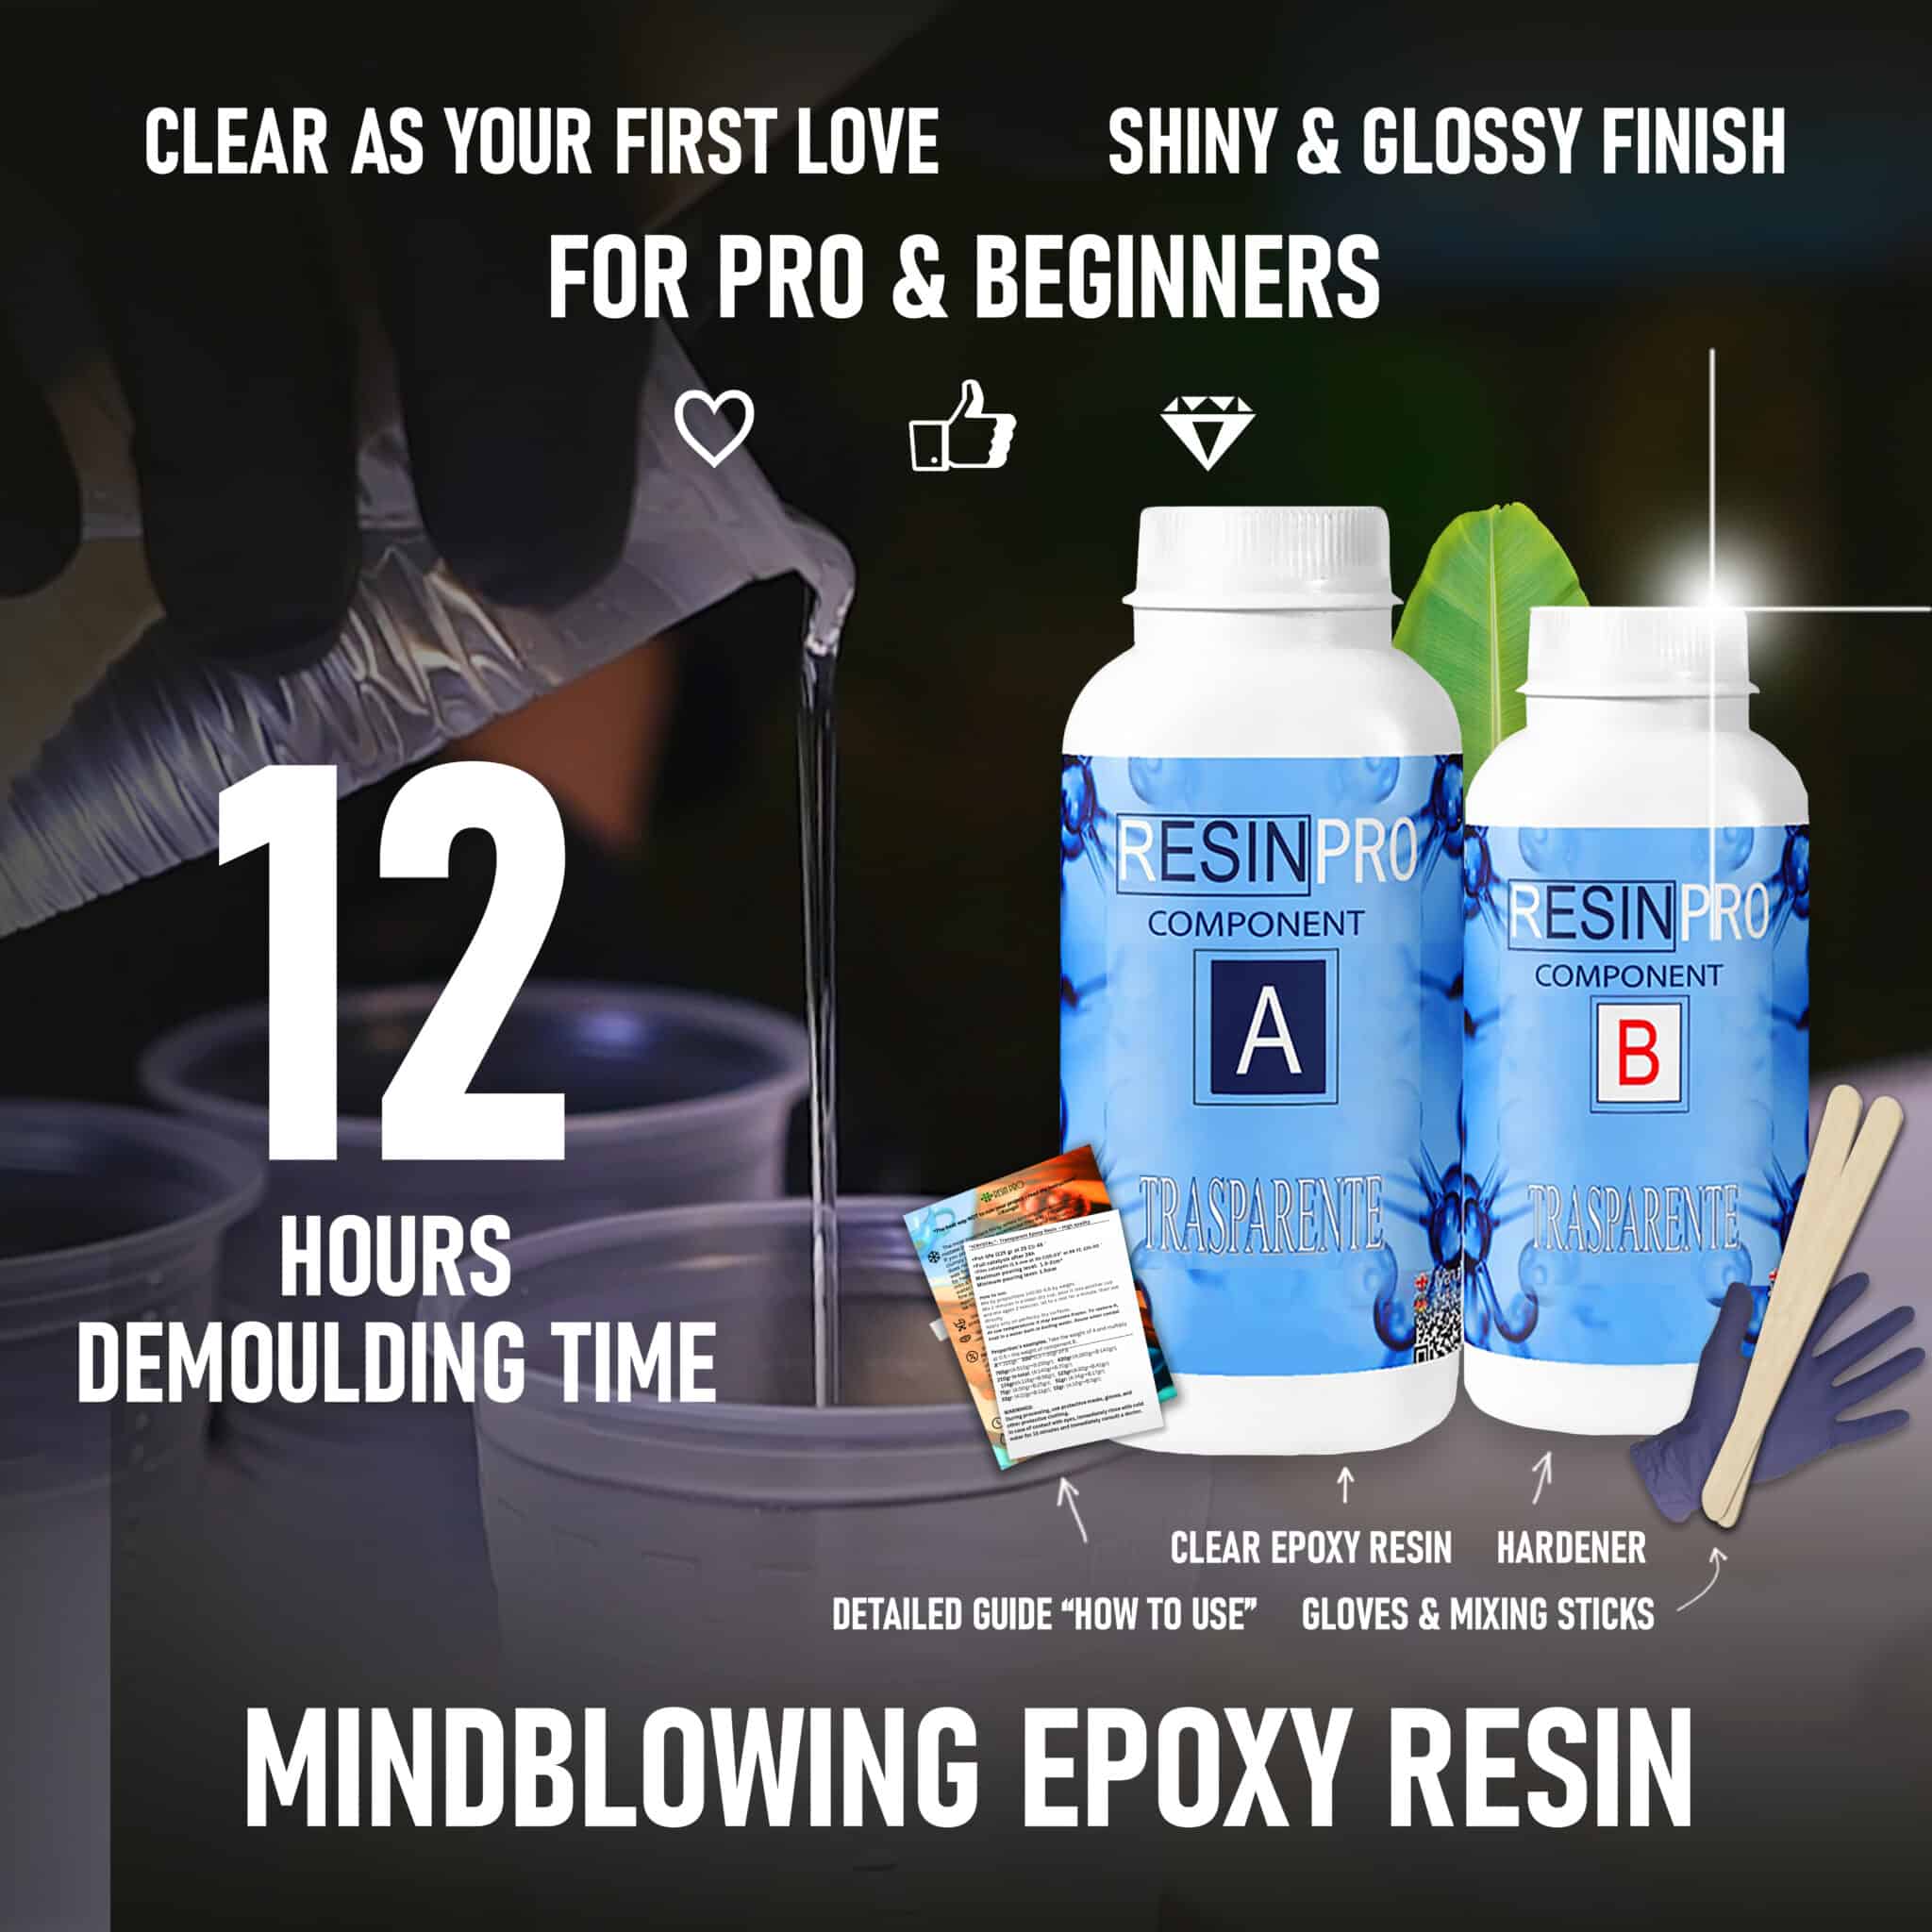
- “ICreation” – Fast Epoxy Resin, 6h Demoulding, Transparent Gloss Finish – Ideal when quick curing time is a priority
- Mixing cups and stirring sticks
- Nitrile gloves and protective apron
- Level, dust-free workspace
- Heat gun or torch for bubble removal (optional)

Gallery: Sealing Techniques in Resin Art
See examples of sealed resin pieces, from shimmering jewellery to perfectly coated coasters. Notice the clarity and gloss achieved with careful technique and the appropriate resin selection.

Step 1: Prepare the Surface
Begin by ensuring your resin project is fully cured and free from dust, oil, or fingerprints. Place the piece on a clean, level surface covered with plastic or silicone sheets to catch drips. Use isopropyl alcohol and a soft cloth to wipe the surface, removing any residual contaminants that could interfere with adhesion. Preparation at this stage is essential, as any particles or grease may become trapped under your sealing coat.
Take special care to work in a low-dust area, as airborne particles can settle onto the fresh resin and mar the finish. Wearing gloves will help prevent oils from your hands contaminating the piece.
Step 2: Mix the Resin Carefully
Ensure the resin and hardener are measured precisely according to the manufacturer’s instructions. Most sealing resins require a specific ratio—such as 3:2 or 2:1—so always check your chosen product. For projects prioritising clarity and a flawless finish, options like “Art Pro” – Clear Epoxy Resin for Artists and Surface Coating are popular for reliable mixing and even gloss.
Pour the resin and hardener into a clean cup, then stir slowly and thoroughly for at least three minutes, scraping the sides and bottom as you go. Avoid whipping in air, as excess bubbles can create imperfections in the sealed layer.

Step 3: Pour and Spread the Resin
Once mixed, pour the resin onto your project, starting from the centre and allowing it to flow outward naturally. Use a plastic spreader or gloved finger to guide the resin, ensuring full coverage. Apply the resin in a thin, even layer to avoid overflow while still protecting the entire surface. This stage is best done methodically—thin layers cure more reliably, producing that signature glossy seal.
If you require a quick turnaround, especially for jewellery or small crafts, “ICreation” – Fast Epoxy Resin is a suitable choice for efficient setting without sacrificing transparency.
Step 4: Remove Bubbles and Allow to Cure
After spreading, examine the resin surface for bubbles. Bubbles can often be removed by gently using a heat gun (held 10–15 cm above the piece). Pass the heat source lightly over the surface to disperse trapped air without burning or overheating the resin.
Protect the project from dust by covering it with a large plastic container or an upside-down tub. Allow the resin to cure in a dust-free environment, undisturbed, for the recommended time—typically 12–24 hours for most epoxy formulations.
For odour-sensitive environments, opt for “Icrystal” – Clear Epoxy Resin to maintain indoor air freshness.
Tips, Troubleshooting, and Common Mistakes
Always work at room temperature—too cold and the resin may not cure; too warm and it may set too quickly, trapping bubbles. Avoid rushing the mixing process, as improper blending is the most common cause of sticky or tacky finishes.
If edges develop drips, these can be sanded and polished once fully cured. For projects requiring higher scratch resistance—such as tabletops—products like “Trasparente” – Multipurpose Clear Epoxy Resin provide extra durability.
Pro Insight: Achieving the Perfect Resin Seal
Work in thin layers for better control and clarity. Between coats, wait for the first to cure before applying the next. The right resin choice enhances both the look and longevity of your creations.

- "Art Pro" – Clear Epoxy Resin for Artists and Surface CoatingPrice range: £19.95 through £267.95Art Pro clear epoxy resin offers durable, clear coatings with UV protection, suitable for artists and crafters seeking glass-like finishes.
- "Trasparente" – Multipurpose Clear Epoxy Resin for Casting – Up to 2cmPrice range: £8.95 through £397.95The transparent resin suits projects up to 2cm depth, delivering a clear, scratch-resistant finish with UV protection for resin sealing.
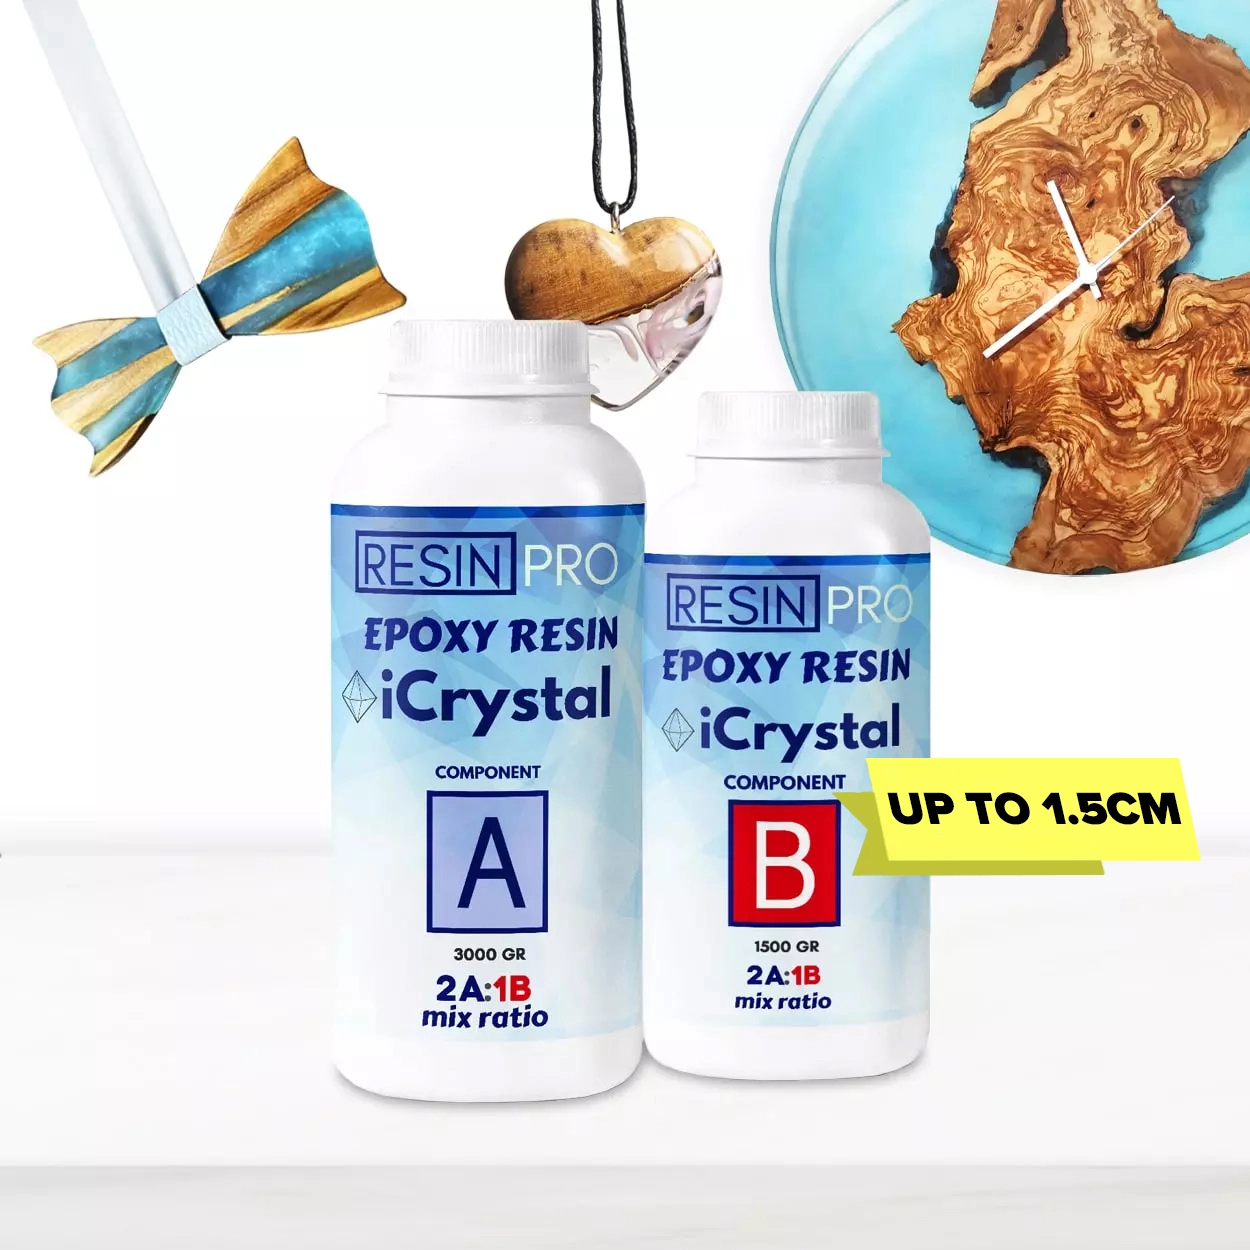 "Icrystal" – Clear Epoxy Resin – Odourless Formula – Up to 1.5cmPrice range: £12.45 through £341.45"Icrystal" is a clear, odourless epoxy resin designed for transparent and scratch-resistant surface finishes.
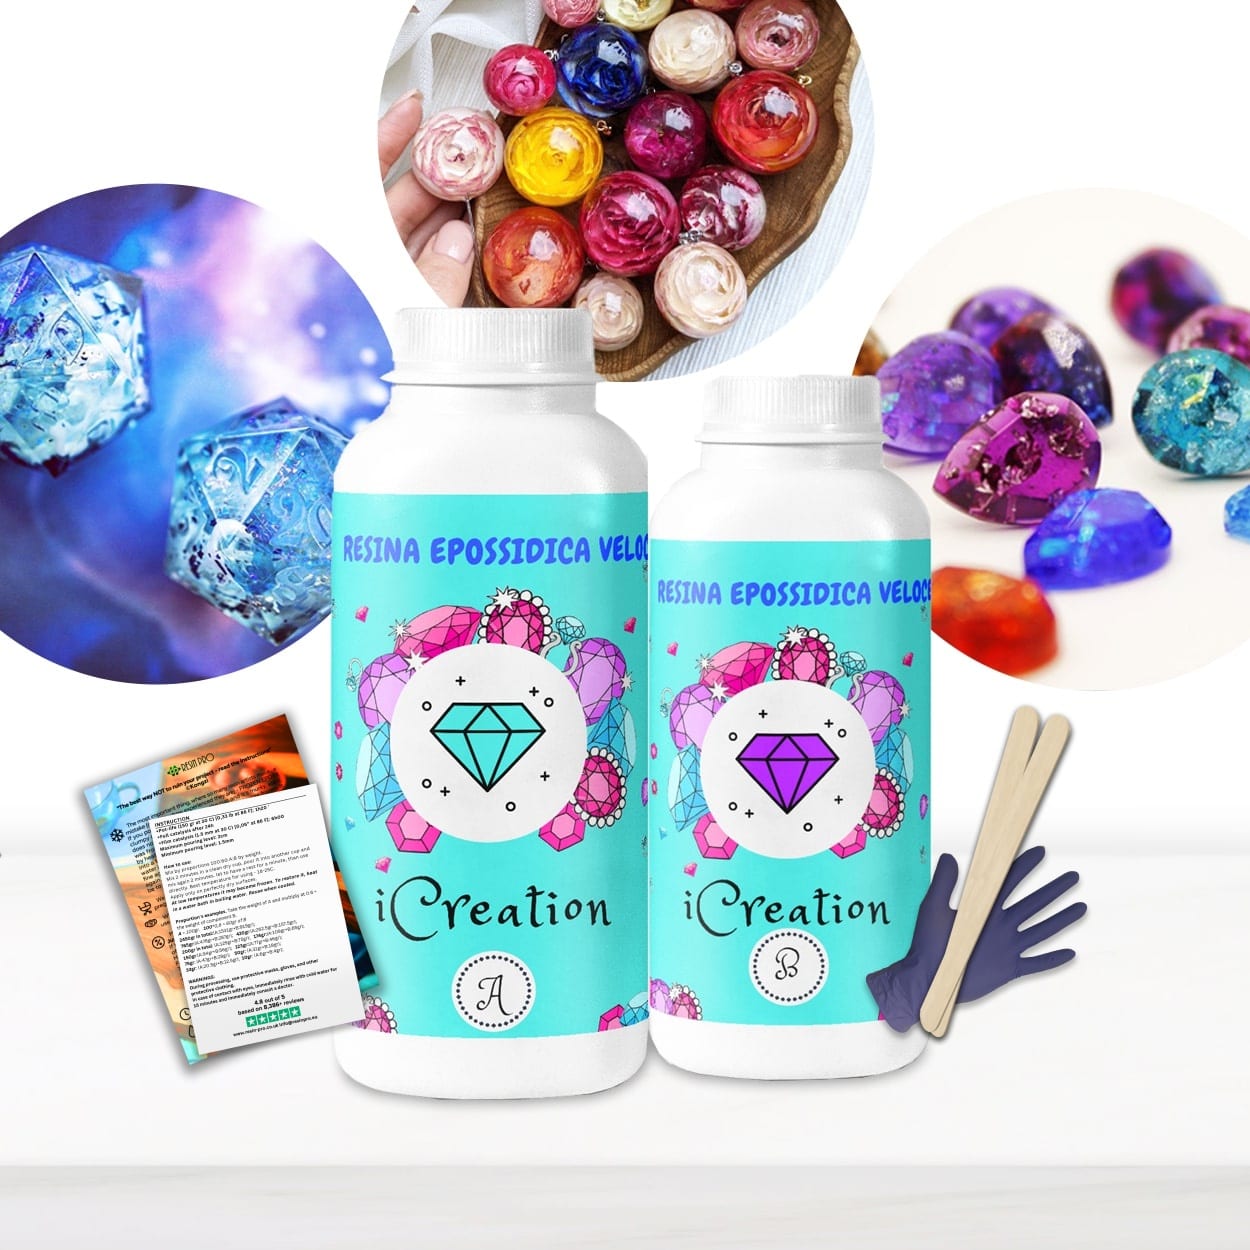 "ICreation" – Fast Epoxy Resin, 6h Demoulding, Transparent Gloss FinishPrice range: £15.95 through £55.95ICreation fast epoxy resin offers a transparent, glossy finish with 6-hour demoulding, suitable for quick resin craft projects.
Frequently Asked Questions
What is the best resin for sealing artwork surfaces?
Medium viscosity resins like Art Pro offer superior clarity and a durable, glossy finish ideal for artwork and decorative pieces.
How do I avoid bubbles when sealing?
Mix slowly to reduce trapped air, pour steadily, and use a heat gun held above the resin surface to eliminate any bubbles that appear.
Can I speed up the epoxy curing process?
Choose a fast-curing resin like ICreation for time-sensitive projects, but always follow the manufacturer’s recommended curing times for best results.
Is UV protection important when sealing resin?
Yes, UV-protected resins help preserve clarity and prevent yellowing, especially for pieces exposed to sunlight or bright indoor lighting.
How can I fix a tacky or sticky resin top coat?
A sticky finish is usually due to incorrect mixing. Sand the surface lightly, wipe clean, and reapply a new properly mixed coat.
Which parts of a resin object should I avoid sealing?
Functional or moving parts, such as hinges, should be masked or protected to prevent resin from interfering with their movement.
Can I build up multiple sealing layers?
Yes, but always let each layer cure fully before applying the next for strong adhesion and a perfectly clear surface.