 Free shipping on orders over £29,85
 Shipping Tracking!



 Google
 Facebook
How important is surface preparation before sealing a camping trailer?
← Back to Waterproofing sealant for camping trailers
Quick answer
Surface preparation is a critical first step when sealing a camping trailer. Dirt, grease, loose paint and trapped moisture prevent resin, polyurethane or epoxy products from bonding properly with the roof, seams or body panels. A cleaned and dried surface allows the sealant to grip evenly and form a continuous waterproof layer. Without this step, adhesion can fail, edges can lift, and water can track underneath, leaving the trailer vulnerable to leaks and corrosion.

The short answer is yes — preparation often makes the difference between a repair that lasts and one that needs redoing after a damp weekend. For most camping trailers, the prep work is not complicated, but skipping it tends to store up problems around roof seams, vents and corner joints. Below is a practical look at what to do before opening the sealant.
What proper surface preparation involves
Proper preparation begins with removing anything that sits between the sealant and the trailer surface. Use a suitable cleaner to shift road grime, algae, old wax or oil, then rinse and allow the area to dry completely.
- Degrease around roof seams, vents, windows and any area where water might pool.
- Remove loose material, including flaking paint, old brittle sealant or rust, so the new layer has a sound base.
- Abrade smooth or glossy surfaces lightly, as this can improve mechanical adhesion on fibreglass, metal or rigid plastic.
- Dry thoroughly before mixing or applying the product, because trapped moisture can interfere with curing and reduce bond strength.
Choosing a sealant that suits the prepared surface
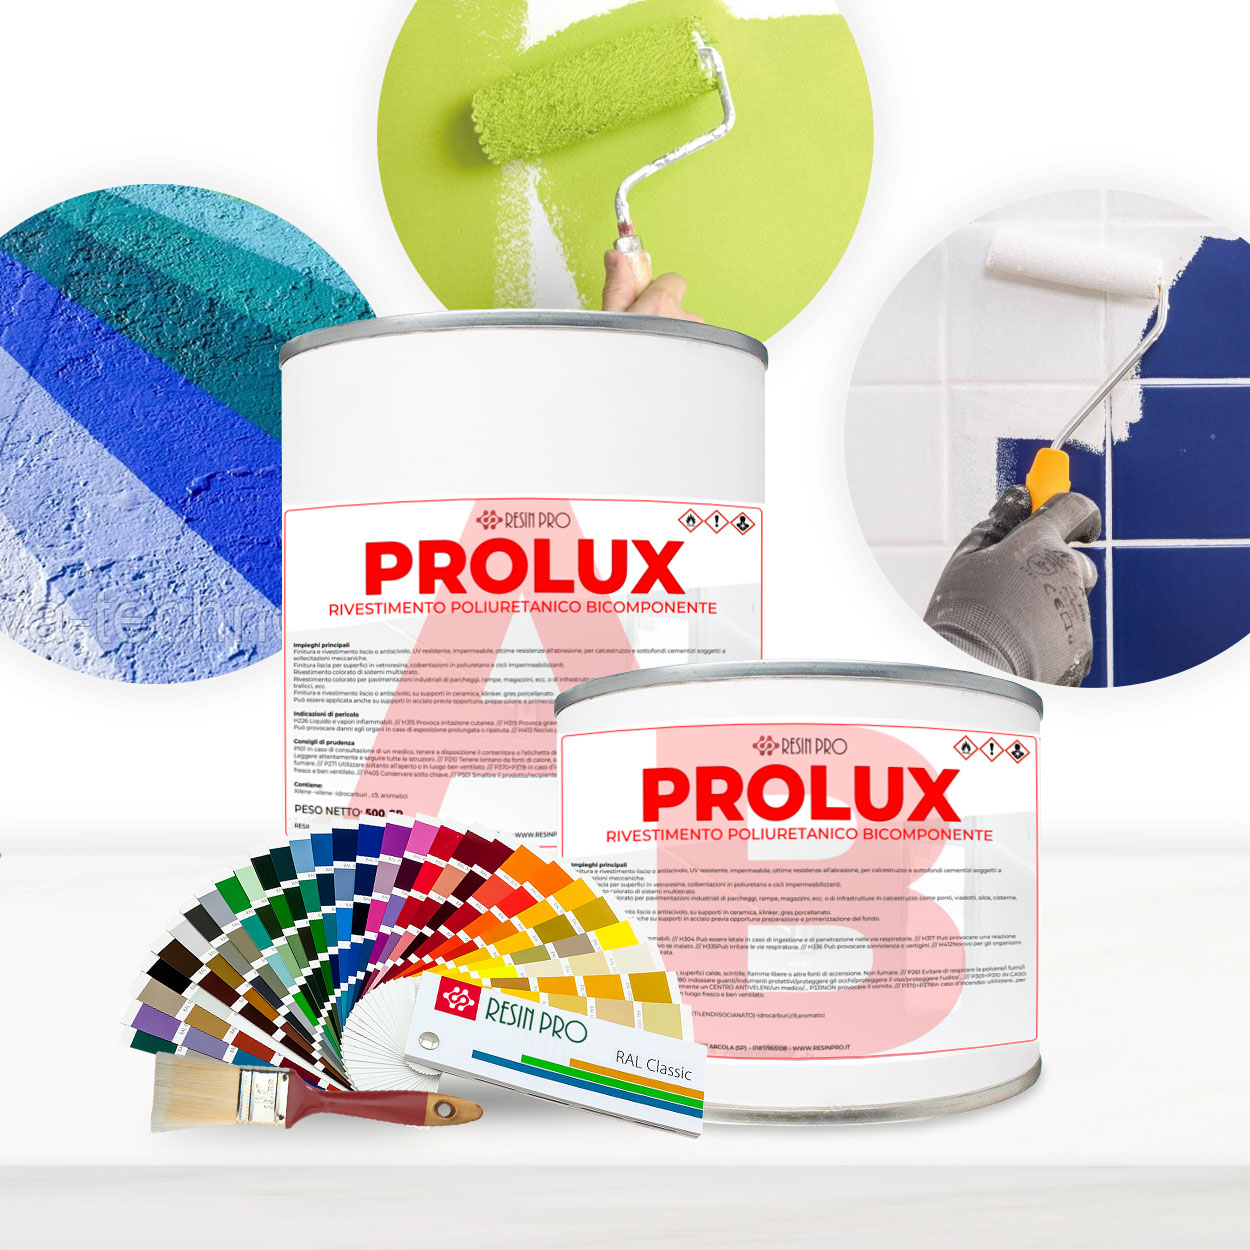
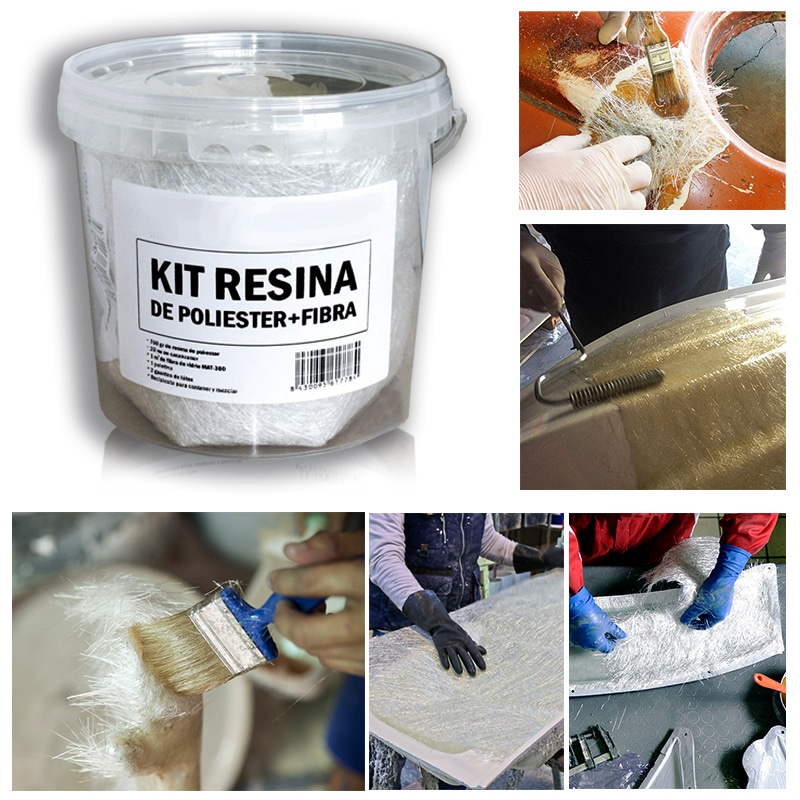
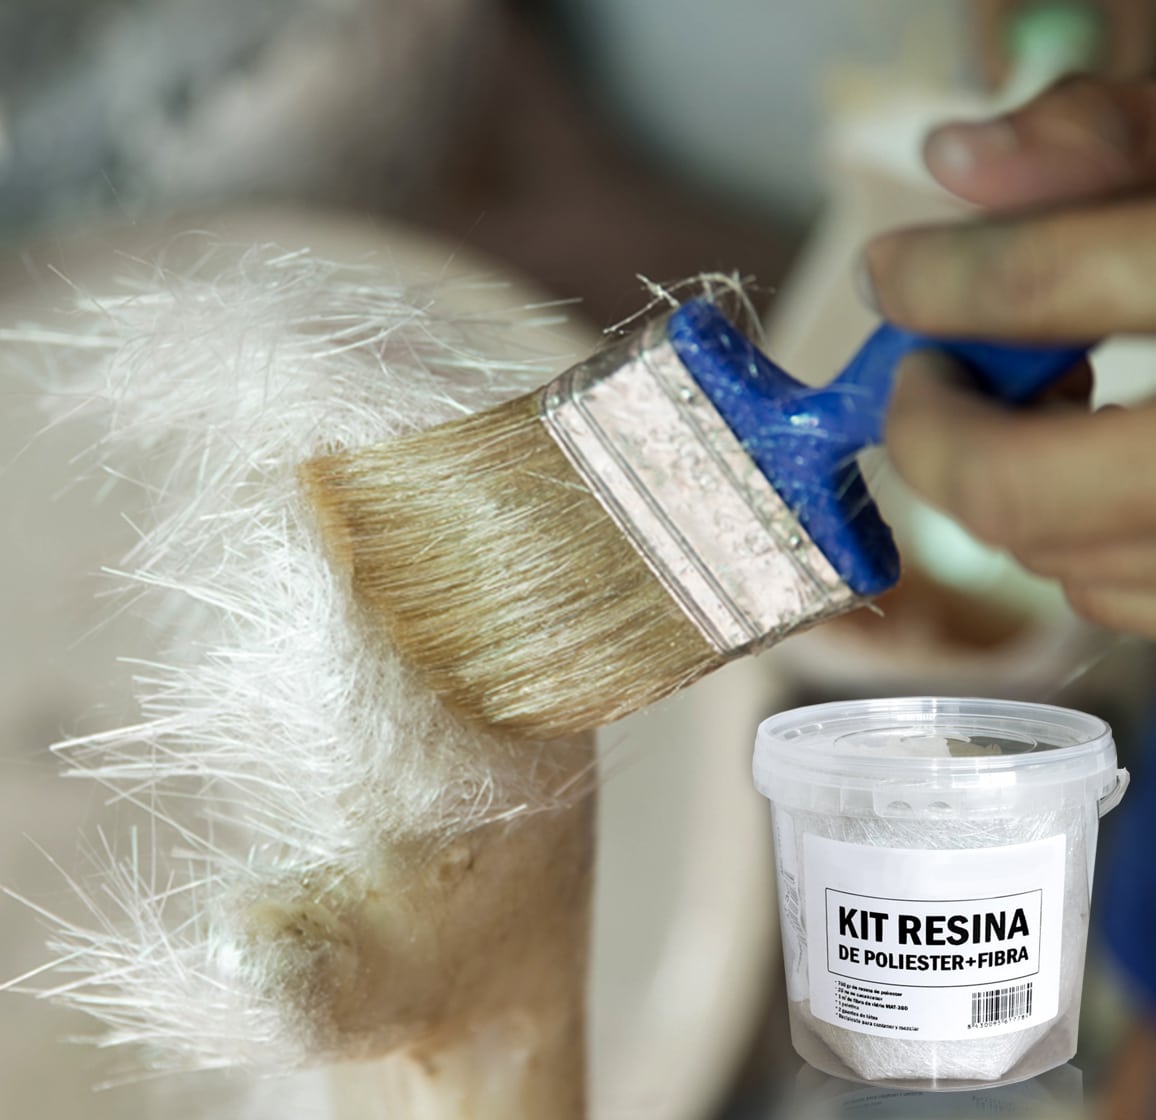
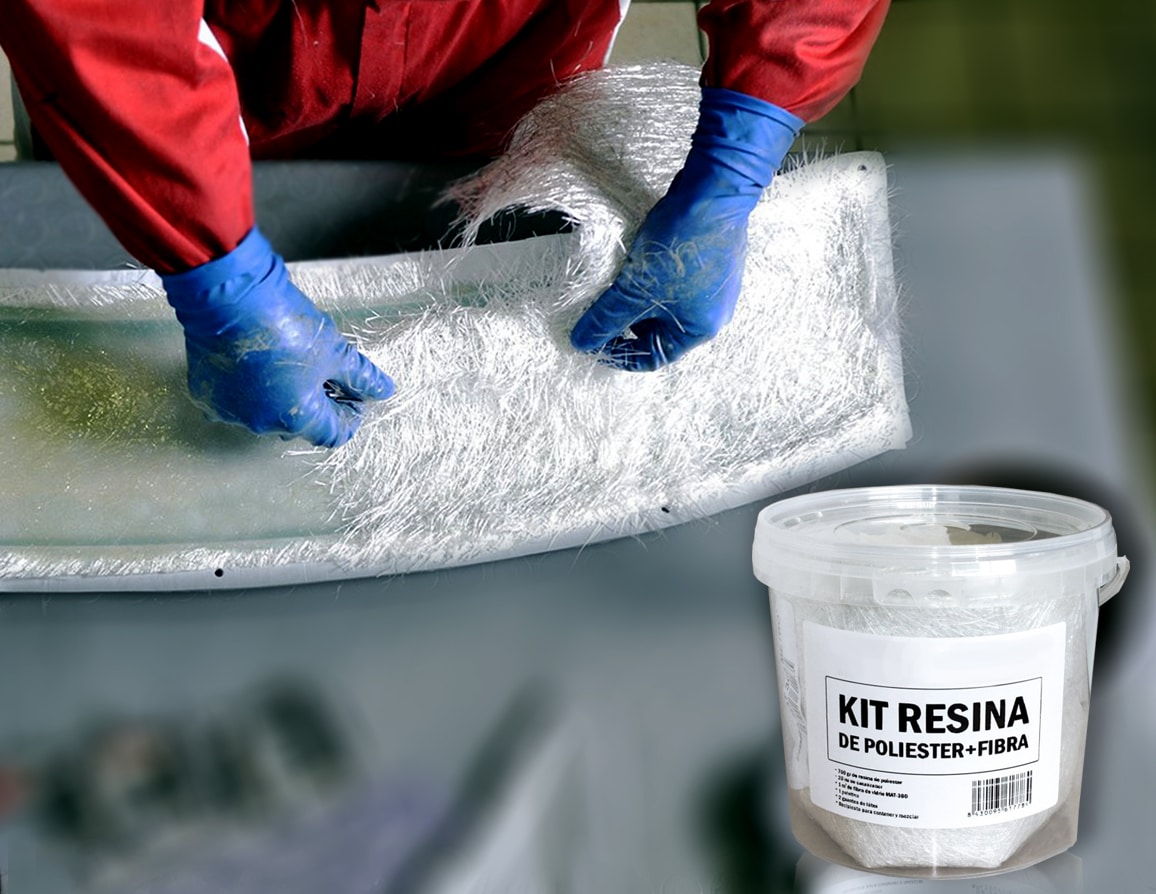
Once the surface is clean and dry, pick a product matched to the material. A coating such as Prolux PU coating is formulated for concrete, fibreglass, ceramic, plastic and suitably prepared steel, which covers many common trailer surfaces. For a reinforcing repair rather than a simple top coat, a fibreglass repair kit can add structural strength after the area has been keyed and degreased. Always check the manufacturer’s instructions for temperature and dry-time guidance.
When this matters most
Preparation has the biggest effect when a trailer is stored outdoors or used through wet seasons. Roof seams, awning rails, and joints around skylights and vents are all places where water can sit; any residue or moisture left underneath a sealant can create a weak point that worsens over time.
If the surface is smooth, glossy or has been treated with a previous product, planning a little extra time for abrasion and cleaning usually produces a more dependable result.
Related products
Related guides
Good preparation is the foundation of reliable waterproofing for camping trailers. Whether you are sealing a roof joint, refurbishing a wooden interior panel or coating a floor, the time spent cleaning, drying and keying the surface helps the finish stay bonded for longer. For more guidance on suitable waterproofing products, see the waterproofing sealant for camping trailers collection.