 Free shipping on orders over £29,85
 Shipping Tracking!



 Google
 Facebook
Painting a Repaired Campervan Roof
← Back to Waterproofing Campervan Roof Cracks
Quick answer
Painting over a repaired and sealed campervan roof is possible once the repair material has fully cured and been sanded to a smooth, clean surface. The repaired area can then be primed and painted to match the vehicle, provided the primer and topcoat are compatible with the roof material. Proper curing, light sanding and surface cleaning are the main steps that help the new paint bond and give a durable finish.
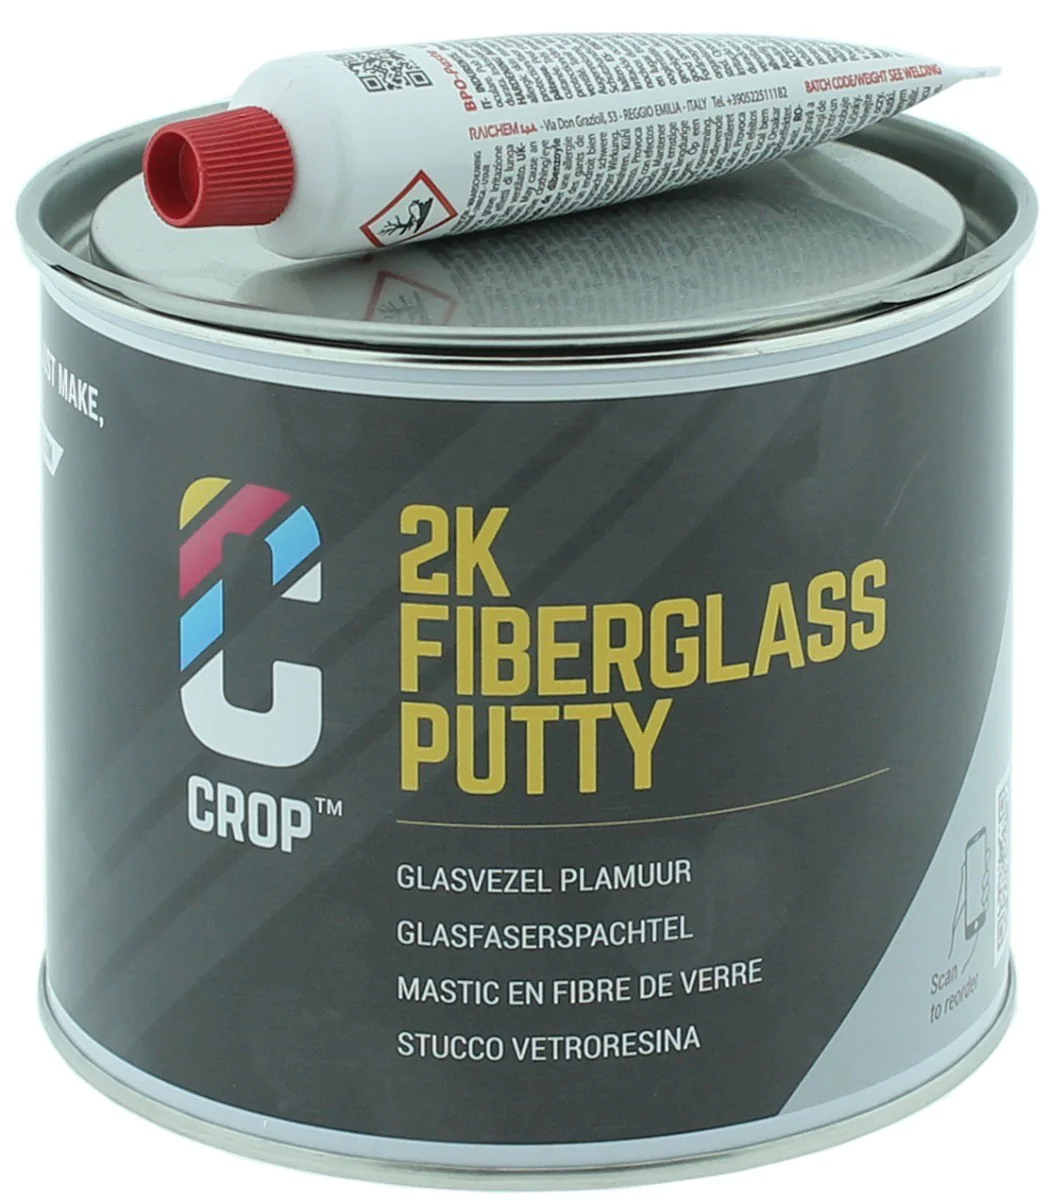

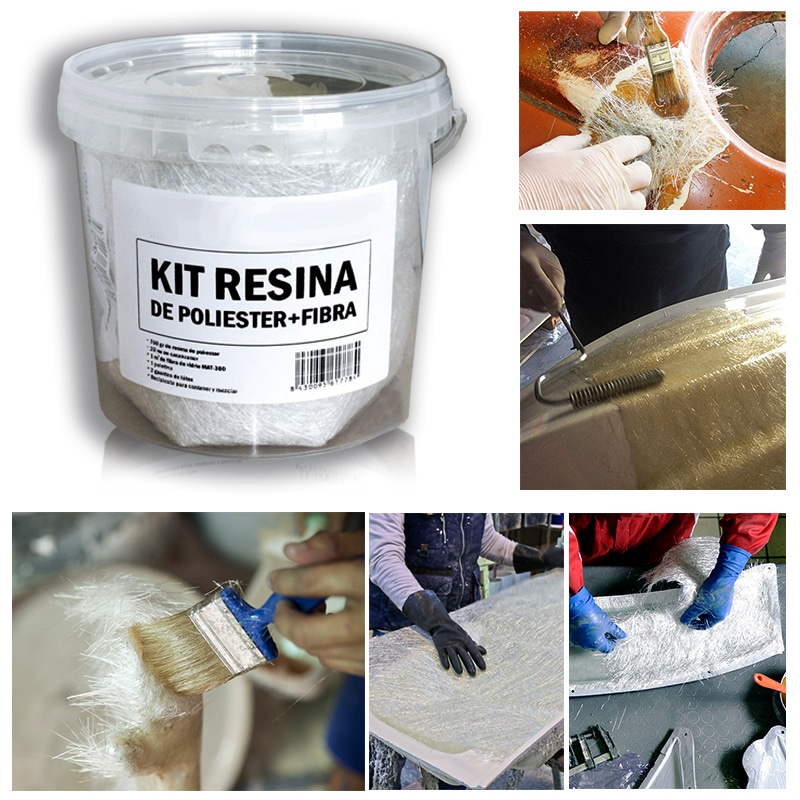
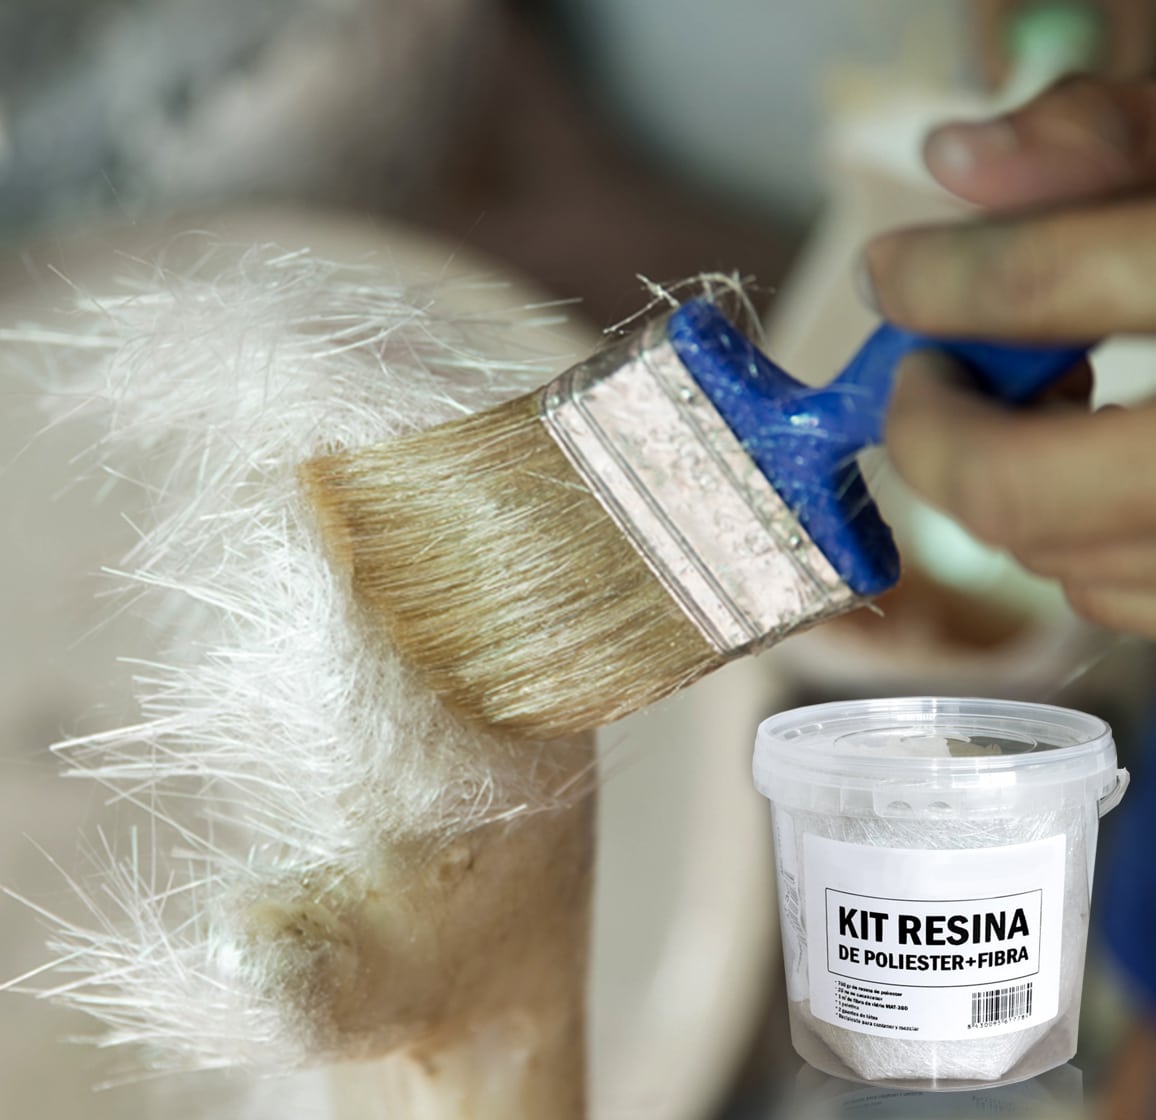
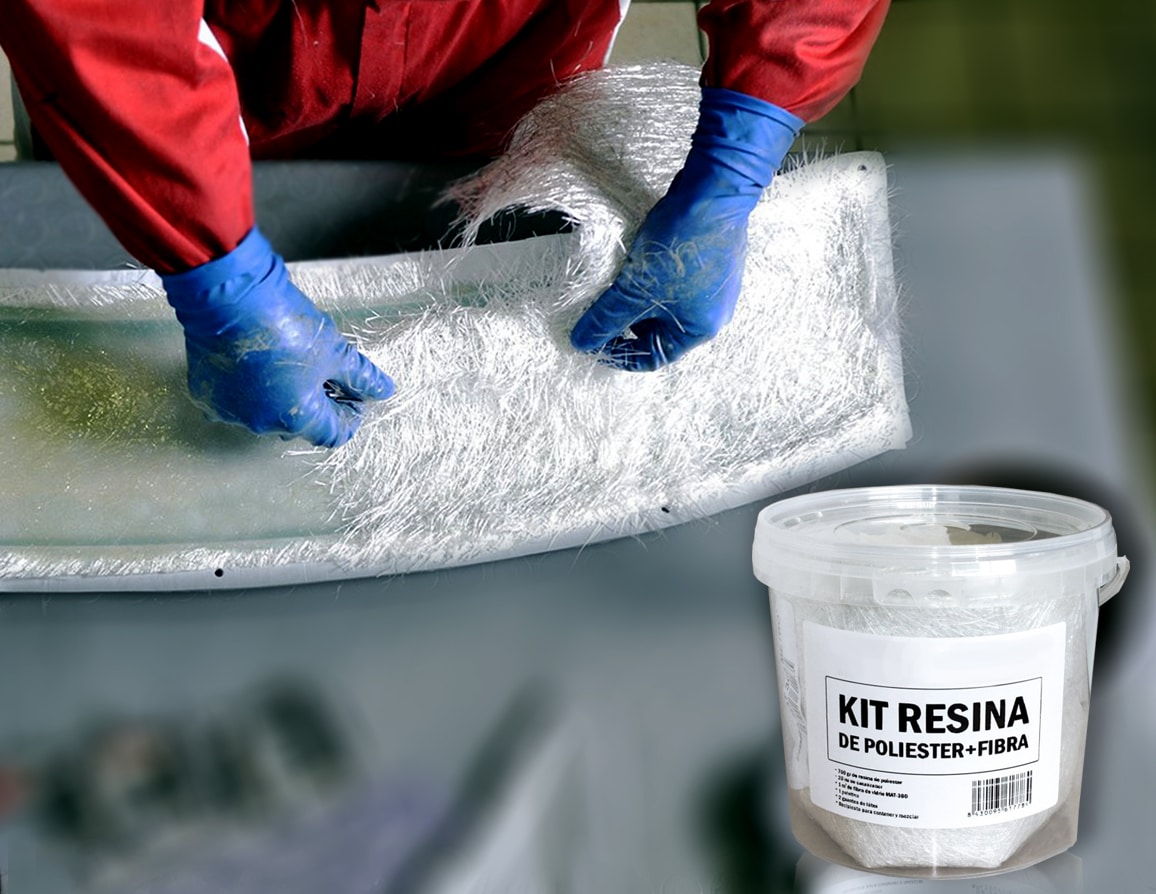
Most polyester resin and fibreglass repair products are designed to accept primer and paint after they have hardened. The practical part is letting the repair cure completely and taking a little time to prepare the surface before any coating goes on.
When a repaired roof is ready to paint
A repaired section should not be painted until the resin or putty has fully hardened. Curing time can vary depending on the product, layer thickness and ambient temperature, so it is safer to follow the specific product instructions rather than judge by touch alone. Once cured, the area should feel firm and free from tackiness.
- Check the repair is fully hardened before sanding.
- Lightly sand the area to remove any gloss and create a key.
- Wipe away sanding dust and allow the surface to dry completely.
Surface preparation and priming
Sanding is the main step that helps primer and paint adhere to a filled or resin-repaired roof. Use a fine abrasive and work over the repaired section plus a small margin of surrounding roof surface. After sanding, clean the area with a suitable panel wipe or degreaser and allow it to dry. A fibreglass-reinforced putty such as CROP 2K Fiberglass Putty – 750 ml + Hardener is often used because it can be sanded to a smooth finish before primer and paint.
Apply a compatible primer according to the vehicle manufacturer’s guidance. Priming helps the topcoat bond and can improve the final appearance over a repaired area.
When paint finish matters
A painted repair is more than cosmetic on a campervan roof. The topcoat helps protect the underlying resin or putty from weathering and reduces the chance of water sitting directly on the repair. This is particularly useful if the vehicle is stored outside or used regularly in wet conditions, where an unpainted repair may degrade faster.
Related products
Related guides
Once the repaired section is sanded, primed and painted, it should blend into the surrounding roof while keeping the original waterproofing intact. For more on sealing cracks before this finishing stage, see the main guidance on waterproofing campervan roof cracks.