 Free shipping on orders over £29,85
 Shipping Tracking!



 Google
 Facebook
Protecting Your Campervan Interior During Insulation
← Back to Damp insulation for campervan roof
Quick answer
Campervan interior protection during insulation is a simple preparatory step that uses a temporary, leak-proof film to shield floors, seats, worktops, and fixed fittings from resin spills, adhesive drips, and surface damage. A 4×4 metre protective sheet creates a clean working area, reduces cleanup time, and helps prevent staining on textiles and hard surfaces while insulation boards, sealants, or coatings are being applied.
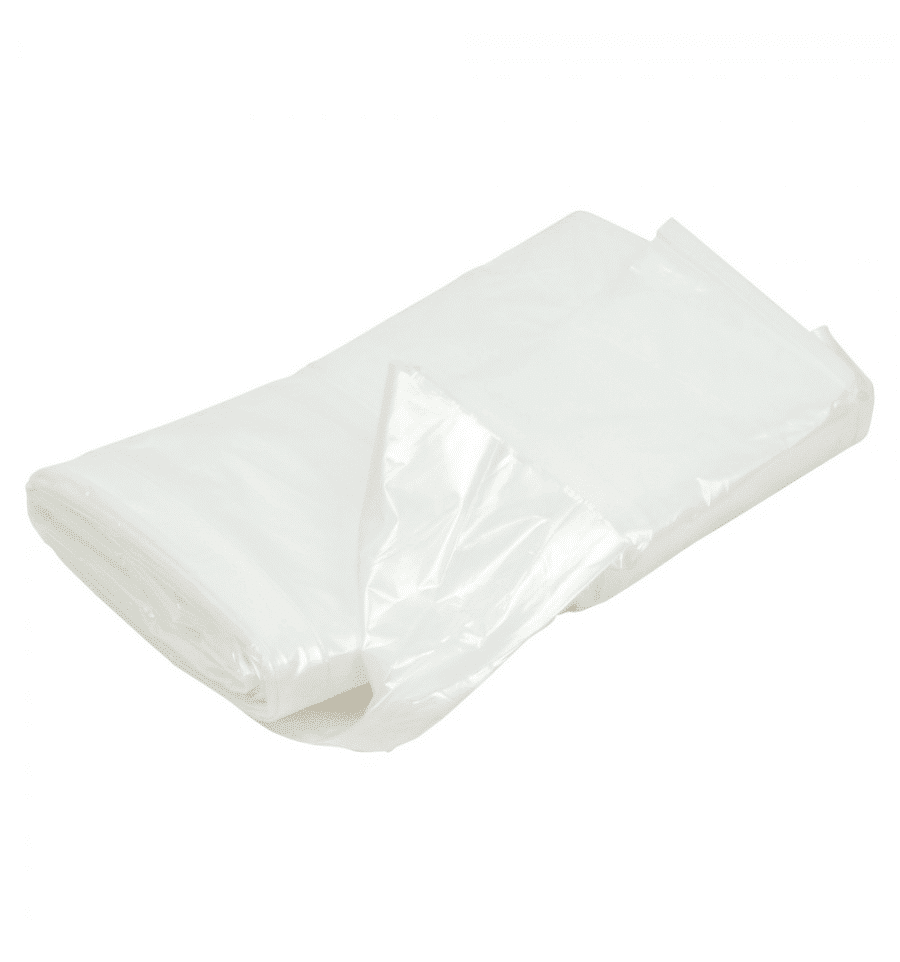
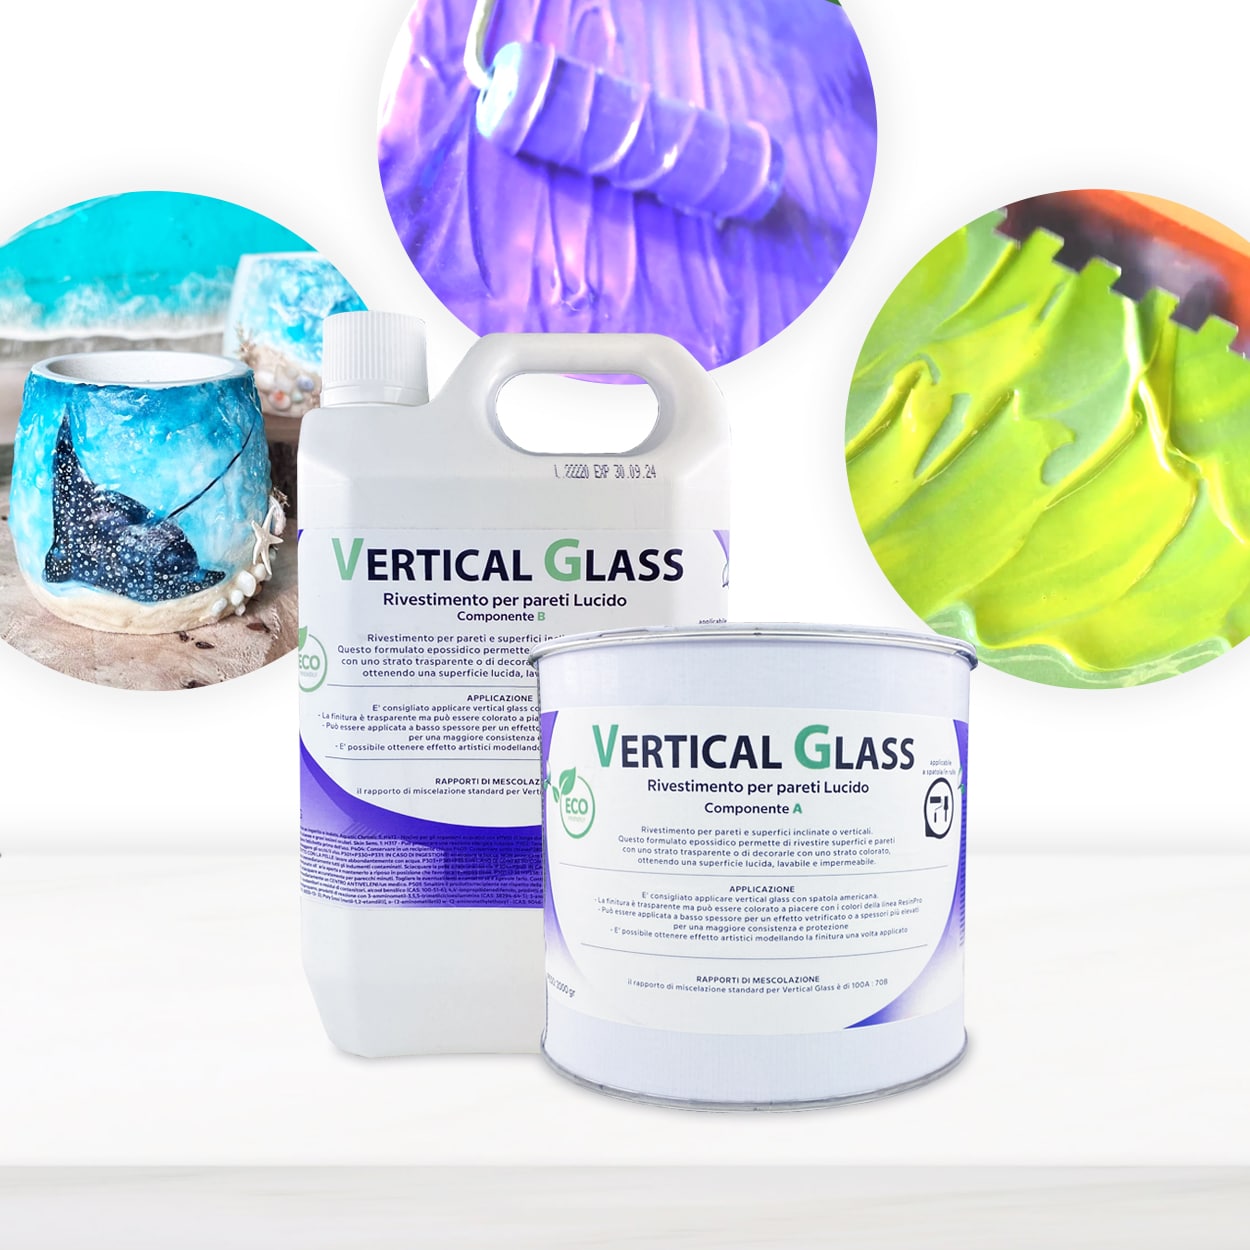
Working inside a campervan leaves very little room for error, and spilled resin on original upholstery or a ply floor is hard to reverse. Laying a protective sheet film before you start is one of the cheapest ways to avoid that problem.
Prepare a contained working area
Before opening any resin, adhesive, or insulation board, lay a protective film across the floor and any fixed work surfaces. A lightweight 4×4 metre sheet gives enough coverage for a compact van floor and can be tucked or taped around awkward corners. If you are working overhead, extend the film slightly up the wall edges to catch drips before they reach upholstery or untreated timber.
- Clear loose items from the work zone before laying the film.
- Tape seams and overlaps to stop resin creeping underneath.
- Keep a second sheet for covering seats during breaks.
What to cover before you start
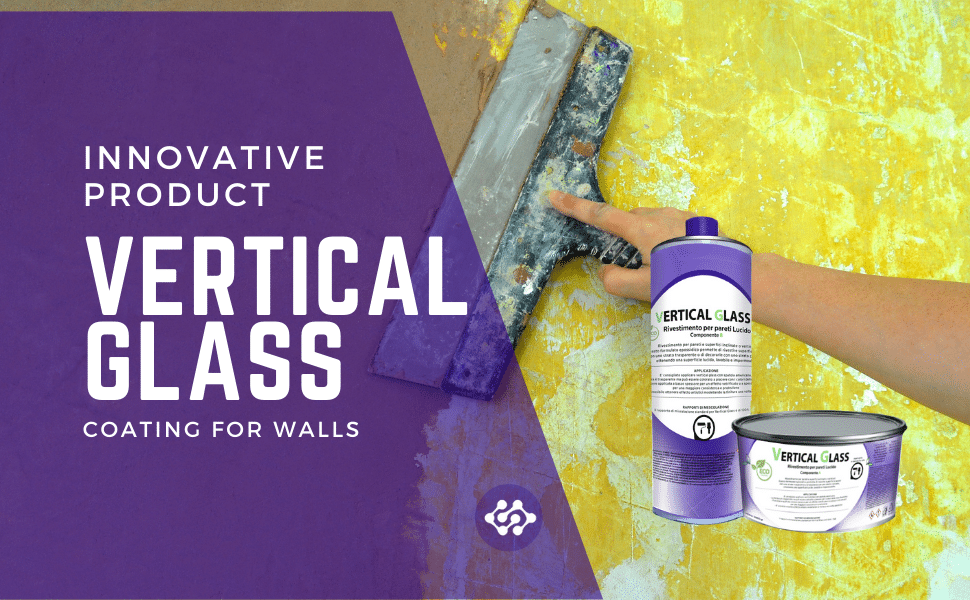
Floors and worktops are obvious, but the most vulnerable areas are often the ones you overlook: cab seats, mattress areas, seatbelt buckles, and soft furnishings. Resin and hardener can soak into fabric quickly, and cured drips are difficult to remove without damaging the surface. Cover any fixed furniture that cannot be removed, and use masking tape to hold edges in place without leaving residue.
When this matters
This step is especially important when applying damp insulation overhead or near roof linings. Gravity works against you, and even careful mixing can produce small drips. A disposable or reusable protective film keeps the workspace clean, reduces the risk of staining, and makes it easier to spot any leaks in the roof before they reach the interior.
Related products
Related guides
Once your surfaces are covered, you can concentrate on getting the damp insulation layer right. For more on preparation, moisture-resistant materials, and roof-specific guidance, see our damp insulation for campervan roofs guide.