 Free shipping on orders over £29,85
 Shipping Tracking!



 Google
 Facebook
Secure Anchoring for Anti-Infiltration Projects
← Back to Anti-Infiltration Membrane for Campervans
Quick answer
Secure anchoring for anti-infiltration projects is achieved by fixing a geotextile membrane taut against a prepared base before any resin bound or bonded layer is applied. Barbed plastic fixing pegs are pressed through the membrane into soil or a compacted sub-base, holding the layer against movement, rucking and gaps that could permit weed ingress or surface instability. This method is used in outdoor resin installations such as driveways, pathways and campervan base areas where the membrane must stay reliably in place throughout the pour and cure.

Getting the anchoring right matters because even a well-chosen membrane will underperform if it shifts during spreading or resin application. The practical side is straightforward: use enough pegs, position them at edges and overlaps, and avoid leaving loose folds that can trap material.
How barbed fixing pegs hold the membrane
Plastic ground anchors, such as the Weed Membrane Fixing Peg, use a barbed spike design to grip soil and compacted sub-base. Once pushed through the geotextile, the barbs resist upward pull, which keeps the membrane from lifting or sliding as you work over it.
They work with the woven and non-woven geotextile fabrics typically specified for resin bound work, making them a practical option for campervan base areas, driveways and paths where a stable anti-infiltration layer is needed. The pegs are made from UV-stabilised black polypropylene, so they are intended to withstand outdoor conditions during installation and use.

Preparing the base and setting a fixing pattern
Start with a level, compacted base that is free from sharp objects and large voids. Roll out the geotextile so it sits flat, then fix the edges first before working towards the centre. This helps remove slack and keeps the membrane taut while the resin layer is added.
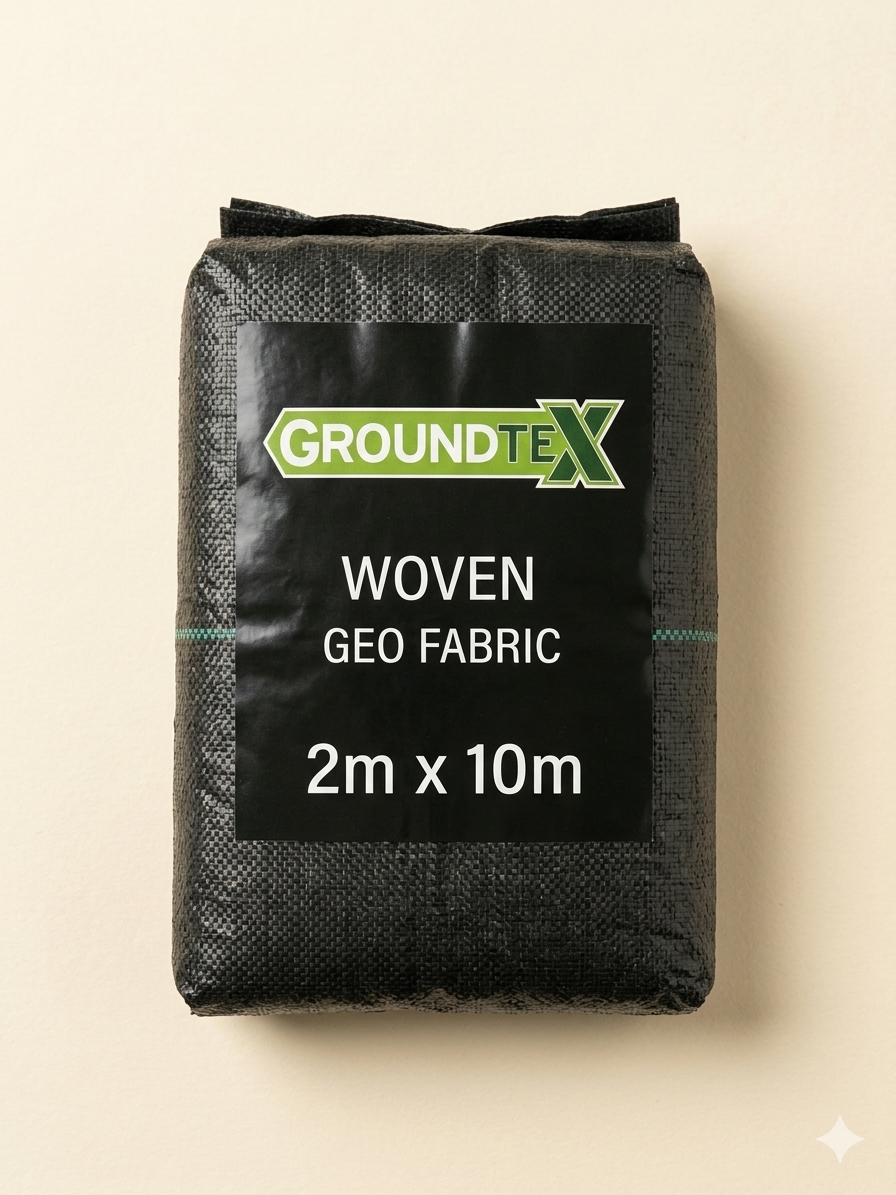
A woven geotextile such as the Groundtex Woven Weed Membrane 2m x 10m gives a firm, even layer to anchor against. It is CE marked for ground stabilisation and covers 20 m², making it suitable for campervan base areas and small driveway applications.
- Place pegs at regular intervals along edges and overlaps, increasing density where the membrane may be disturbed.
- Use additional pegs where membrane sections meet or where the base changes level.
- Check that each peg head sits flush with the membrane rather than standing proud.
- Pegs are available as singles or in a 10-peg pack for larger coverage.
When secure anchoring matters most
Anchoring is most important when the membrane will be under load from foot traffic, wheelbarrows or resin spreading tools before the surface is fully cured. A loose anti-infiltration membrane can ruck or leave unprotected gaps that are difficult to fix once the resin layer is spread.
If the base is sandy, loose or sloping, increasing the number of pegs and checking the ground after wet weather helps maintain a reliable fix. The same principles apply to outdoor driveways, pathways and resin bound patios.
Related products
Related guides
For campervan builds, the anti-infiltration layer is only as good as the anchorage beneath it. Once the membrane is pegged securely, the rest of the floor or driveway build can proceed without worrying about movement, weed ingress or resin seepage. See the main guide to anti-infiltration membranes for campervans to compare membrane types and installation steps.