 Free shipping on orders over £29,85
 Shipping Tracking!



 Google
 Facebook
Surface Preparation for Roof Leak Insulation
← Back to Roof leak insulation solutions
Quick answer
Surface preparation is the most important step before using roof leak insulation. A clean, dry and suitably primed substrate allows resin-based coatings and repair systems to form a strong mechanical and chemical bond. Dirt, grease, loose material and trapped moisture prevent adhesion, which can lead to blistering, peeling or early water ingress. For concrete, metal, fibreglass or wood, preparation typically includes cleaning, drying, light sanding or abrasion, and priming where the manufacturer specifies it. Skipping this step is a common cause of waterproofing failure.

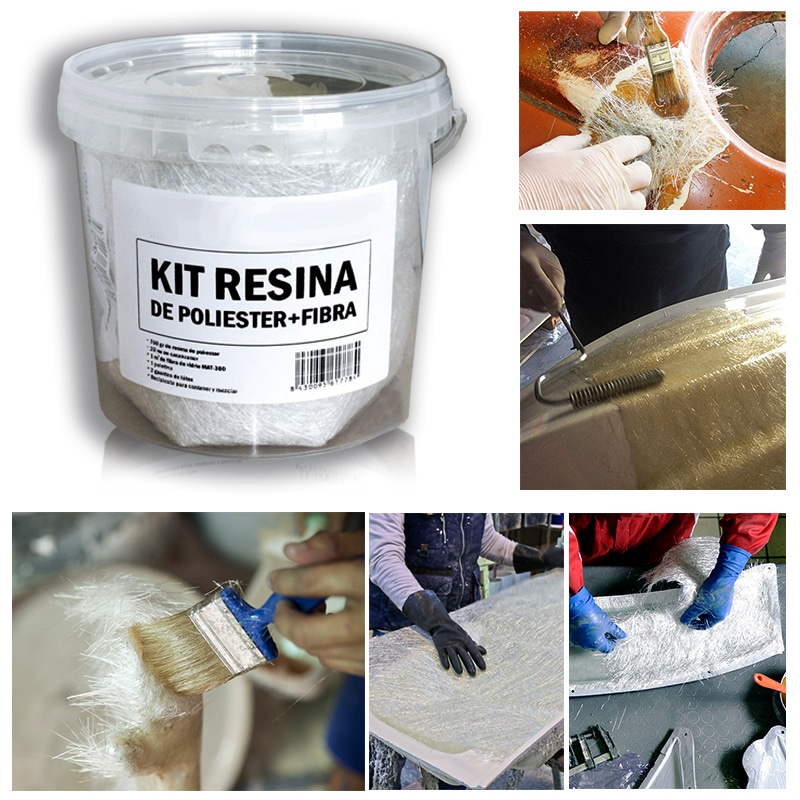
Preparation is not just about wiping the roof down. It is about removing anything that could act as a barrier between the substrate and the repair layer. On many roofs, that means a combination of cleaning, drying, light abrasion and, where specified, priming.
Why preparation matters more than product choice
Roof leak insulation products tend to rely on a close bond between the coating or repair layer and the substrate below. Any residue from moss, algae, oils, old sealants or loose roofing material can sit between the two and weaken that interface. Once water gets underneath, it can travel along the bond line and create a leak that is harder to trace.
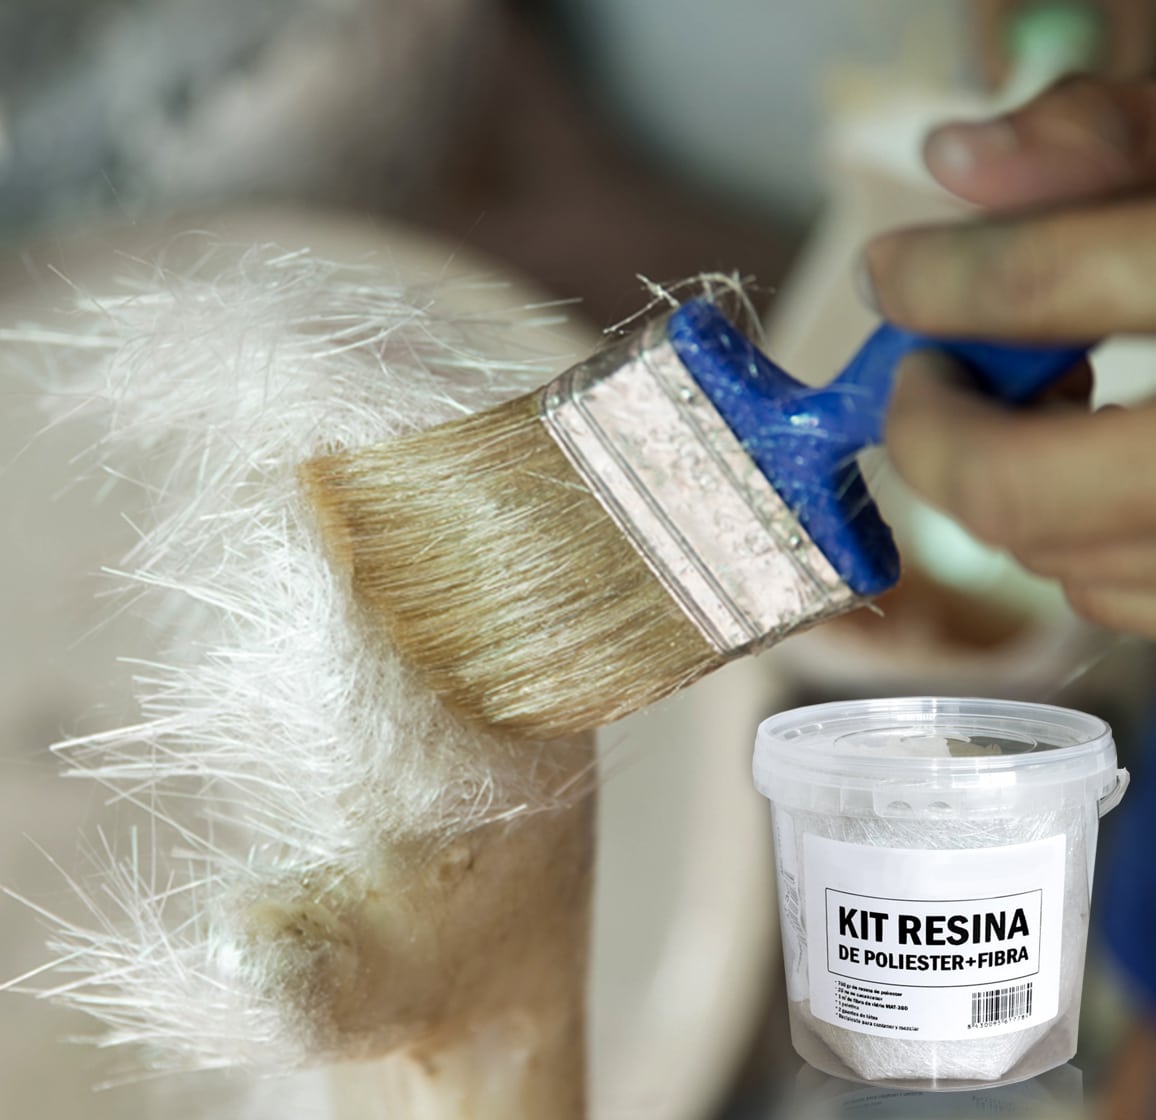
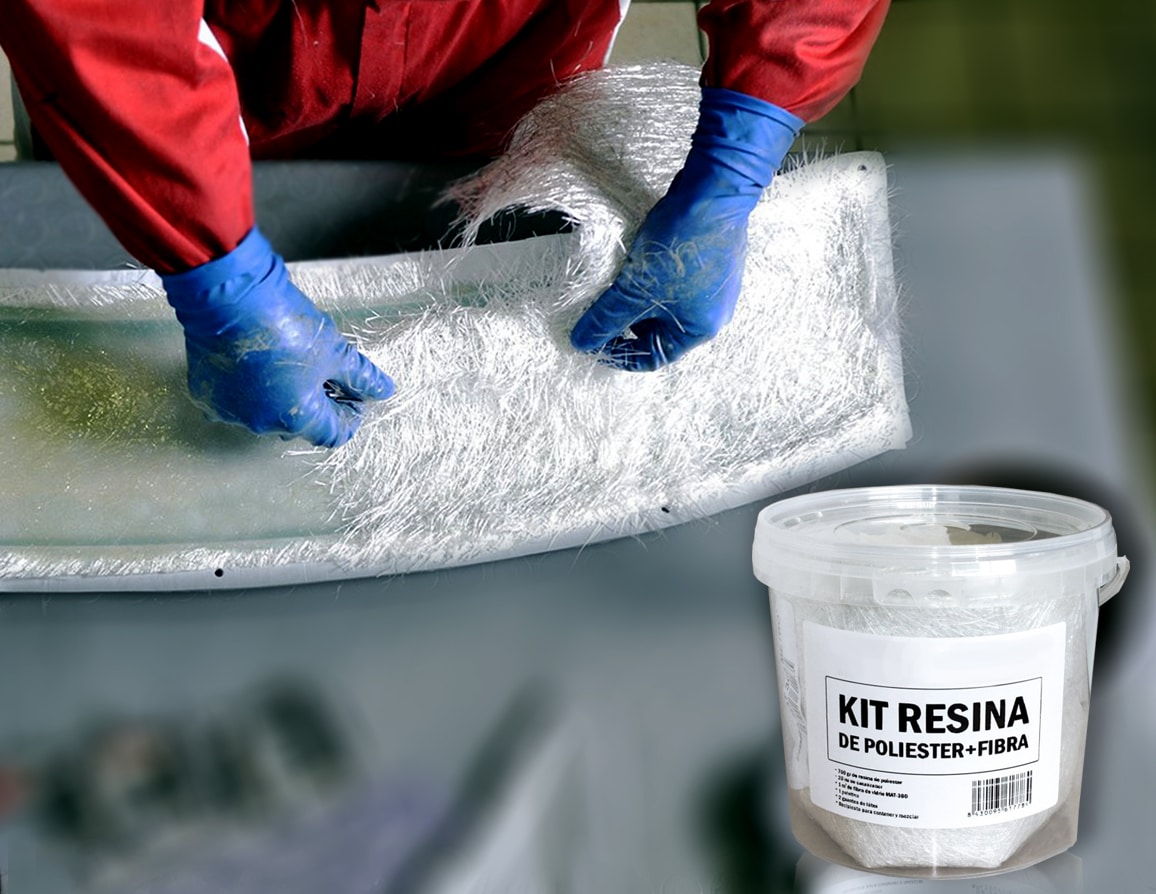
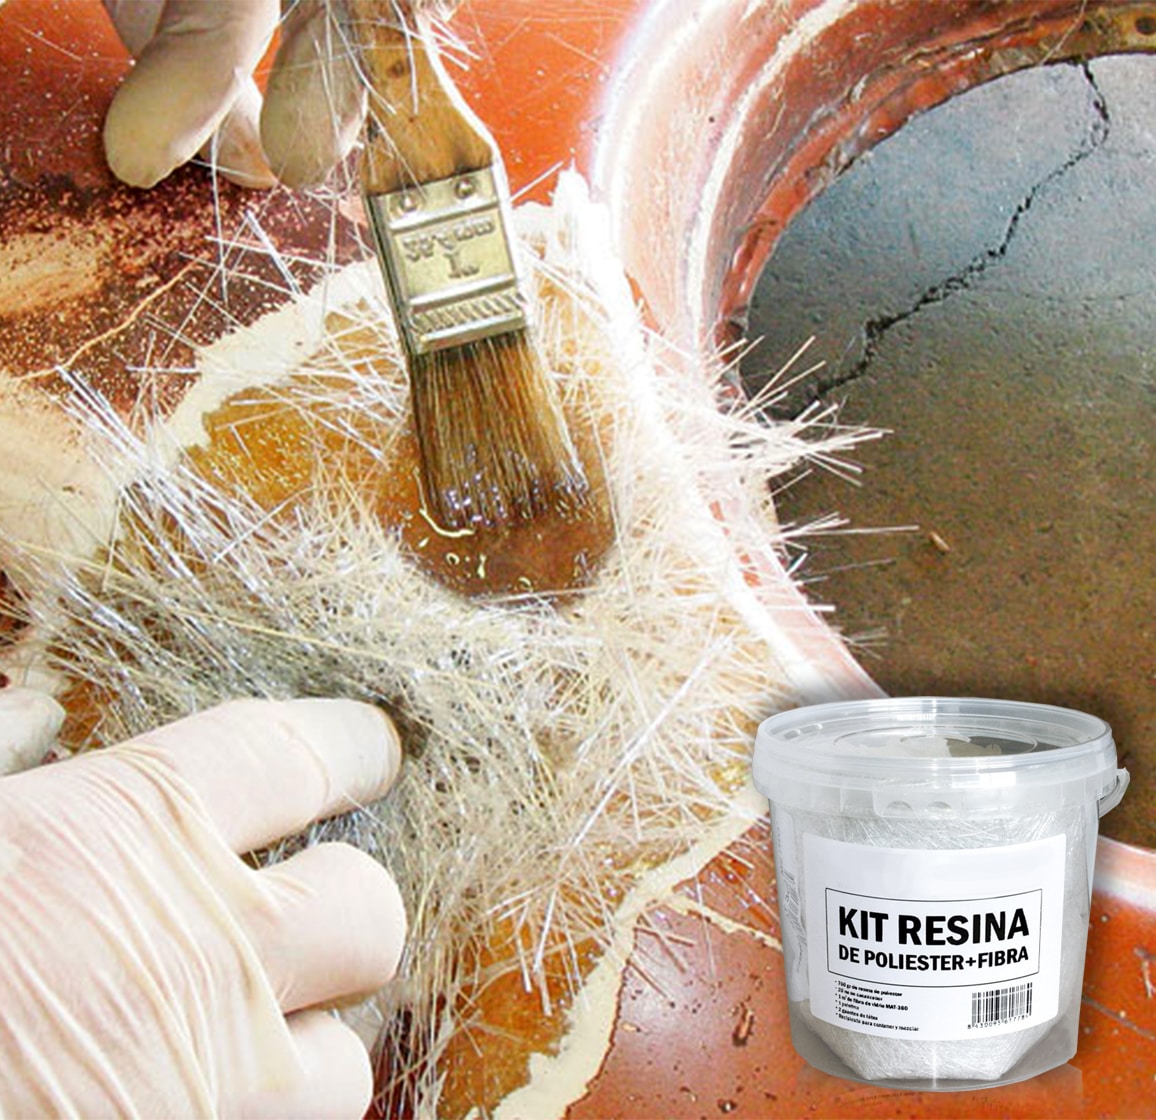
For example, a fibreglass repair kit may be strong and waterproof on its own, but it still needs a stable, clean surface to grip. On a poorly prepared roof, the repair can lift at the edges or crack under movement.
A practical pre-application checklist
Preparation does not need to be complicated, but it should be consistent. The following checks are useful before opening any roof leak insulation product:
- Clean: Remove dust, dirt, moss, oil and loose debris with suitable cleaning methods. Allow the area to dry fully before continuing.
- Dry: Check for trapped moisture, especially after rain or in shaded roof sections. Damp substrates are a common cause of poor adhesion and blistering.
- Key or abrade: Light sanding or mechanical abrasion can improve grip on smooth or previously coated surfaces. Follow the product guidance for the correct level of abrasion.
- Prime: Where the manufacturer’s instructions specify a primer, apply it evenly and leave it to flash off before the main coat or repair layer.
When this matters
Preparation becomes even more important when the repair is exposed to standing water, thermal movement, or direct sun. Flat and low-slope roofs are particularly unforgiving because water can pool and constantly test the bond. The same applies to repairs made in cold or humid conditions, when surfaces dry more slowly and adhesion can be reduced if the installation is rushed.
Related products
Related guides
Taking time over surface preparation may feel like a delay, but it is the stage that gives roof leak insulation its best chance of performing. For product-specific guidance on cleaners, primers and application conditions, visit the main roof leak insulation solutions guide.