 Free shipping on orders over £29,85
 Shipping Tracking!



 Google
 Facebook
Will Waterproofing Affect the Appearance of My Motorhome?
← Back to DIY motorhome waterproofing
Quick answer
Motorhome waterproofing does not have to alter the vehicle’s appearance when the right product is chosen. Modern systems include clear, tinted, gloss, satin, or paintable finishes that can sit close to the original surface or be overcoated to match the surrounding colour. With careful surface preparation and a compatible top layer, waterproofing can remain visually discreet while adding protection against moisture, UV exposure, and dulling. The result is often a maintained or subtly refreshed look rather than an obvious patch.
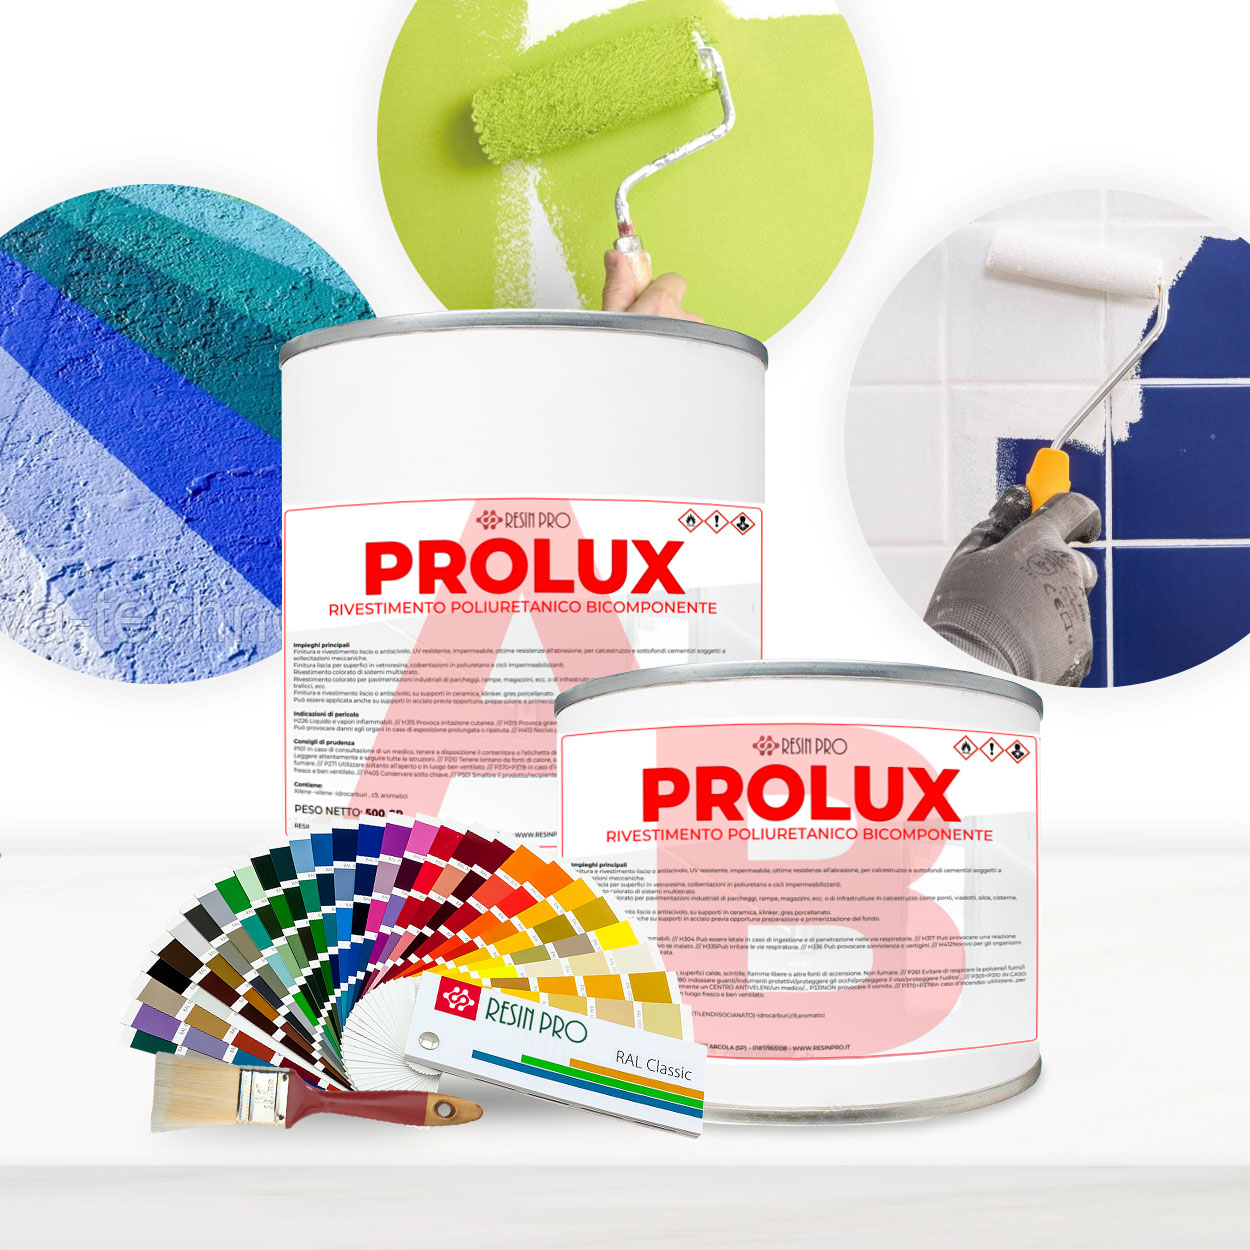

The most important step is matching the finish to the visible area you are treating. A clear or colour-matched coating can disappear into the surrounding panel, while a paintable repair compound lets you reinstate the original shade after waterproofing.
Clear, paintable and colour-matched finishes
Many modern motorhome waterproofing products are designed to be unobtrusive. They are supplied as clear coatings, or as bases that can be tinted, overcoated or painted once cured. This means you are not stuck with a heavy, cloudy patch over the original coachwork.
A two-component polyurethane coating such as Prolux PU coating is available in gloss or satin and can be colour matched, helping the finish blend with the surrounding surface.
What to check before buying
When appearance is a priority, look at the finish type before you start the job. A product that is easy to sand and paint gives you more control over the final look than a stiff, difficult-to-finish coat.
- Clear or paintable: Check whether the cured layer can be painted over or left clear.
- Finish level: Gloss and satin reflect light differently, so choose the one closest to your existing panel.
- UV stability: A UV-resistant coating is less likely to yellow or dull on visible sections.
- Preparation: Mask edges carefully and use a smooth, compatible primer or filler if repairs are needed first.
When this matters most
Appearance is particularly important on large, visible panels, around windows and rooflights, and anywhere the repair will catch natural light. In these areas, a patchy finish is more noticeable than on hidden seams under the vehicle.
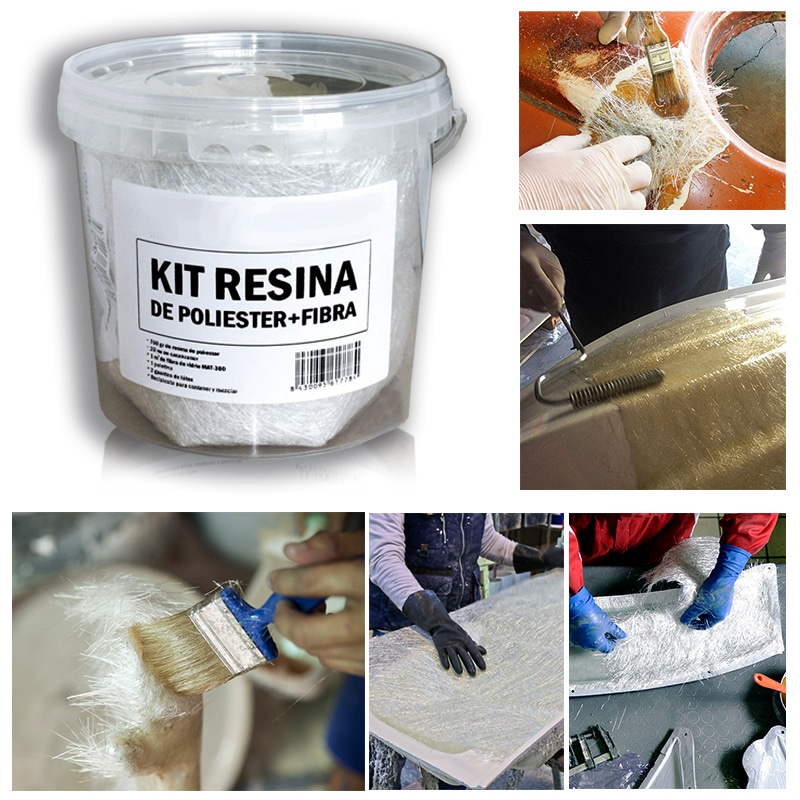
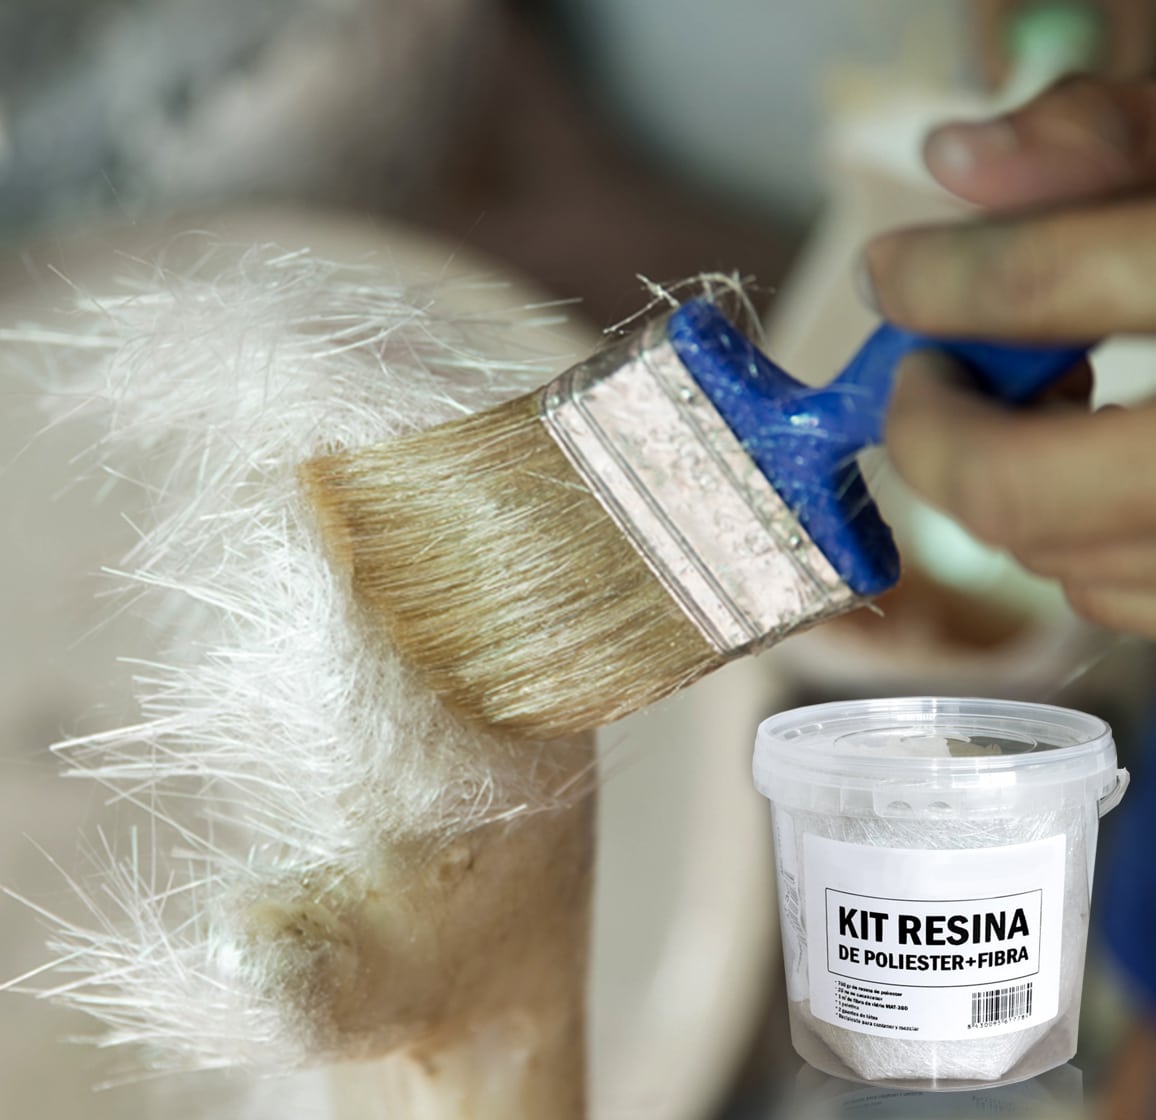
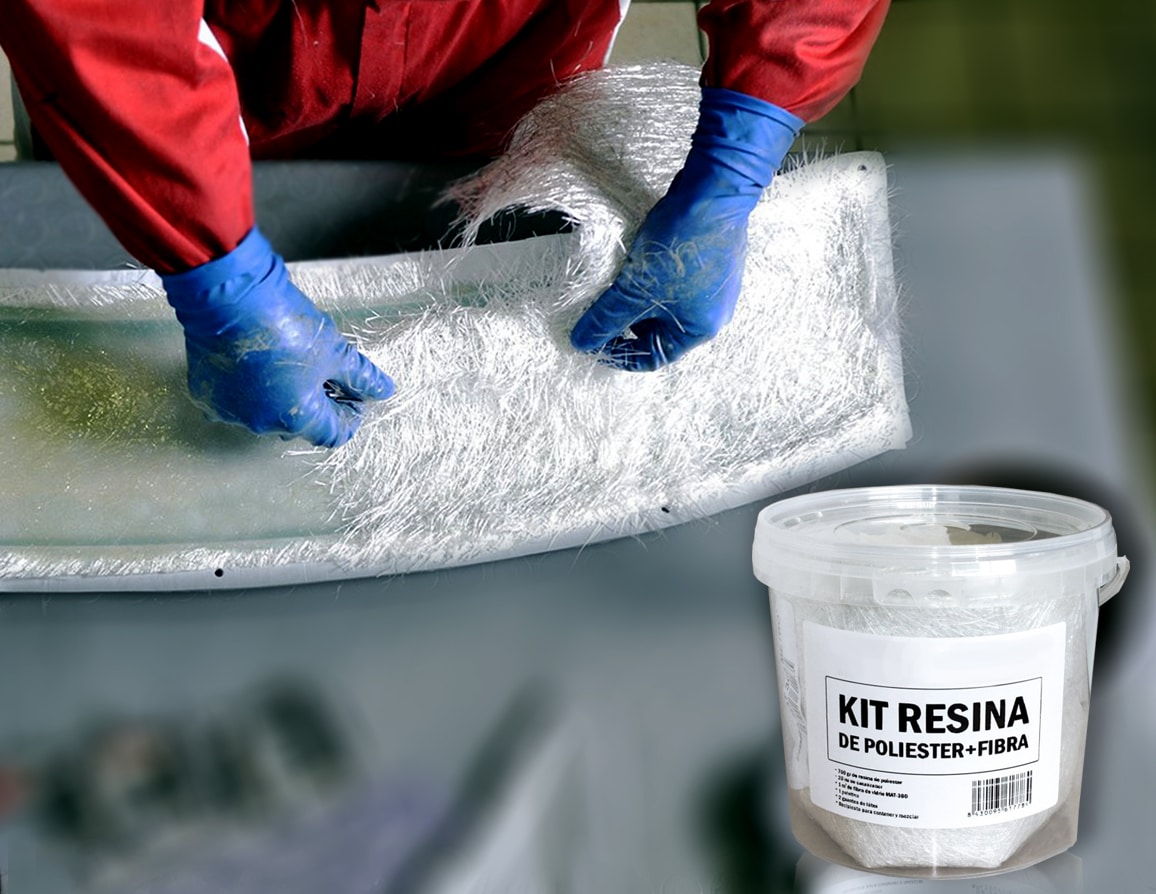
If you are filling cracks or dents before waterproofing, a sandable fibreglass-reinforced filler such as CROP 2K Fiberglass Putty can be smoothed and primed, giving the waterproofing layer a clean base rather than highlighting the damage. Testing a small, inconspicuous area first helps confirm how the finish sits on your motorhome.
Related products
Related guides
Balancing protection and appearance is part of a well-planned DIY motorhome waterproofing project. By selecting a clear, paintable or colour-matched product and preparing the surface carefully, you can keep the vehicle looking tidy while still sealing vulnerable areas against moisture.