
Sick and tired of not achieving perfect resin waves? You have come to the right place to get useful tips!
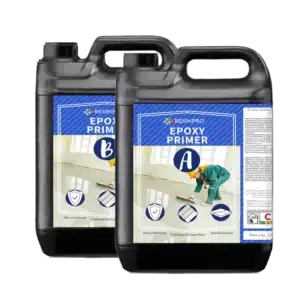
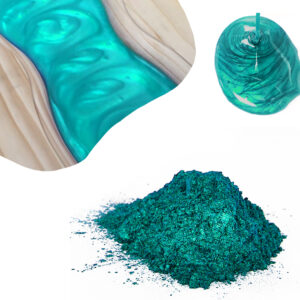
1. First of all you need to use the right materials! We recommend this duo: Art Pro Deluxe resin (the thickest resin ever) and Wave-Pro powder.
2. Mix the amount of resin enough to cover your base + a little more. You can paint the sea background with acrylics in advance, or you can color the resin with special dyes and create a sea gradient at this step, however, we recommend waiting until the sea background has completely dried or hardened before creating the waves. This way you can remove the waves if they were not successful.

3. Pour most of the clear resin you mixed over a dry, clean background – this feature will help you to create sea waves and foam.
4. Add Wave-Pro powder to the rest of the resin and mix vigorously: you need to get a snow-white color.

5. The next step needs your patience! Wait until the resin gets very thick: It is 20-30 minutes since mixing for Art Pro Deluxe.
6. Pour the white resin in strips over a liquid transparent background and blow it at a 45 ° angle with a hairdryer or heat gun from the “shore” into the depths of the “sea”.


Products you need:
We thank authors @tata_resinart and @sea_waves_decor for these useful tips ❤️
See more by the #resinart_faq hashtag in Instagram! ✅
This video will visually help you understand the technique of creating waves:


Very nice write-up. I definitely appreciate this site. Thanks!