Trying to get a better result in Ocean Art (epoxy resin sea/ocean art), but the waves effect is not good enough or even disappears after you created it with a hair dryer/heat gun? Let’s solve these problems with the our legendary duo – super-thick epoxy resin for Resin Art “Art Pro Deluxe” and powder pigment for creating sea waves effect “Wave Pro”. The main task here is to apply them correctly in your work 🙂
Materials you need
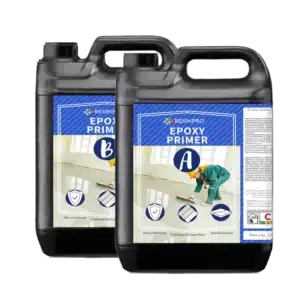
- Ultra-high viscosity epoxy resin «Art Pro Deluxe»:
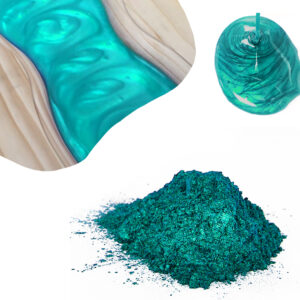
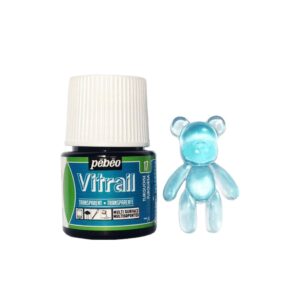
- Dyes and pigments* of sea/ocean colours and “Wave Pro” sea waves effect powder:
- Decoration: Seashells, dry sand, pebbles, etc.
- Surface: art-board, cutting bord, serving board and etc:
- Hair drier or heat gun
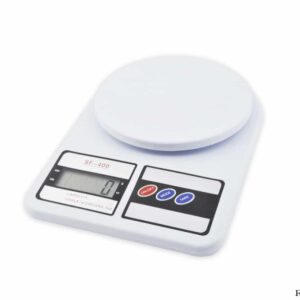
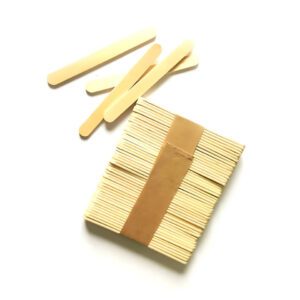
- Small gas heat gun, resin accessories and electronic scales:
-


* the dyes of sea colors may not be needed if you have already painted a marine background with acrylics. However, be sure that the paints are completely dry before you work with epoxy resin.
This is important
Key points you should keep in mind when creating resin sea waves:
- Resin viscosity: the epoxy resin must be of the right viscosity to make perfect sea waves. You should use the thickest resin you can find: We have medium-thick “Art Pro” resin and super-thick “Art Pro Deluxe” resin – the latter is the best choice.

- Time: even the viscousity of the resin you’ve bought is not enough to create sea waves. Therefore, from the moment of mixing the components of resin to the step of creating a wave effect (using a hair dryer/heat gun) a certain amount of time must pass: for resin “Art Pro Deluxe” – it is 30-40 minutes (for “Art Pro” – 50-70 minutes). This is so the resin becomes even more viscous, because it slowly begins to harden. The main thing here is not to wait to much time, otherwise it will be almost impossible to create the waves. Attention! If air temperature is about 30° C, this time for the Art Pro Deluxe resin should be strictly no more than 30 minutes, because at high temperatures this resin hardens faster.

- Liquid layer: you won’t get your desired result if you create resin sea waves on a dry surface. There must be the liquid layer of resin on you base (art-board and etc): it can be a sea effect gradient resin background that you just poured, or, if you already have a hardened background, just a transpatent layer of liquid resin that you mixed both for ground and mixture with “Wave Pro”. Attention! The liquid layer/background resin and the waves effect resin (to be mixed with the waves effect powder) must be of the same consistency: they must be taken from the same mixture of resin components that you prepared for the whole Ocean Art work.
- Waves effect mixture colour: to create the perfect waves, the resin and Wave Pro mixture must be of a rich white color. Add the wave powder to the resin little by little and stir the mixtire until you get a perfect white color. For the powder to dissolve well in the resin, the mixture must be stirred intensively and thoroughly.

- Type of dryer: a lot depends on the functionality of your dryer. If you are using a regular hair dryer, it should take no more than 30 minutes for “Art Pro Deluxe” and about 50 minutes for “Art Pro” from mixing the components to the step of waves creation. In case you are using a heat gun (it gives hotter air), this time increases to 40 minutes for “Art Pro Deluxe” and 60-70 minutes for “Art Pro”.

Making sea waves step by step
1. Mixing resin components
Thoroughly mix components A and B of “Art Pro Deluxe” and watch the time (or better yet, set the timer for 30 minutes): all the following steps should be done keeping in mind the fact that the time period between this mixing and creation of sea waves with dryer/heat gun must be 30-40 minutes. For “Art Pro” resin this time increases to 50-70 minutes.
You need about 150-170 grams of total resin and hardener mixture for a 30 cm diameter art-board. You can mix 100 g “A” and 70 g “B” of Art Pro Deluxe or 100 g “A” and 66 g “B” of “Art Pro”.

2. Colouring the resin
Pour the resin mixture into small cups (equal to the number of dye colors you have chosen + a cup for waves mixture and, if you want to create a beach, then 2 more cups: 1 for mixing with sand/pebbles and 1 with a transparent resin). Colour part of the cups with the selected dyes (1-2 drops of dye are enough) and mix well. Add Wave Pro powder into one of the cups: stirring intensely to dissolve it well in the resin, add it little by little until you get a dense rich white color, as in the photo below.
If you want to create a beach, add sand to one of the cups and mix well to get a thick wet-sand mixture.

3. Creating sea background
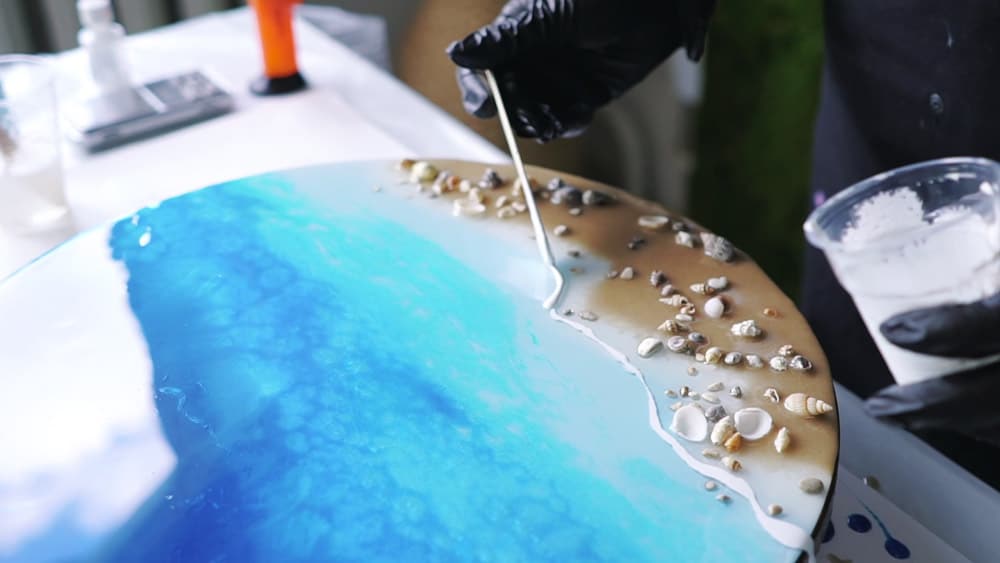
Cover the table with the protective film, place the art-board flat on the empty cups (you can use waterpass to check the level). Pour the resin on the art-board in stripes one by one: first comes the sand beach (if you have it), followed by a thin strip of transparent resin (still, if you have the beach), and then all the colors in large strips from the lightest to the darkest colour. You can tilt the board slightly for a couple of seconds for the colours to blend a bit. If some areas are not filled with resin, you can spread the resin with a wooden spatula (the resin itself can slowly fill in the empty areas, but you can help it). At this same stage, you can also use seashells, pebbles and other sea decorations by pressing them into the sand on the “beach”.
Use a small gas heat gun quickly moving the flame over the coloured background part to get rid of air bubbles that got into the resin during mixing or pouring. Do it with fast motions, because the flame can damage the resin if you hold it in one place for too long.
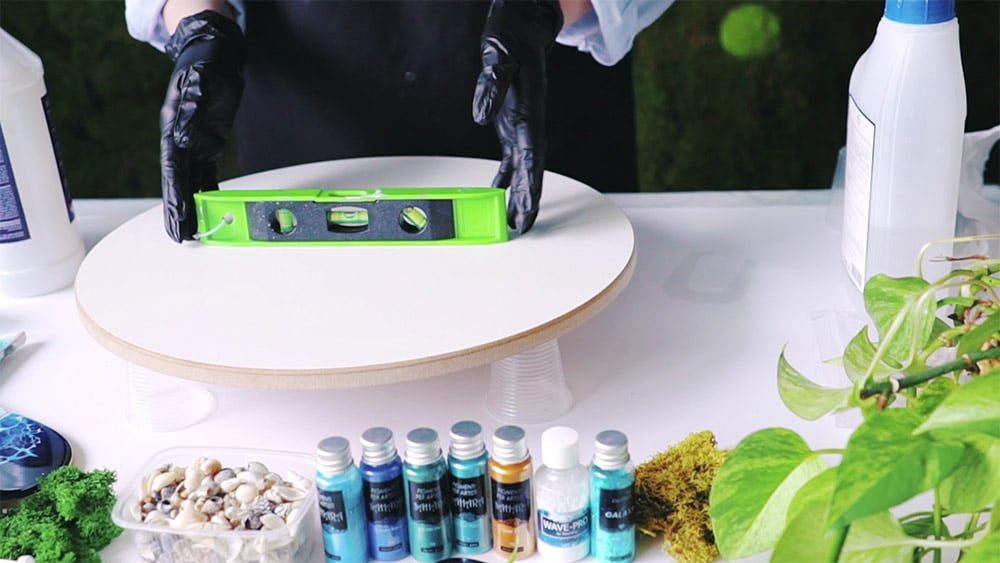
1. Place the art-board flat 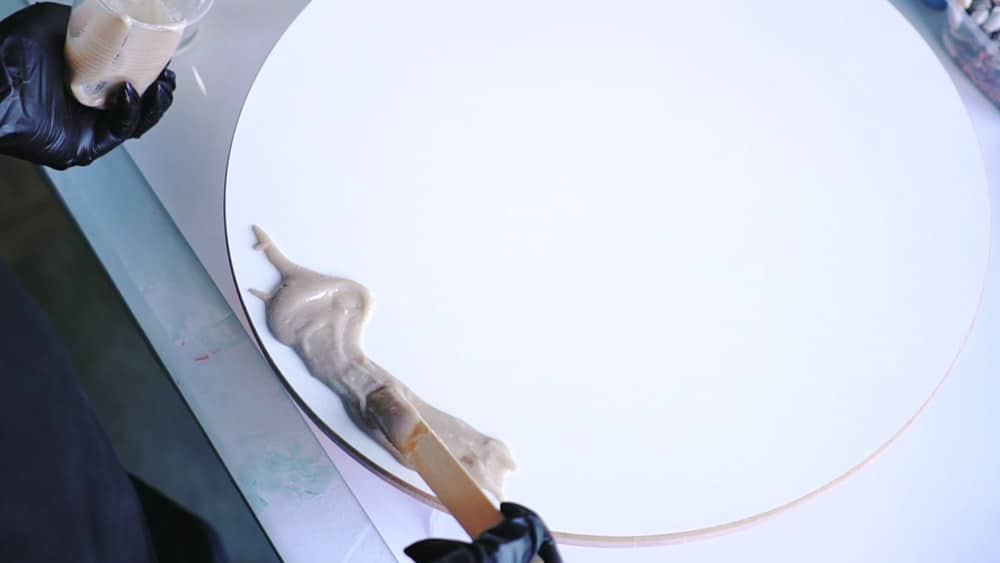
2. Lay out the resin + sand mixture 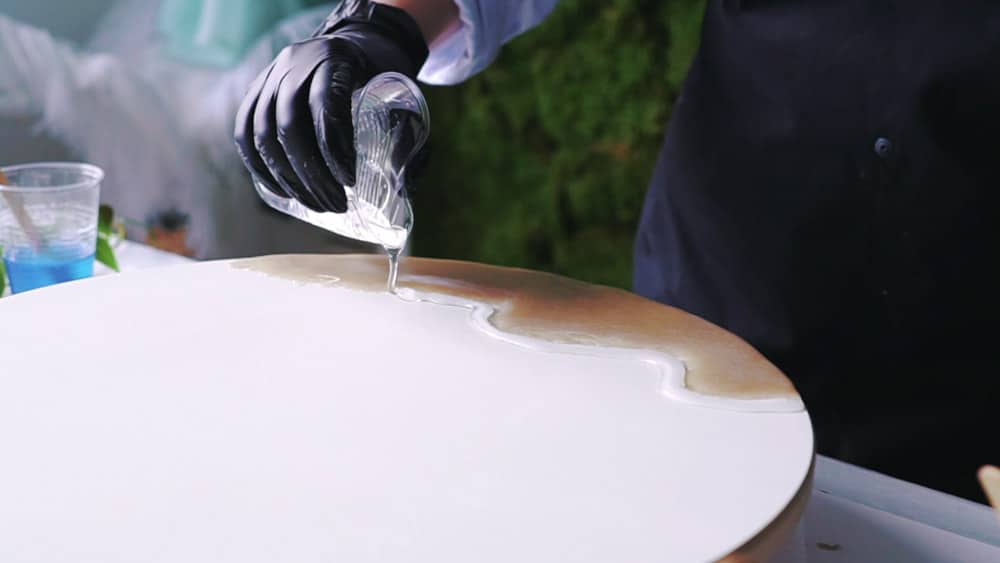
3. Make a thin transparent resin strip along the beach 
4. Pour large stripes from light to dark colour 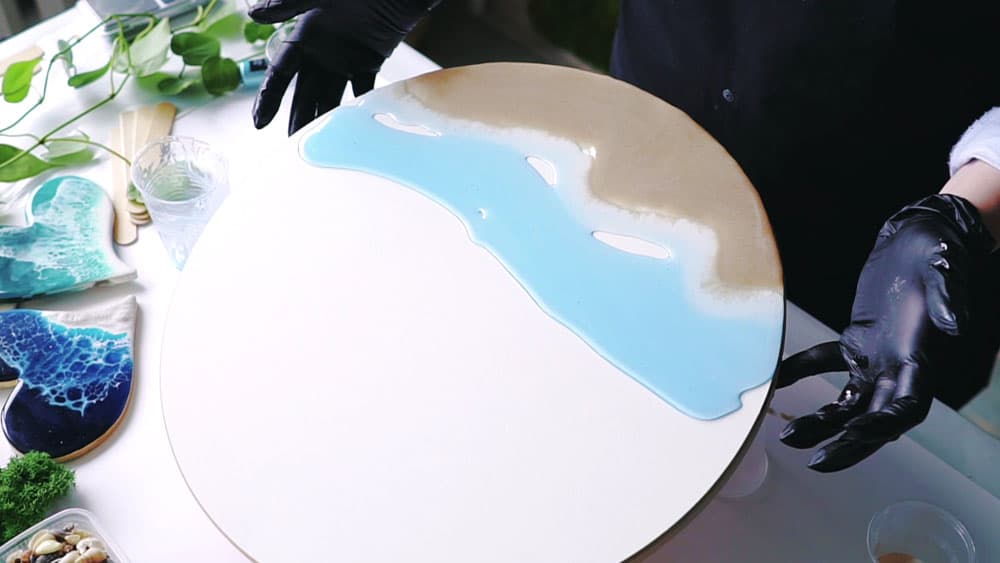
5. Slightly tilt board so that the colours blend a little 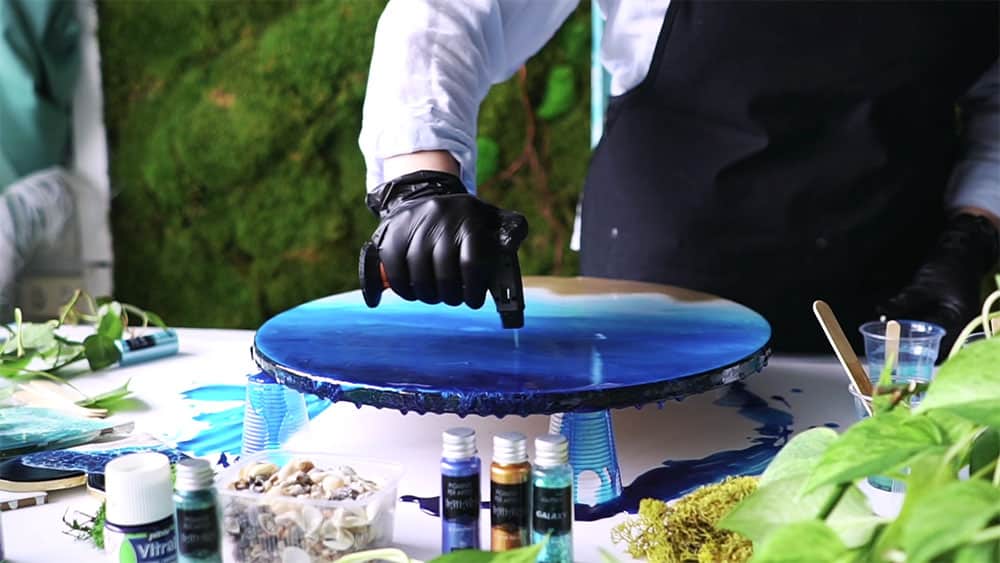
6. Move small gas heat gun flame very quickly over the resin


4. Waiting for the right consistency of resin
Now it’s time to check the timer: it should take about 30 minutes from the first step, when you mixed “Art Pro Deluxe” resin components, to the moment of making waves (for “Art Pro” – about 60-70 minutes), but the main indicator of whether the resin is ready to make waves is its consistency. Use a wooden spatula/ plastic spoon to scoop up some resin in the cup with the waves powder mixture and let it drain back out. If you get a result similar to the video below, you can move on to making waves.
Watch this video here: https://disk.yandex.ru/i/kQlqehClpkqnxQ
5. Making epoxy resin sea waves
- Use a spatula or spoon to apply the first thin stripe along the beach (0.5-1 cm from it) or on the lightest background color if you don’t have it.
- Position a hair dryer/heat gun at an angle of about 30° from the artboard and start blowing the stripe from the “beach” into the “sea”, slowly moving from one side to the other. If it goes too tight, move dryer even slower, switch on the heating mode (if it has one) or use a small gas heat gun a little, but do not linger in one place too long (the flame will soften the resin and make it easier to blow the waves).
- Using the same approach, you can make the second and third waves further from the “beach”. The main thing is to watch the time, because after 40 minutes from the moment you mixed the Art Pro Deluxe resin at the beginning, it will be almost impossible to blow the wave.
- Quickly go over the waves with the flame of a gas heat gun: this will increase the effect.
Create a thin stripe along the beach 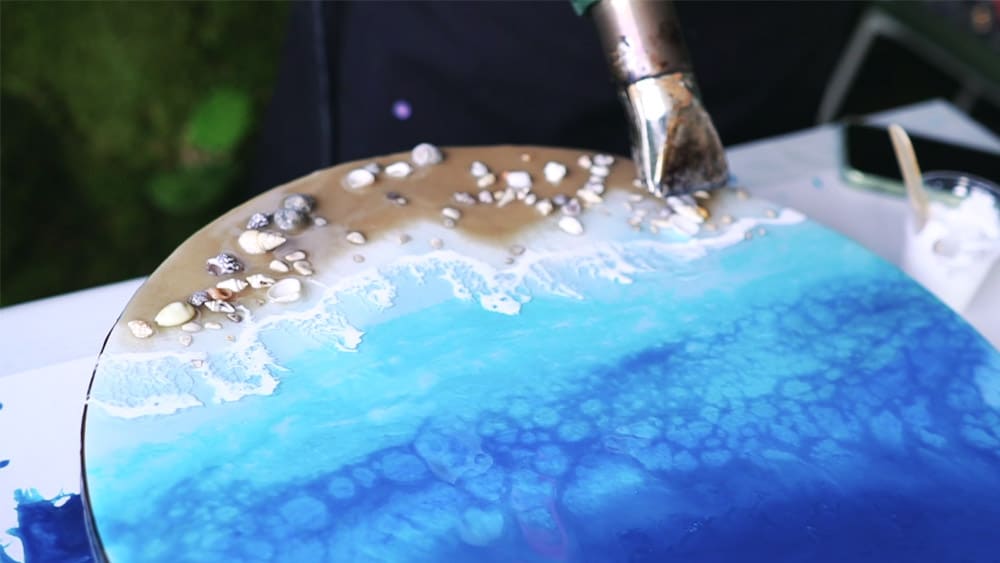
Slowly blow it with dryer at 30 ° angle

Making waves if background has hardened
If you initially created a sea background (with resin or acrylic paints) and it has already hardened, you still need a base liquid layer to create the waves. You can take a little less quantity of the transparent resin mixture than it was noted in the example in point 1. In that case, take a small portion of it and mix it with the waves powder according to the instructions in points above. Spread the rest of the mixture over the created background – this will be the liquid “base” for blowing waves. Be sure to wait 30 minutes (Art Pro Deluxe) from the time the components are mixed to the step of waves creation, considering the consistency of the mixture with the powder.
If you just painted a sea background with acrylics, firstly you need to wait for them to dry completely, and secondly, it is better to make an additional transparent layer of resin on top (also completely hardened) of the acrylic painting. With hardened top layer you will not get into a situation where the attempt to get rid of unsuccessful waves with a napkin/rag will lead to you simply wiping the unprotected sea pattern. Already after these instructions, you can start mixing the resin for the base liquid layer and the mixture with the powder for the waves.
Problems and questions:
“The waves went well at first, but than disappeared.“
The problem is probably due to the fact that the resin was not thick enough before the waves were blown – it should be thick (and of same consistency) both in the background/transparent base layer and in the waves powder mixture. This consistency can be achieved after 30-35 minutes (for “Art Pro Deluxe” resin) or 60-70 minutes (for “Art Pro” resin).
Also remember that the period between mixing A + B and creating the waves is little longer if you work with a heat gun instead of regular hair drier. If you use “Art Pro Deluxe” resin, it is 30 minutes for the regular hair drier and 35-40 minutes for the heat gun. This difference in time is because the heat gun drier is more powerful and gives more heat, which makes the resin a little softer and more liquid in texture, but you will not achieve good waves with resin that is too thin.
“Resin mixed with wave pigment is too pale or the pigment does not dissolve well in the resin.“
To get the best result, the powder/resin mixture must be a rich white color – add more Wave Pro (and in small portions!) and stir more vigorously to dissolve it well. You can also add the powder to the component “A” first, stir well, and then add the component “B”. If component “A” is warmed up in hot water (only in a bottle with a tightly closed lid), the resin will become more liquid and the powder will also dissolve better, but if you heat the component too much, the resin may start to thicken faster and you may not achieve good waves.
Will regular white dye work for making a wave?
Yes, but be sure that it’s a special resin dye (not water-based). However, you will not get the perfect wave effect by using regular dye compared to Wave Pro powder.