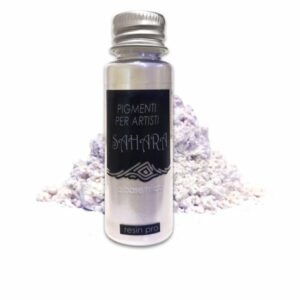
In this article, we will talk about how to create a mesmerising effect in the thickness of the resin using Sahara metallic pigments.
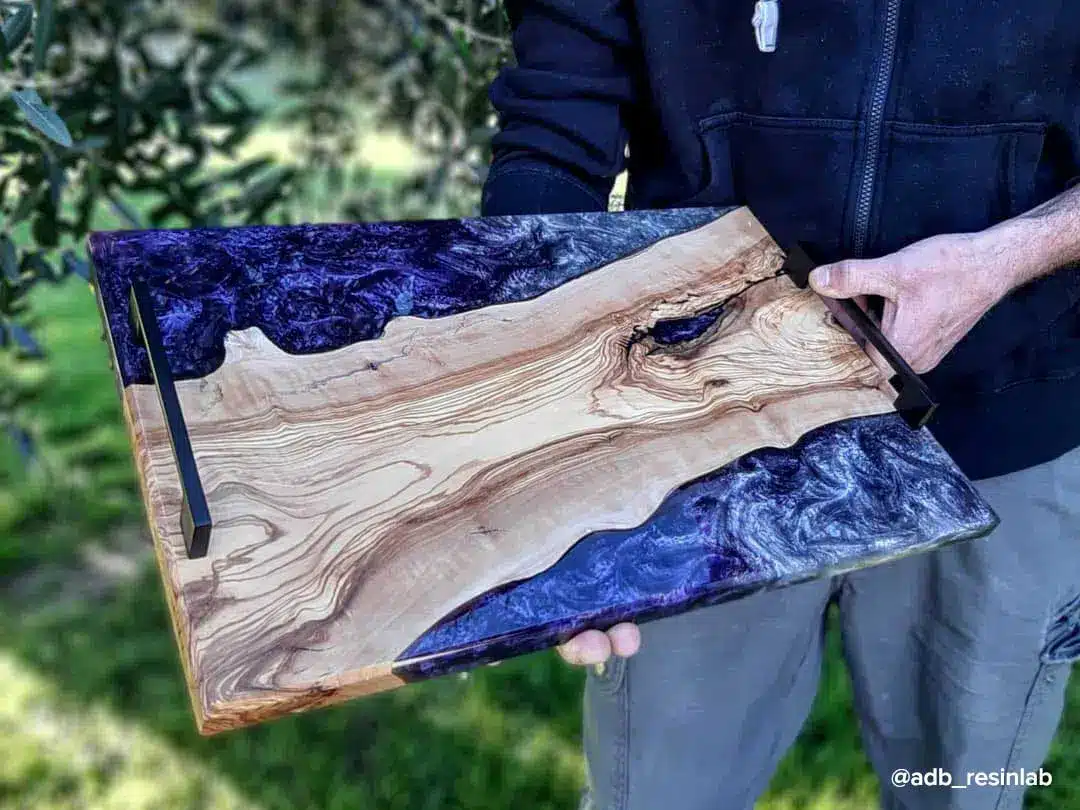
It is likely that you often see designer countertops and other products made of resin and wood with a magical pattern inside, like lava flows down the slope of a volcano, bending around stone ledges, the blue sea is rippling or extraterrestrial matter is seething, sparkling and shimmering in the sun – whatever it is associated with , it just looks amazing! Clocks, cutting boards, jewellery, coasters, and furniture are just some of the items that can be created with this effect.
But in order to get such patterns, it is necessary to take into account two main aspects regarding materials:
- colour selection
- epoxy resin density
Attention! This article only talks about the above effect. If you want to know how to work with resin in general or create countertops, read the articles below:
HOW TO USE EPOXY RESIN: TRICKS AND GENERAL GUIDE.
3 important features you must know before working with resin
How to build a wood and resin table
HOW TO MAKE A RESIN AND WOOD RIVER TABLE AND COUNTERTOP (LIVE EDGE)
Materials
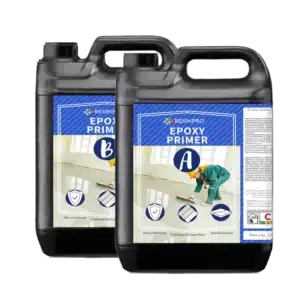
- Epoxytable and ICRYSTAL 5-FIVE for castings up to 5 cm thick, Trasparente for castings up to 2 cm thick and Art Pro 2.0 for castings up to 1 cm thick.


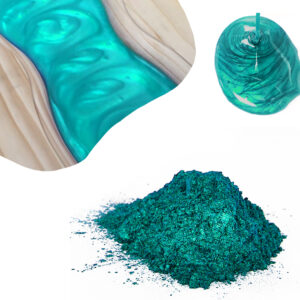
- Pigments in sets “Sahara”, “Sahara Pastel”, “Sahara Holiday” or “Sahara Chameleon”
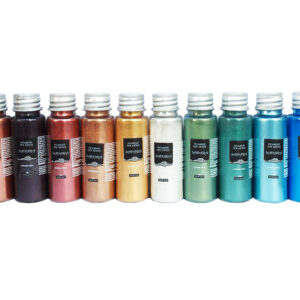
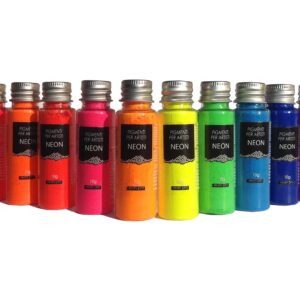
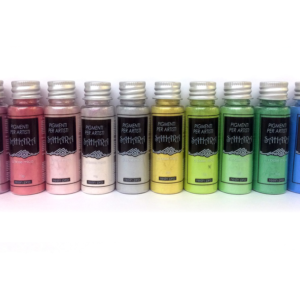
- Pigments in one Color “Sahara”, “Sahara Pastel” or “Sahara Chameleon”
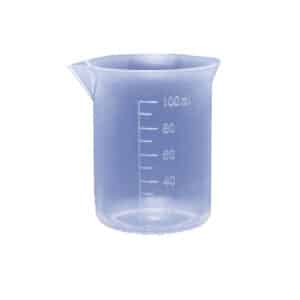
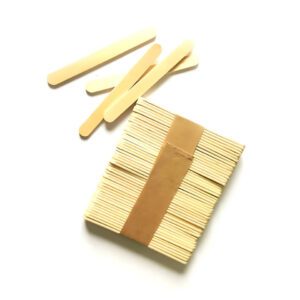
- Accessories for working with resin: scales (resin components are weighed strictly in grams), cups and wooden sticks (in what and how the resin is mixed). Optionally, you can buy a small burner to remove air bubbles from the surface of the product.
-
-
-18%

-
-

Colour saturation

Before you get started, you need to figure out what pigment saturation you want in your product. Usually 0.1 to 1% of the total amount of resin is added, which means that you can colour 1-10 kg of resin with one bottle of Sahara pigment (we do however advise you to order two at once in the event that you want a deeper colour or need a reserve!).
By increasing or decreasing the percentage of pigment in the resin, you can get a different effect: in the photo you can see that the sample on the right has a rich color and a clearer pattern, while the sample on the left is more transparent and the effect is visible only from certain angles.
Another important factor is the thickness of the product: the thinner it is, the more pigment must be added to obtain a rich colour.
Technique
Once we had established the intricacies of working with pigment, it was necessary to understand how these “waves” are made in the thickness of the resin. It turns out that everything is quite simple – you just need to wait a certain amount of time!
Each resin has a special feature, which is called “pot life”, or even more simply – “work time”. This term refers to the time after mixing the components until the resin begins to thicken and heat up (which means that the curing process has already begun). Manufacturers indicate this time so that craftsmen and artists understand how much time they have to work with the resin before it starts to harden and it will be difficult to modify it.
But in this technique – this time period is the key, because it is he who needs to wait in order to start creating the wave effect:
- Mix the epoxy in the proportions indicated in the instructions
- Add metallic pigment to the concentration you like best (saturation can be checked by dipping a stick into the resin and letting it drain back into the container – in this jet the real saturation will be visible)
- Carry out pouring into the mould/formwork.
- Wait for the “life time” (For example, our “Trasparente” resin is 1 hour 20 minutes).
- With a stick, carry out the test described in paragraph 2., but this time check how quickly the resin drains from it – if it is quite fast and it is clear that the resin is still liquid in consistency, it is worth waiting longer, but if the resin is similar in viscosity to liquid honey and the stream slowly “stretches” back into the filling, draining for a very long time (and at the very end there is a very thin thread, if at all) – then this is exactly the state of the resin that we need! The main thing is not to overdo it, because the resin can thicken too much.
- Move your wand through the resin to create the pattern you like the most – due to the fact that the resin is already quite thick, the pattern will last until the resin is solid 🙂
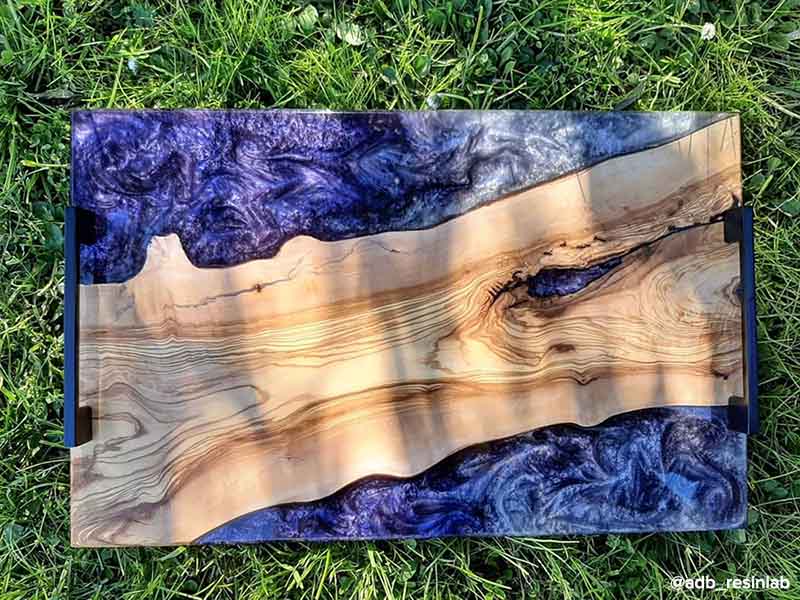
@adb_resinlab 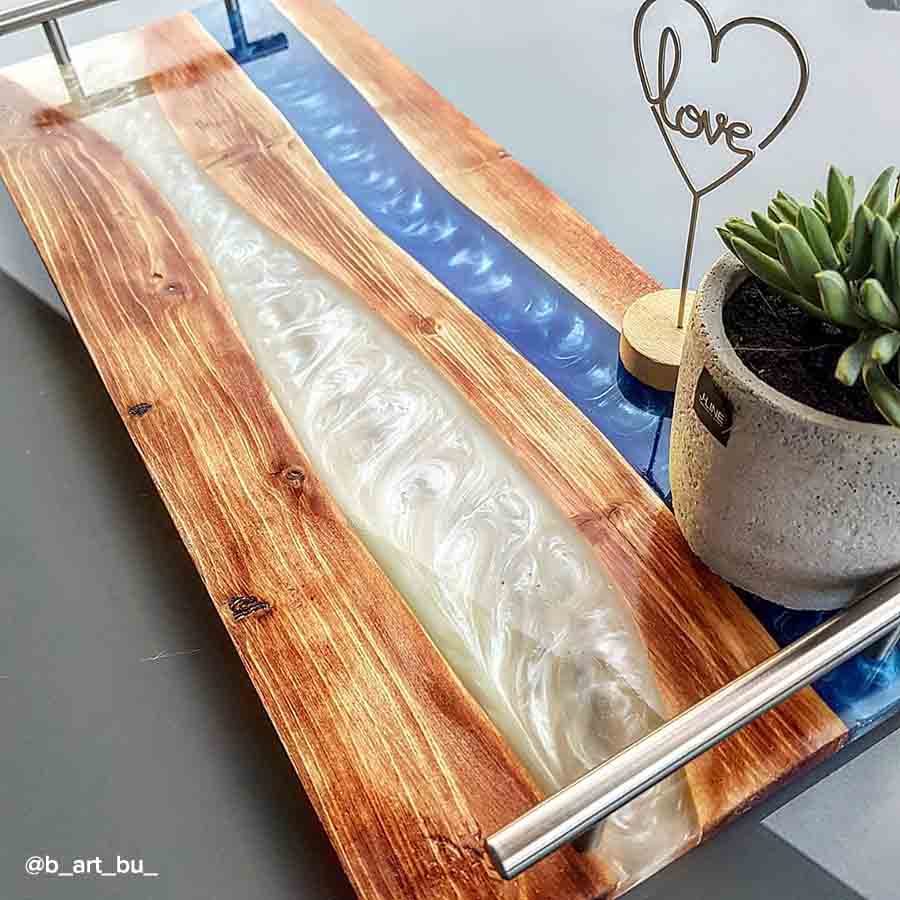
@b_art_bu_ 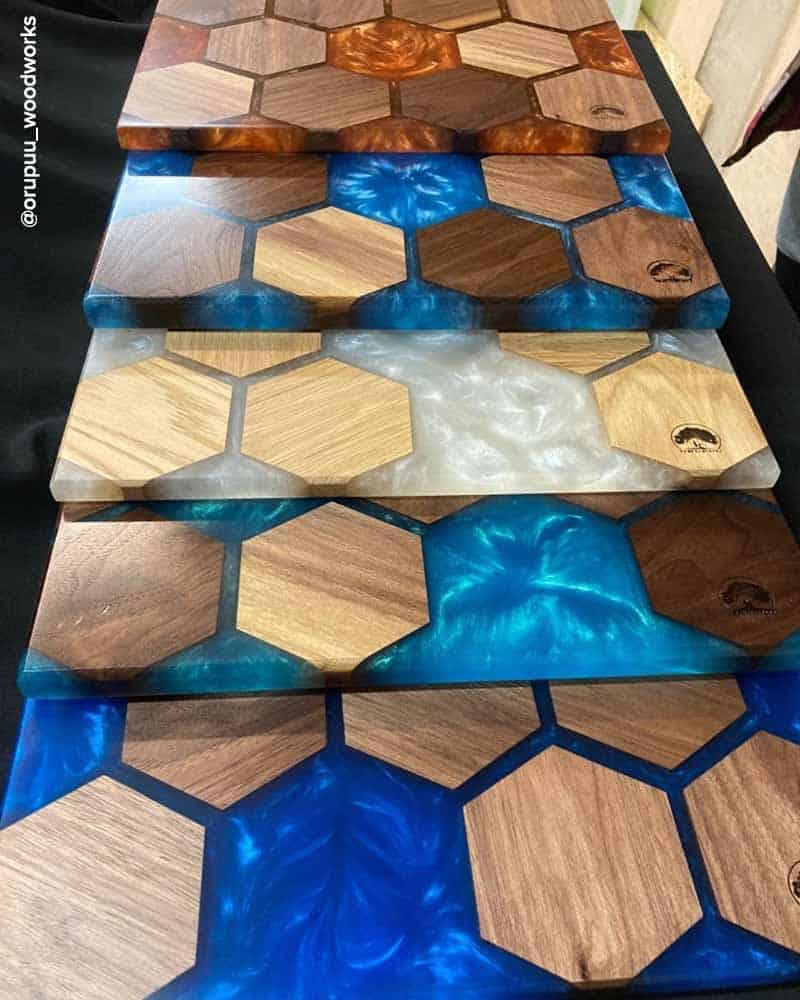
@orupuu_woodworks


The RESIN PRO team is always ready to answer all your questions in the comments 🙂