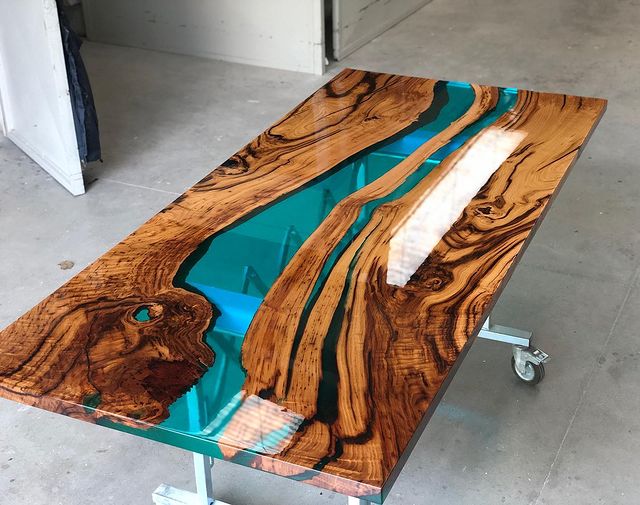
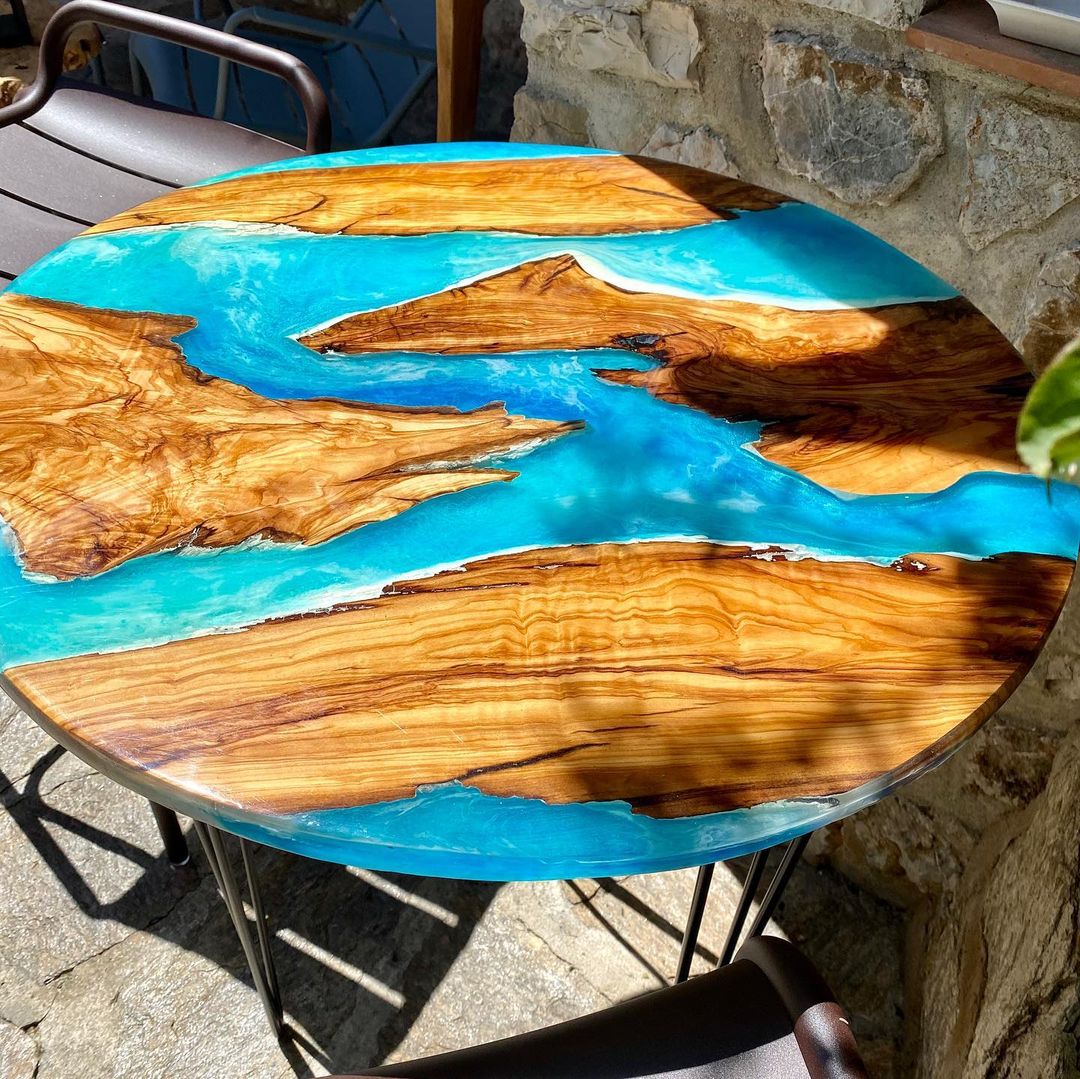
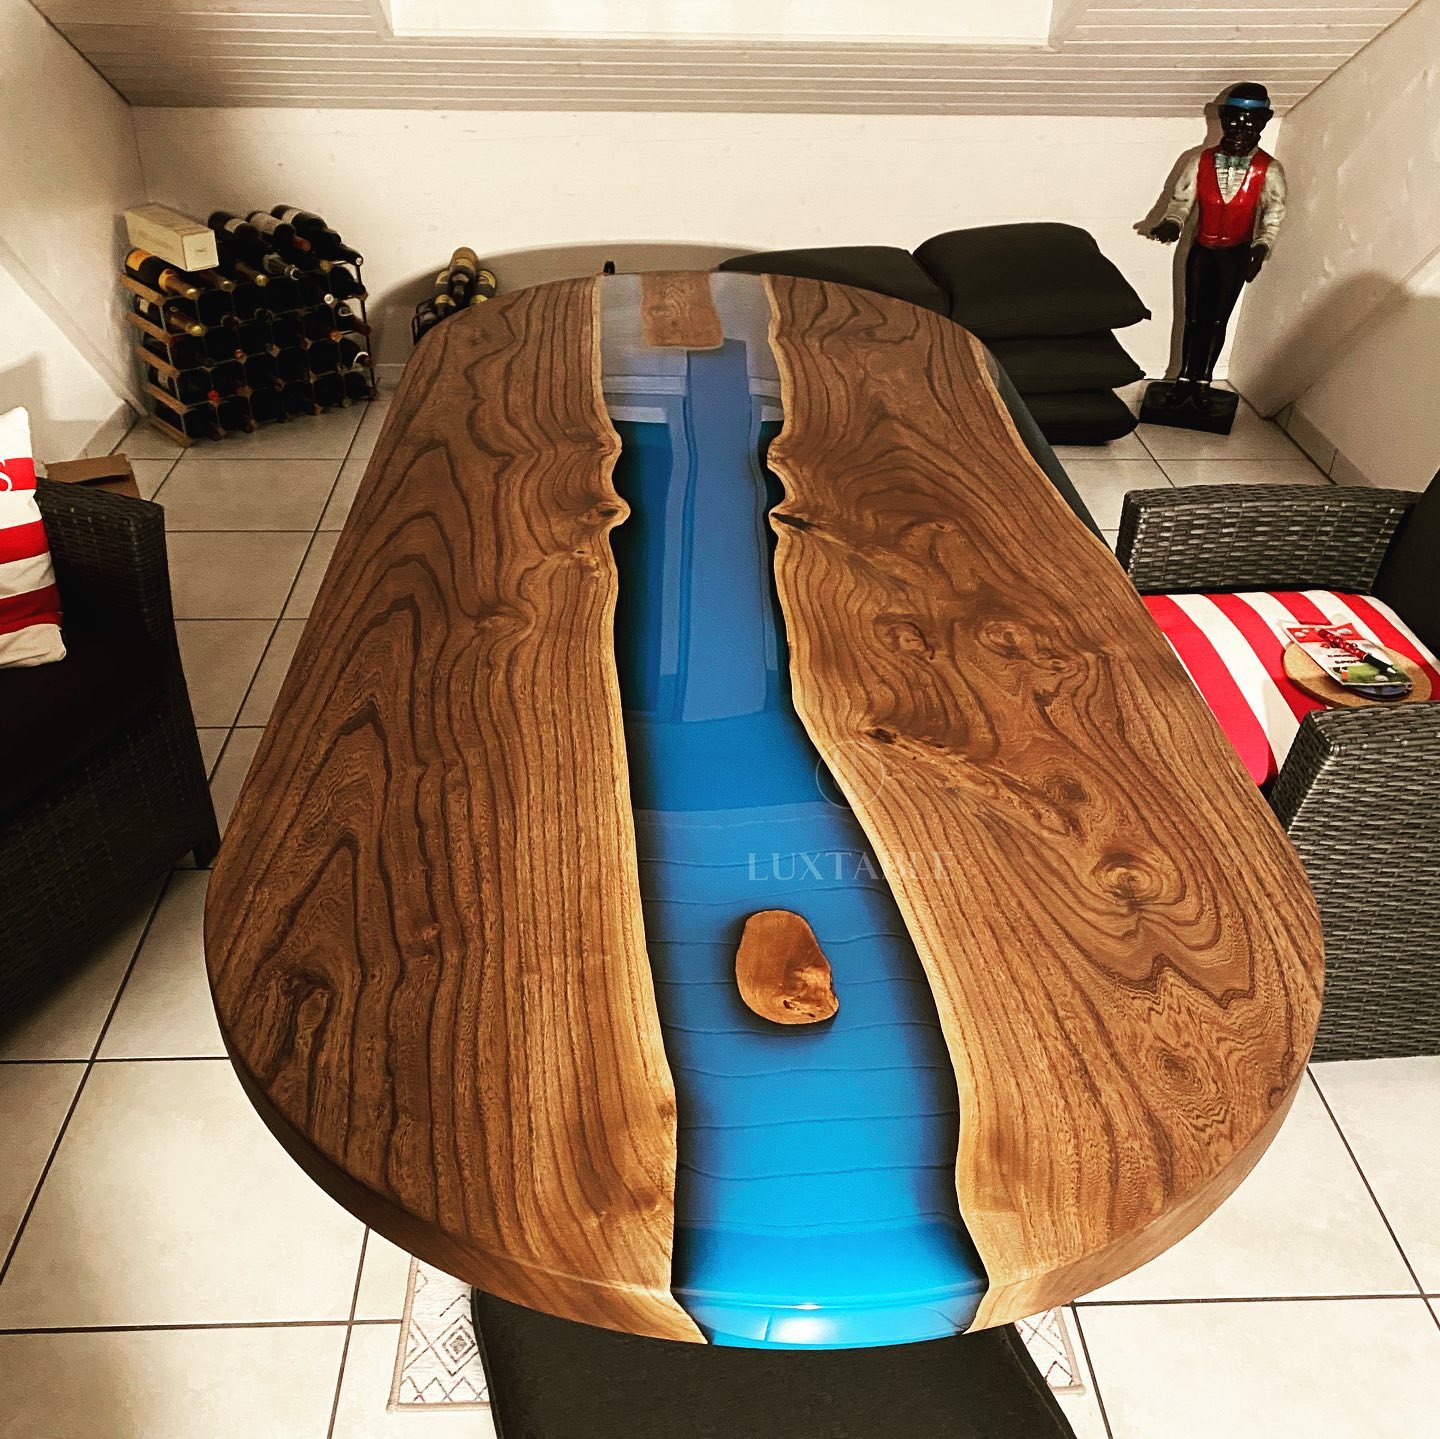
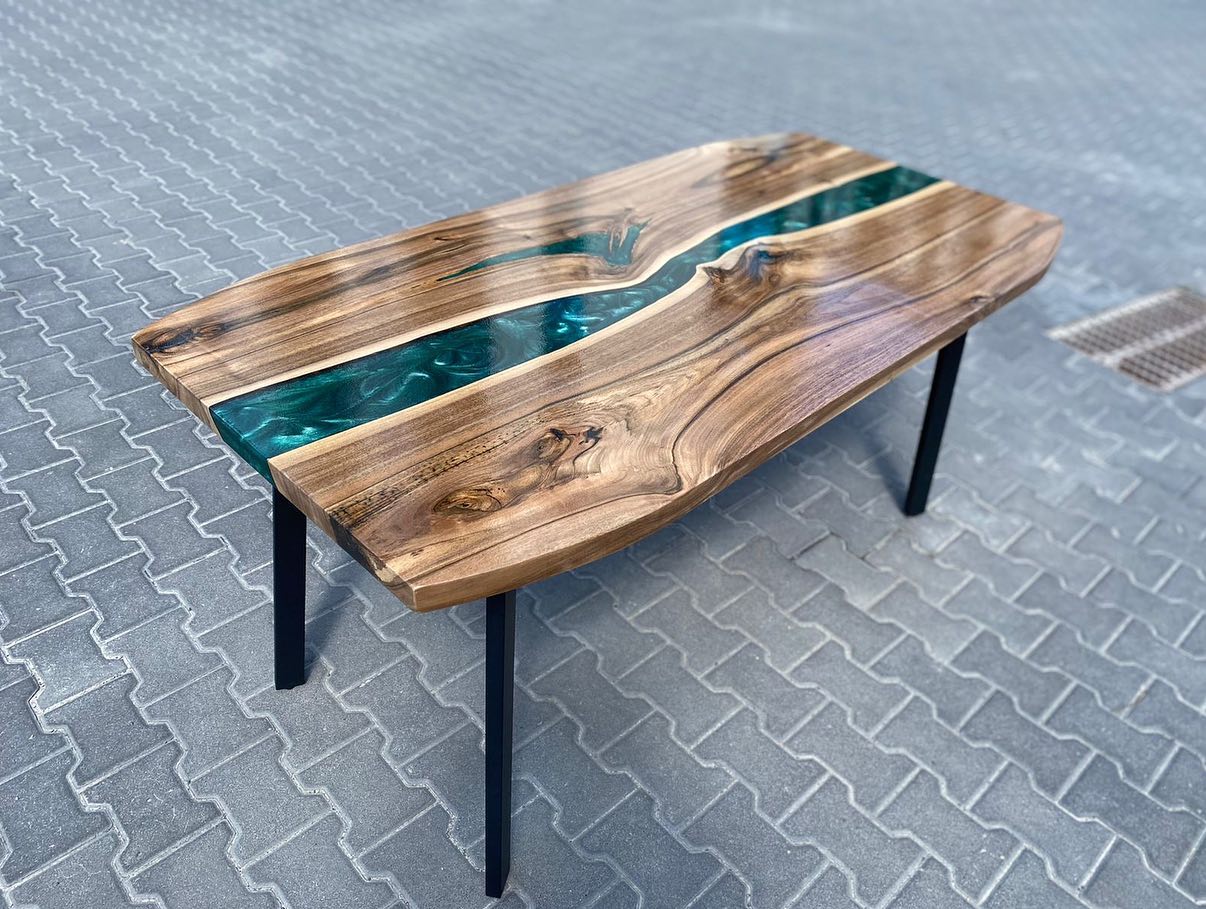
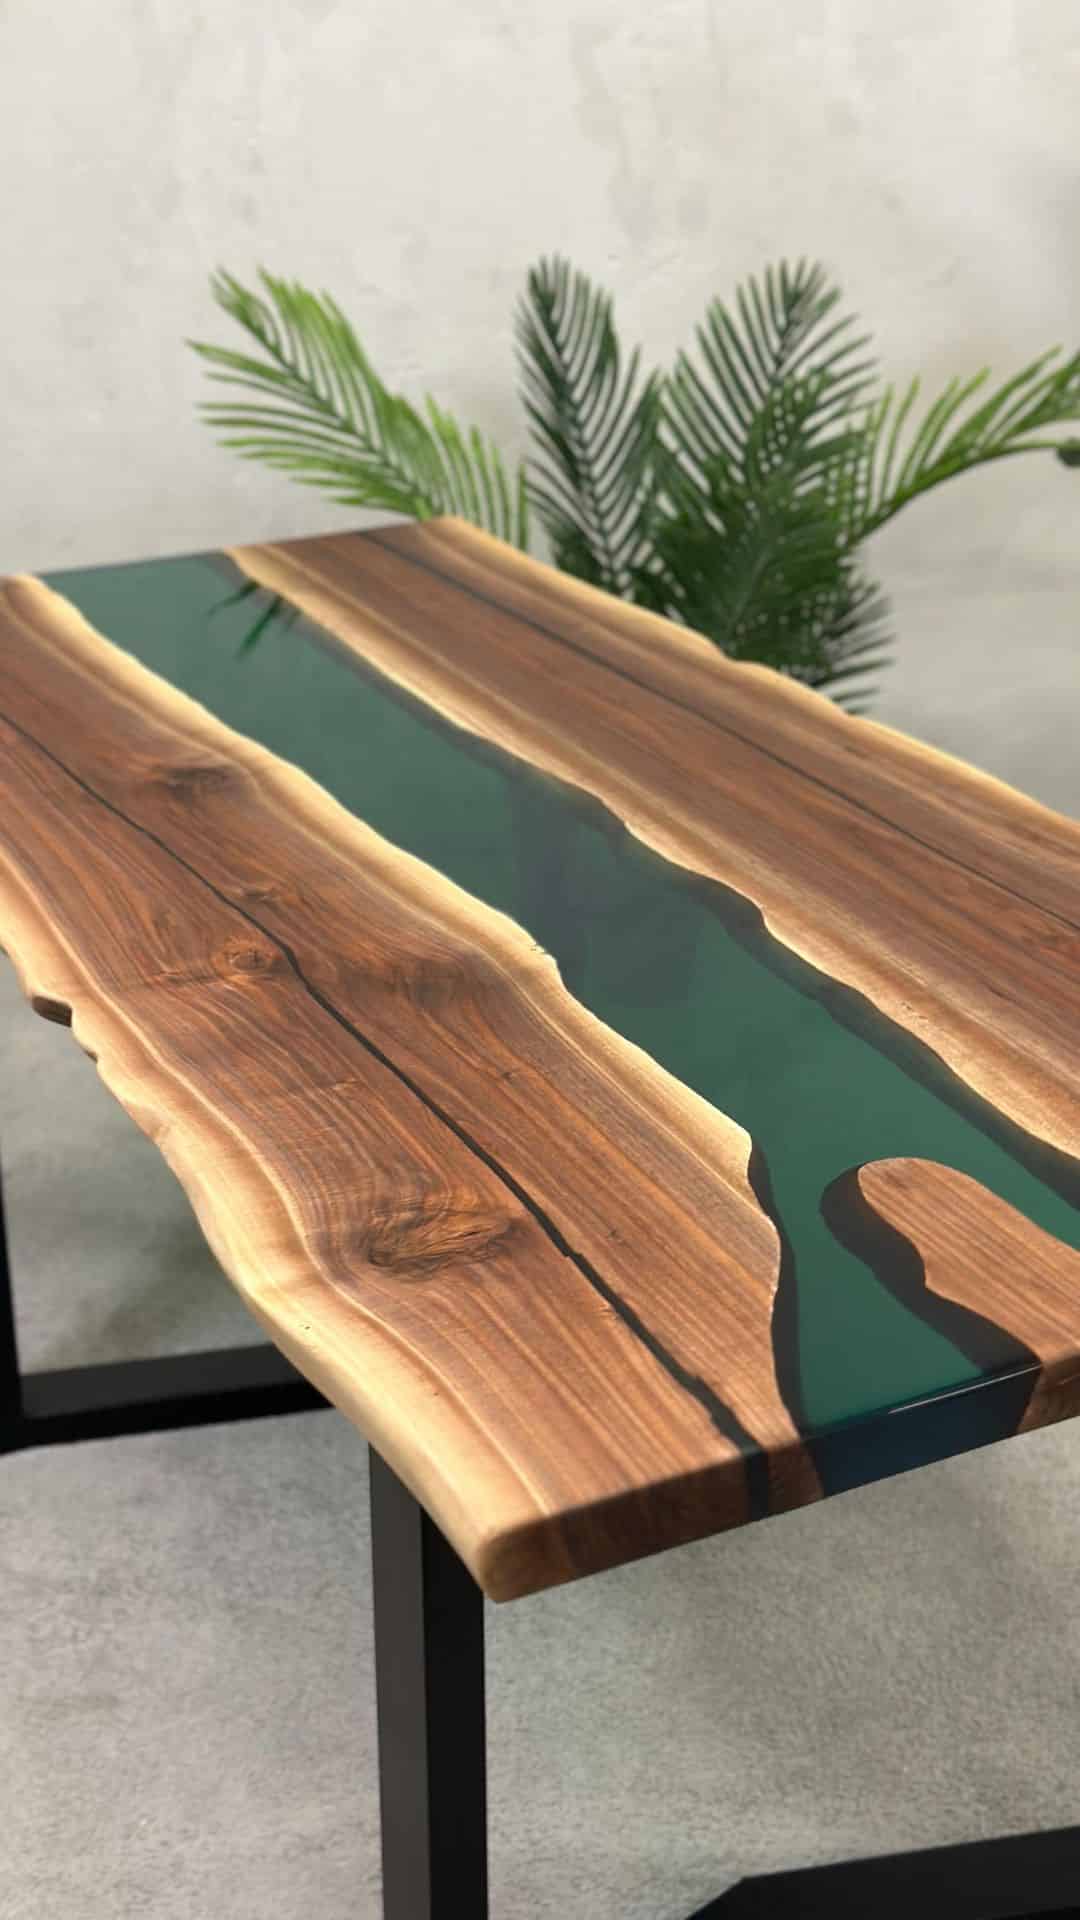
Planning and creation of large resin tables.
Every time you try your hand at artistic creations with epoxy resin and wood, you increasingly find yourself having to replicate some of the working techniques in a “big” way.
How to build a large table with wood and epoxy resin? Here are the main cases, guidelines and practical advices.
As long as you create small objects and limited surfaces, no problem; but as soon as you try to create a truly large structure, the good results of the small “test” sample disappear. In these pages we will show the main strategies to obtain the perfect creations, even in style. If you want to see the BASIC information on how to work wood and resin, you can visit the website www.resinpro.it/BLOG, where you will find several articles on “How to build a wood and resin table” – “How to use epoxy resin? “.
If you are trying your hand for the first time in an application of this type, let’s start with the golden rule
NEVER HURRY.
The processing of the resin, although it may seem easy, hides several pitfalls (especially for beginners). With the different educational articles that you can find on www.resinpro.it/BLOG, you can learn the dosing methods, the preparation methods and how to handle epoxy systems. Furthermore, if it’s your “first table”, we recommend you try creating a smaller version first, to get familiar with the technique (for example a shelf). This way you will avoid ruining precious tables of fine wood.
Here are the 4 Main Problems:
🌱 The increase in size does NOT allow you to devote the usual attention and care to all parts.
🌱 The increase in resin mass casting, leads to an acceleration of catalysis and development of high temperatures. This can lead to the thermal stress of the resin, which could crack or deform.
🌱 The increase in the catalyst temperature corresponds to an increase in the evaporation of water inside the wood, and therefore, an increase of the micro-bubbles that remain trapped in the resin.
🌱 The creation of a suitable formwork requires careful planning.
Let’s start from the last point (formwork and handling):
For large tables, a formwork must be used. A free work area also must be chosen (so that you can work around the formwork), and must be one that can be occupied for at least 2-3 days (in fact this is the preparation time for a standard table). The flatness must be checked before pouring the resin, in order to avoid that the table appears asymmetrical.
Chipboard formwork:
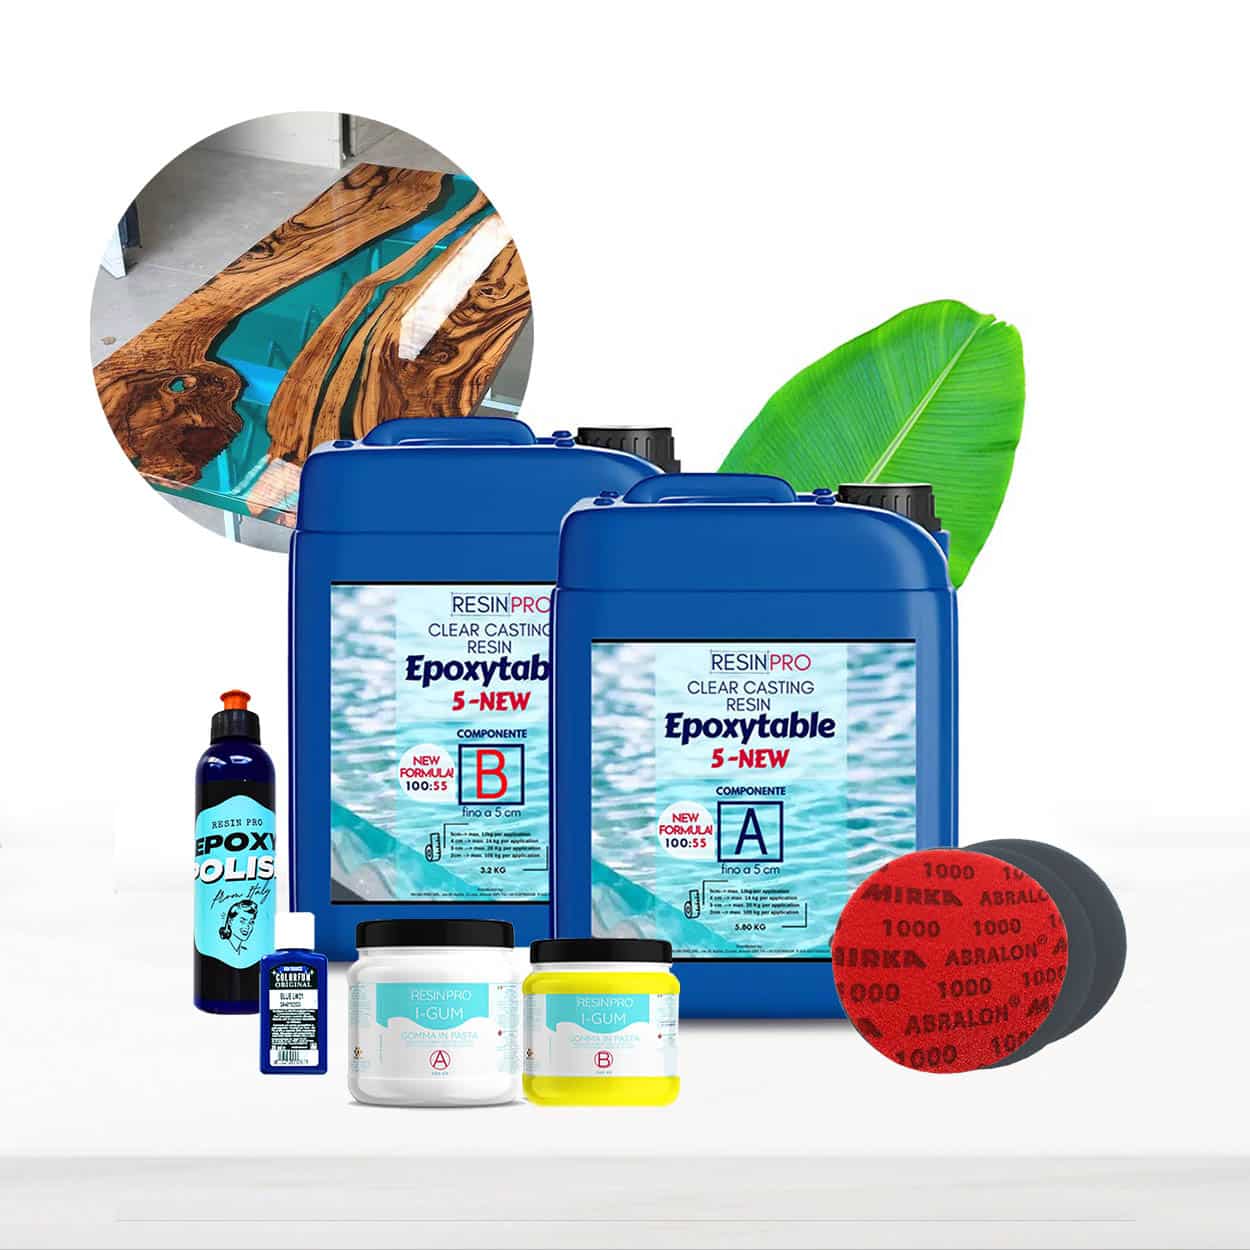
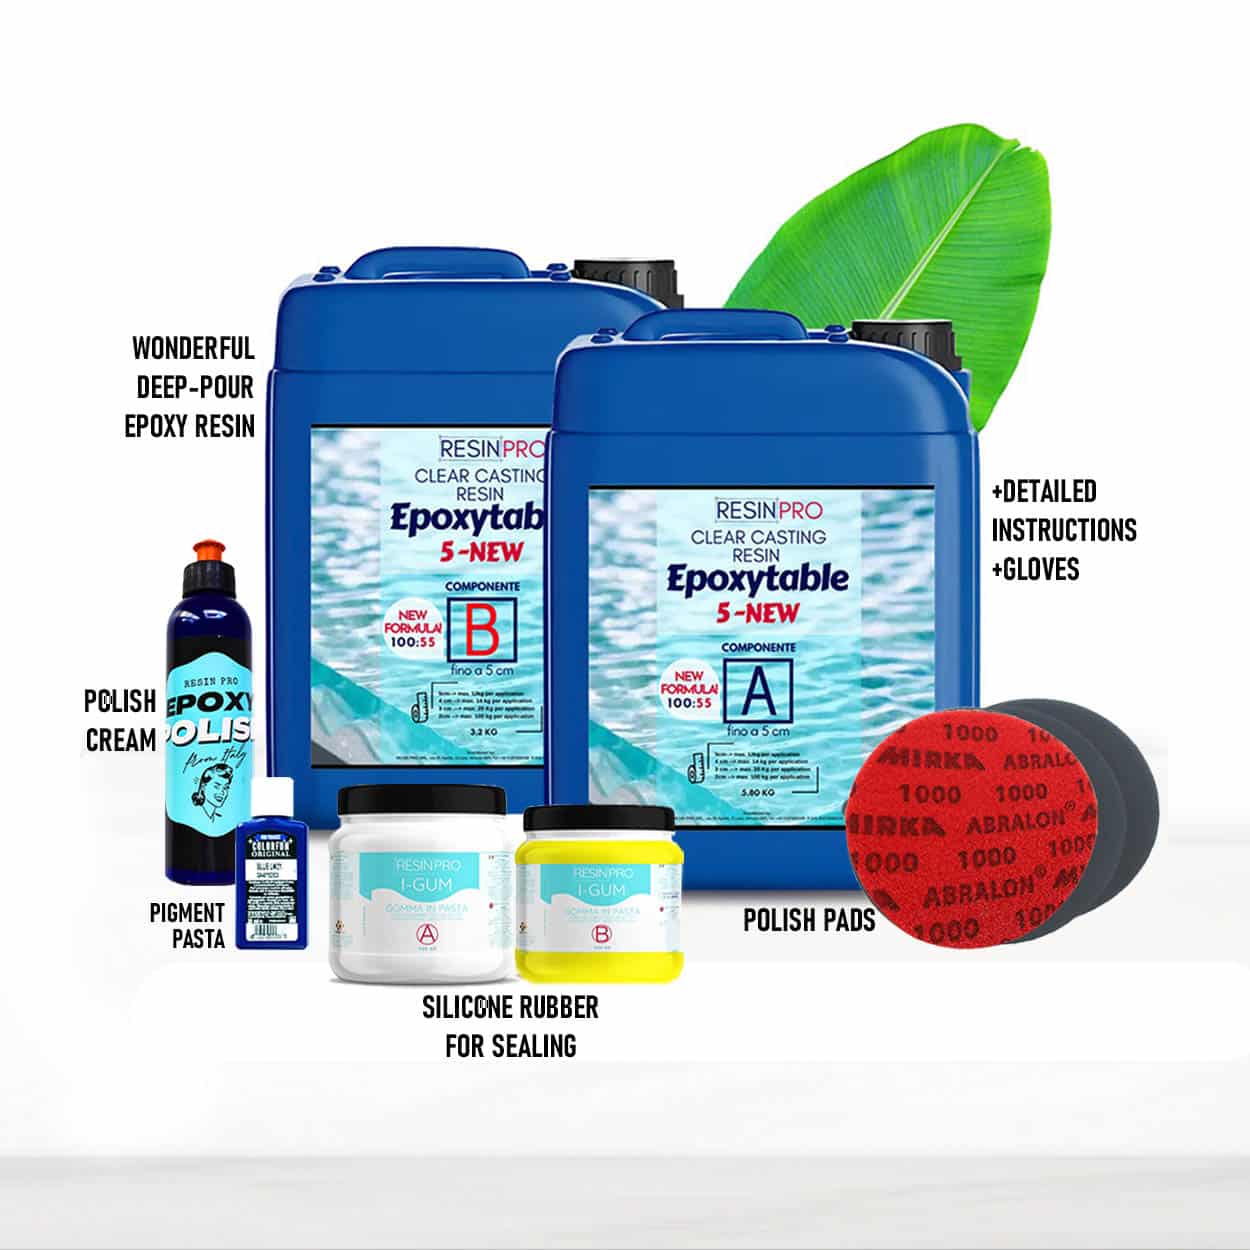
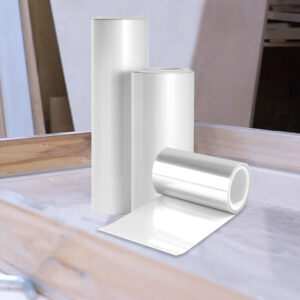
If you want to build a large table, the cheapest (and above all, modular) solution, is to use a simple chipboard formwork (or any other types of wood) protected only in the points in contact with the resin, with the specific “SHINY SHIELD” film, in order to have a non-stick surface for the resin (which would otherwise stick to the wood).
👌🏽 For the bottom: after cleaning the surface (so that it is perfectly smooth), carefully apply the SHINY SHIELD film, applying light pressure with a spatula to prevent air bubbles or irregularities.
👌🏽 For the edges: chipboard boards attached using I-GUM silicone paste (or even hot glue), then cover them with a continuous layer of SHINY SHIELD film (the less cuts / joints you make in the film, the less likely you will have leaks).
👌🏽Then place the boards on the surface (already covered by the film), and pass all the joints with the I-GUM paste (passing it with a finger, you will give it a rounded shape that will become the lower edge of the table), in this way the resin cannot stick to anything. Finally, seal all the joints with silicone paste (I-GUM – Rubber paste) for greater safety. This way you create an economic formwork (chipboard + silicone) that you can then cut and “modify”, according to the size of the table.
Once the resin is solidified, you can simply dismantle the formwork and extract the table.
The SHINY SHIELD film is reusable and also resists any thermal spikes of the resin (up to over 100° C) so if well designed, your formwork can be reused!
For point 1 (impossibility to take care of all the details at the same time)
The only possible solution is to prepare the whole procedure in an organic way so that, at the time of casting, you only have to concentrate on the aesthetics of the product.
Here are the most common setbacks that happen immediately after casting (and that make us waste time and concentration):
- The formwork is not sealed and leaks resin, which drips to the ground. To avoid this problem, just put the wood in the formwork FIRST, and then make a test casting of a few mm thickness, on the edges and joints (critical points). This way we will immediately know if the formwork is leaking and, in case, the possibility to eliminate any leaks with the I-GUM silicone paste.
- Once the casting is done, we realize that there are impurities. In order to avoid having to “hunt” splinters, hair or crumbs, before casting, the formwork and the wood and all the tools must be cleaned with an electrostatic cloth (like swiffer). Eventually filter the resin through a strainer (or even nylon socks!)
- Dust particles or insects settle on the surface. In this case it is good to clean the work area with a vacuum cleaner and then spread a sheet of transparent film to protect the surface (such as the one used to protect furniture when repainting the walls)
In this way you will be able to focus only on what is important, which means the aesthetic rendering of the casting!
Difficulty in managing large thicknesses – overheating, multiple casting, air bubbles.
As we have seen from previous articles, the overheating of the resin, the acceleration of catalysis and the consequent incorporation of micro-bubbles, are unfortunately a chemical phenomena that derive from the so-called mass effect.
How to make a large table in wood and epoxy resin avoiding this “mass effect”?
You need to know that, the greater the quantity of resin casted (therefore its thickness), the greater the temperature developed. For example, by using the classic resins on the market, a SINGLE casting of 4 cm thick would lead to the overheating of the resin by more than 100°C, which would deform the formwork and would “boil” the resin itself. Basically … a table to throw away!!!
The solution (so far), is to make castings of a maximum of 2 cm in thickness, a few hours apart. The disadvantage (in addition to the extended processing times) is that for each casting, we must make sure that there are no impurities or bubbles.
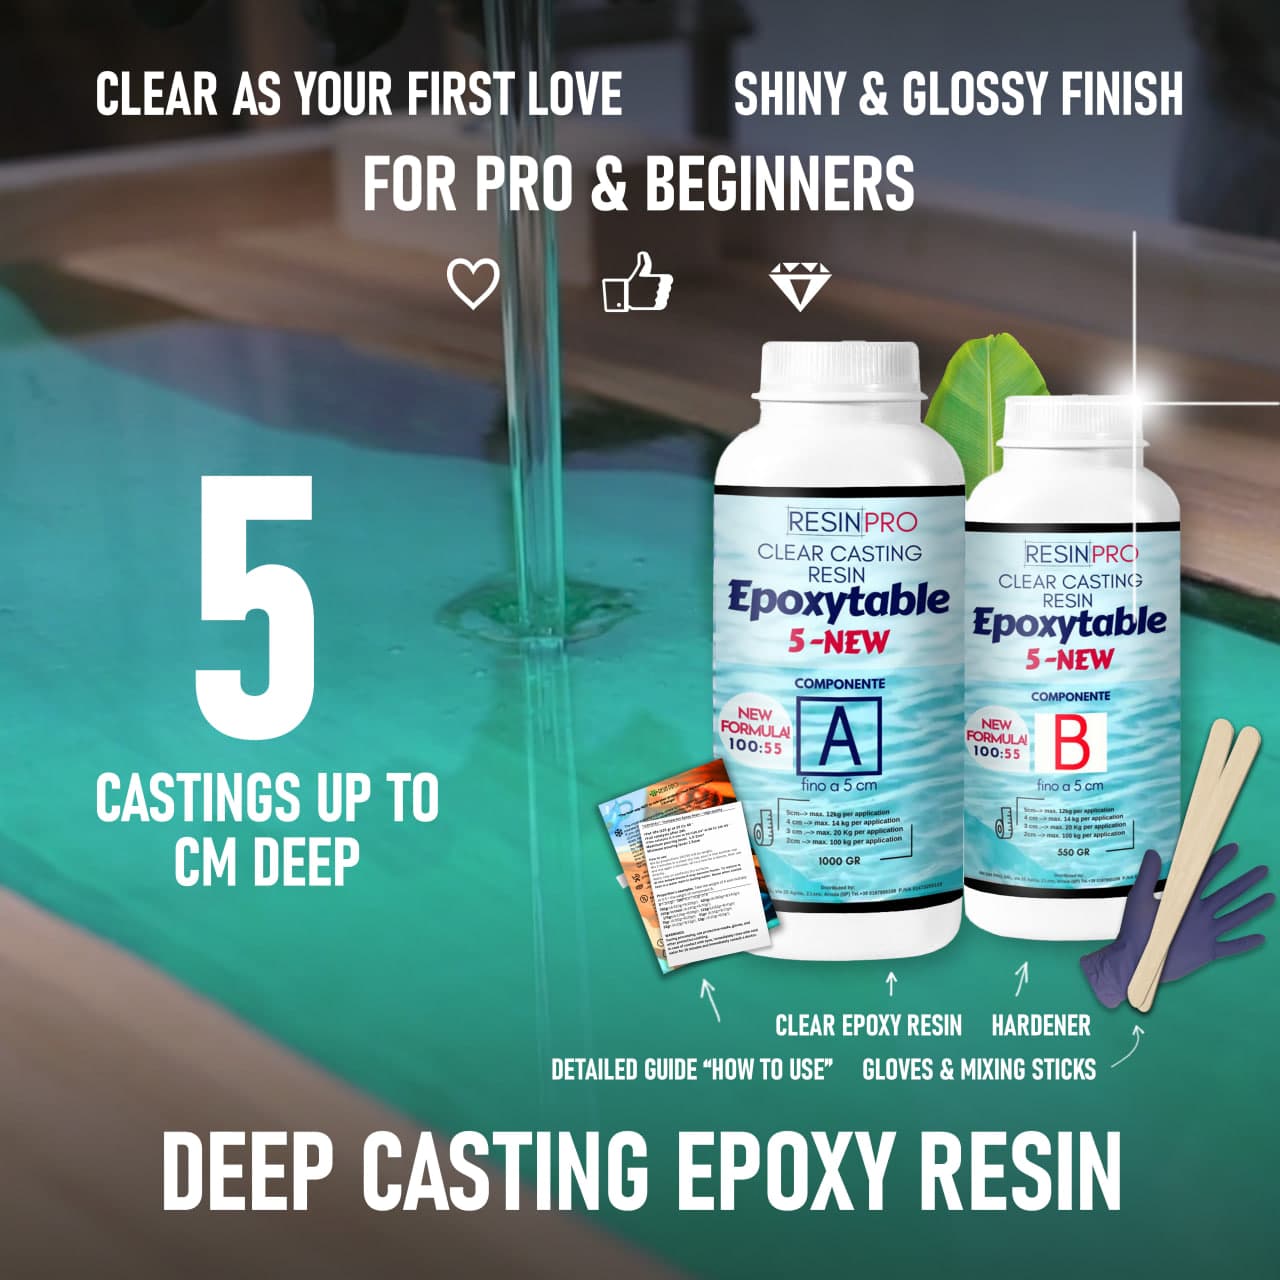
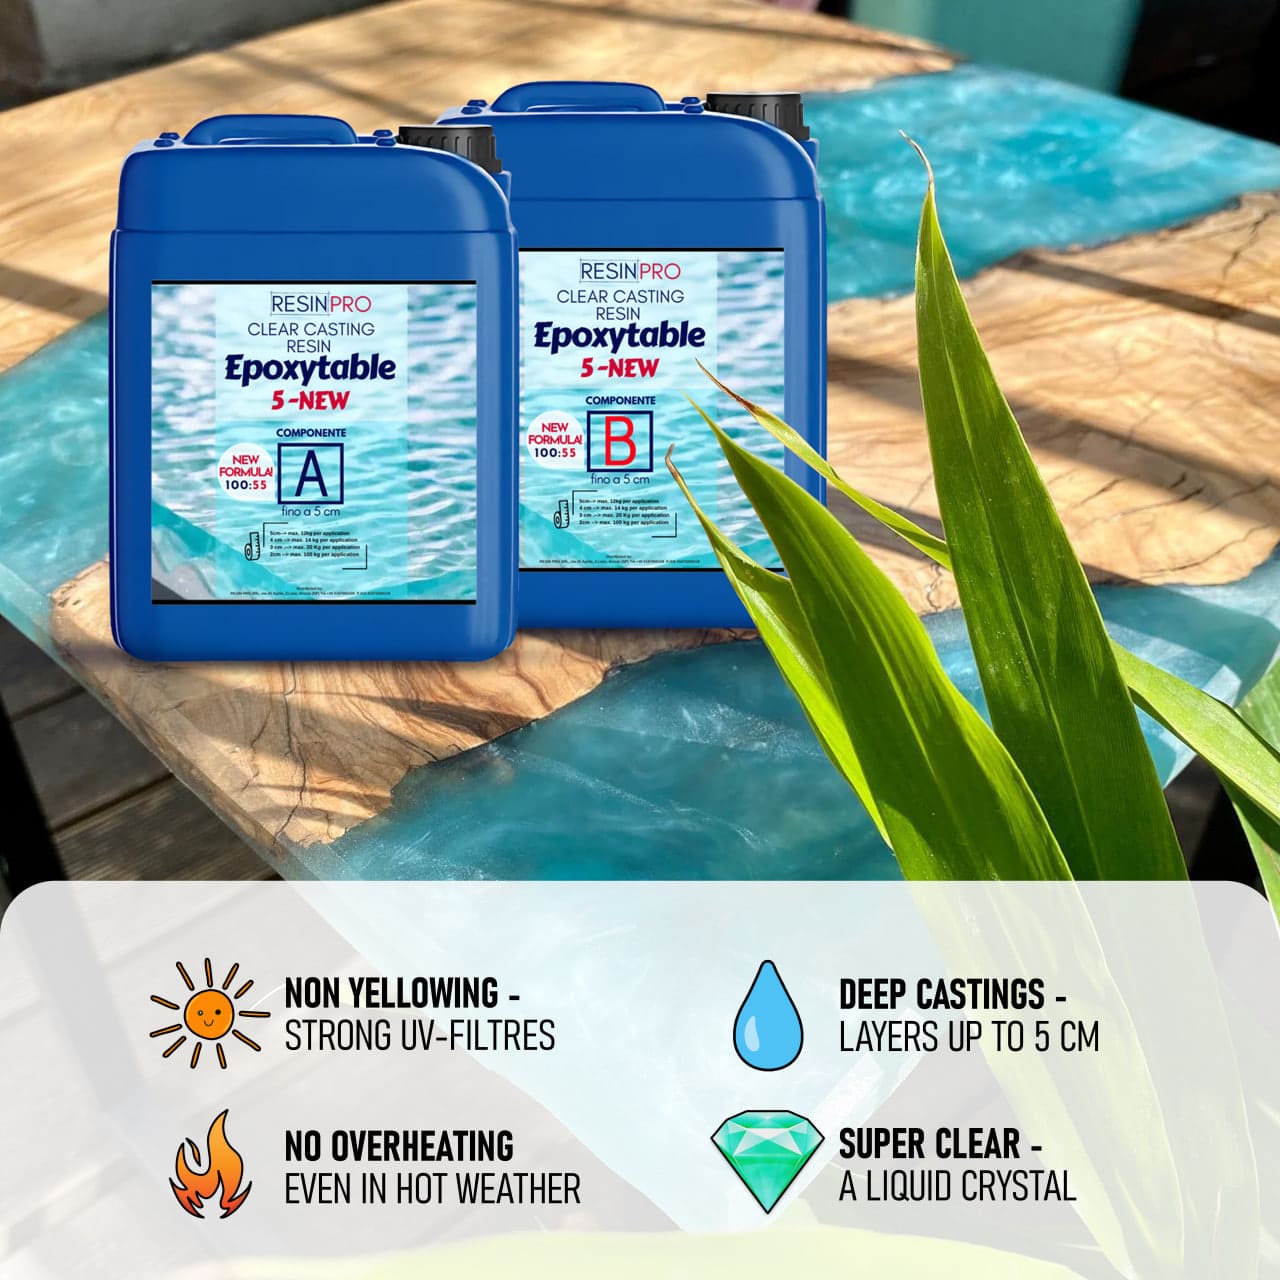
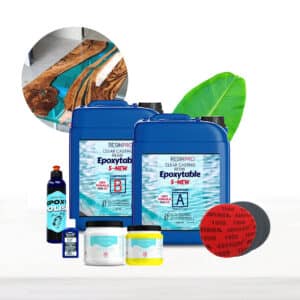
If, on the other hand, you purchased EPOXYTABLE resin, you can apply all the resin in ONE SINGLE CASTING OF 5 CM, thanks to the innovative formula, with high UV resistance and mechanical resistance.
A bit more about Epoxy Resin:
💪🏽 LET`S START! 💪🏽
We would like to pay your attention – We don`t recommend working at temperatures below of 20 ° C and over 28 ° C, avoiding humid environments (or surfaces) application (if you are not sure on the humidity, let the resin warm up the components before pouring).
If epoxy resin was storage at temperatures below of 20 ° C and became murky, please, warm your epoxy up before using to full transparency. More detailed, please, read below.
👉🏽 LET`S MIX! 👈🏽
THE PROPORTIONS ARE PRINTED ON THE BOTTLES/TANKS, PLEASE CHECK IT BEFORE USING.
Being a two-component resin, you have 2 bottles at your disposal, one containing resin “A” and the other containing hardener “B”. You will need some electronic scales to weigh grams and a mixing container where you can combine the liquids.
How to calculate, how much hardener do you need? Take your proportions –JUST AN EXAMPLE – 100:55. Then take the weight of component A and multiply on B, (if 100:55- A*0.55; if 100:70 – A*0.70; if 100:87 – A*0.87).
So! If you have component A 5kg, and proportions 100:55, your calculation –
5*0.55=2.75kg of component B.
Please, use some electronic scales and weigh in grams to get the best results.
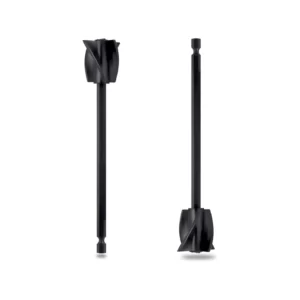
After an accurate dosage, the resin must be mixed irregularly (meaning, always in the same direction) for at least 5-8 minutes. This part is very important, because if it is mixed only for a few seconds, it will not be homogeneous at the molecular level, therefore will remain soft / opaque in some parts.
Mix evenly on the edges and bottom of the container. (Do not mix very quickly or forcefully because that would cause a lot of bubbles). We do not recommend using a mixer (of course, you can, but, please, not at high speeds!), as this leads to the formation of microbubbles, which will be difficult to remove. The carefully you mix – the less bubbles.
Remember, the quality of the future casting depends on a good mixing of the two components!
Important! Try to make the mix carefully, so that the smallest fractions of air are not formed in the resin, because visible bubbles will easily disappear from the surface naturally, and micro fractions of air are often practically invisible, but during the curing and heating of the epoxy mixture, the air in them expands and after complete curing, bubbles can be visible in the casting. This can and should be avoided if you do the kneading correctly.
How to remove the bubbles?
Although degassing (vacuum) is necessary to eliminate 100% of the bubbles, there are some tricks that can help you minimize the presence of bubbles during the creations.
1) Mix the resin longer but in a more delicate and uniform way.
2) Before mixing, heat component A (in the sun or using a radiator), so that it becomes more liquid and the bubbles rise more easily.
3) Leave it to rest for a few minutes to release the air bubbles.
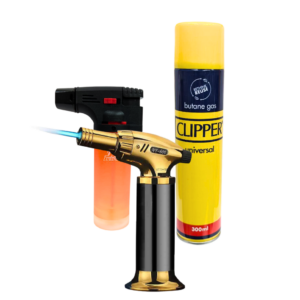
4) Once launched, use a heat source (thermal pistol or fire, NOT a hairdryer) to burst the bubbles on the surface.
👋🏼 LET`S COLOUR! 👋🏼
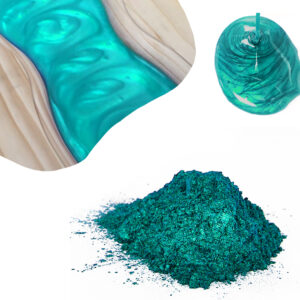
Practically everything, including powder and metallic pigments. As long as the dyes are “dry” (for example, dust or sands) there are no problems (as long as they are perfectly dry), when, instead, you want to add pastel or liquid colours, make sure they are compatible with epoxy resins. If they are not compatible (for example enamels, tempera, acrylics) only a few drops can be added, since an excessive dosage could compromise the mechanics of the resin and its brightness (for example making it soft or sticky). There is also a “gold rule” – no more than 5% from mix weight.
Remember, it`s important to avoid contact of epoxy resin with water! From the ingress of water into the resin, it may become cloudy or not solidify! And if the hardener has been stored for a long time with a loosely twisted lid, then it can absorb moisture and it condenses in the form of microbubbles in the thickness of the casting during the curing process.
👍🏽 WHAT`S NEXT? 👍🏽
After pouring epoxy into your formwork be ensured in the “sterility” of the room so that dust and dirt will not get into the epoxy.
Important! We don`t recommend covering the filling with plywood or something dense, because this will disrupt the heat sink during the solidification of the resin!)
Remove micro-bubbles stuck in the surface layer using a hair dryer or a manual gas burner. We also recommend that you do not overheat the epoxy filling with a burner or a hair dryer, because this can cause overheating and boiling of the resin.
The full curing time of EPOXYTABLE-5 EPOXY resin is from 5 to 7 days (depending on the temperature and humidity in the workshop. The lower the temperature and the higher the humidity, the longer the curing time of the resin.
❄️ FROZEN EPOXY ❄️
Epoxy can become frozen under 20C. PLEASE! DON`T USE FROZEN EPOXY. This may affect the result.
There is no excuse that you hold your epoxy inside a warm room, the epoxy could be frozen much before, and only proper defrosting will return the lost transparency and liquidity.
How to understand why your epoxy was frozen? The component A is murky or solid, like frozen water. Don`t worry, there is no need to dispose of your epoxy and run to leave a bad review. It`s okay. You need to do only one thing – to defrost it, warming component A to 50-70 ° C. We usually put the closed tank inside the sink with very hot water and leave it for 20-30 minutes. The problem is next – the more epoxy inside the tank, the more difficult to warm it properly, so just repeat the procedure. If it doesn`t help, just try again, because we sold thousands of tons of the epoxy resin and every time the problem was sorted out by waiting a little bit longer in hot water (of course with the closed lid). Yes, we totally understand that it causes excessive movements, but it`s natural and it could happen with any other epoxy.
Of course, after defrosting you need to cool the component A to room temperature before using.
🔥 HOW TO AVOID OVERHEATING? 🔥
Maximum pouring level: 5cm. It may vary from the full weight of poured epoxy, sizes of project and temperature when you pour. Not following instructions may cause overheating.
If you need to make a larger layer, just pour in several steps, waiting 8-10h the first time; 10-12h in the second time and 12+h the third time).
If one side of casting is more than 100cm long, please, create your project in layers (each layer being 1-2cm thinner than recommended) with a time interval like above – (waiting 8-10h the first time; 10-12h the second time and 12+h in the third time).
If you do a Round casting, and the required weight A+B exceeds 3kg, create your project in the same way as above (less thickness per application + longer waiting between layers).
Be especially careful when working with resins for large castings, when mixing a large amount of resin, do not leave the mixture for a long time in one container – pour it immediately into other smaller containers to avoid the “mass” effect: the resin begins to heat up quickly and hardens instantly with defects without the chances to change it in any way.
The last thing on what we`d like to pay your attention is the restriction by amount of epoxy resin per application. Yes, it`s quite difficult for understanding, but the more epoxy you use – the more chance to burn it.
What to do? Just check the label!
For example, for EPOXYTABLE-5 we insistently recommend don`t make larger thickness depended on weight per application –
5cm –> maximum 12kg per application
4cm –> maximum 14kg per application
3cm –> maximum 20kg per application
2cm –> maximum 100kg per application
IF YOU`RE GOING TO MAKE LARGER THICKNESS, JUST WAIT 12-14h and make an additional layer, with the same rules, like above.
IF YOU MEET MORE THAN ONE EXCEPTION IN YOUR PROJECT, REDUCE THE SIZE OF YOUR APPLICATION AGAIN.
🌊 HOW DO I ELIMINATE SURFACE OPACITIES OR SMALL WAVES FORMED AS THEY SOLIDIFY? 🌊
These surface opacities are the result of the interaction with environmental humidity, which creates a patina on the surface of the cast. At first it is not obvious, but as soon as it starts to solidify, in some places you can notice opaque halos and even “wrinkles”.
There are different strategies to avoid this:
1. Work in low humidity (dehumidified) conditions or in a heated environment.
2. Heat the 2 components before mixing (for example, holding them over a radiator).
3. Mix the resin with the hardener and apply it only when it starts to heat up (so that the reaction begins while it is still in the container). This operation is essential, but requires minimal attention. It should be checked every 5-6 minutes and as soon as it reaches 40 ° C (when it’s warmer than our hand) it can be applied. Otherwise, it could start solidifying in the container!
4. It is advisable not to apply during the night or when it is raining (since the humidity increases).
5. Do not apply on surfaces that still contain humidity, like on fresh cement or on non-dried wood.
– If due to humidity, the resin is not glossy, no problem: just pour a new layer over (following the instructions above) and it will become perfectly transparent and regular.
Additional tips:
1) For easier removing from the formwork, we recommend to cover the formwork by our special film “shiny shield“, before pouring.
2) We do not recommend using a mixer (especially at high speeds), as this leads to the formation of microbubbles, which will be difficult to remove. The carefully you mix – the less bubbles.
3) If you`re going to embed something in your project while curing, do not leave it overnight, because it always becomes solid much faster than you could expect (curing times vary depending on temperature, mixing time, volume and etc). We always advise pouring in the morning then swirling through the day.
WARNINGS:
During processing, use protective masks, gloves, and other protective clothing.
In case of contact with eyes, immediately rinse with cold water for 15 minutes and immediately consult a doctor.
RESIN PRO POLISHING KIT INSTRUCTIONS:
Polishing is definitely a fundamental step when it comes to finishing a resin surface. Although, in fact, the resin cures glossy by its nature, due to the problems arising from the humidity rate that is too high, annoying opaque halos may appear on your surface.
But don’t worry! Thanks to the RESINPRO POLISHING KIT, you will be able to finish your creations in a simple and direct way without the need for decades of experience in this field.
So here are the basic steps you will need to perform to make the most of this fantastic product.
1) PREPARATION OF THE PLAN
Start by putting the resin surface that you will have to polish under a damp cloth, to avoid sudden movements caused by the vibration of the orbital polisher. We also recommend that you keep a damp cloth at hand for rinsing between one grain and another.
2) POLISHING
Starting with the lowest grain, place the disc on the polisher attachment and start working on your surface. It is very important to keep the polisher always in motion and try not to dwell on the same spot for more than 2-3 seconds. Move in a uniform and geometric way so as to cover all points of the surface without leaving any uncovered. Once you have finished the first step, wipe the damp cloth slightly wet with ethyl alcohol – the very common pink alcohol – on your surface before moving on to the next grain. Once you have reached the last grain (4000), it will be very important to wet the surface with a little water before using the polisher: in this way, all the marks left by the previous discs will be perfectly eliminated. Once the 4000 grit has also been used up, dry your surface and get ready to apply the Polish.
3) POLISH APPLICATION
After going through all the grits, your piece will already look shiny but not perfect yet. The time has come to finish everything by applying EPOXYPOLISH RESINPRO, the final product that will allow you to obtain a bright and lasting polish. Pour a little Epoxypolish on the appropriate pad and mount it on the orbital polisher and then start, always following a geometric and uniform movement, to pass it on your resin surface. Once the top has been polished, remove the excess polish using another pad or, if you do not have it available, a woollen cloth.
IGUM How to use:
1) Take a small amount of paste from the jar with component “A”, seal it by rolling the ball. Weigh it.
2) Form a ball of the same volume and weight using the “B” component.
3) Mix component A and component “B” until a homogeneous mass of color is obtained.
4) Press the copied product into the silicone, apply the silicone directly to the product or create the mold yourself. For example (in the case of using silicone as a rim for cup holders and trays), you can mold the shape with your fingers, attach it (stick it yourself) to the base film / plexiglass and give it a smooth and glossy surface using a smooth product (for example, a lid from a jar with silicone).
5) Leave the mould until it hardens completely – 25 minutes.

