 Free shipping on orders over £29,85
  Shipping Tracking!


 Google
 Facebook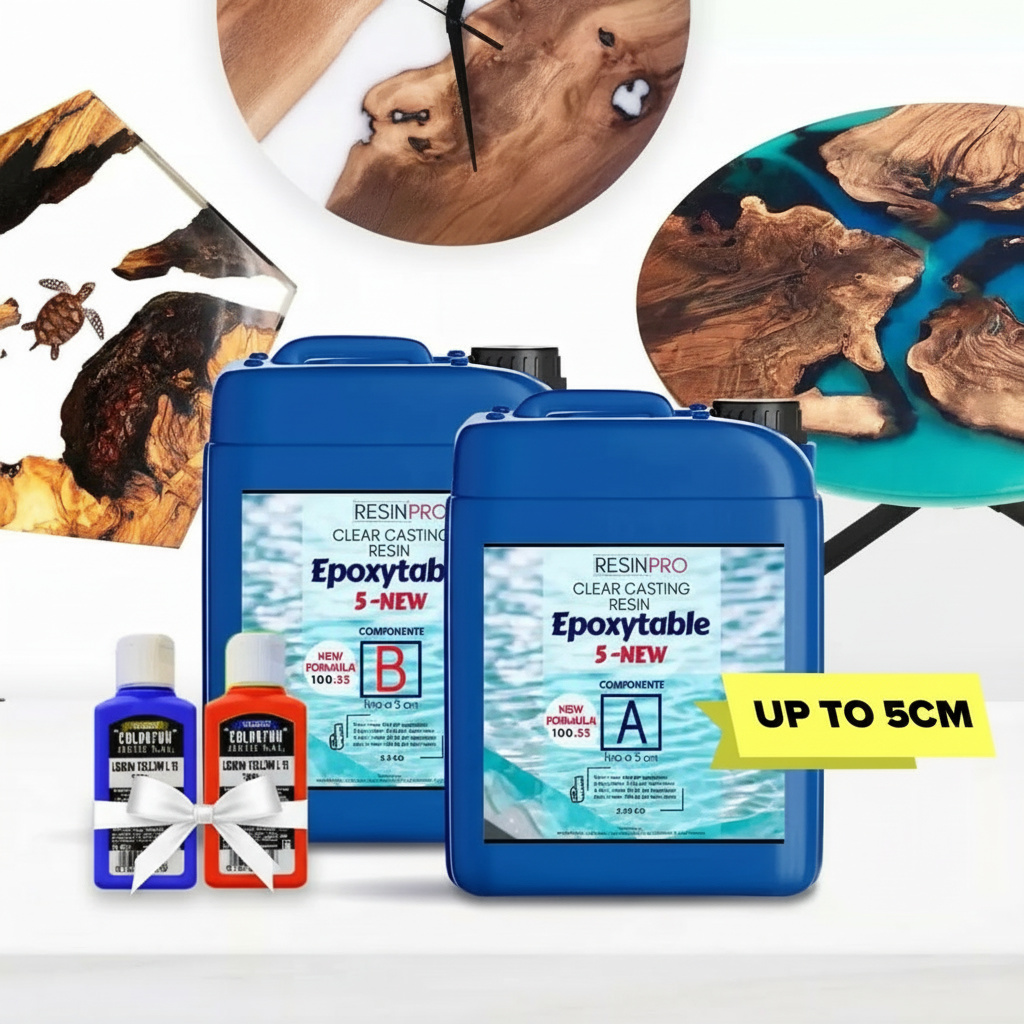






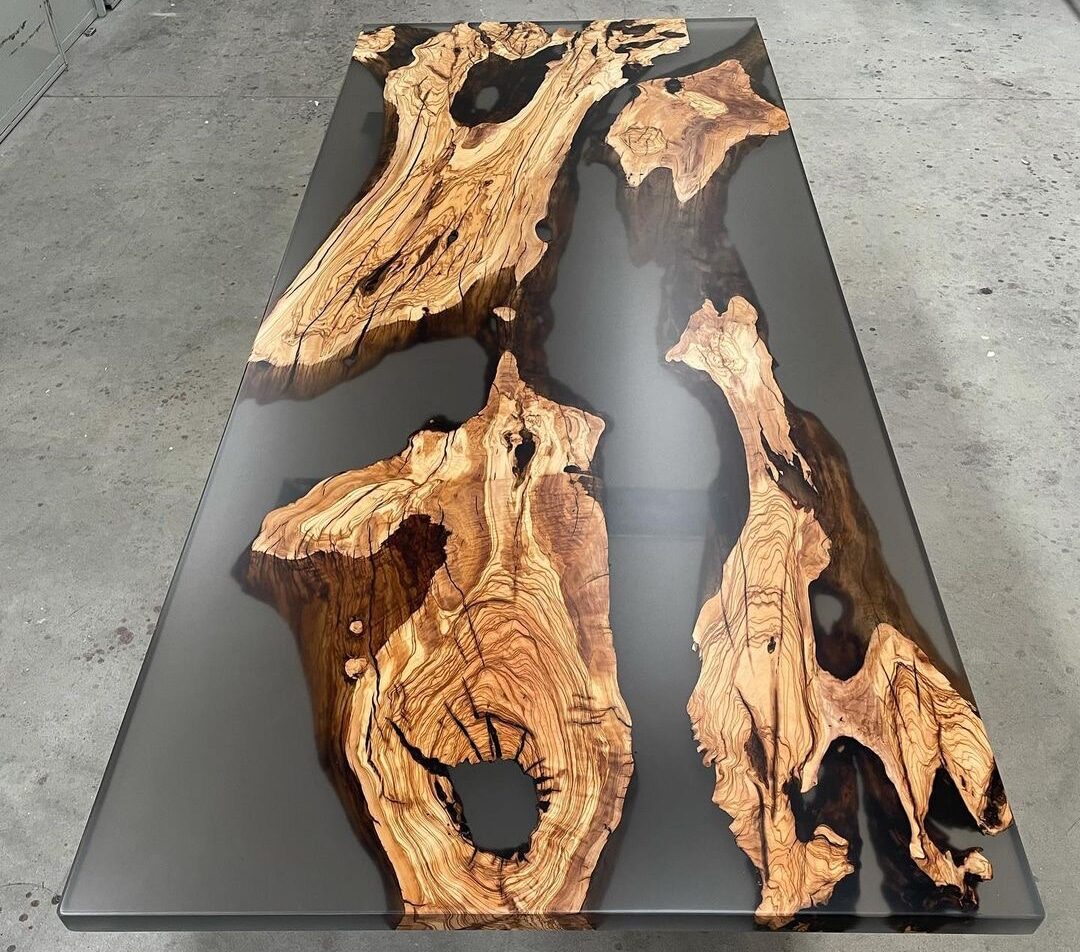
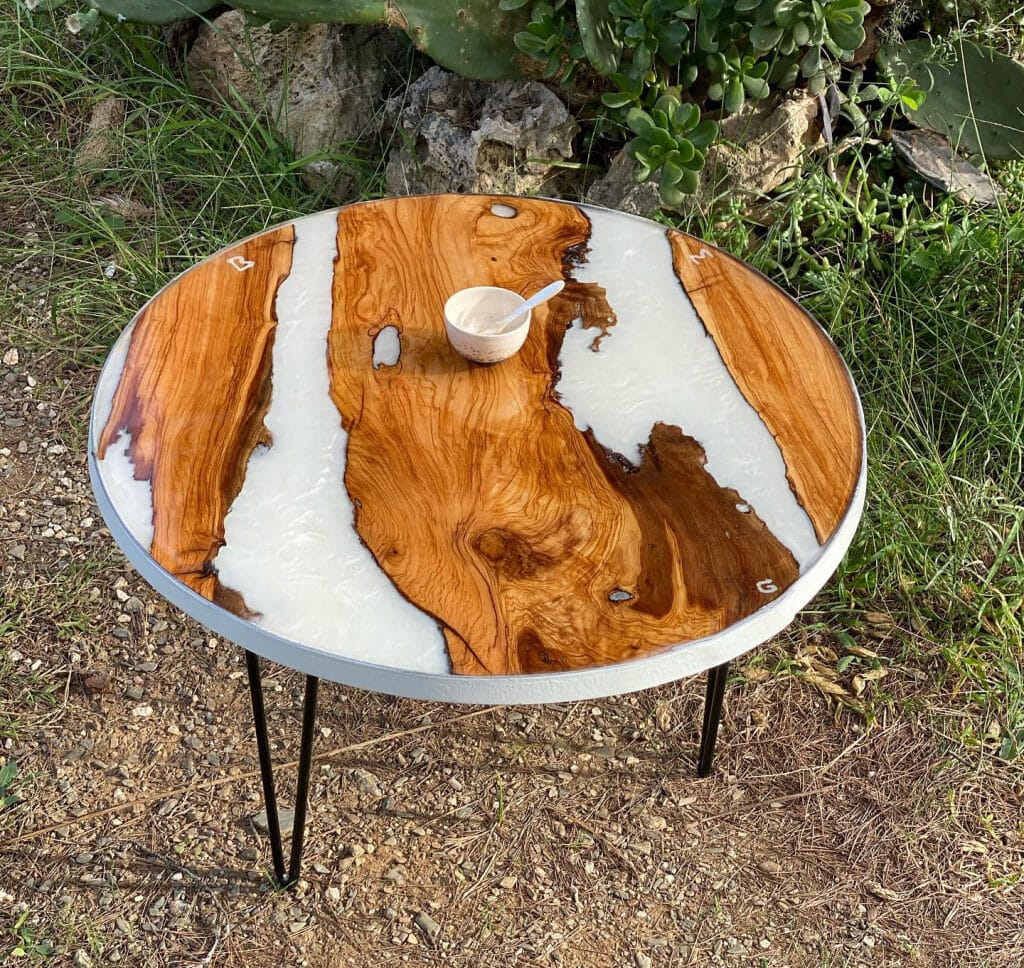

On sale
“EpoxyTable 5-Five” – Deep Pour Epoxy Resin for Tables and Large Projects – Up to 5cm
 Available, ready for shipping
 Order now to receive your product between Monday 06 July and Tuesday 07 July.
 Shipping from £1.97 - Free for orders over £29.85
 Price range: £17.95 through £1,154.95
Thu, 2. Jul
Ordered
Thu, 2. Jul - Fri, 3. Jul
Order Shipped
Fri, 3. Jul - Mon, 6. Jul
Estimated delivery
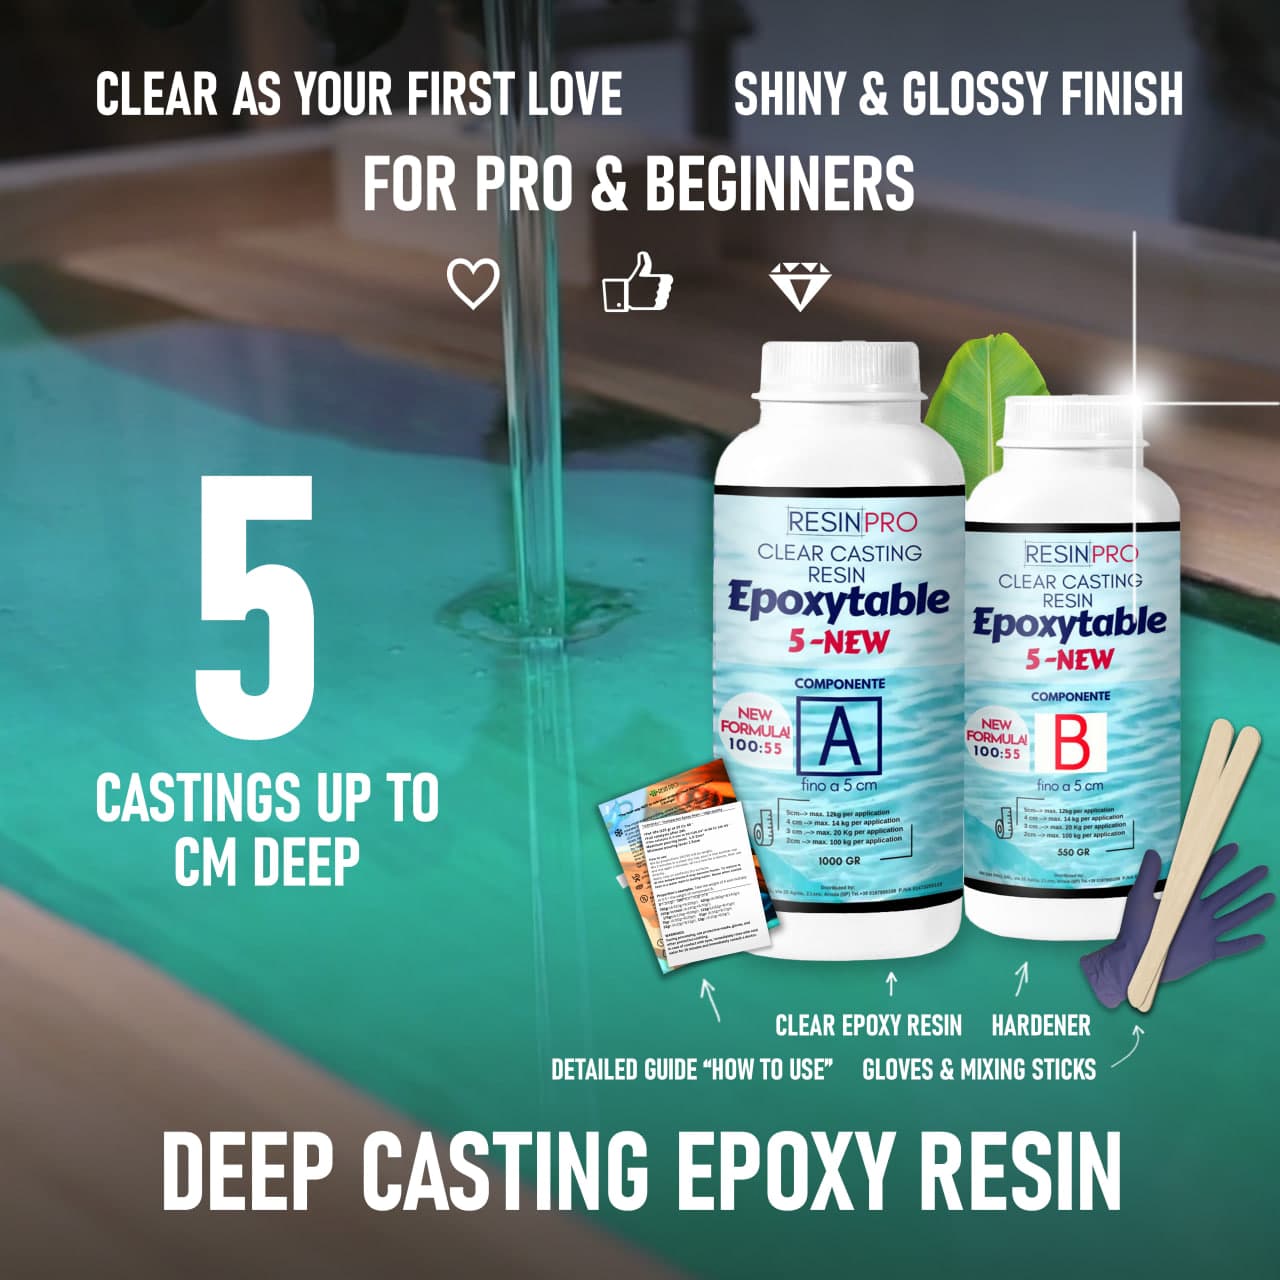
“EPOXYTABLE 5-FIVE” - deep pour epoxy resin for tables & large projects. Free 25ml pigment* + Gloves + Detailed instruction.
The best choice for deep pouring:
✔️ Low exothermic reaction –> Castings up to 5cm [1,96”]
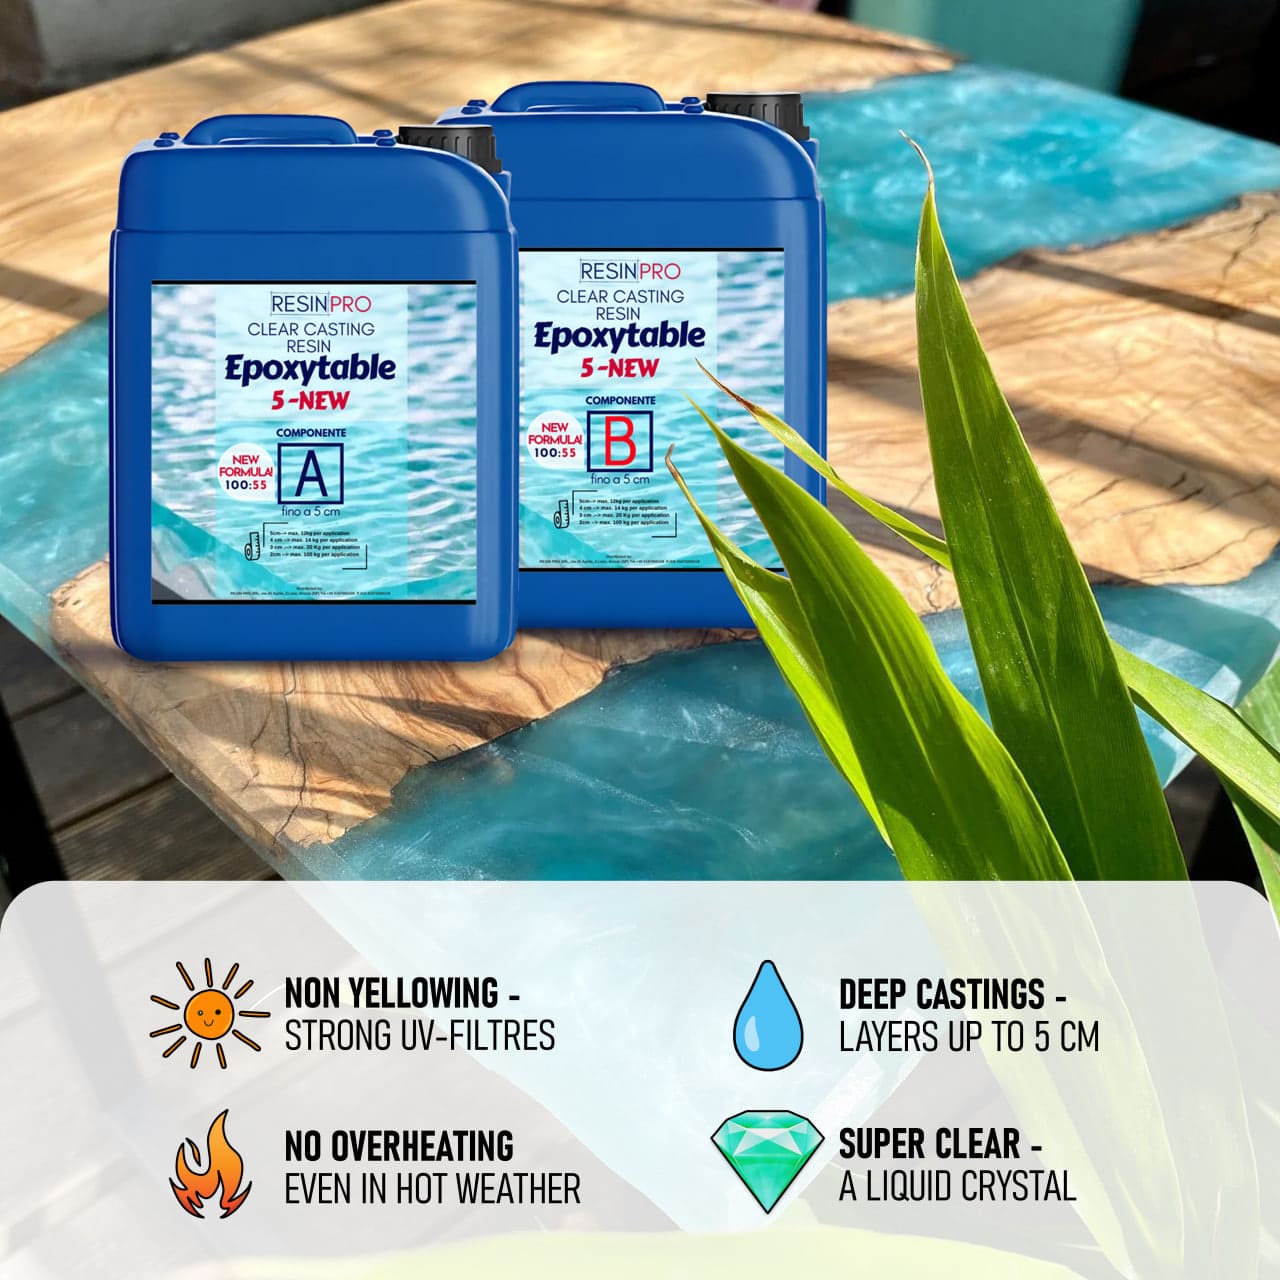
✔️ Strong UV filters –> Non-yellowing guaranteed for 5 years
✔️ Highly mechanical resistant surface, for maximum scratchproof properties
✔️ Low viscosity –> Bubbles free
✔️ Long working time –> No rush in the process
✔️ Heat resistance –> Up to 70°C [158 F]
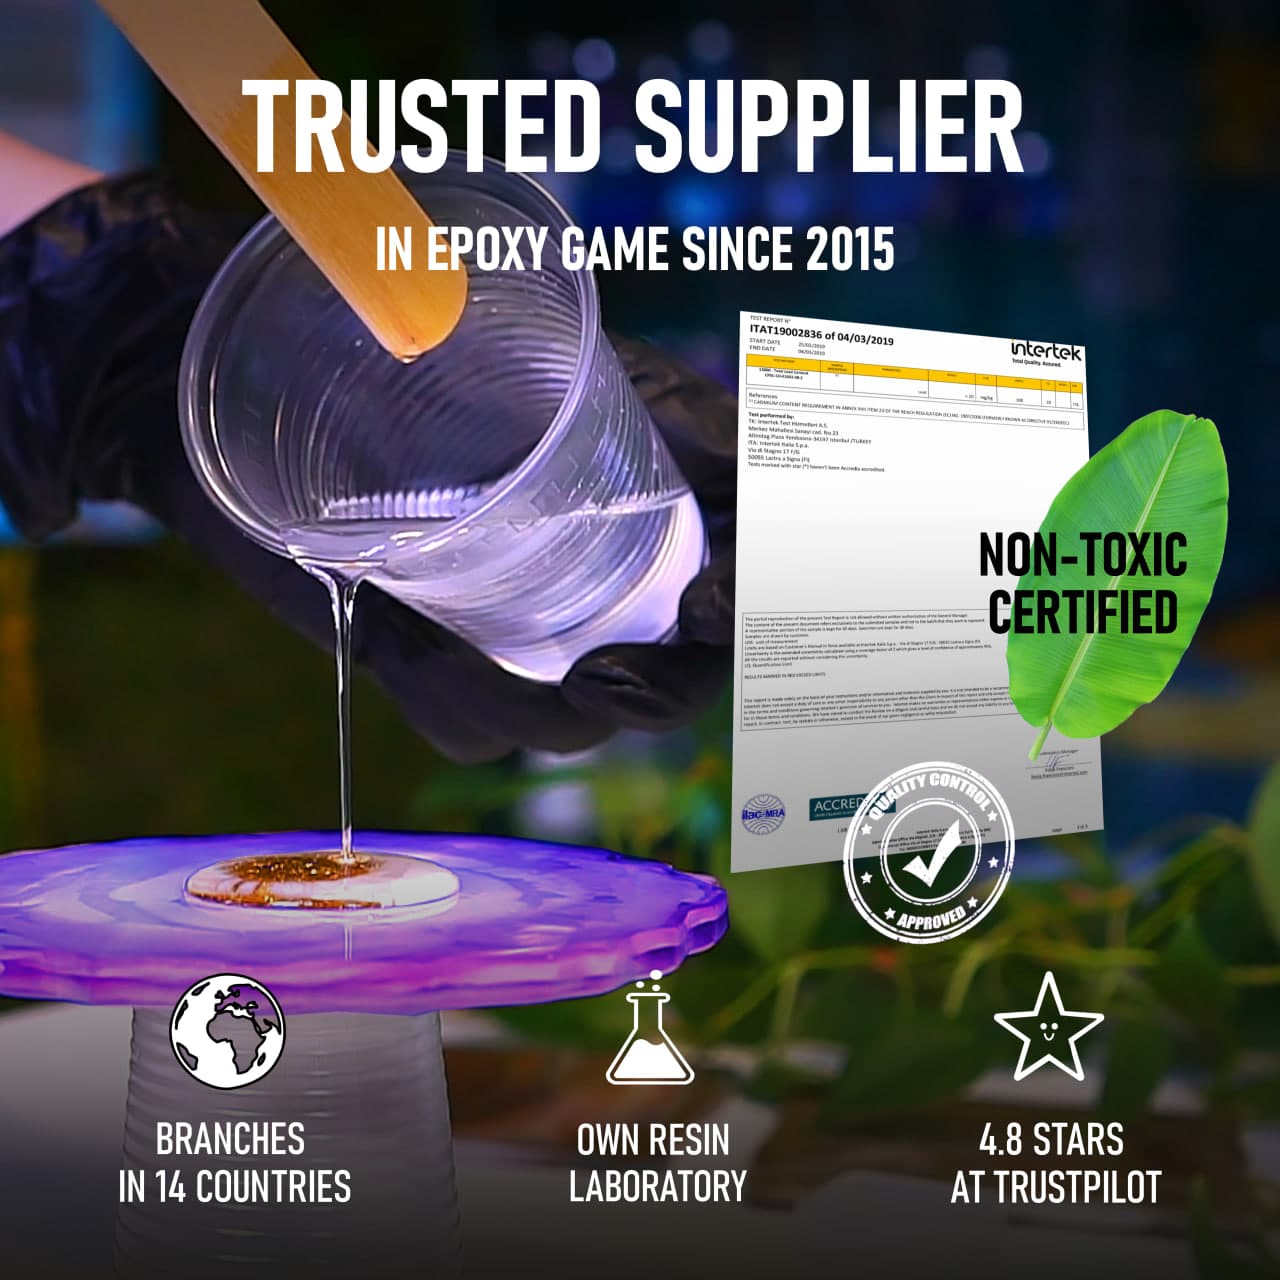
✔️ Trusted quality –> We have already sold more than 26000 kits of this product, since we started in 2015
🌿 Cruelty Free, Vegan Friendly🐹
✔️ Low exothermic reaction –> Castings up to 5cm [1,96”]
✔️ Strong UV filters –> Non-yellowing guaranteed for 5 years
✔️ Highly mechanical resistant surface, for maximum scratchproof properties
✔️ Low viscosity –> Bubbles free
✔️ Long working time –> No rush in the process
✔️ Heat resistance –> Up to 70°C [158 F]
✔️ Trusted quality –> We have already sold more than 26000 kits of this product, since we started in 2015
🌿 Cruelty Free, Vegan Friendly🐹
Description
Description
💥 Bestseller for projects up to 5cm:
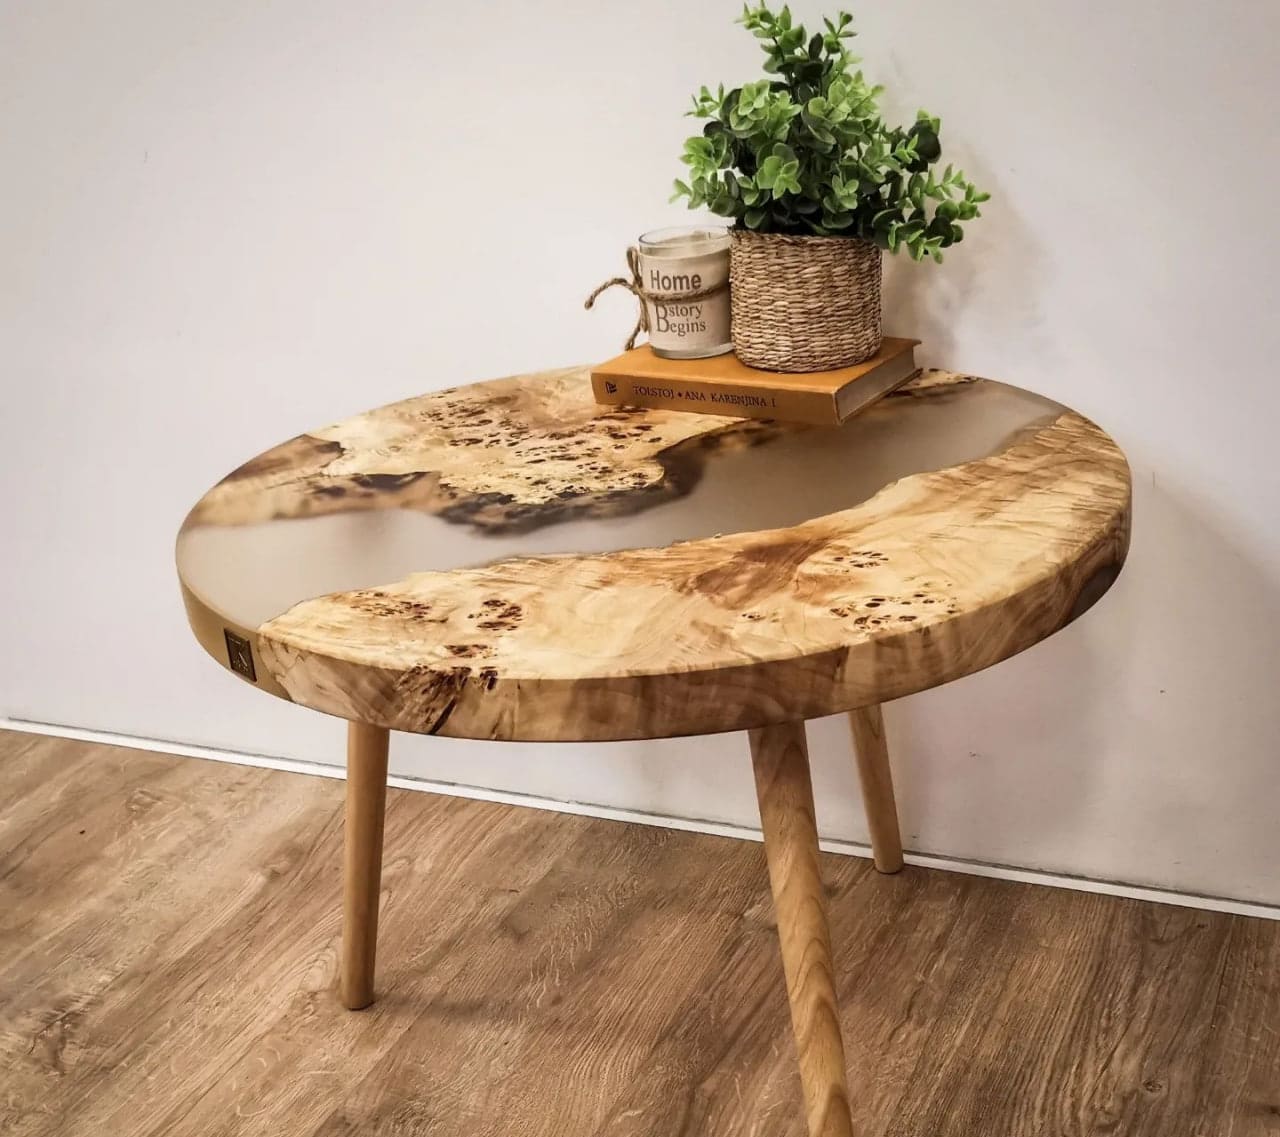
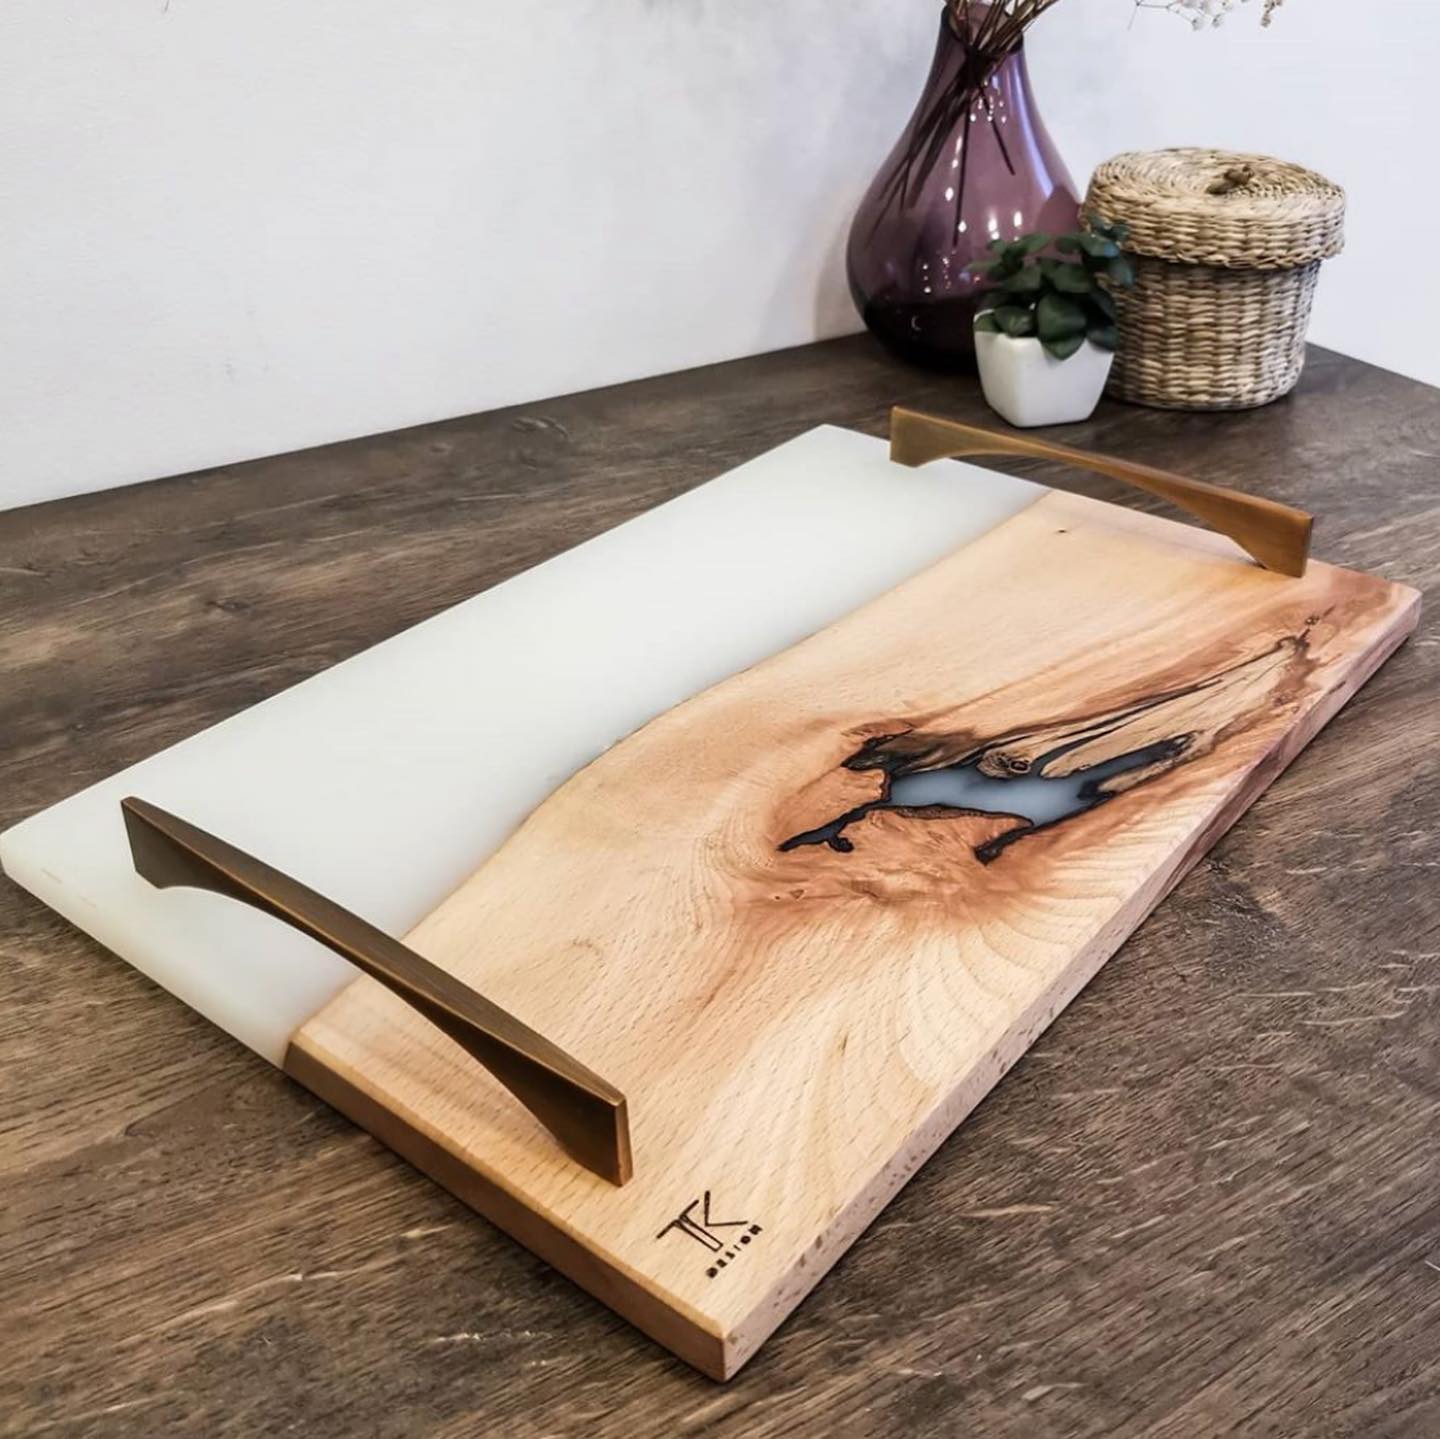
–Countertops & furniture: Ideal for creating & coating tabletops, including dining tables and countertops.
–Flowers preserving.
–DIY & Home Decor: Use it for artistic projects and decorative elements.
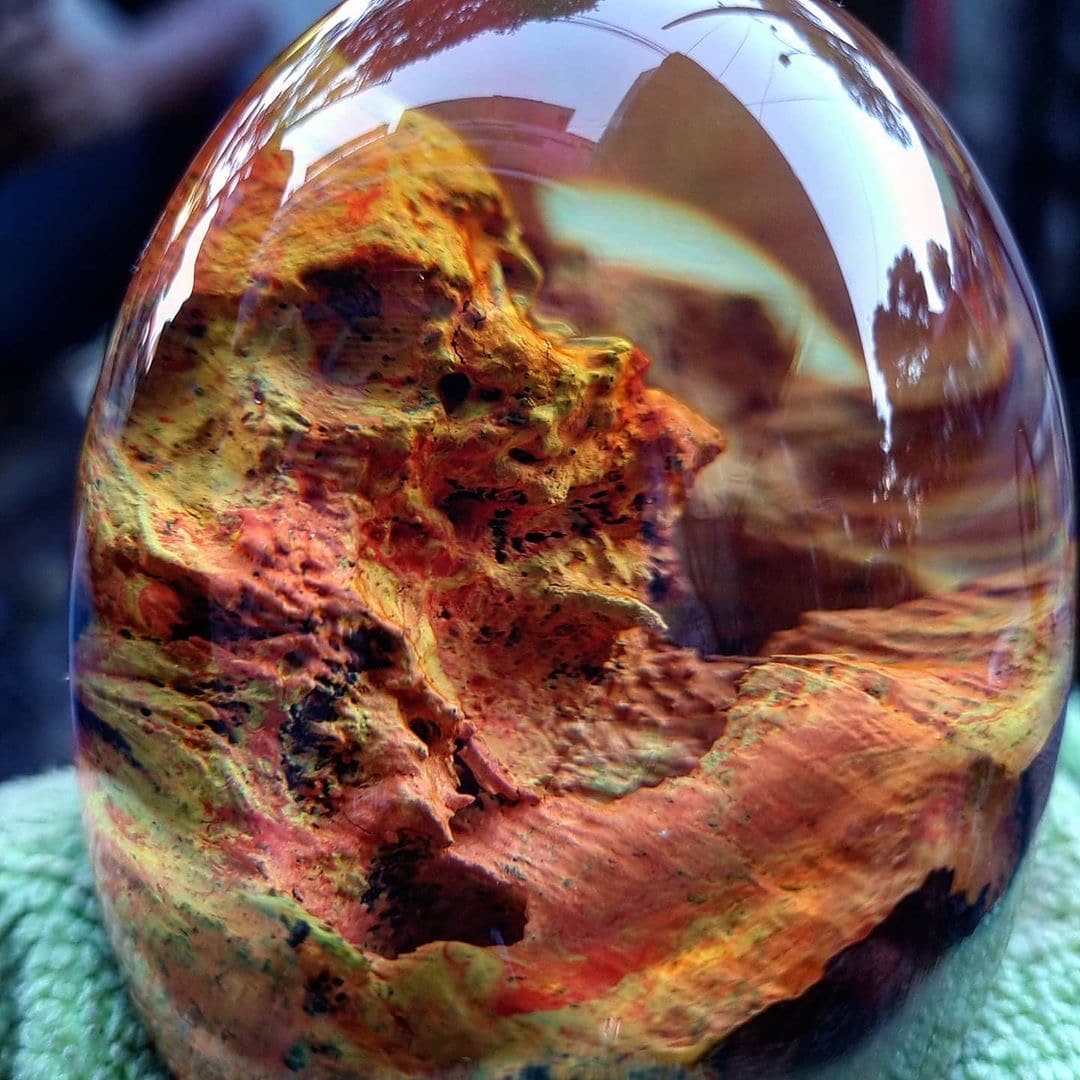
–Craft & Wood-working: A versatile choice for creative crafting projects, like dioramas and dynamic modelling.
💥About “EPOXYTABLE 5-FIVE” – deep pour epoxy resin for tables & large projects:
Finally, the ultimate product that allows high-thickness castings, non-yellowing and scratch-resistant.
Looking to create stunning epoxy resin tables? Our EpoxyTable 5-Five resin is the perfect choice. With a superior formula proven by years of experience, this professional-grade epoxy resin is ideal for creating tables and large projects. Its high transparency, strong UV-resistance, and long working time make it easy to achieve beautiful results. This epoxy resin is suitable for both beginners and experienced craftsmen alike.
Ultra-low exothermic reaction allows high-thickness castings WITHOUT OVERHEATING and DEFORMATIONS.
Perfectly TRANSPARENT and BUBBLE-FREE. Specially designed to be used to create wooden and resin tables and for large castings for artistic works.
Bring your creative vision to life with EpoxyTable 5-Five.
💥Key features:
⚙️ DEEP POUR CASTING:
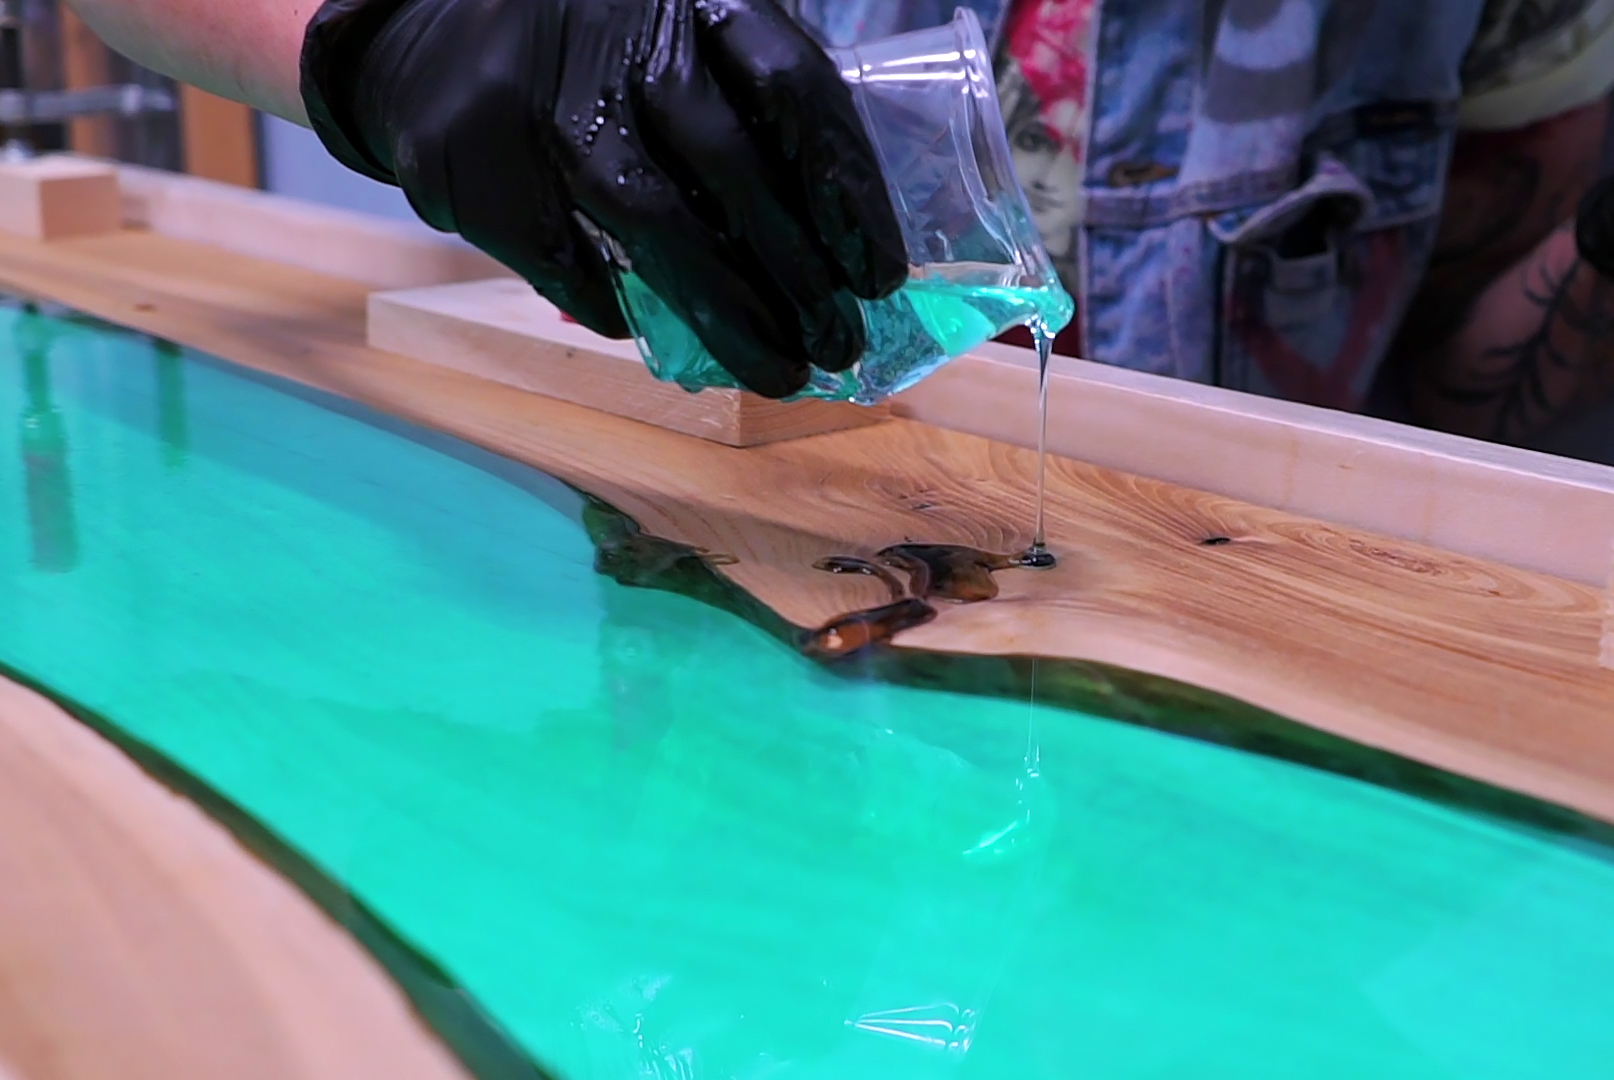
–Ideal for the wood and deep river tables, countertops or for the creation of objects that require high thickness casting. Special low exothermic reaction and its low viscosity are perfectly to deep thickness castings, guaranteeing stability and resistance to your creations. Detailed instruction and gloves for free.
🧪 SUPERIOR QUALITY:
–Totally shiny, self-levelling and odourless epoxy resin. Easily polished. The added UV Anti-Yellowing Filters helps save transparency over time. The low density allows prevent the incorporation of air bubbles making it perfectly suitable for river tables and countertops. Compatible with silicone and wood, fabric, glass, paper or photographs. Complete catalysis ~ 5-7 days, but it will already be workable after about 72 hours.
🌿 SAFE AND CERTIFIED:
-All our resins are Certified Non-Toxic, Solvent-free, non-flammable, and totally safe.
💧 EASY TO USE:
-The 100:55 mixing ratio makes this product very easy to use. Being a two-component resin, simply mix RESIN A + HARDENER B in the ratio indicated above the package and let it harden without the need for further additives. Can be coloured as desired.
🇬🇧 UK BASED TRUSTED COMPANY:
-RESIN-PRO team fulfils your order as fast as possible. We produce and realise epoxy resins since 2015. Just check our social media, where you will find thousands of projects made with our products around the world.
IMPORTANT THINGS!
• If one of the sides of the project is more than 100cm or the total weight of pouring epoxy is more than 8kg we insistently recommend to do a casting in two and more layers! (waiting 6- 8 hours between them).
• Please, pay extra attention mixing bulky amounts!
5cm–> max. 12kg per application
4cm –> max. 14 kg per application
3cm .–> max. 20 Kg per application
2cm –> max. 100 kg per application
*Free colorant is just a sample. For getting a solid colour you need the next quantity –
9kg – 3pcs of 25ml (75ml)
18kg – 6pcs of 25ml (150ml)
You can add additional items here – RESIN COLOUR TRANSLUCENT EFFECT 25 ML
Technical data
Technical data
Technical data – “EPOXYTABLE 5-FIVE” professional epoxy resin for tables & large projects:
- Mix ratio: 100:55 by weight
- Pot-life: (125 gr at 25°C) [0,27lb at 77F]:3h
- Full catalysis: 2-3 days
- Demoulding time: 1 days
- Gel time: (125 gr at 25°C) [0,27lb at 77F]: 10h
- Maximum pouring level: 5cm*
- Minimum pouring level: 1.5mm
- Heat resistance: up to 70°C
- Viscosity: Resin – 1900mPas; Hardener – 40mPas; Mix – 400mPas
- Coverage 1kg: 100*60*0.15cm
- 1sqm consumption (1.5mm thickness): 5kg
* – may vary from the pouring`s conditions, please, read the instruction.
If you have not enough experience, we highly recommend to make a small test before working with large project.
Main features:
High transparency / Strong UV-resistance / Deep pour resin / Long working time.
Applications:
DIY / Coating up to 5cm / Wood working / Modelling / Artistic creations / Adhesive / General coating system.
Instruction
Instruction
💪🏽 LET`S START! 💪🏽
We would like to pay your attention – We don`t recommend working at temperatures below of 20 ° C and over 28 ° C, avoiding humid environments (or surfaces) application (if you are not sure on the humidity, let the resin warm up the components before pouring).
If epoxy resin was storage at temperatures below of 20 ° C and became murky, please, warm your epoxy up before using to full transparency. More detailed, please, read below.
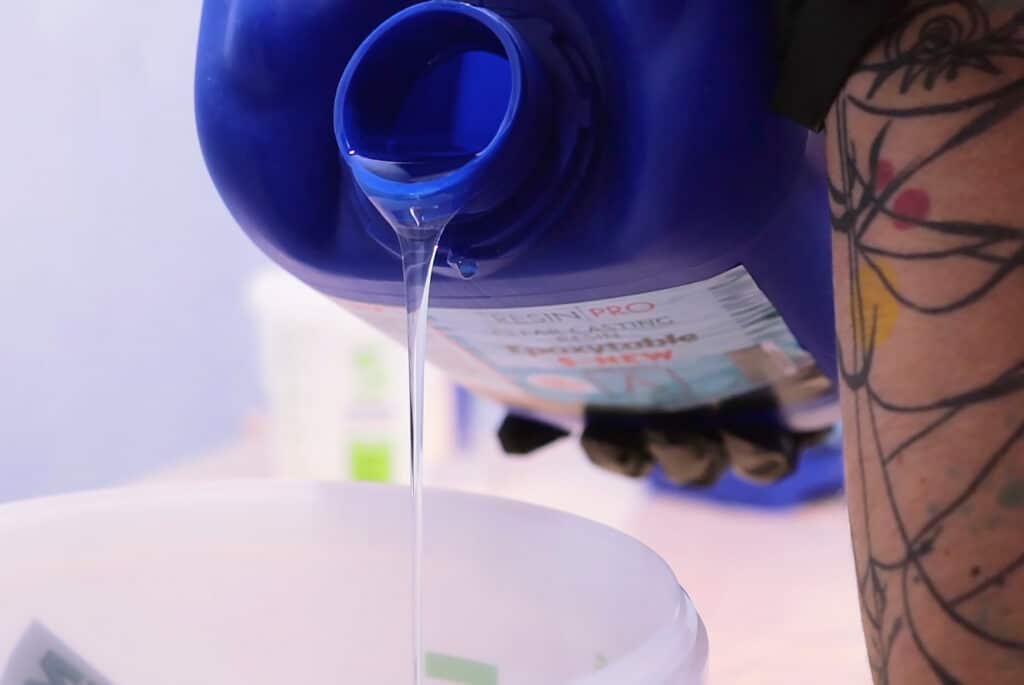
👉🏽 LET`S MIX! 👈🏽
THE PROPORTIONS ARE PRINTED ON THE BOTTLES/TANKS, PLEASE CHECK IT BEFORE USING.
Being a two-component resin, you have 2 bottles at your disposal, one containing resin “A” and the other containing hardener “B”. You will need some electronic scales to weigh grams and a mixing container where you can combine the liquids.
How to calculate, how much hardener do you need? Take your proportions –JUST AN EXAMPLE – 100:55. Then take the weight of component A and multiply on B, (if 100:55- A*0.55; if 100:70 – A*0.70; if 100:87 – A*0.87).
So! If you have component A 5kg, and proportions 100:55, your calculation –
5*0.55=2.75kg of component B.
Please, use some electronic scales and weigh in grams to get the best results.
After an accurate dosage, the resin must be mixed irregularly (meaning, always in the same direction) for at least 5-8 minutes. This part is very important, because if it is mixed only for a few seconds, it will not be homogeneous at the molecular level, therefore will remain soft / opaque in some parts.
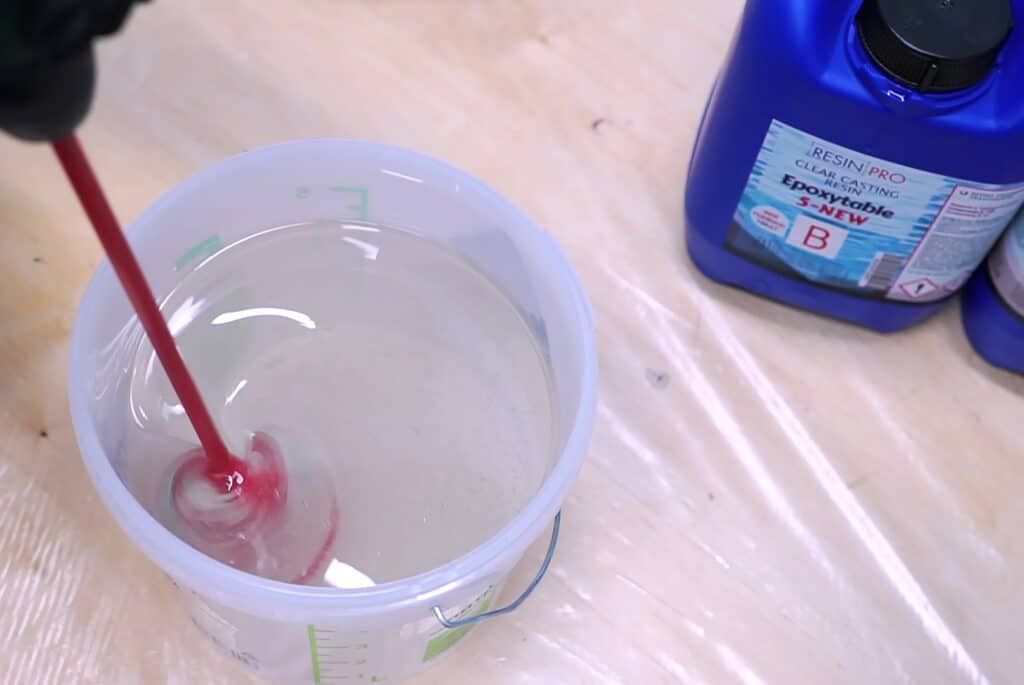
Mix evenly on the edges and bottom of the container. (Do not mix very quickly or forcefully because that would cause a lot of bubbles). We do not recommend using a mixer (of course, you can, but, please, not at high speeds!), as this leads to the formation of microbubbles, which will be difficult to remove. The carefully you mix – the less bubbles.
Remember, the quality of the future casting depends on a good mixing of the two components!
Important! Try to make the mix carefully, so that the smallest fractions of air are not formed in the resin, because visible bubbles will easily disappear from the surface naturally, and micro fractions of air are often practically invisible, but during the curing and heating of the epoxy mixture, the air in them expands and after complete curing, bubbles can be visible in the casting. This can and should be avoided if you do the kneading correctly.
How to remove the bubbles?
Although degassing (vacuum) is necessary to eliminate 100% of the bubbles, there are some tricks that can help you minimize the presence of bubbles during the creations.
1) Mix the resin longer but in a more delicate and uniform way.
2) Before mixing, heat component A (in the sun or using a radiator), so that it becomes more liquid and the bubbles rise more easily.
3) Leave it to rest for a few minutes to release the air bubbles.
4) Once launched, use a heat source (thermal pistol or fire, NOT a hairdryer) to burst the bubbles on the surface.
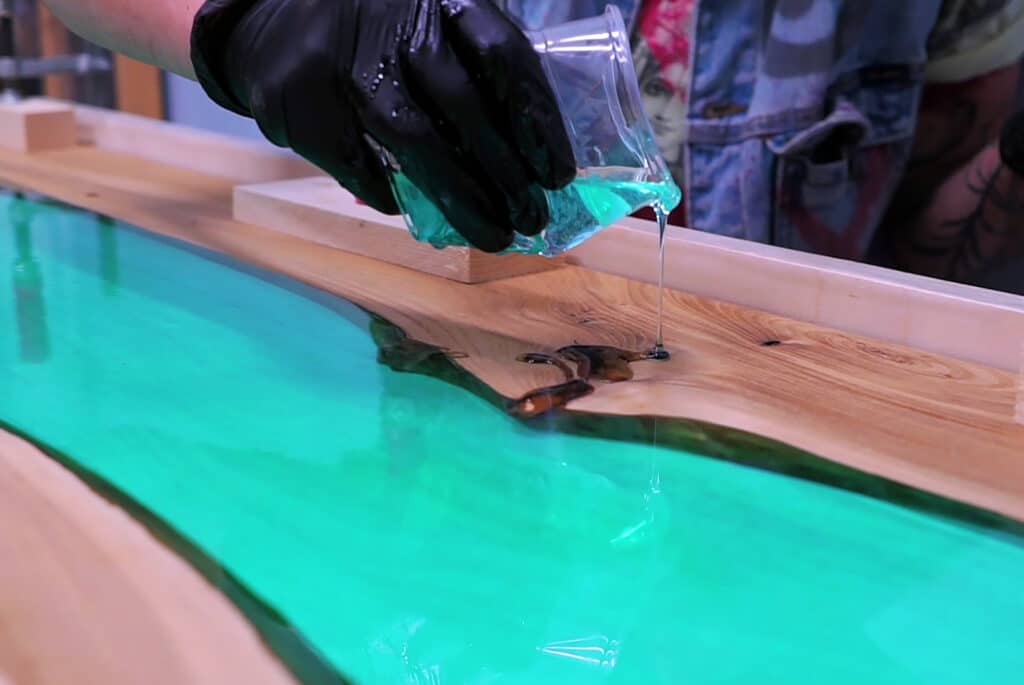
👋🏼 LET`S COLOUR! 👋🏼
Practically everything, including powder and metallic pigments. As long as the dyes are “dry” (for example, dust or sands) there are no problems (as long as they are perfectly dry), when, instead, you want to add pastel or liquid colours, make sure they are compatible with epoxy resins. If they are not compatible (for example enamels, tempera, acrylics) only a few drops can be added, since an excessive dosage could compromise the mechanics of the resin and its brightness (for example making it soft or sticky). There is also a “gold rule” – no more than 5% from mix weight.
Remember, it`s important to avoid contact of epoxy resin with water! From the ingress of water into the resin, it may become cloudy or not solidify! And if the hardener has been stored for a long time with a loosely twisted lid, then it can absorb moisture and it condenses in the form of microbubbles in the thickness of the casting during the curing process.
👍🏽 WHAT`S NEXT? 👍🏽
After pouring epoxy into your formwork be ensured in the “sterility” of the room so that dust and dirt will not get into the epoxy.
Important! We don`t recommend covering the filling with plywood or something dense, because this will disrupt the heat sink during the solidification of the resin!)
Remove micro-bubbles stuck in the surface layer using a hair dryer or a manual gas burner. We also recommend that you do not overheat the epoxy filling with a burner or a hair dryer, because this can cause overheating and boiling of the resin.
The full curing time of EPOXYTABLE-5 EPOXY resin is from 5 to 7 days (depending on the temperature and humidity in the workshop. The lower the temperature and the higher the humidity, the longer the curing time of the resin.
❄️ FROZEN EPOXY ❄️
Epoxy can become frozen under 20C. PLEASE! DON`T USE FROZEN EPOXY. This may affect the result.
There is no excuse that you hold your epoxy inside a warm room, the epoxy could be frozen much before, and only proper defrosting will return the lost transparency and liquidity.
How to understand why your epoxy was frozen? The component A is murky or solid, like frozen water. Don`t worry, there is no need to dispose of your epoxy and run to leave a bad review. It`s okay. You need to do only one thing – to defrost it, warming component A to 50-70 ° C. We usually put the closed tank inside the sink with very hot water and leave it for 20-30 minutes. The problem is next – the more epoxy inside the tank, the more difficult to warm it properly, so just repeat the procedure. If it doesn`t help, just try again, because we sold thousands of tons of the epoxy resin and every time the problem was sorted out by waiting a little bit longer in hot water (of course with the closed lid). Yes, we totally understand that it causes excessive movements, but it`s natural and it could happen with any other epoxy.
Of course, after defrosting you need to cool the component A to room temperature before using.
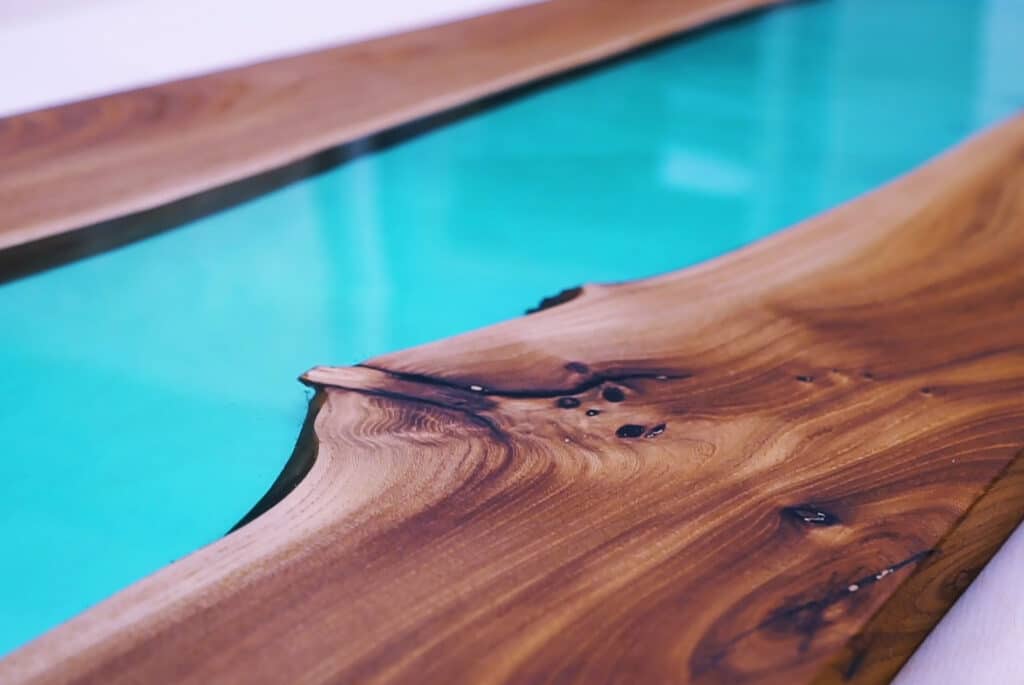
🔥 HOW TO AVOID OVERHEATING? 🔥
Maximum pouring level: 5cm. It may vary from the full weight of poured epoxy, sizes of project and temperature when you pour. Not following instructions may cause overheating.
If you need to make a larger layer, just pour in several steps, waiting 8-10h the first time; 10-12h in the second time and 12+h the third time).
If one side of casting is more than 100cm long, please, create your project in layers (each layer being 1-2cm thinner than recommended) with a time interval like above – (waiting 8-10h the first time; 10-12h the second time and 12+h in the third time).
If you do a Round casting, and the required weight A+B exceeds 3kg, create your project in the same way as above (less thickness per application + longer waiting between layers).
Be especially careful when working with resins for large castings, when mixing a large amount of resin, do not leave the mixture for a long time in one container – pour it immediately into other smaller containers to avoid the “mass” effect: the resin begins to heat up quickly and hardens instantly with defects without the chances to change it in any way.
The last thing on what we`d like to pay your attention is the restriction by amount of epoxy resin per application. Yes, it`s quite difficult for understanding, but the more epoxy you use – the more chance to burn it.
What to do? Just check the label!
For example, for EPOXYTABLE-5 we insistently recommend don`t make larger thickness depended on weight per application –
5cm –> maximum 12kg per application
4cm –> maximum 14kg per application
3cm –> maximum 20kg per application
2cm –> maximum 100kg per application
IF YOU`RE GOING TO MAKE LARGER THICKNESS, JUST WAIT 12-14h and make an additional layer, with the same rules, like above.
IF YOU MEET MORE THAN ONE EXCEPTION IN YOUR PROJECT, REDUCE THE SIZE OF YOUR APPLICATION AGAIN.
🌊 HOW DO I ELIMINATE SURFACE OPACITIES OR SMALL WAVES FORMED AS THEY SOLIDIFY? 🌊
These surface opacities are the result of the interaction with environmental humidity, which creates a patina on the surface of the cast. At first it is not obvious, but as soon as it starts to solidify, in some places you can notice opaque halos and even “wrinkles”.
There are different strategies to avoid this:
1. Work in low humidity (dehumidified) conditions or in a heated environment.
2. Heat the 2 components before mixing (for example, holding them over a radiator).
3. Mix the resin with the hardener and apply it only when it starts to heat up (so that the reaction begins while it is still in the container). This operation is essential, but requires minimal attention. It should be checked every 5-6 minutes and as soon as it reaches 40 ° C (when it’s warmer than our hand) it can be applied. Otherwise, it could start solidifying in the container!
4. It is advisable not to apply during the night or when it is raining (since the humidity increases).
5. Do not apply on surfaces that still contain humidity, like on fresh cement or on non-dried wood.
– If due to humidity, the resin is not glossy, no problem: just pour a new layer over (following the instructions above) and it will become perfectly transparent and regular.
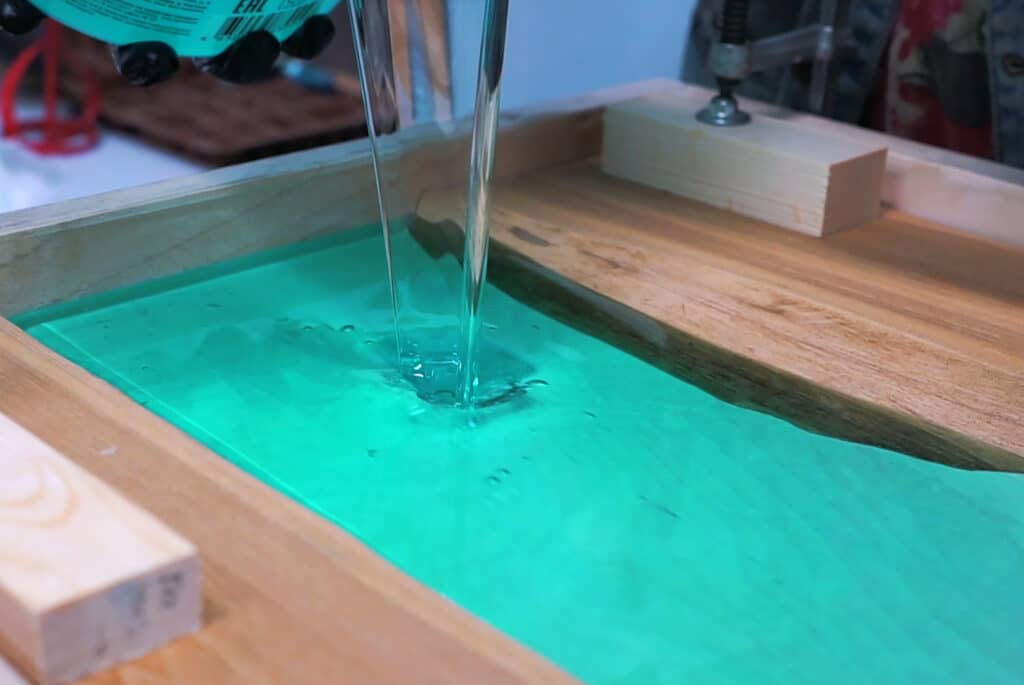
Additional tips:
1) For easier removing from the formwork, we recommend to cover the formwork by our special film “shiny shield“, before pouring.
2) We do not recommend using a mixer (especially at high speeds), as this leads to the formation of microbubbles, which will be difficult to remove. The carefully you mix – the less bubbles.
3) If you`re going to embed something in your project while curing, do not leave it overnight, because it always becomes solid much faster than you could expect (curing times vary depending on temperature, mixing time, volume and etc). We always advise pouring in the morning then swirling through the day.
WARNINGS:
During processing, use protective masks, gloves, and other protective clothing.
In case of contact with eyes, immediately rinse with cold water for 15 minutes and immediately consult a doctor.
VERY USEFUL ARTICLES FOR THIS EPOXY TYPE:
👉🏽 HOW TO USE EPOXY RESIN: TRICKS AND GENERAL GUIDE
👉🏽 EPOXY RESIN: PROBLEMS AND SOLUTIONS – THE 12 MOST COMMON PROBLEMS
👉🏽 3 IMPORTANT FEATURES YOU MUST KNOW BEFORE WORKING WITH RESIN
👉🏽 HOW TO BUILD A WOOD AND RESIN TABLE
👉🏽 PLANNING AND CREATION OF LARGE RESIN TABLES – MAIN ISSUES, GUIDELINES AND PRACTICAL ADVICE
👉🏽 HOW TO MAKE A RESIN AND WOOD RIVER TABLE AND COUNTERTOP (LIVE EDGE)
👉🏽 HOW TO BUILD A WOOD AND RESIN TABLE
👉🏽 HOW TO POLISH YOUR PROJECT PROPERLY
FAQs
FAQs
FAQs
“EPOXYTABLE 5-FIVE” Professional Epoxy Resin For Tables & Large projects:
Q. What`s the proportions and how to calculate that?
A. The proportions of Transparent Epoxy resin is 100:55 – A:B by weight. You can always check that taking a look at the labels of the bottles – they are always printed there:)
For calculations we suggest using our app – GooglePlay & AppStore.
How to calculate, how much hardener do you need? Take your proportions –JUST AN EXAMPLE – 100:55. Then take the weight of component A and multiply on B, (if 100:55 – A*0.55; if 100:70 – A*0.70; if 100:87 – A*0.87).
So! If you have component A 5kg, and proportions 100:60, your calculation –
5*0.55=2.75kg of component B.
Q. Can I do 10cm per one casting?
A. Unfortunately:(
The maximum layer`s level is 5cm. If you need to cast more, do it steadily –
Do 5cm, then wait 6-10h and add next 5cm. Repeat, if needed, waiting 6-10h between layers.
Q. Why epoxy is murky?
A. Epoxy just become frozen during storage/delivery, etc. Please, don`t use that before you de-frost it fully, it may affect the result. Just put the component A into very hot water for 10-15 minutes. Repeat if needed.
Q. What`s the coverage of 1kg?
A. 1kg of mix epoxy+hardener covers area 30*30*1cm.
You can use our resin calculator here – 🔮LINK🔮
Or our app – GooglePlay & AppStore.
Q. What`s the volume 1kg resin+hardener?
A. 1kg epoxy resin ~ 0.9l
Just take the weight and divide at 1.1, you`ll get the volume in litres.
Q. Can I use epoxy at home?
A. Yeap, we recommend working in well ventilated area and use protective cloves and masks.
Q. What to use for colouring?
A. Of course we recommend using our tested pigments and colourants.
With other brands we suggest to make a small test before making large project.
The rules not so many – it has to be NOT water based and without high level of solvents. Please, be sure that the amount of colourants doesn`t exceed 5% from full mix.
Q. Do you have resin with higher viscosity?
A. Sure!
We have the next grade of resins by viscosity:
Super low viscosity (low type of resin) – “Epoxytable-5”;
Low viscosity – “Transparente”;
Medium viscosity – “Art Pro”;
High viscosity – “Art Pro Deluxe” ;
Q. What would you recommend for polishing my art-work?
A. We have a special kit for such tasks, take a look here –
Videos
Videos
Reviews
Reviews
COD:
NUOVAEPOXY