 Free shipping on orders over £29,85


← Back to How to create sea foam effects with epoxy resin?
Bubbles are one of the most common frustrations in resin ocean art, disrupting smooth, glass-like finishes and fine detail work. If you want to achieve a seamless ocean effect, knowing how to keep bubbles at bay can make all the difference.
Why Do Bubbles Form in Resin?
Bubbles can arise naturally during the mixing of epoxy resin and hardener, as well as when adding pigments or pouring over textured surfaces. Rushing the mixing process or agitating the resin vigorously introduces more air, which may become trapped in your artwork and rise to the surface during curing.
Practical Steps to Minimise Bubbles
- Mix Slowly: Stir your resin and pigments gently and evenly, rather than whisking. This slows air incorporation and helps prevent froth.
- Let It Rest: After mixing, allow the resin to sit undisturbed for several minutes. This resting period helps trapped bubbles rise and pop on their own.
- Use a Level Surface: Pour your resin on a flat base to prevent air from gathering in hollows or at edges.
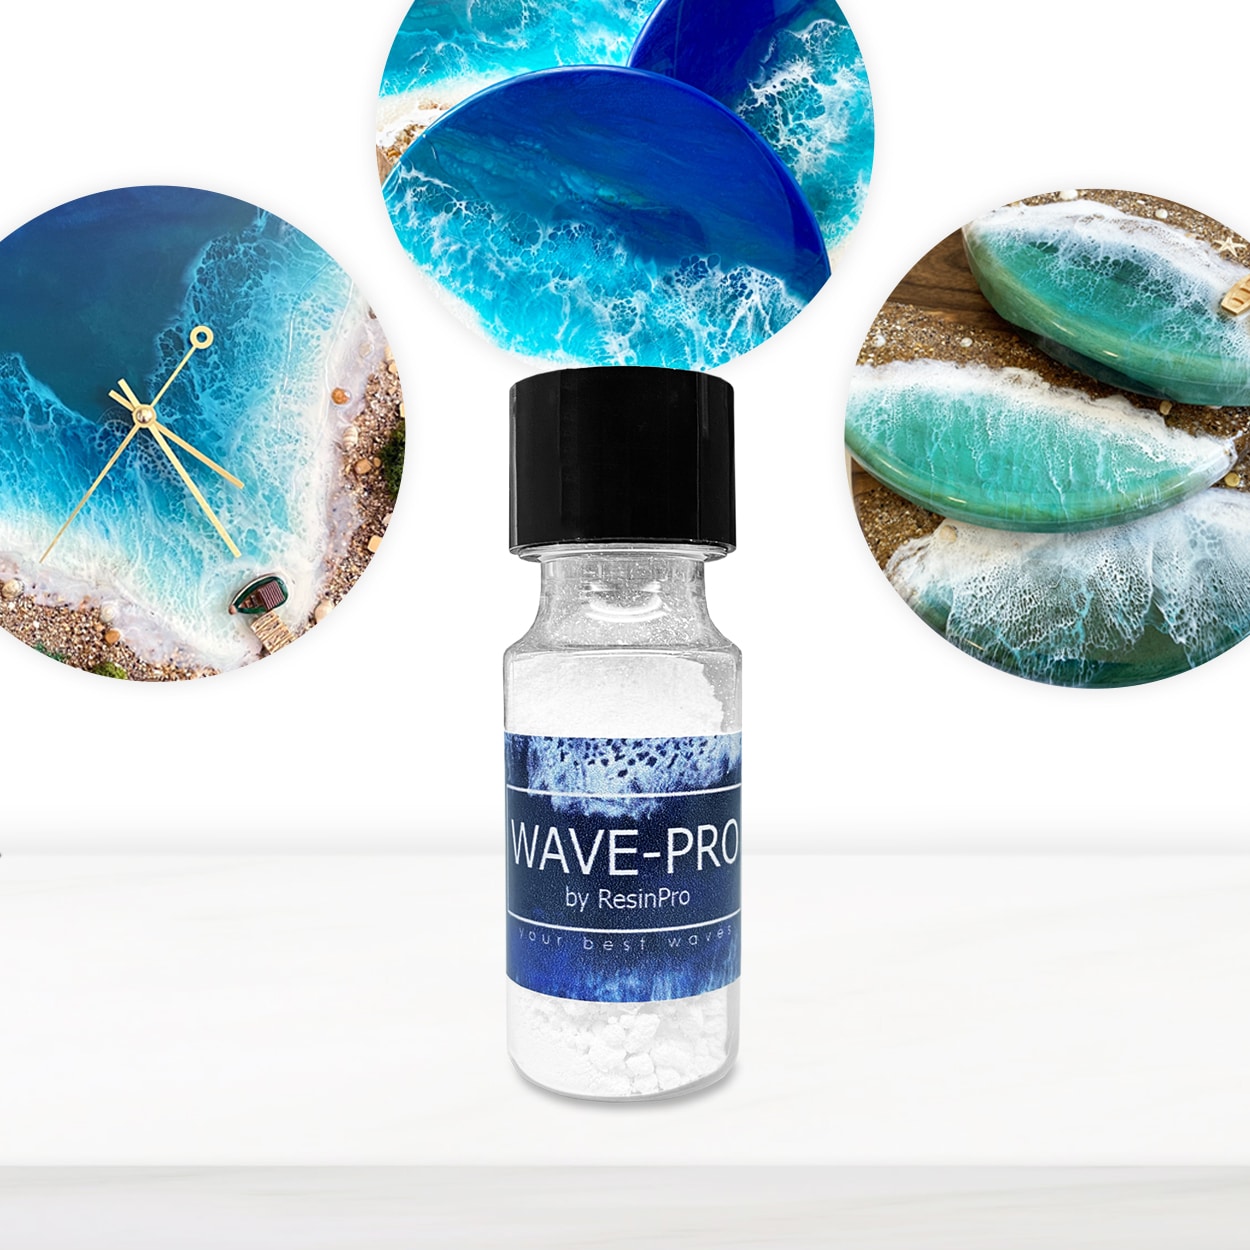
- Choose the Right Pigments: Some products, such as the Wave-Pro pigment additive, are formulated to disperse in resin without excessive bubbling, supporting flawless cell and wave effects in ocean art.
When This Matters Most
Bubble prevention is crucial when you want high-gloss, transparent areas or fine details such as sea foam in your ocean art. Visible bubbles can disrupt delicate lacing and wave patterns, so careful mixing and product choice are especially important for surface layers and decorative effects.
Related products
Related guides
With these techniques, you can enjoy smooth, professional resin ocean art finishes. For even more guidance on creating sea foam effects and mastering ocean-inspired pours, explore further on our parent guide.