 Free shipping on orders over £29,85


How to apply artificial resin?
Step-by-step guide for smooth, bubble-free artificial resin finishes


Applying artificial resin is a rewarding way to achieve stunning finishes in art, jewellery, and craft projects. Whether you are working with epoxy or UV-curing resin, mastering the correct application method is essential for clean results and durable creations. This guide walks you through each stage, from preparation to finishing, so you can confidently work with artificial resin and avoid common mistakes.
What You’ll Need
- Tooth Shaped Spatula for Epoxy Resin Application – For precise, even application
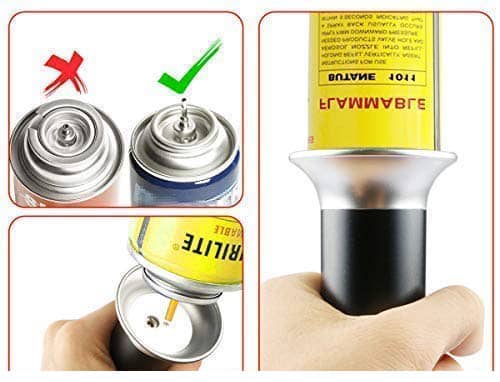
- Gas Heat Gun for Epoxy Resin – Precision Tool for Bubble Removal and Finishing – Removes bubbles for a flawless surface
- “Fairy Wings” – UV Resin for Volumetric Reliefs, Dual Colour, 30ml – Suitable for detailed relief and decorative work
- “UV–Creation” – Fast Acrylic Resin, 3 Minute UV Cure – Ideal for quick-setting jewellery and small objects
- UV lamp (for UV resin projects)
- Protective gloves and apron
- Disposable mixing cups and stirrers
- Clean, dust-free working area
Essential Tools for Artificial Resin Success
Using the right tools makes a significant difference. A notched spatula aids in even resin distribution, while a heat gun helps achieve bubble-free clarity. UV resins are best processed with a UV lamp for rapid curing and professional-standard detail.
Step 1: Prepare Your Workspace and Surfaces
Successful resin application starts with a clean, organised space. Cover your work surface with a plastic sheet or disposable material to catch spills. Always work in a well-ventilated area. Remove dust and debris from both your workspace and the item you want to coat. If working with art panels, wood, or moulds, ensure these are dry and grease-free. Remove dust and contaminants before pouring resin. This prevents blemishes and ensures the resin bonds correctly.
Step 2: Mix and Apply the Resin Evenly
Mix your resin components thoroughly according to the manufacturer’s instructions (if using two-part epoxy). For UV resin, simply use the ready-to-apply liquid. Pour or dispense the resin in a controlled manner onto the surface.
To achieve a smooth layer, use a notched spatula for even coating. The Tooth Shaped Spatula for Epoxy Resin Application is excellent for this purpose, as its edge distributes resin uniformly, minimising streaks and trapped air.
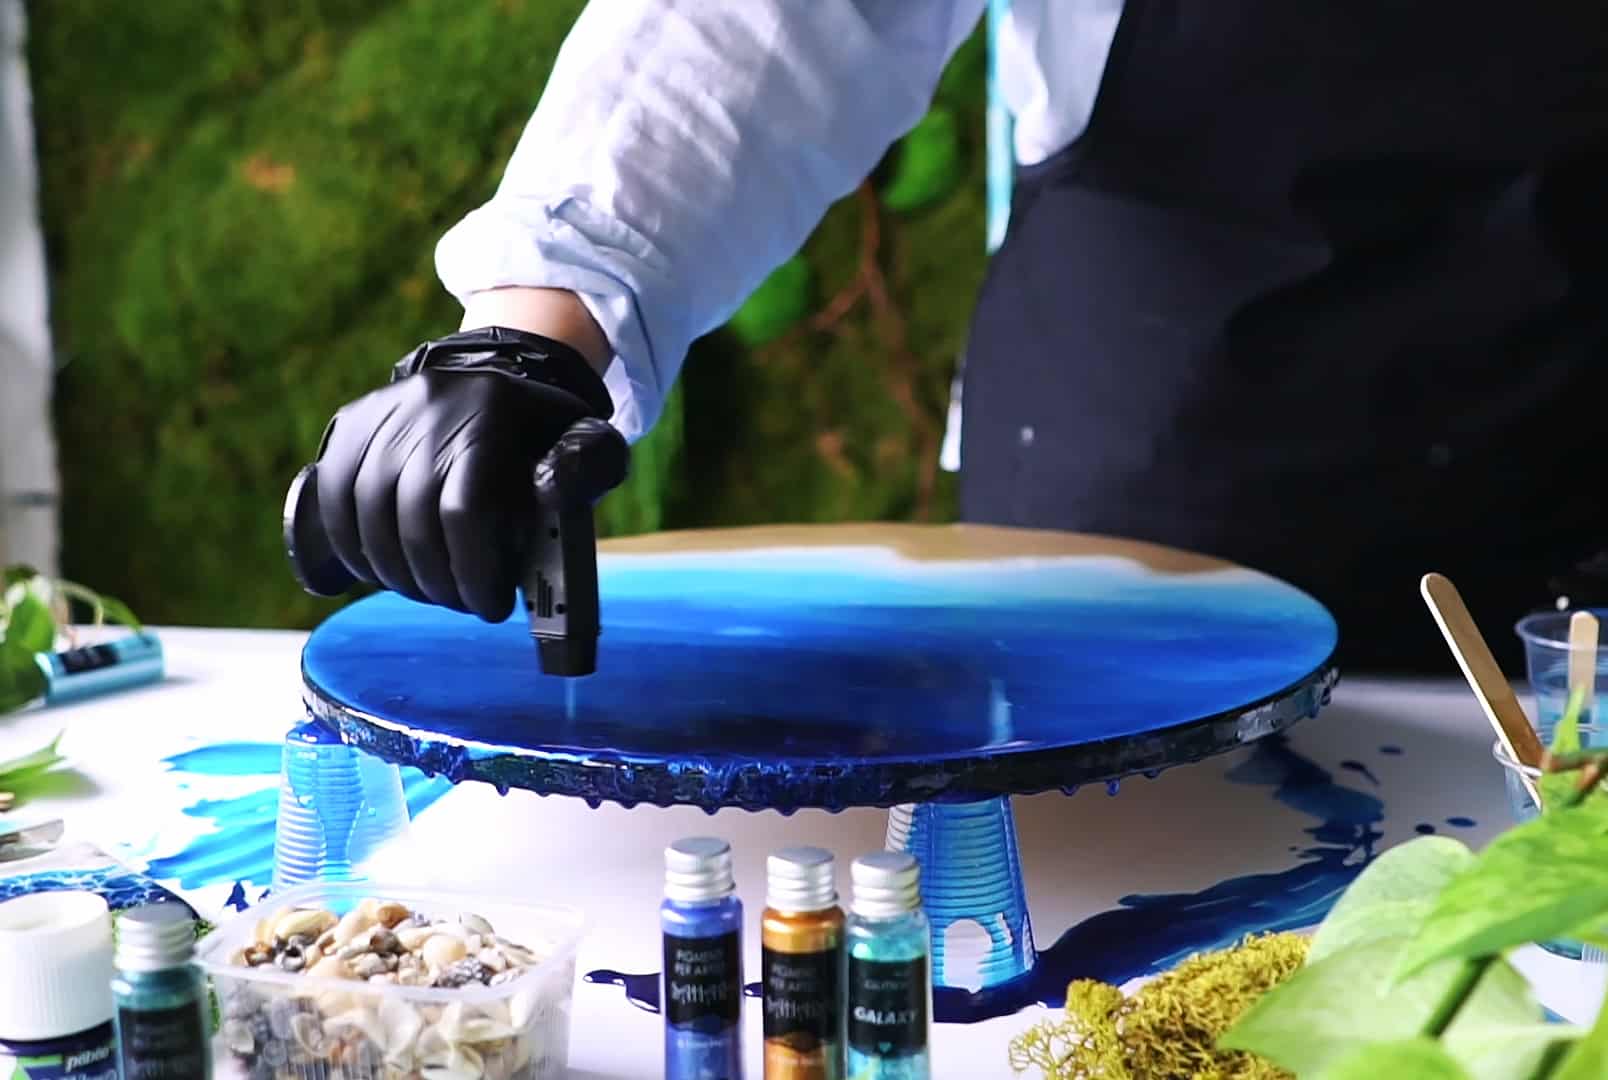
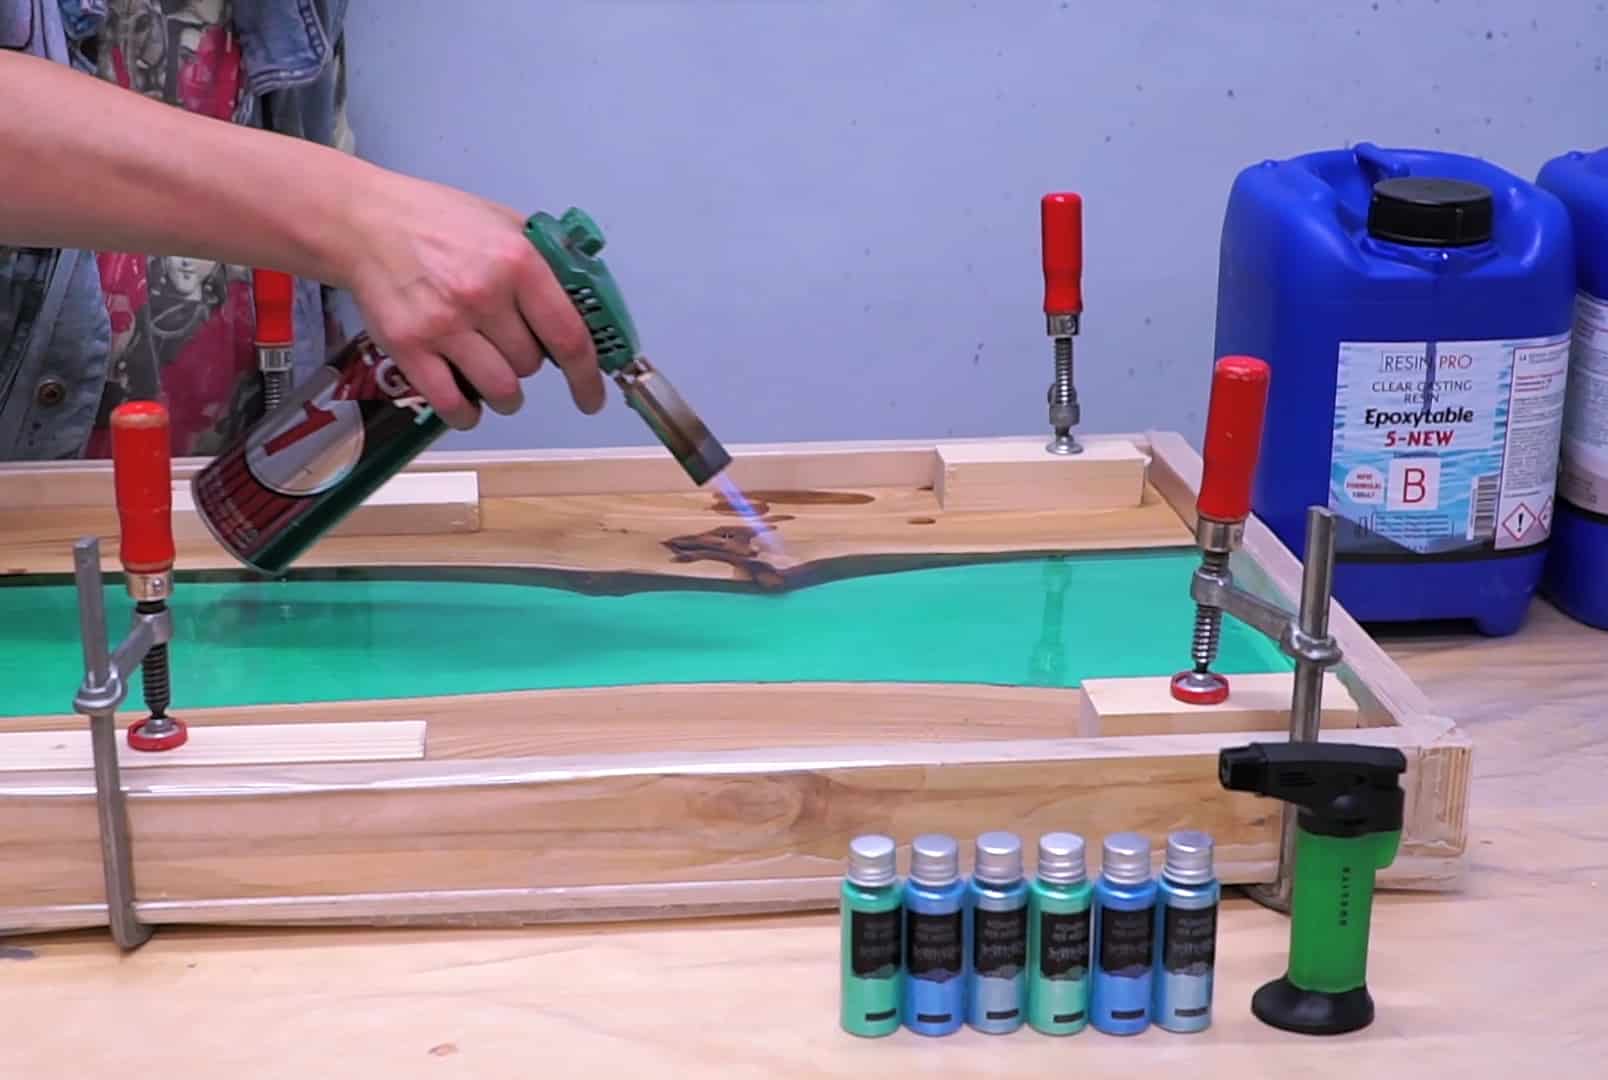
Step 3: Eliminate Air Bubbles and Refine the Finish
Once the resin is spread, bubbles may appear on the surface. Pop any large bubbles with a pin or toothpick. Then, apply heat to remove bubbles immediately after pouring. Hold a Gas Heat Gun for Epoxy Resin briefly over the surface, moving it steadily to avoid overheating or scorching the resin. Proper bubble removal gives your project a glass-like, flaw-free finish.

Step 4: Build Up Details and Cure in Layers (For UV Resin Projects)
For fine 3D effects or raised patterns, use specialist UV resin. Dispense small amounts directly from the tube to draw or build shapes. The “Fairy Wings” – UV Resin for Volumetric Reliefs is perfect for layered relief effects, while “UV–Creation” – Fast Acrylic Resin, 3 Minute UV Cure suits flat or domed layers in jewellery.
Build up thick designs in multiple thin layers. Cure each individual layer under a UV lamp for 3–5 minutes before adding the next. This approach prevents trapped uncured resin and ensures consistent results in volumetric or beaded patterns.

Tips, Common Mistakes, and Troubleshooting
Avoid excessive heat to prevent uneven curing. Prolonged or intense heat can make resin cure too quickly and create surface ripples. Do not rush the curing process; allow adequate time. Insufficient curing leads to a tacky finish and poor durability. Protect your workspace and skin from accidental spills. Always wear gloves, and dispose of resin waste responsibly.
If bubbles persist after heating or your surface remains rough, lightly sand once cured and apply a second thin resin layer. For best results, regularly check your working area for new dust or contaminants between steps.
Maintaining Professional Results in Resin Application
Patience and precision result in the best finishes. Take your time at every stage: from room preparation to careful application and patient curing, each detail affects your final piece. Keep safety and workspace cleanliness at the top of your checklist.
- Tooth Shaped Spatula for Epoxy Resin Application£3.15Tooth Shaped Spatula supports precise and even resin application, suitable for various surfaces in artificial resin projects.
- Gas Heat Gun for Epoxy Resin – Precision Tool for Bubble Removal and FinishingPrice range: £4.15 through £13.85Gas Heat Gun offers precise heating to reduce bubbles and achieve smooth epoxy resin finishes, suitable for both beginners and experienced users.
- "Fairy Wings" – UV Resin for Volumetric Reliefs, Dual Colour, 30mlOriginal price was: £15.15.£2.85Current price is: £2.85."Fairy Wings" UV Resin is prepared for fine detailed relief work using UV curing, suitable for artists and crafters interested in volumetric designs.
 "UV–Creation" – Fast Acrylic Resin, 3 Minute UV CurePrice range: £7.85 through £59.85UV–Creation fast acrylic resin cures in 3 minutes with UV light, suitable for jewellery making within the theme How to apply artificial resin?
Frequently Asked Questions
Can artificial resin be layered for depth?
Yes, you can achieve depth by applying multiple thin resin layers, curing each fully before adding the next.
Are special tools necessary for resin application?
While not strictly necessary, tools like notched spatulas or heat guns help achieve smooth, professional results.
What is the best way to avoid or remove bubbles in resin projects?
Apply the resin slowly, allow bubbles to rise, and use a heat gun gently to release trapped air before curing.
Is UV resin suitable for precise patterns and reliefs?
Yes, UV resin excels for detailed designs as it cures quickly and can be built up in fine layers for relief effects.
What is the proper method for cleaning tools and surfaces after using artificial resin?
Clean tools with isopropyl alcohol before the resin cures; dispose of disposable items safely according to local guidelines.
Should I wear gloves or a mask during resin application?
It is recommended to wear gloves and work in a ventilated area to avoid skin contact and inhaling fumes.