 Free shipping on orders over £29,85


How do you dry epoxy resin?
Practical steps for a flawless, bubble-free epoxy resin finish


Drying epoxy resin is a crucial step in creating beautiful, durable artworks and crafts. When done properly, you achieve a flawless, bubble-free finish that enhances clarity and gloss. Follow this comprehensive guide for dependable results and discover the key techniques to effectively cure and dry your epoxy pieces at home or in the studio.
What You’ll Need
- “ICreation” – Fast Epoxy Resin, 6h Demoulding, Transparent Gloss Finish – For those seeking a rapid curing resin (optional, depending on your project).
- Gas Heat Gun for Epoxy Resin – Precision Tool for Bubble Removal and Finishing – Useful for eliminating bubbles during the drying process.
- Pure Isopropyl Alcohol 99.9% – 1000ml Bottle for Epoxy Resin Projects & DIY – For effective bubble removal and creating effects (optional for certain techniques).
- Protective gloves and a clean workspace.
- Mixing cups, sticks, and a level surface for curing.
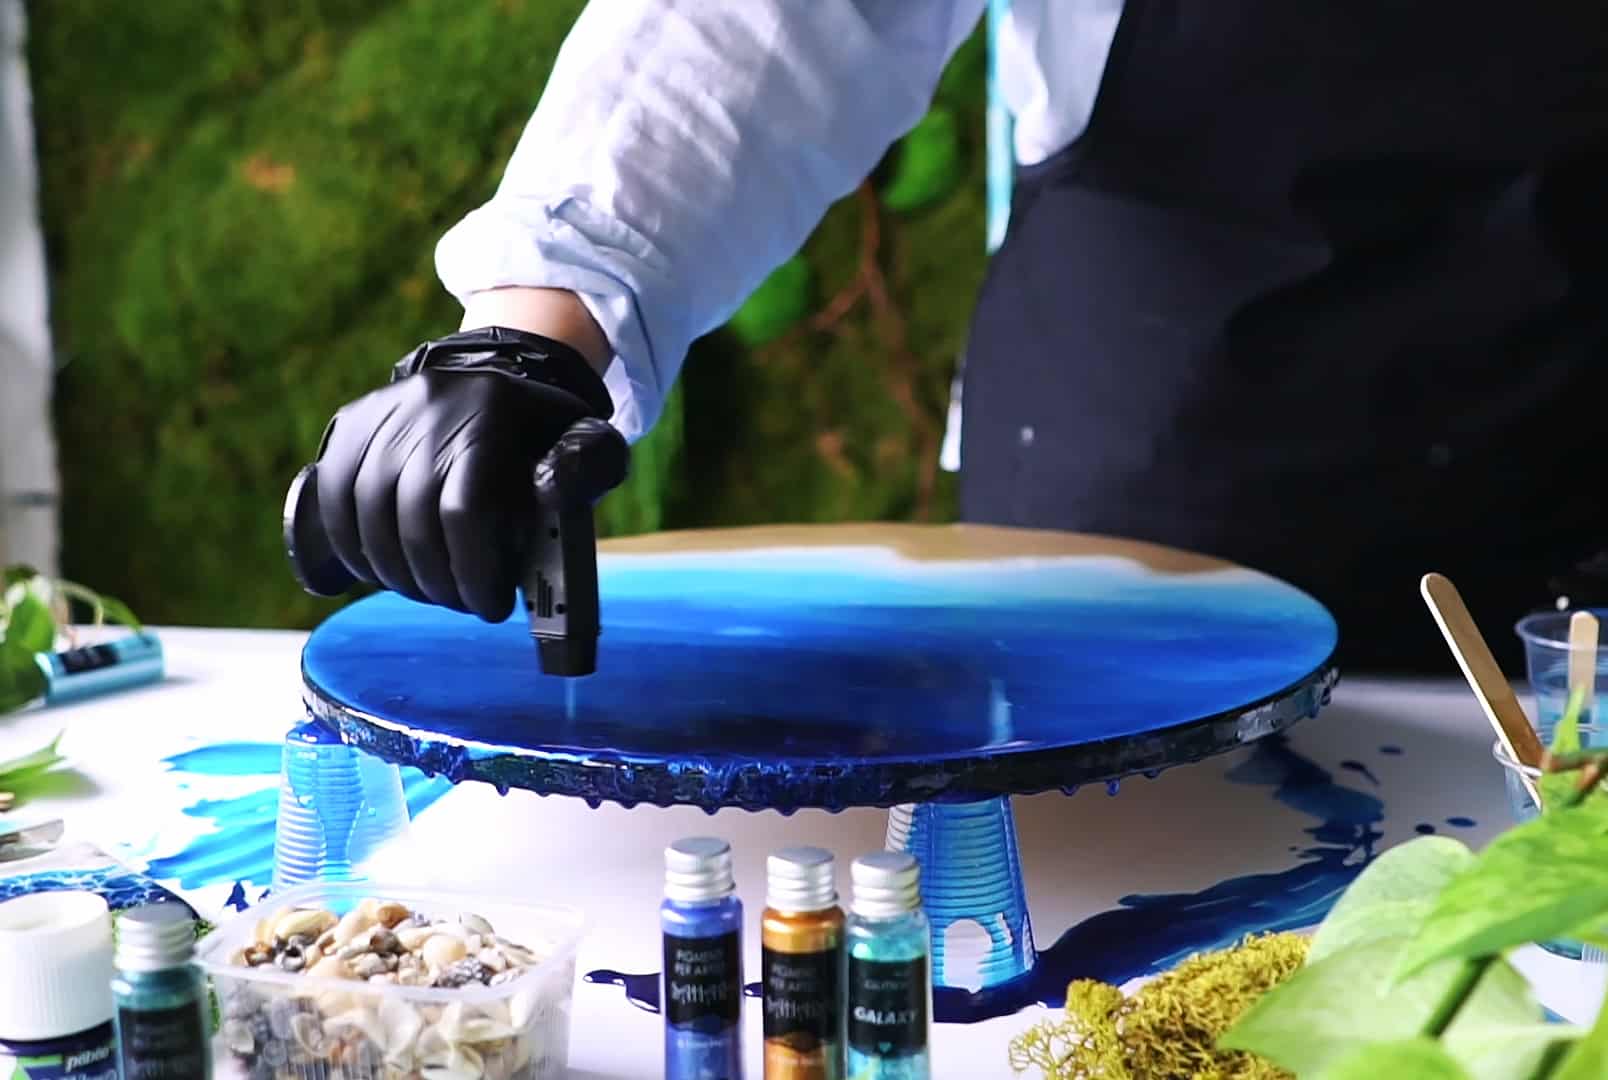
Tools and workspace set-up for epoxy curing
Gather all required materials before mixing. Lay out your chosen resin, clean tools, protective gear, and optional bubble-removal accessories. Clear space ensures you can work quickly and safely without distractions.
Step 1: Prepare Your Workspace and Resin
Start by organising a clean, dust-free area away from direct sunlight and drafts. Epoxy resin can attract dust or hair while curing, so cleanliness is essential for a perfect finish. Lay out mixing tools and the items you’ll be coating or moulding, ensuring everything is within easy reach.
Read the label or data sheet for your resin, as the proportions and working time will vary between brands and products. Mix parts A and B thoroughly, scraping the sides and bottom of your mixing container to avoid sticky spots post-cure. Always work in a dust-free, well-ventilated area.
Step 2: Pour and Level the Resin
Carefully pour your mixed resin onto your workpiece or into your mould in a thin, even layer. Pouring too thickly can extend drying times and increase the risk of trapped bubbles. Use a spatula or stick to spread the resin if needed, aiming for a level surface to assist even curing and gloss.
If you’ve chosen a rapid-curing formula such as “ICreation” – Fast Epoxy Resin, 6h Demoulding, Transparent Gloss Finish, pay close attention to the shorter working time. Rushing the process can lead to imperfections.
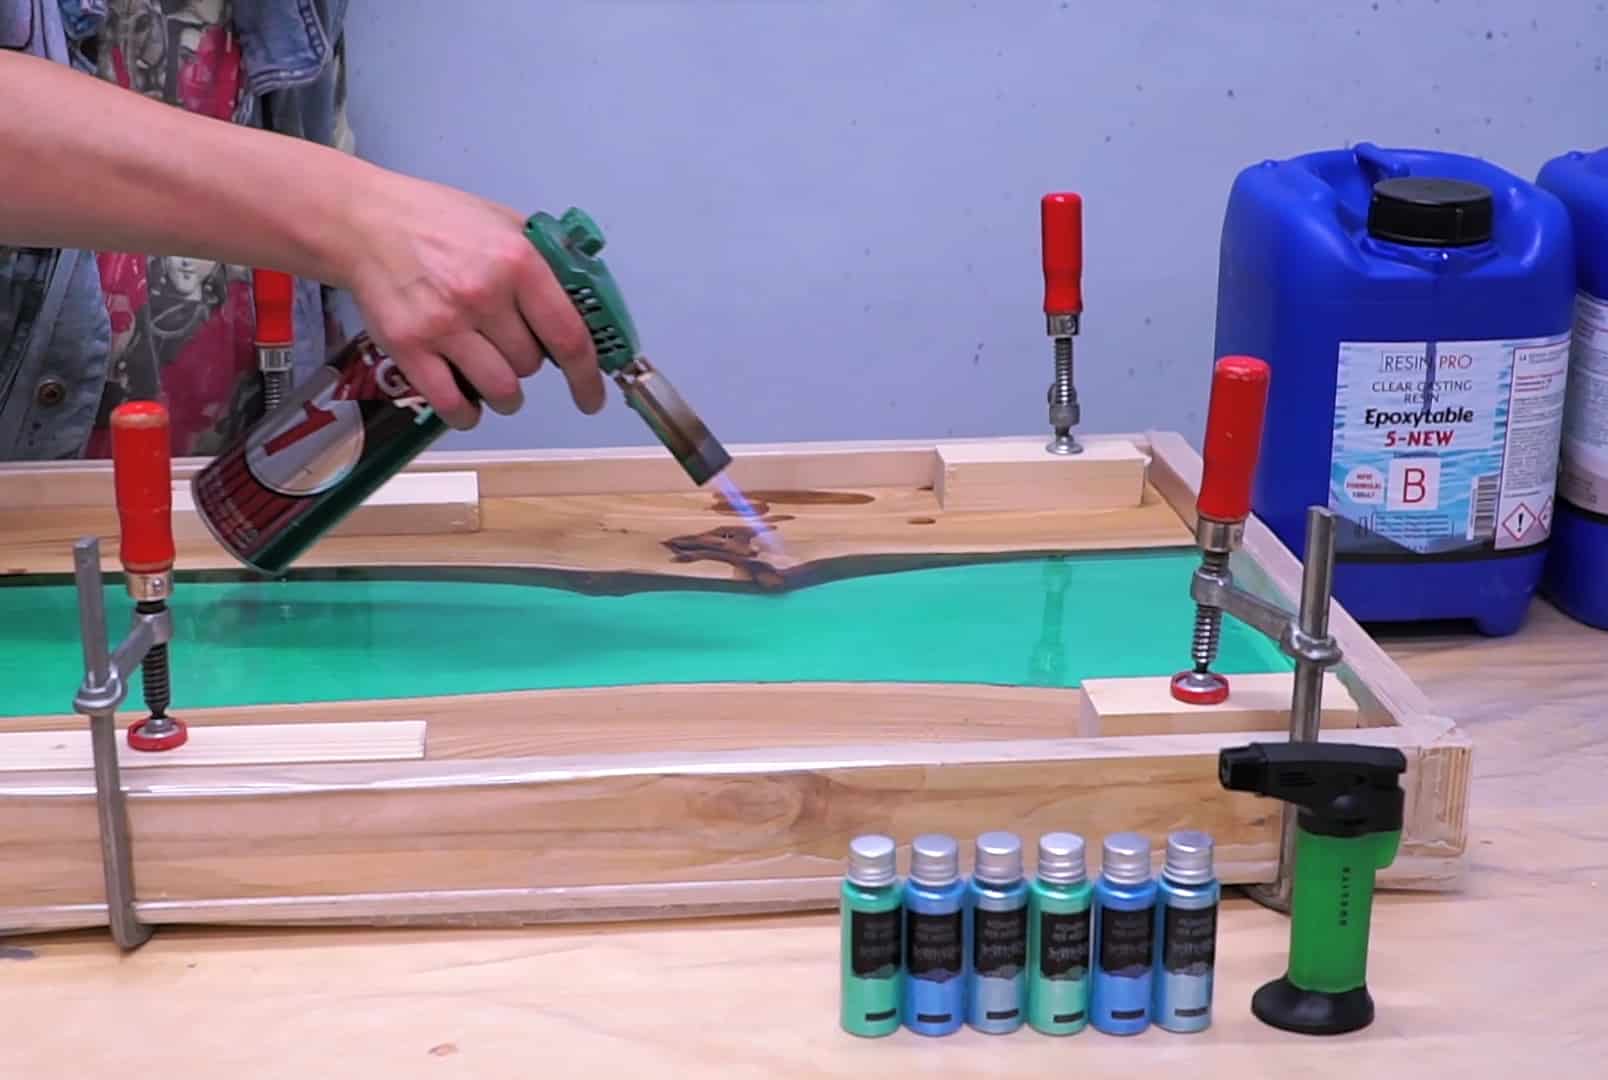
Step 3: Remove Bubbles Safely
Surface bubbles can mar the clarity of your resin and should be removed promptly after pouring. The most effective method is to gently pass a heat tool above the surface. Gas Heat Gun for Epoxy Resin – Precision Tool for Bubble Removal and Finishing is designed for this task, giving you control and precision without scorching or pushing dust onto the project.
You may also lightly mist the surface with Pure Isopropyl Alcohol 99.9% – 1000ml Bottle for Epoxy Resin Projects & DIY to pop remaining micro-bubbles, but be sparing to avoid dulling the finish. Safety first when applying heat or using chemicals.

Step 4: Allow for Proper Drying Time
Leave your resin undisturbed on a flat, level surface for the recommended drying period. This is typically anywhere from several hours to overnight, depending on the product and temperature. Use a heat gun only if necessary to remove bubbles. Avoid moving or touching until the initial cure is achieved, as premature handling will mark the surface.
Wait the recommended time for your specific resin formula. Consult your resin’s instructions: fast-curing resins may allow demoulding after 6 hours, but others need a full 24–48 hours for a complete cure and optimal hardness.

Tips, Common Mistakes and Troubleshooting
If you experience sticky surfaces, you may have under-mixed or added too much colourant. Ensure accurate measuring and thorough blending of components. Avoid overworking the resin with the heat gun or isopropyl alcohol, as excess handling can create marks or cloudiness.
Bubbles are most easily popped right after pouring before the resin thickens. Always err on the side of patience: resist touching, moving, or stacking pieces until you’re confident they are fully dry.
Common drying results in epoxy resin pieces
Results depend on the resin type, temperature stability, and care during the early cure phase. Dust covers, minimal handling, and the right bubble-removal tools contribute to a flawless, glossy finish.
- Gas Heat Gun for Epoxy Resin – Precision Tool for Bubble Removal and FinishingPrice range: £4.15 through £13.85Gas Heat Gun offers precision heating to reduce bubbles and improve epoxy resin finishing suitable for various crafting levels.
- "UV–Creation" – Fast Acrylic Resin, 3 Minute UV CurePrice range: £7.85 through £59.85"UV–Creation" is a fast-curing acrylic resin designed for jewellery makers, offering a clear, glossy finish suitable for quick UV curing projects.
 "ICreation" – Fast Epoxy Resin, 6h Demoulding, Transparent Gloss FinishPrice range: £19.40 through £52.85"ICreation" fast epoxy resin is suitable for artists and crafters seeking a quick 6-hour demould with a transparent, glossy finish.
 Pure Isopropyl Alcohol 99.9% – 1000ml Bottle for Epoxy Resin Projects & DIYPrice range: £9.85 through £19.85Pure Isopropyl Alcohol 99.9% is suitable for epoxy resin projects where bubble removal and creative effects are needed.
Frequently Asked Questions
How do I dry epoxy resin faster or safely?
Use a fast-curing resin or increase air circulation, but always follow the manufacturer’s instructions for safety and strength.
Can a heat gun help epoxy resin dry?
A heat gun will not accelerate actual curing, but it can efficiently remove bubbles for a smoother end result.
Should I use isopropyl alcohol for resin bubbles?
Isopropyl alcohol is effective at popping surface bubbles but should be used sparingly to avoid damaging the finish.
What causes sticky or soft epoxy resin?
Under-mixing or incorrect proportions are typical culprits. Always follow mixing guidelines carefully for a solid cure.
What temperature is best for drying epoxy resin?
Room temperature, ideally 21–24°C, is best for consistent curing. Avoid cool or humid climates.
Do I need special resin for fast drying?
Fast-curing resins are available and work well for quick projects but may have shorter working times.