 Free shipping on orders over £29,85


How to dry epoxy resin?
Drying epoxy resin properly is crucial to achieve a crystal-clear, bubble-free, and professional finish. Whether you’re working on deep pours for tables or small decorative pieces, following the right technique ensures your work hardens as intended, without sticky spots or imperfections.
Master correct curing times and finish for flawless resin results


What You’ll Need
- “ICreation” – Fast Epoxy Resin, 6h Demoulding, Transparent Gloss Finish – ideal for small and quick projects needing rapid drying.
- “EpoxyTable 5-Five” – Deep Pour Epoxy Resin for Tables and Large Projects – Up to 5cm – best for medium-depth pours.
- “Epoxytable 10-Ten” – Deep Pour Epoxy Resin for Tables, Up to 10cm Casting – designed for the thickest castings and large tables.
- Gas Heat Gun for Epoxy Resin – Precision Tool for Bubble Removal and Finishing – for post-pour bubble removal and finishing.
- Mixing cups, gloves, stirring sticks (not included)
See Correct Pouring and Curing Setups for Epoxy
Well-lit, clean workspaces and protective covers are essential for dust-free curing. Safety gloves and precision heating tools help ensure a smooth finish and reduce curing issues.
Step 1: Prepare a Dust-Free, Stable Environment
Plan for the correct drying time and environment from the start. Epoxy resin should be poured in a controlled environment with minimal dust and stable temperature (ideally 20–25°C). This prevents surface imperfections and ensures the resin self-levels evenly. Covering your project during curing helps prevent debris or dust from settling on the resin. Keep the workspace free from drafts and sudden temperature changes, which can affect both drying and curing.
Step 2: Pour and Level the Resin
Once your environment is ready, follow the manufacturer’s instructions for mixing ratios and pouring thickness. For deep or layered pours, use suitable resins such as “EpoxyTable 5-Five” or “Epoxytable 10-Ten”. Always pour slowly to avoid introducing bubbles. Allow the resin to naturally level itself—disturbing it during the initial setting phase can trap more bubbles or create streaks.
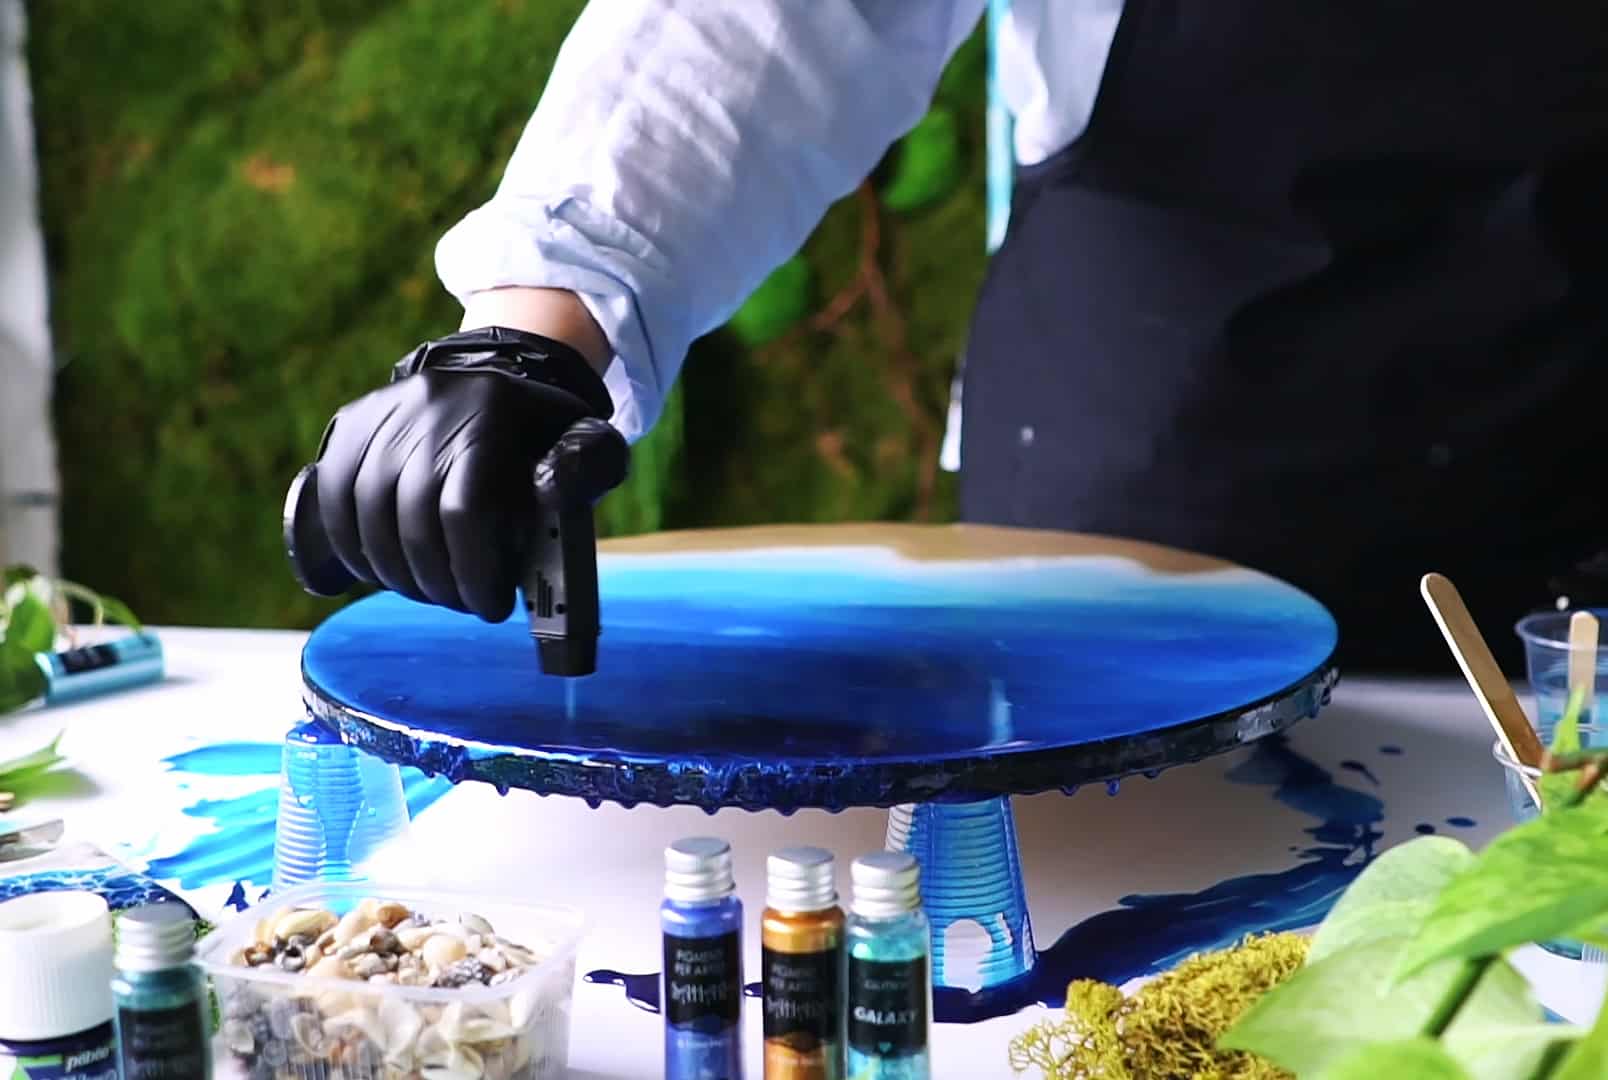
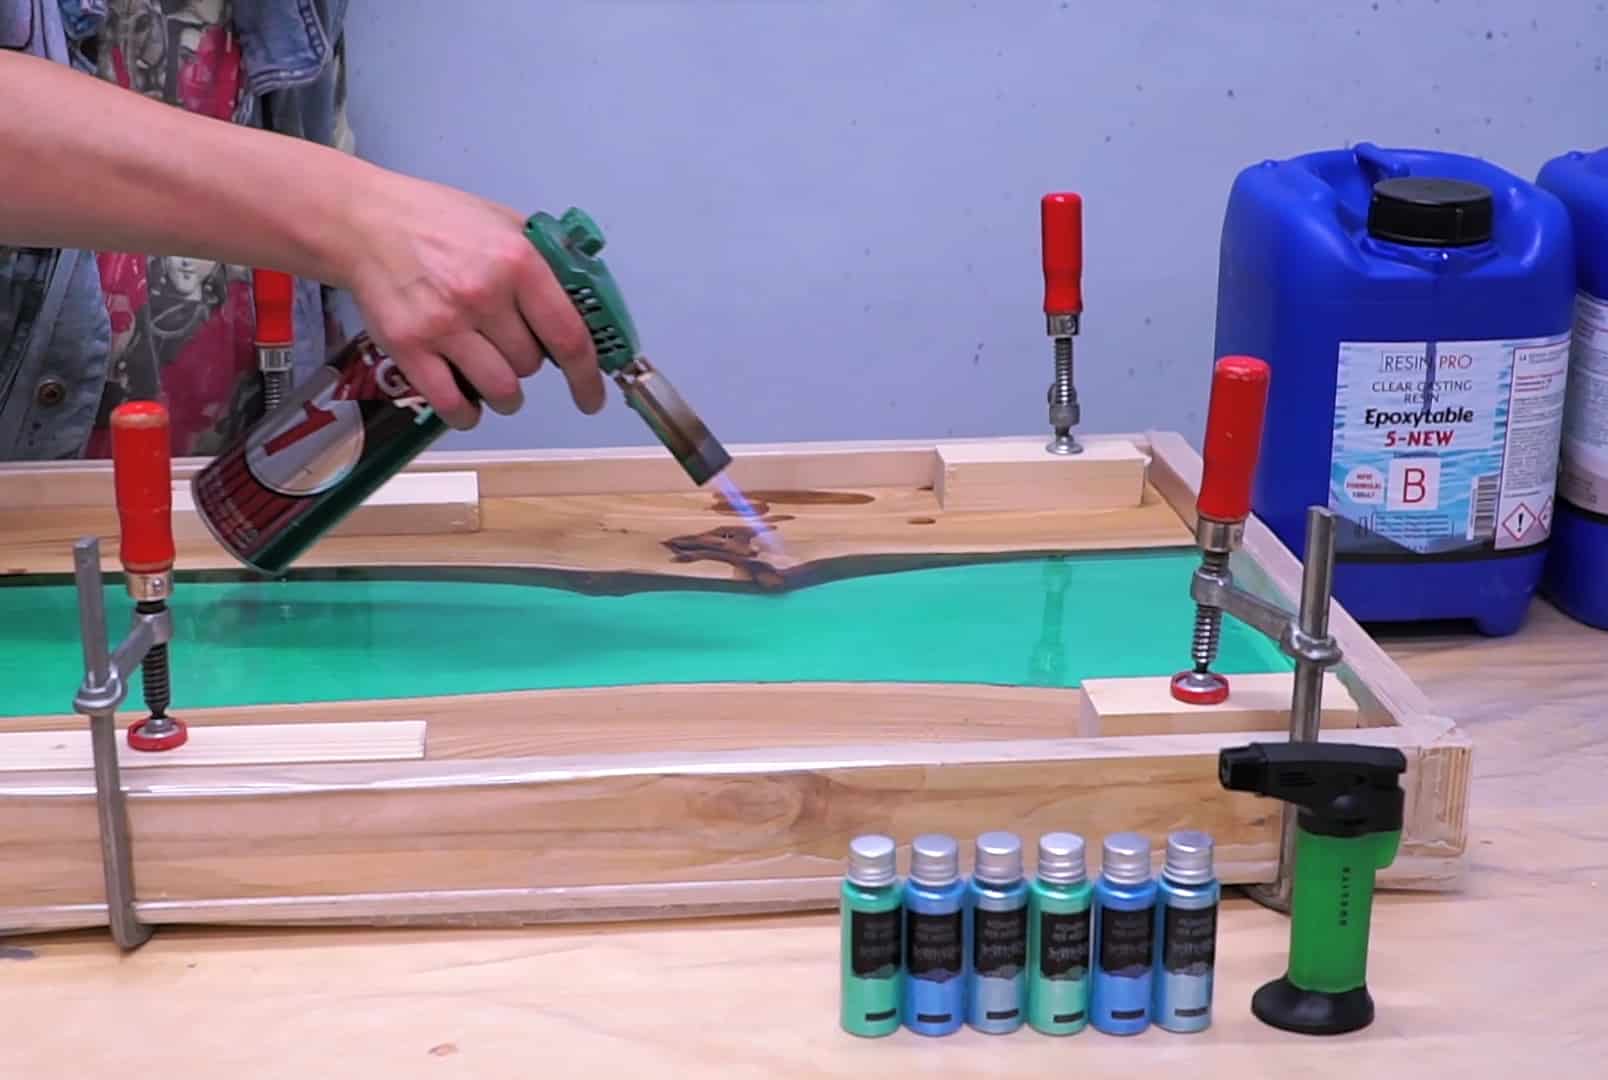
Step 3: Remove Bubbles While the Resin is Still Workable
Bubbles are a common challenge. When the resin is freshly poured and before it sets, carefully use a Gas Heat Gun for Epoxy Resin – Precision Tool for Bubble Removal and Finishing. Sweep the heat gun across the surface 10–15cm above the resin, using brief, controlled passes. Do not keep the heat concentrated in one area, as overheating can cause ripples or premature curing on the surface.

Step 4: Allow Full Curing Without Disturbance
Avoid touching or disturbing the resin during the drying period for best results. Even when the resin appears firm, deeper layers may still be setting. Products like “ICreation” Fast Epoxy Resin may become demouldable in 6 hours but usually need another 6–12 hours to achieve full cure. For thick casts, resins such as “Epoxytable 10-Ten” require longer (often several days). Support partial cured projects from underneath to avoid marks or deformation, and keep humidity low to avoid cloudiness.

Step 5: Build Up in Layers for Thick Castings
For projects thicker than the recommended single-pour limit, work in layers. Allow each resin layer to fully cure before adding another to prevent overheating and distortion. Apply the next layer only after the previous layer has reached its recommended dry state—often 6–8 hours for fast-cure resins, up to 24 hours for deep-pour formulas. Gently sand the surface between layers if required for optimal adhesion.
Tips and Troubleshooting for Perfect Drying
Ensure the resin surface is clean and free from dust both before and during curing. Use gloves to prevent fingerprints. If sticky areas remain after curing, they often result from incorrect mixing or environmental issues—scrape off the tacky resin and reapply a thin, properly mixed coating. Always check your workspace temperature, as high humidity or cold slows curing and can cause imperfections.
Close-Up: Smooth Finishes from Proper Drying
Projects that cure undisturbed in an ideal environment are free of marks and surface blemishes. Bubbles are minimal, and high-gloss clarity is achieved when heating and pouring are done with care.
- Gas Heat Gun for Epoxy Resin – Precision Tool for Bubble Removal and FinishingPrice range: £4.15 through £13.85The Gas Heat Gun assists in the precise heating of epoxy resin to reduce bubbles and improve finish on projects related to drying epoxy resin.
- "ICreation" – Fast Epoxy Resin, 6h Demoulding, Transparent Gloss FinishPrice range: £19.40 through £52.85ICREATION Fast Epoxy Resin offers a clear, glossy finish with a 6-hour demoulding time suitable for timely craft projects.
 “Epoxytable 10-Ten” – Deep Pour Epoxy Resin for Tables, Up to 10cm CastingPrice range: £33.85 through £334.85“Epoxytable 10-Ten” is designed for deep pour casts up to 10cm, suitable for tables and large artistic projects.
 "EpoxyTable 5-Five" – Deep Pour Epoxy Resin for Tables and Large Projects – Up to 5cmPrice range: £16.85 through £1,099.85"EpoxyTable 5-Five" is a deep pour epoxy resin suited for tables and large projects, designed to support castings up to 5cm thickness.
Frequently Asked Questions
Is heat required for epoxy resin drying?
Moderate heat can speed up curing, but excessive heat may cause surface ripples or yellowing. Always follow resin-specific guidelines for best results.
Why is my epoxy resin sticky after drying?
Sticky resin is typically due to incorrect mixing ratios, low temperatures, or high humidity. Scrape off sticky areas and recoat with a properly mixed batch.
How long should I wait before touching epoxy resin?
It is best to wait until the resin has fully cured, which can range from 6 hours for fast-cure resins up to several days for deep pours.
Can I speed up epoxy drying with a heat gun?
A heat gun is used to remove bubbles, but should not be relied on to significantly speed up curing. Overuse can lead to surface imperfections.
Do I need to sand between epoxy layers?
For thick multi-layer projects, gentle sanding helps new resin adhere. Clean the surface after sanding before pouring the next layer.
Does environment affect epoxy resin drying?
Yes, ambient temperature and humidity have a major impact on curing speed and final finish. Aim for a stable, dust-free environment.