 Free shipping on orders over £29,85


How do you sand resin floors?
Sanding resin floors is crucial to achieve a smooth, visually stunning finish—whether you’re renovating, correcting imperfections, or preparing for final polishing. This guide provides clear, step-by-step instructions to help DIY enthusiasts, professionals, and anyone new to resin flooring achieve optimal, professional-grade results.
Achieve flawless results when sanding your resin flooring


What You’ll Need
- “Ebonite Abralon” – Sanding Pads 360-4000 Grit for Resin and Wood: Sanding pads designed for detailed finishing of resin and wood surfaces, suitable for wet or dry use.
- 150mm Sanding Paper Discs – Assorted Grits for Resin & Wood Finishing, 10pcs: Sanding discs designed for dry sanding of resin and wood surfaces, suited to a range of finishing stages.
- “Epoxy Polish” – Epoxy Resin Polishing System: A polishing system for epoxy resin surfaces designed to remove scratches and restore gloss with minimal effort.
- Rotary sander or hand pad holder
- Personal protective equipment (mask, goggles, gloves)
- Vacuum or dust extractor (for dry sanding)
- Clean water and cloths (for wet sanding and wipe-downs)
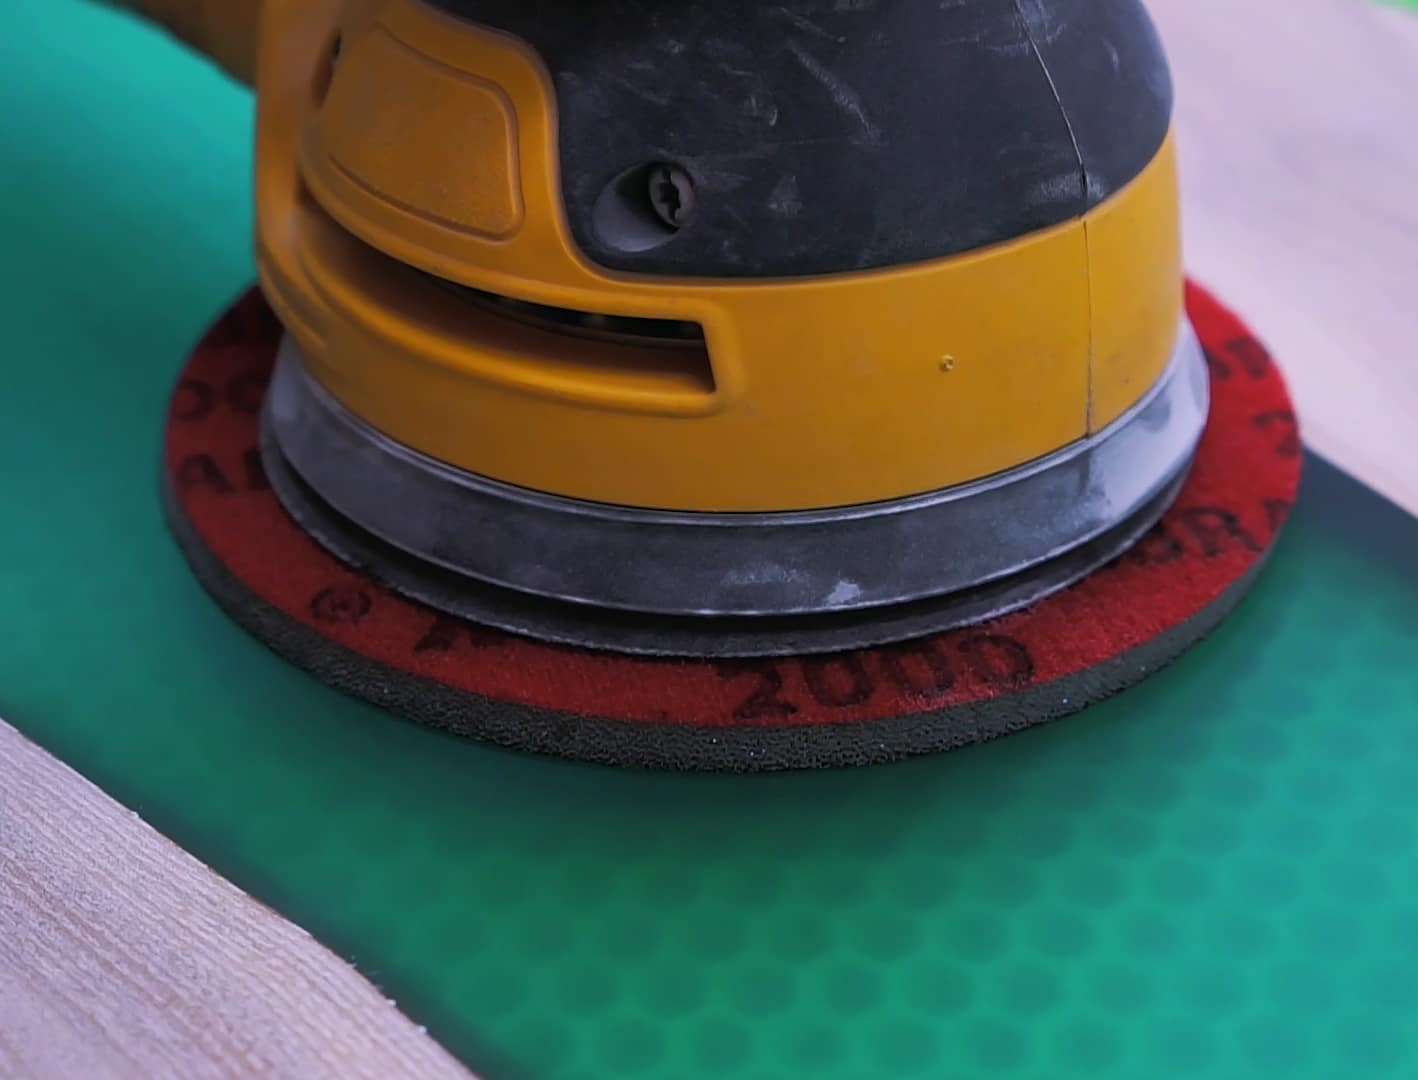
See Sanded Resin Floors in Progress
Explore detailed images of resin floor sanding at different grit stages, demonstrating the transformation from rough to polished finish. Notice how controlled, staged sanding techniques bring out surface clarity and gloss.
Step 1: Prepare the Resin Floor
Before beginning any sanding, clear the space of debris, furniture, and loose objects. Assess the resin floor for protrusions, chips, or uneven patches, and address these with spot-filling if required. Clean the surface thoroughly with a vacuum or mild detergent and ensure the floor is fully dry—sanding damp resin can lead to clogged abrasives or an uneven surface.
Always use appropriate personal protective equipment to protect against dust and debris. Proper room ventilation will help reduce dust accumulation and exposure during the sanding process.
Step 2: Choose the Right Grit and Tooling
Use a progressive grit strategy for best results. Start with a coarser grit (such as 360 or 400) to even out surface irregularities, then gradually move to finer grits (up to 4000) for a polished finish. For large or open floor areas, consider using 150mm Sanding Paper Discs – Assorted Grits for Resin & Wood Finishing, 10pcs with a suitable mechanical sander. For detailed edges or corners, “Ebonite Abralon” – Sanding Pads 360-4000 Grit for Resin and Wood allow precise control and can be used by hand.
Check the manufacturer’s guidance for your chosen sanding abrasive to confirm compatibility with your tool. An evenly loaded, unwarped disc or pad is vital for consistent sanding and to avoid unnecessary floor scratching.
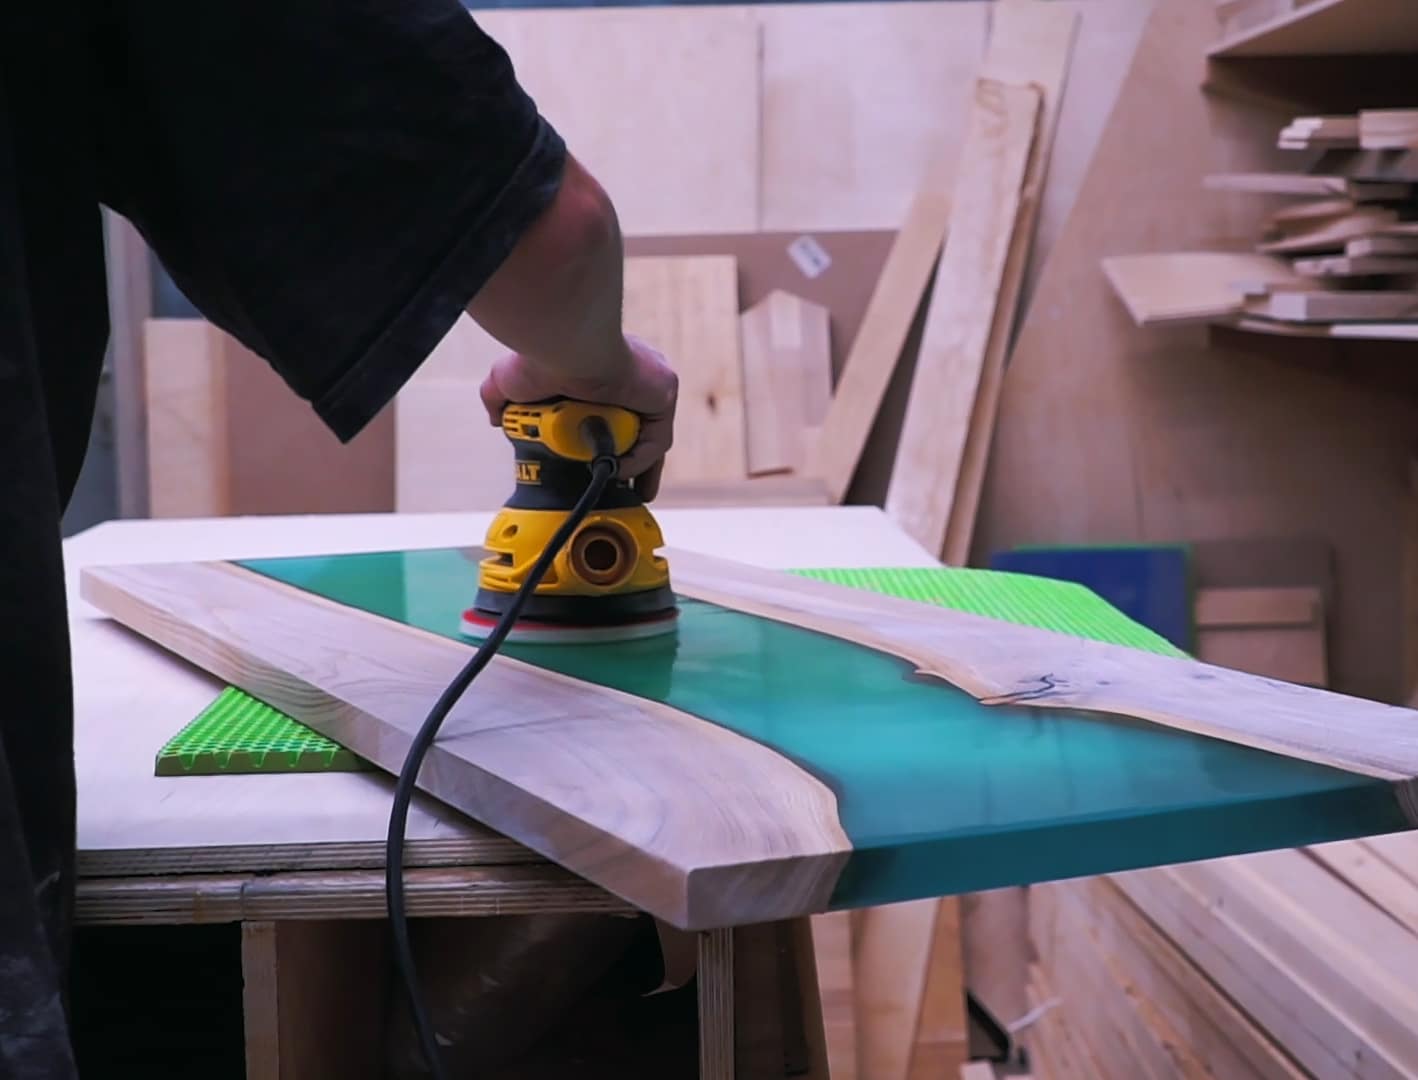
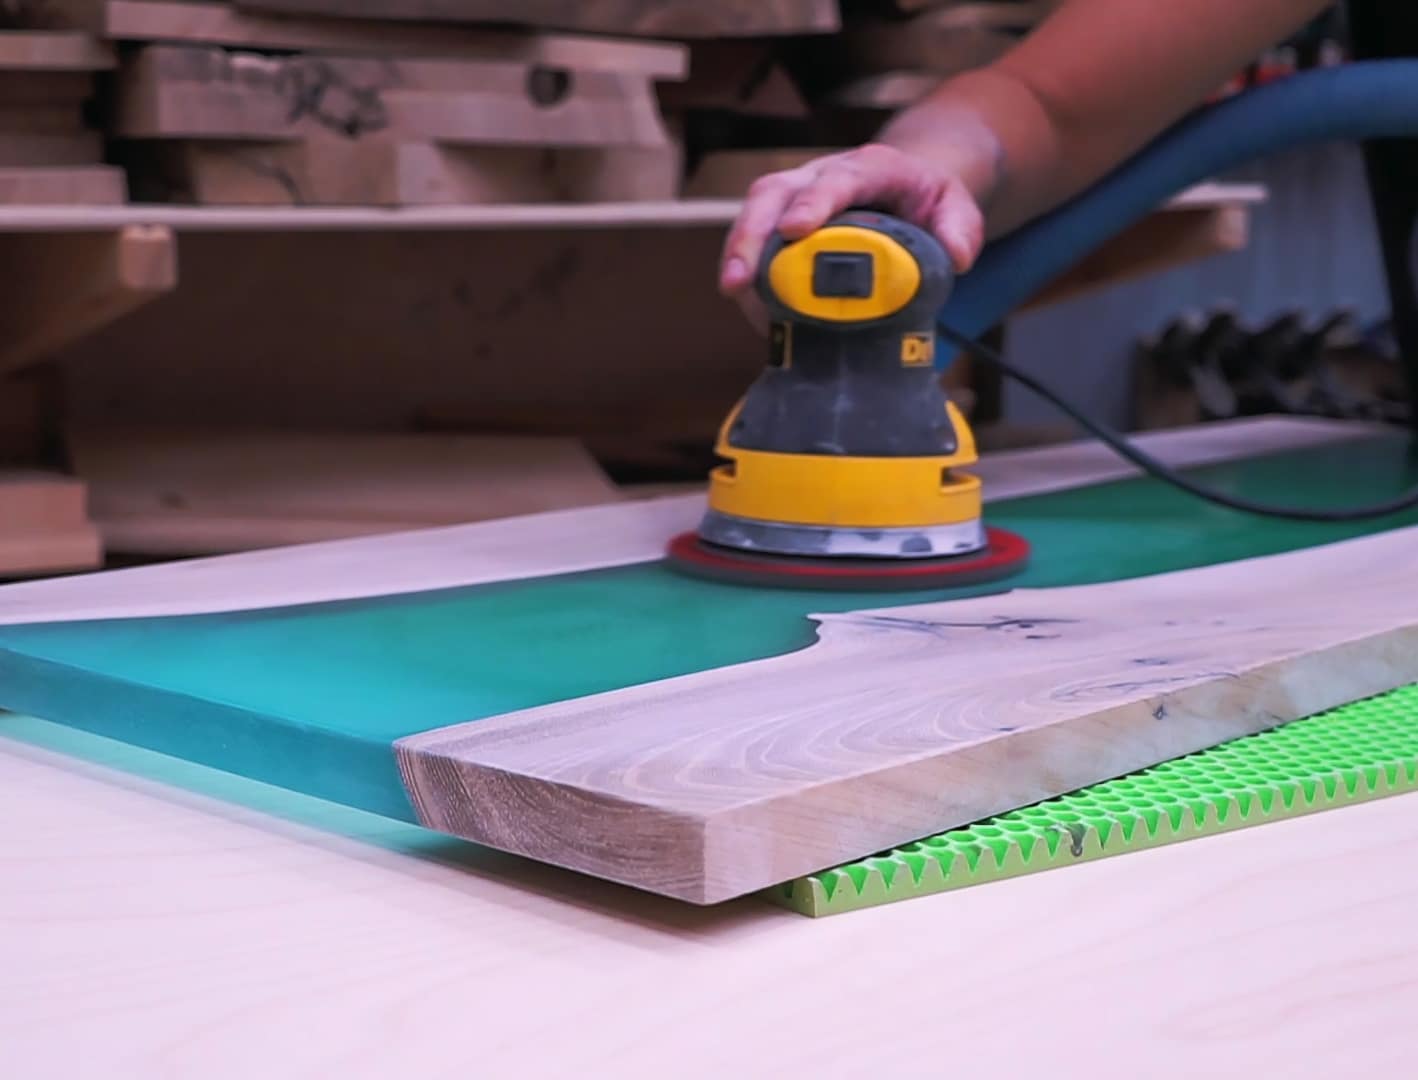
Step 3: Sand the Floor Evenly
Attach the starting grit to your sander or pad holder. Begin sanding at one end of the floor and work methodically in straight, overlapping passes. Wet sanding is often recommended for resin, as it helps prevent resin dust, minimises clogging, and achieves a smoother result. If wet sanding, dampen the surface lightly and periodically rinse your pad to maintain effectiveness.
For dry sanding, ensure your workspace has adequate dust extraction and keep sanding movements steady. Apply minimal, even pressure and avoid keeping the tool too long in one area to prevent gouging. Repeat passes with progressively finer grits until the desired surface smoothness is achieved.
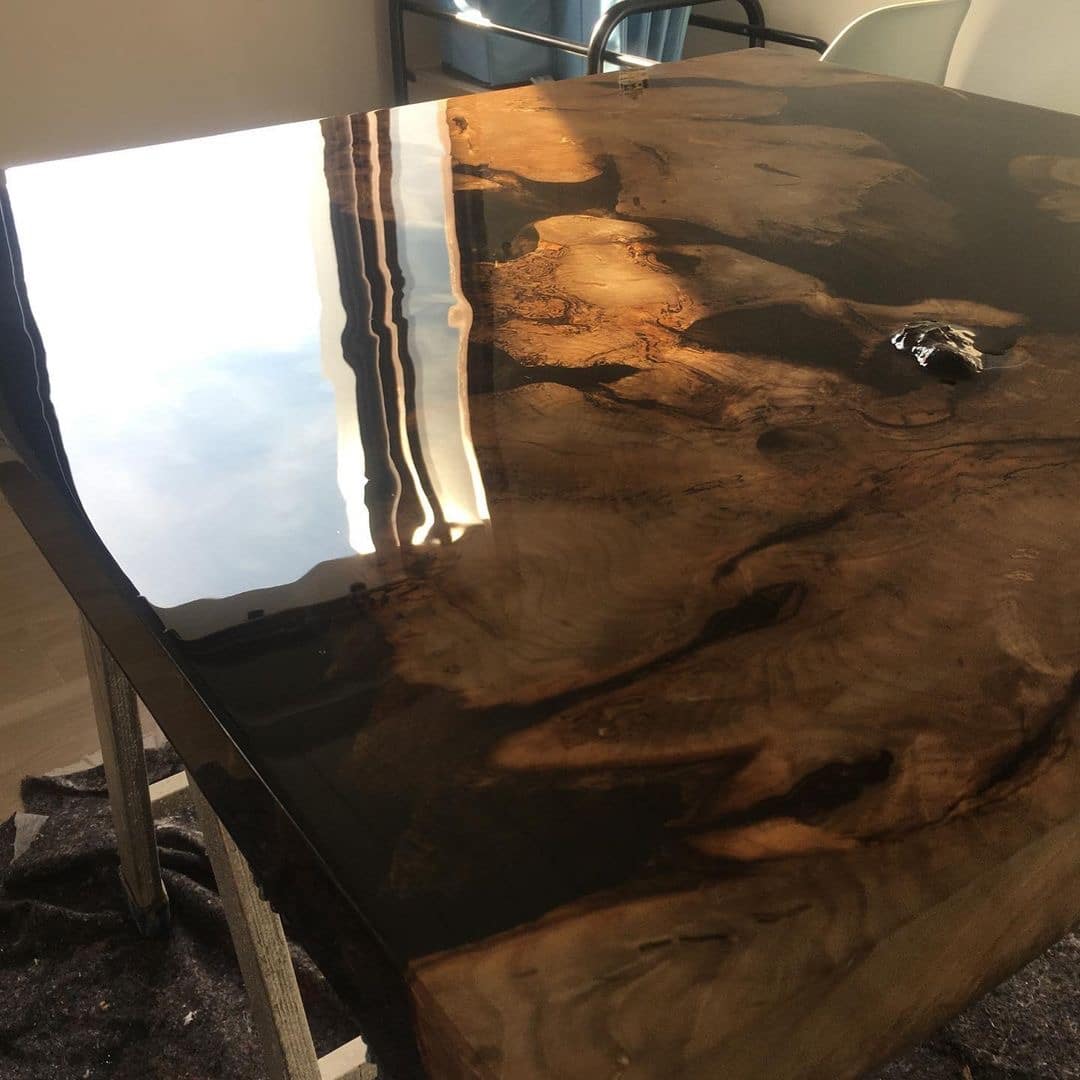
Step 4: Clean and Polish the Resin Surface
After sanding with your final grit, thoroughly remove dust or residue using a vacuum and a slightly damp cloth. Inspect the surface under good lighting to spot any uneven areas that may need additional attention. If you are aiming for a high-gloss, mirror-like finish, follow up with “Epoxy Polish” – Epoxy Resin Polishing System. Apply the polish with a pad holder or buffer in circular motions, working it into the resin until you achieve the desired level of shine.
Allow adequate drying time between any cleaning or polishing steps to avoid trap moisture beneath the finish. The result is a beautifully even, glossy resin floor ready for use or further treatment.

Tips and Common Mistakes to Avoid
- Avoid skipping grits to prevent scratches—progress through every stage to eliminate coarser marks.
- Change abrasive pads or discs regularly to maintain consistent sanding action.
- Always sand in controlled movements to reduce visible marks and uneven patches.
- If working on a large area, work in sections to manage progress and visual consistency.
- Do not rush drying between stages; moisture can undermine the resin’s clarity and adhesion.
Before-and-After: Resin Floor Shine Restored
Observe side-by-side comparisons of resin floors before, during, and after sanding and polishing. These visuals highlight how the proper grit sequence and polishing bring a professional sheen back to any resin floor.
- "Ebonite Abralon" – Sanding Pads 360-4000 Grit for Resin and Wood£3.95"Ebonite Abralon" sanding pads offer precise grit options for polishing resin and wood surfaces, suited to how you sand resin floors.
- "Epoxy Polish" – Epoxy Resin Polishing SystemPrice range: £17.85 through £44.85"Epoxy Polish" is a resin polishing system designed to restore a mirror-like shine with ease, suitable for professionals and DIY enthusiasts.
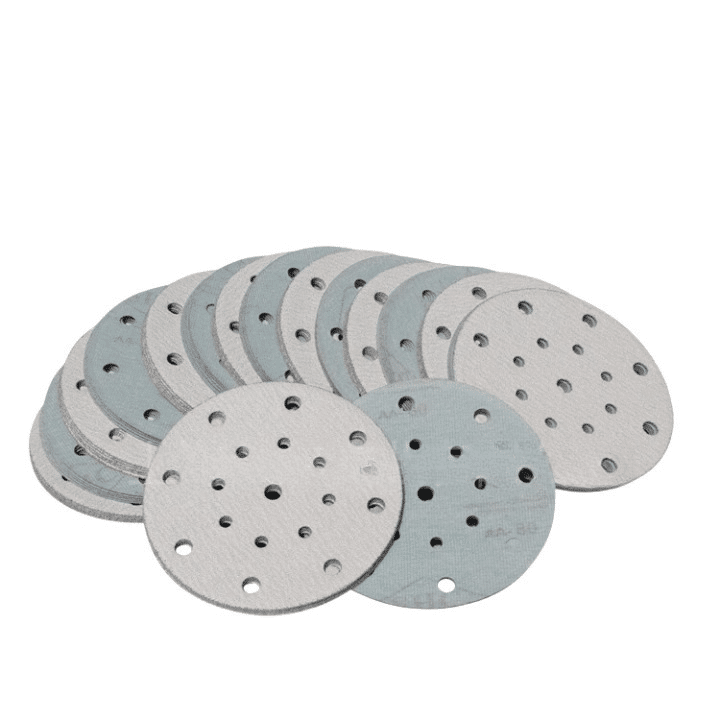 150mm Sanding Paper Discs – Assorted Grits for Resin & Wood Finishing, 10pcs£8.85150mm sanding discs suitable for resin and wood finishing, available in assorted grits for various crafting stages.
Frequently Asked Questions
Can I wet sand resin floors?
Yes, wet sanding is effective for resin floors as it reduces dust and achieves a smoother finish compared to dry sanding.
What grit should I start sanding resin floors with?
Start with a medium grit like 360 or 400, then work up to finer grits such as 4000 for a smooth, polished finish.
Do I need special tools for sanding resin floors?
A rotary sander or hand pad holder is recommended for even results, and abrasive pads suitable for resin increase efficiency.
How do I prevent scratches when sanding resin?
Progress through every grit, avoid skipping steps, use gentle pressure, and keep abrasives clean to minimise surface scratches.
What should I do if the resin finish is cloudy after polishing?
Re-polish with a fine pad and ensure all residue is removed. Cloudiness often comes from incomplete buffing or leftover dust.
When can I walk on a resin floor after sanding?
Once all residues are cleaned and any applied polish is fully dry, the surface can usually be walked on immediately.