 Free shipping on orders over £29,85

How to colour resin with acrylics?
Discover how to achieve vivid, long-lasting colour effects in your resin projects using acrylic-based pigments. Whether you aim for stained-glass translucency or deep opaque finishes, mastering the art of colouring resin with acrylics opens new creative possibilities while ensuring clarity and vibrancy in your work.
Achieve vibrant custom hues in your resin creations with ease.


What You’ll Need
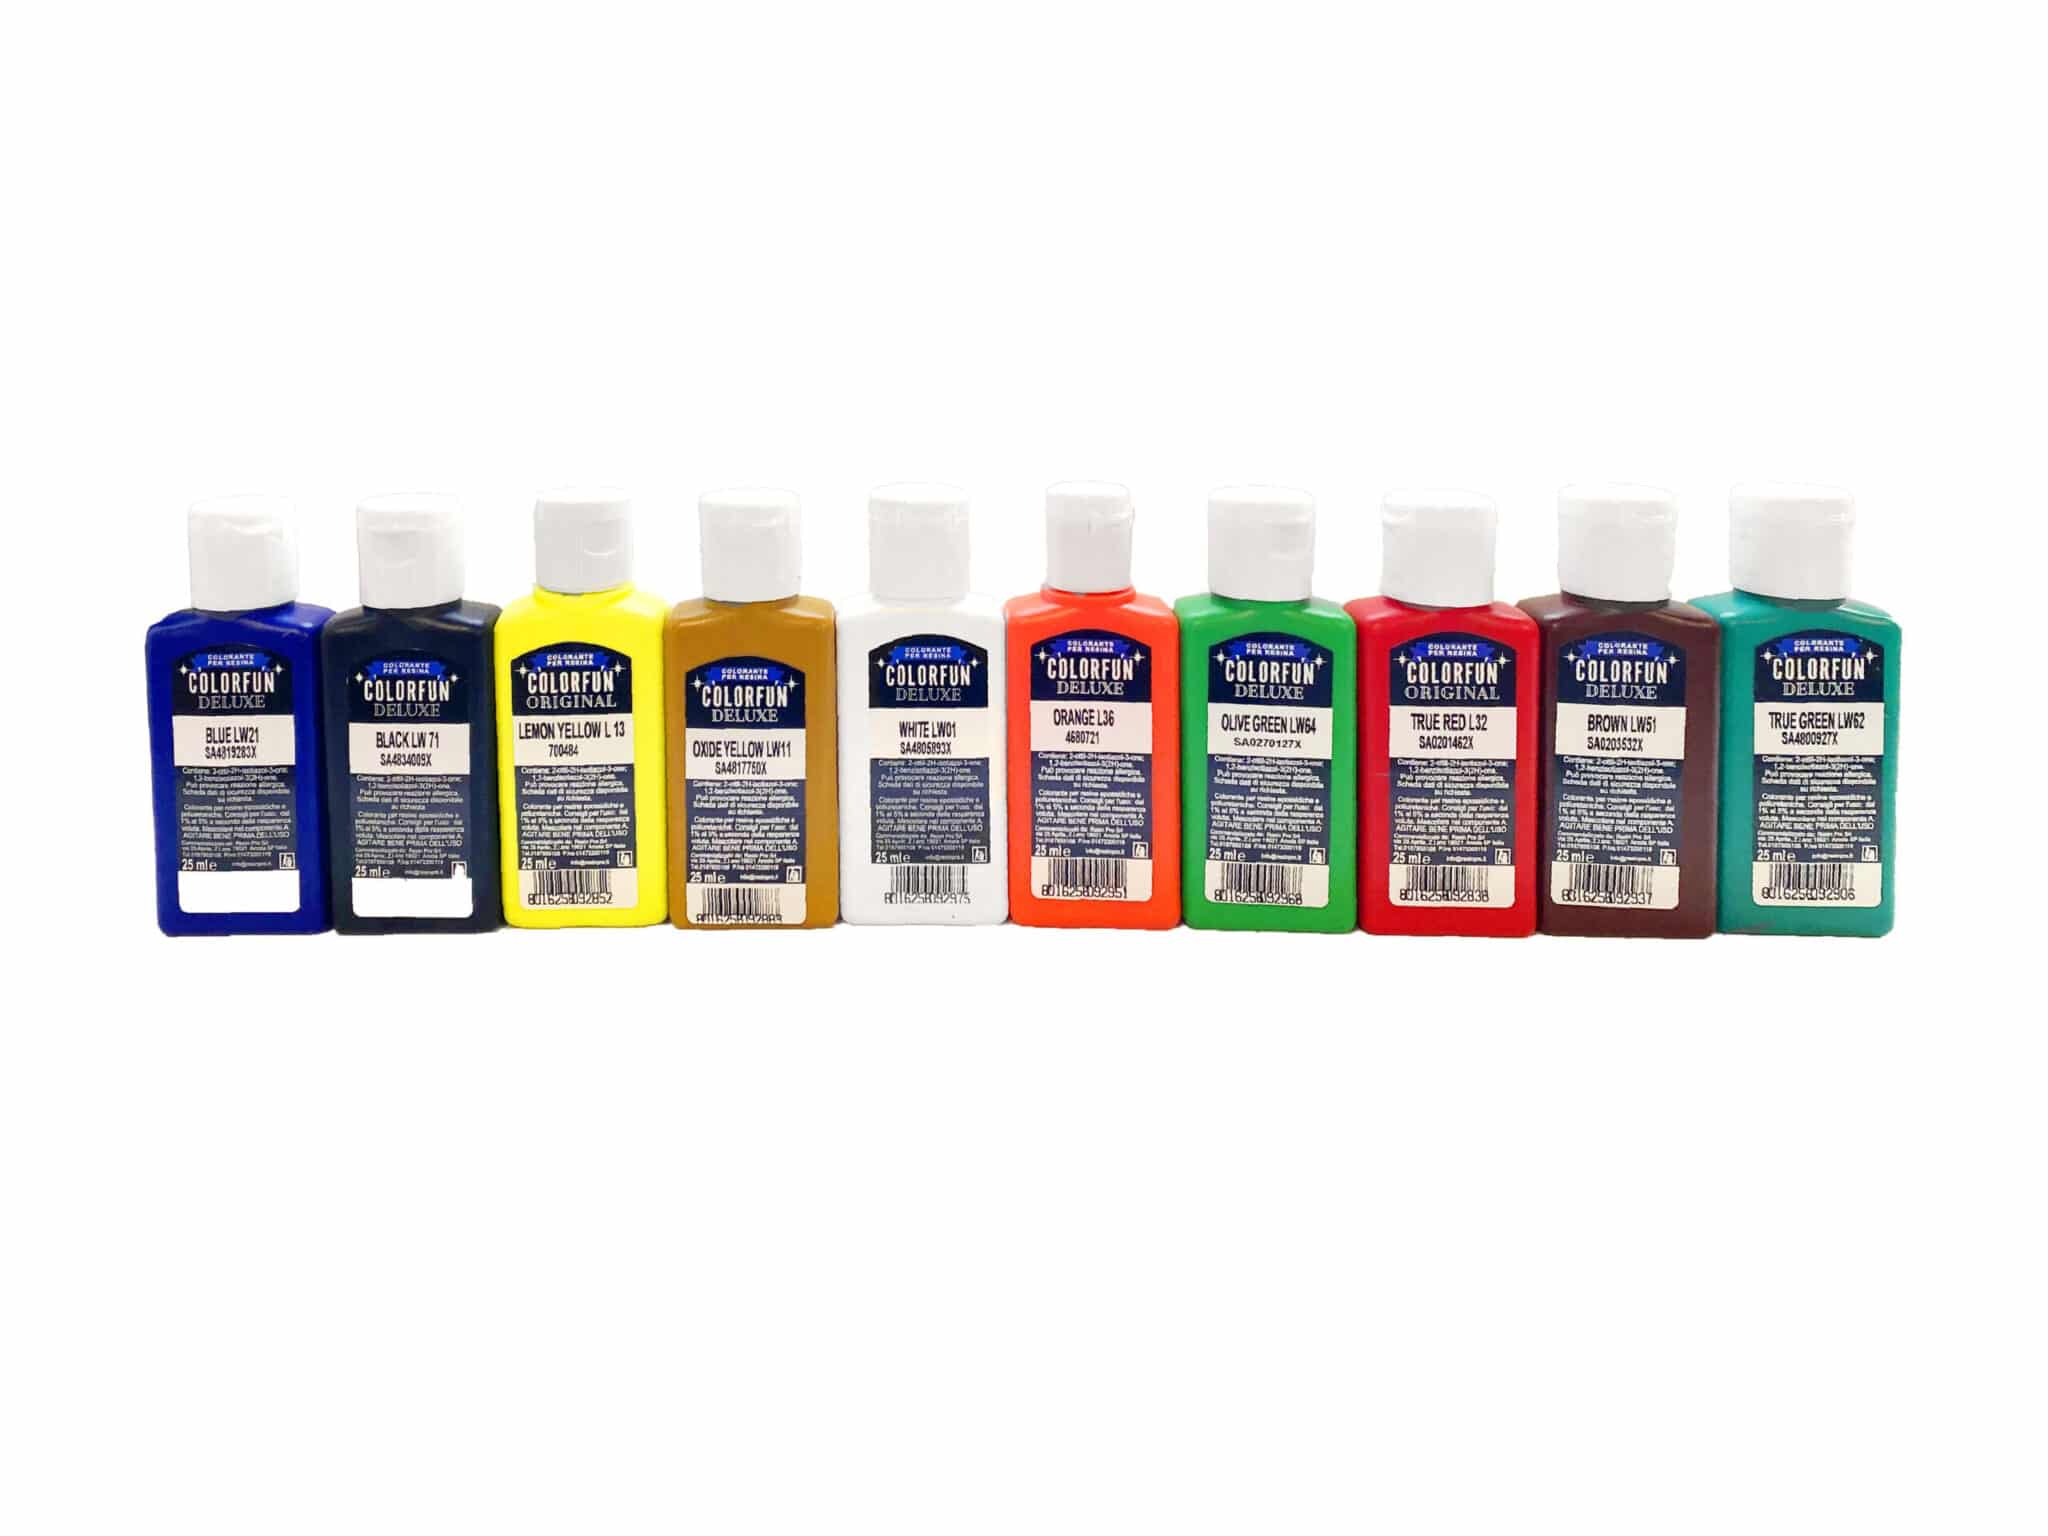
- “Colourfun Set” – Liquid Epoxy Resin Colourant Set for Solid Colour Effects: A set designed for translucent colour effects and easy mixing.
- “Colourfun” – Liquid Epoxy Resin Colourant 25-100ml – High coverage: Delivers vivid, customisable colours suitable for resin artists.
- “Magic Crystal” – Transparent Resin Colour 45ml: Enables stunning, glass-like transparent hues for crystal and jewellery effects.
- “Magic Crystal” – Set of 5 Transparent Colourants, 5 x 45ml: Provides a mix of transparent colourants ideal for custom resin crystals and geode-style projects.
- Mixing sticks and disposable containers
- Nitrile gloves and protective clothing
- Scale for accurate measuring
Essential Materials and Workspace Setup
Set up in a clean, flat workspace with ample lighting and wear protective gloves to handle resin and colourants safely. Arrange all required tools and colourants before mixing your resin to ensure a smooth workflow.
Step 1: Prepare Your Workspace and Resin
Begin by choosing a well-ventilated area, free from dust and direct sunlight. Gather your gloves, mixing tools, and protective surfaces to avoid any spills or stains. Carefully measure your resin and hardener, following the ratios recommended by the manufacturer to guarantee optimal curing and finish. Even a small error in measurement can compromise clarity or the resin’s ability to cure fully.
Step 2: Select and Add Your Colourant
Choose your preferred colourant according to the desired effect—translucent, transparent, or deeply saturated. For solid, even colour effects, consider the “Colourfun Set” – Liquid Epoxy Resin Colourant Set for Solid Colour Effects, which disperses effortlessly in resin and allows for custom shade mixing. Use only a few drops at a time, increasing gradually to avoid oversaturation that could affect curing. For transparent, gemstone-like finishes, try “Magic Crystal” – Transparent Resin Colour 45ml or the Magic Crystal set.
Avoid using too much acrylic paint, as excess pigment can destabilise the mixture and create an uneven finish.
Step 3: Mix Carefully for Perfect Colour
Stir the colourant gently into the mixed resin using a spatula or craft stick. Scrape the sides and bottom of your mixing container to ensure complete dispersion and prevent streaks. If aiming for a vivid, high-coverage effect with minimal product, the “Colourfun” – Liquid Epoxy Resin Colourant 25-100ml – High coverage excels at delivering strong colours with just a few drops. For crystal-clear, see-through results, blend the colourant even more thoroughly to maintain uniformity.
Mix thoroughly for an even finish and to avoid patchy or cloudy outcomes.
Step 4: Pour and Cure Your Resin
Cautiously pour the coloured resin into your mould or onto your surface, working slowly to minimise bubbles. Pay attention to the resin’s working time to prevent premature curing while adjusting your design. Allow the resin to cure undisturbed, following product-specific timeframes, in a dust-free space.
Test small batches before full pours to confirm colour results and resin behaviour, especially if blending or layering shades.

Tips, Troubleshooting and Common Mistakes
When working with resin and acrylic colourants, always add pigment gradually and monitor consistency. If the resin appears milky or slow to cure, you may have added too much colour—stick to product guidance on concentration. Choose colourants formulated for epoxy for the most reliable, vibrant outcomes, as standard acrylic paints can impact curing and finish quality. For specialised transparent or stained-glass effects, opt for purpose-made transparent dyes.
Add colourant gradually to control transparency and adjust intensity without compromising clarity or cure.
Creative Blending and Colour Testing
Experiment with different colourant ratios in test batches to explore the full spectrum of hues and transparency. Record your favourite mixtures for future reference to maintain consistency across resin projects.
- "Colourfun Set" – Liquid Epoxy Resin Colourant Set for Solid Colour EffectsPrice range: £13.45 through £48.15The "Colourfun Set" provides translucent epoxy resin colour pastes suitable for transparent resin projects, supporting versatile application.
- "Colourfun" – Liquid Epoxy Resin Colourant 25-100ml – High coveragePrice range: £3.65 through £9.85"Colourfun" colourant is a liquid pigment suitable for resin art, offering vivid or translucent colour effects with Resin Pro resins.
 "Magic Crystal" – Transparent Resin Colour 45ml£4.65"Magic Crystal" – Transparent Resin Colour 45ml offers vibrant transparent colouring suitable for creating glass-like effects with resin.
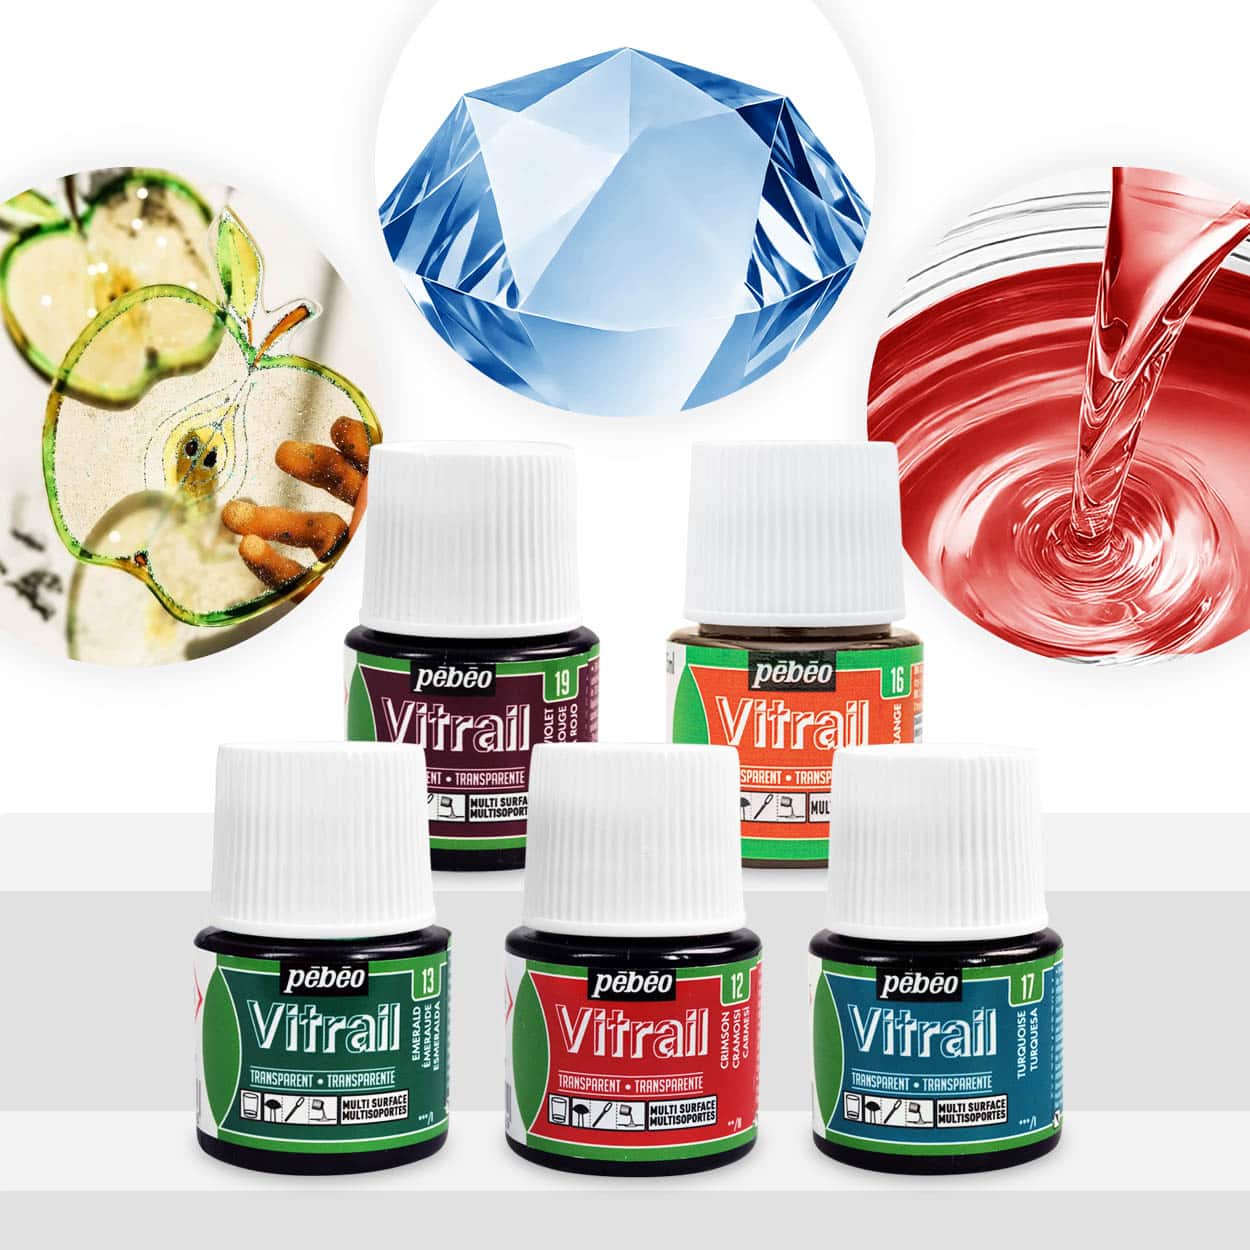 "Magic Crystal" – Set of 5 Transparent Colourants, 5 x 45ml£18.85"Magic Crystal" set includes 5 transparent colourants for creating custom coloured resin crystals.
Frequently Asked Questions
Can you use acrylic paint to colour resin?
Yes, but it's recommended to use specially formulated acrylic-based resin colourants to avoid curing issues and maintain finish quality.
How much colourant should I add to resin?
Always start with a few drops and add gradually. Overloading with pigment can lead to incomplete curing or cloudy resin.
What are tips for achieving even colour in resin?
Mix thoroughly, scrape container edges, and avoid oversaturating with colourant to achieve a perfectly even, streak-free result.
How can I get transparent vs opaque colour effects in resin?
Use transparent dyes for see-through results or concentrated pastes for opaque effects, adjusting colourant quantity for the desired level.
What should I do if my resin turns cloudy after colouring?
Reduce the amount of pigment used and check you are using compatible colourants to ensure clarity.
Can I mix different colourants in resin?
Yes, you can combine colourants to create custom shades, but test compatibility and mixture in small batches first.