 Free shipping on orders over £29,85


How to colour jewellery made with resin?
Techniques for achieving vibrant or transparent resin jewellery


Creating your own custom-coloured resin jewellery allows you to express your style and creativity through wearable art. This guide will walk you through the essential steps for achieving beautifully coloured resin pieces, whether you prefer subtle transparencies or bold, vibrant hues. By understanding the fundamentals of working with resin and pigments, you can avoid common mistakes and consistently achieve stunning results in your jewellery projects.
What You’ll Need
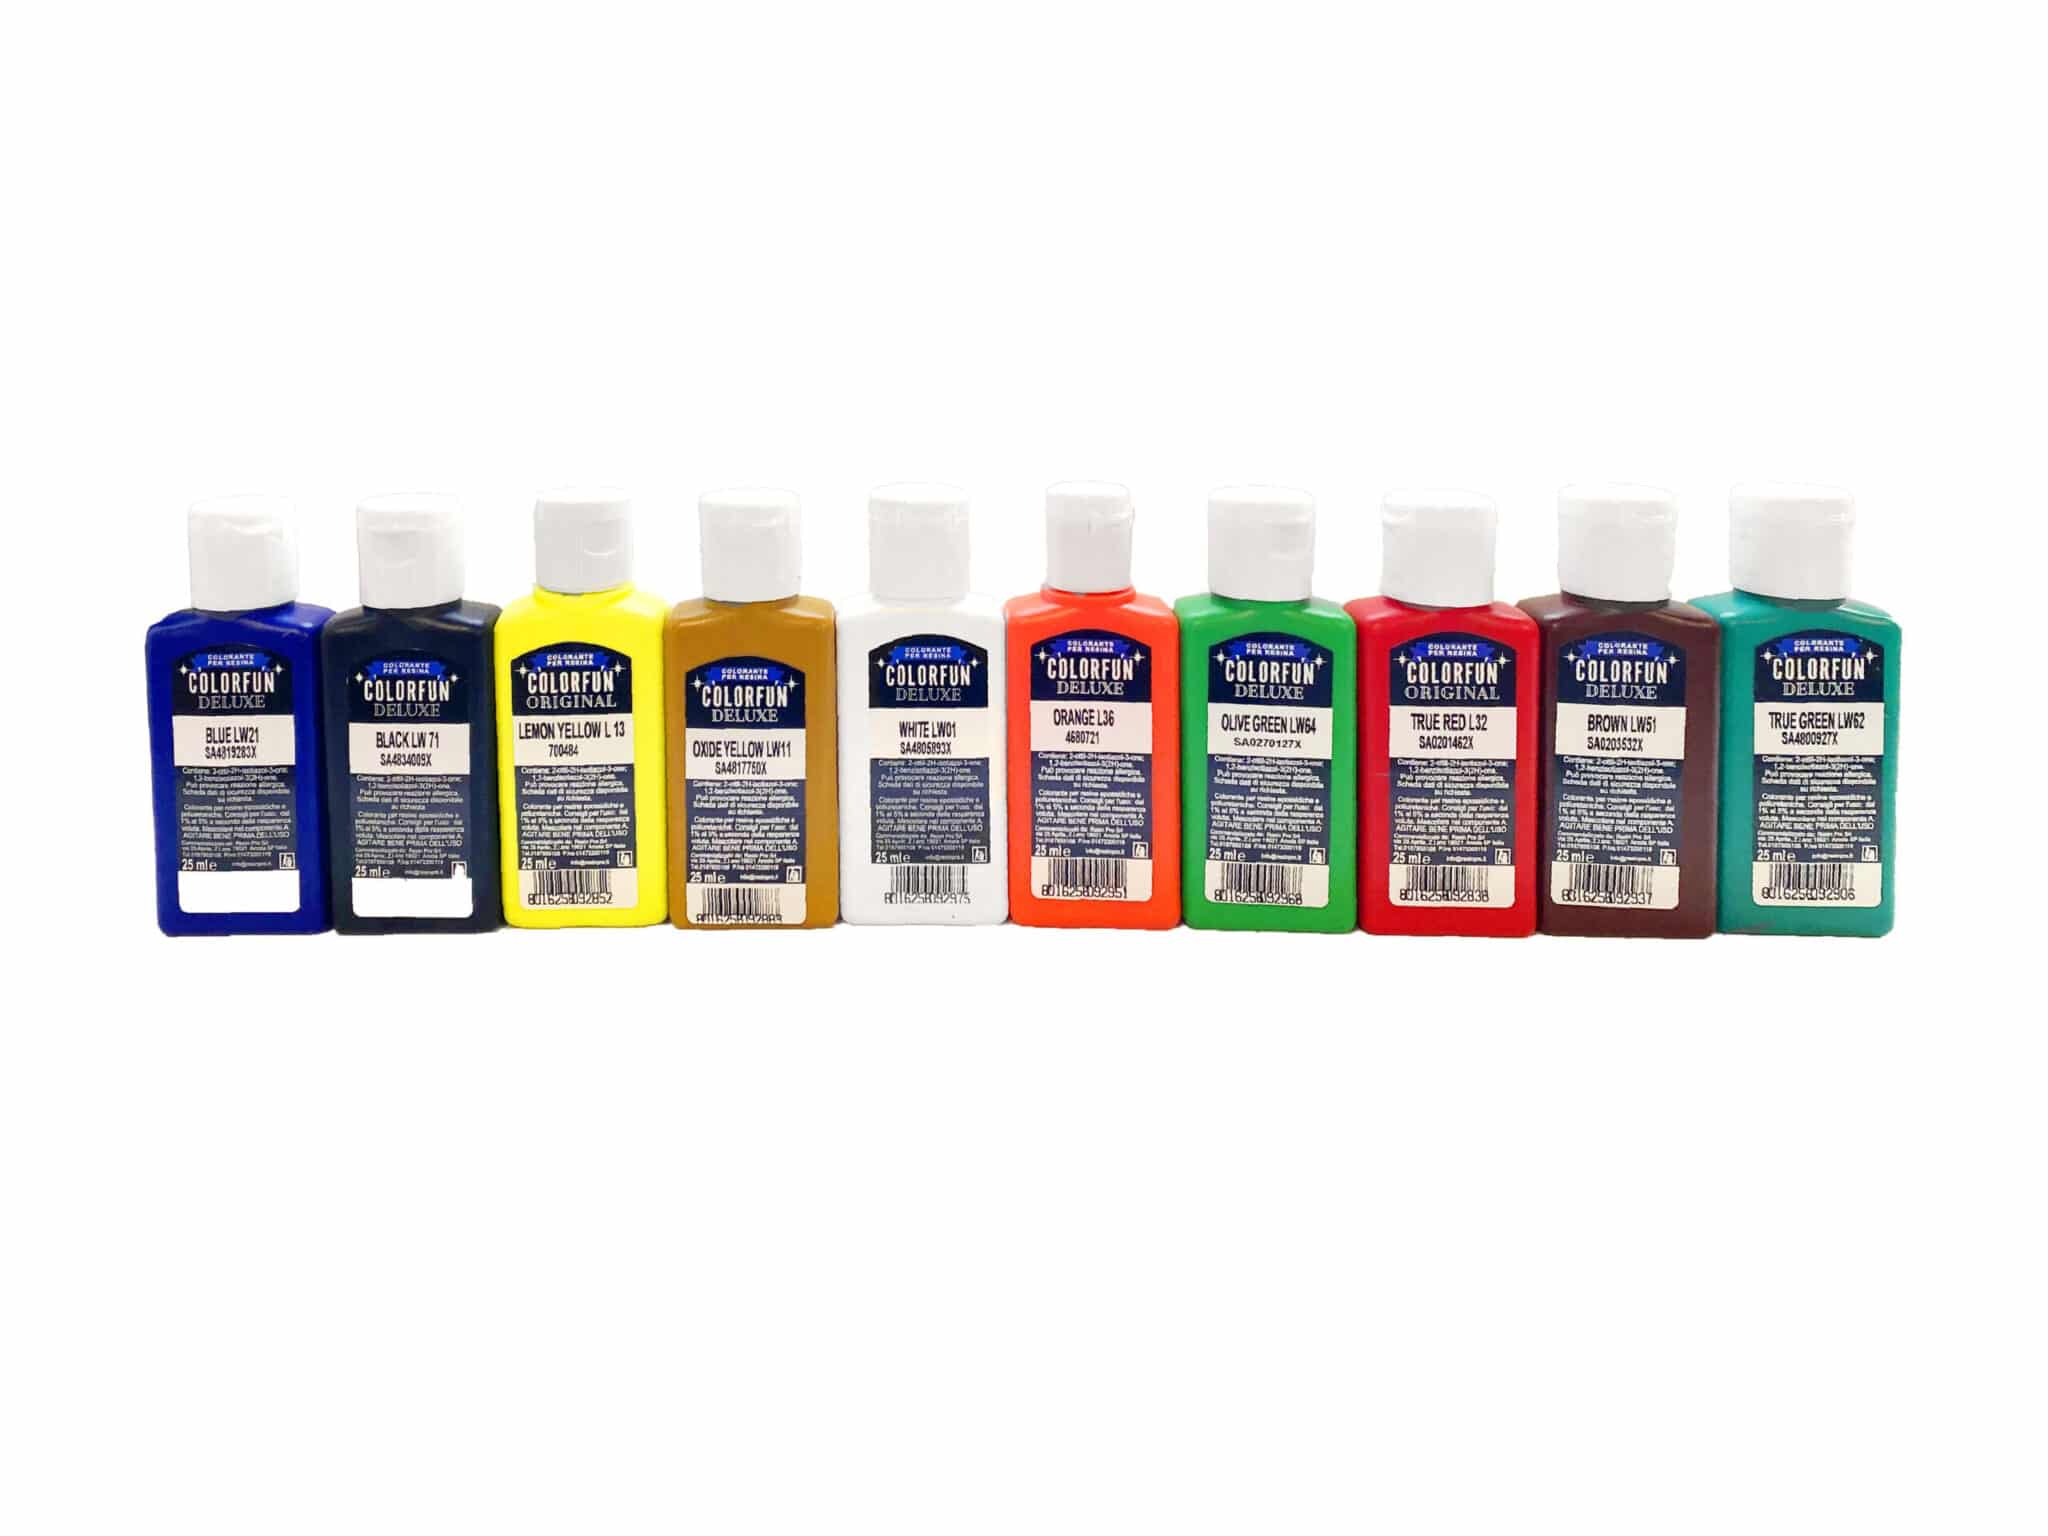
- “Colourfun Set” – Liquid Epoxy Resin Colourant Set for Solid Colour Effects: Highly concentrated pigment pastes for bold translucent and solid colour finishes
- “Colourfun” – Liquid Epoxy Resin Colourant 25-100ml – High coverage: For vivid and adjustable colour intensity
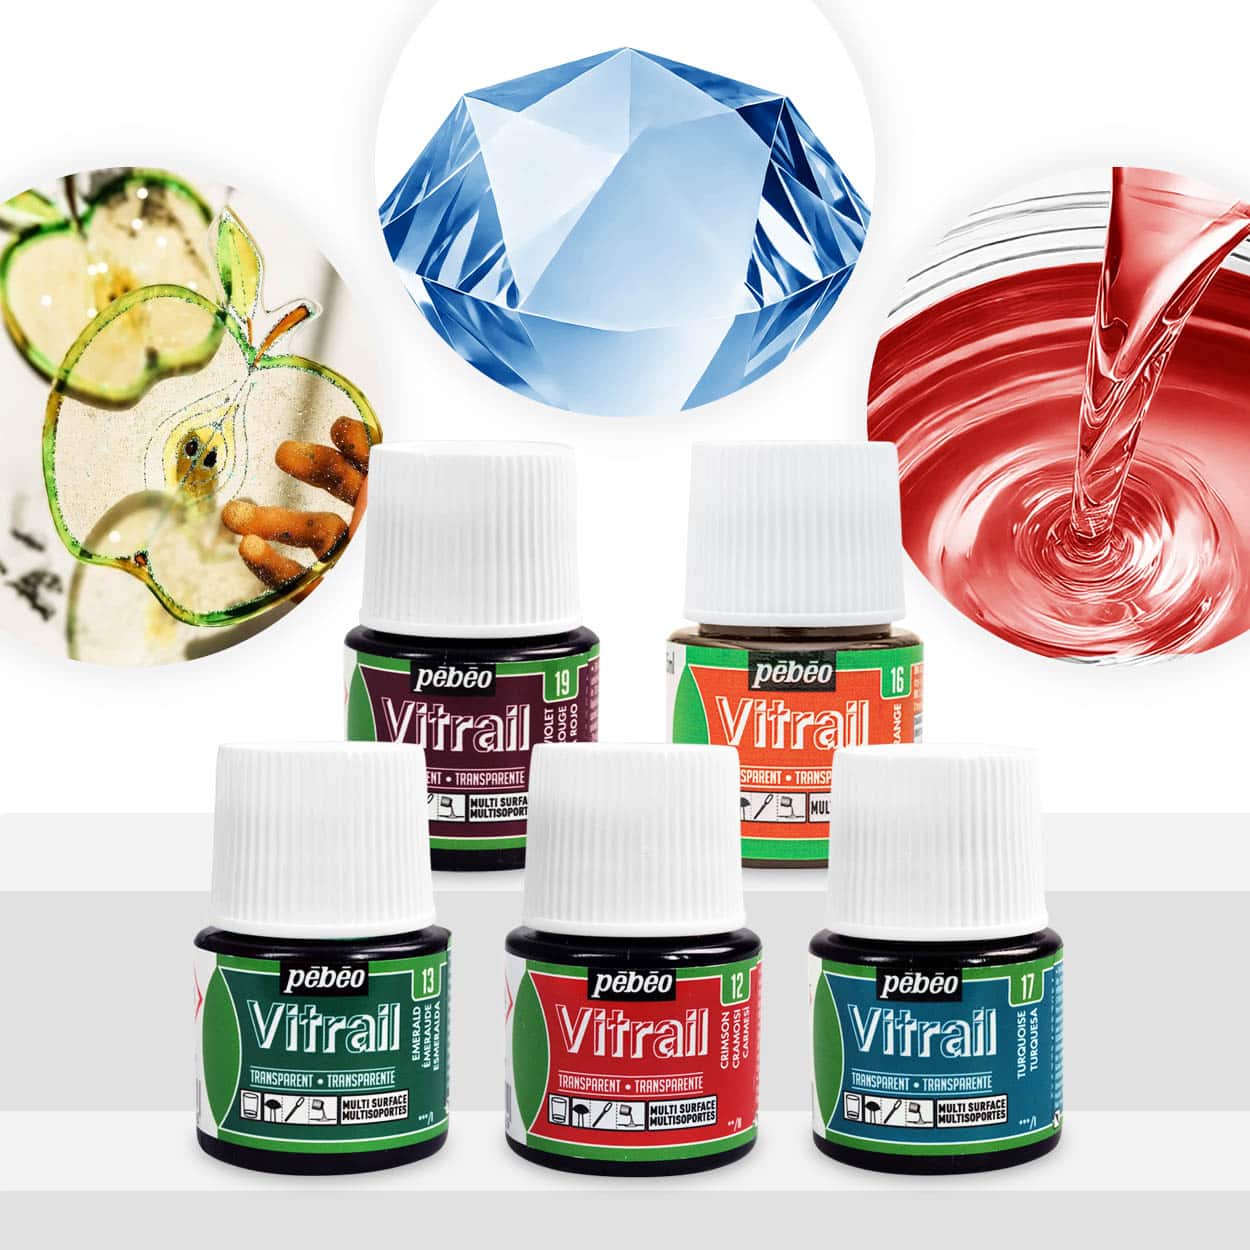
- “Magic Crystal” – Set of 5 Transparent Colourants, 5 x 45ml: Ideal for gemstone-inspired transparent effects
- “Magic Crystal” – Transparent Resin Colour 45ml: For creating glass-like, clear coloured jewellery
- Clear epoxy or UV resin suitable for jewellery
- Mixing cups, stirrers, gloves, and appropriate moulds
See Colouring in Action
Watch how liquid and transparent colourants transform clear resin into stunning jewellery pieces. Vibrant hues, seamless blends, and gemstone-like effects are achievable with the right materials.
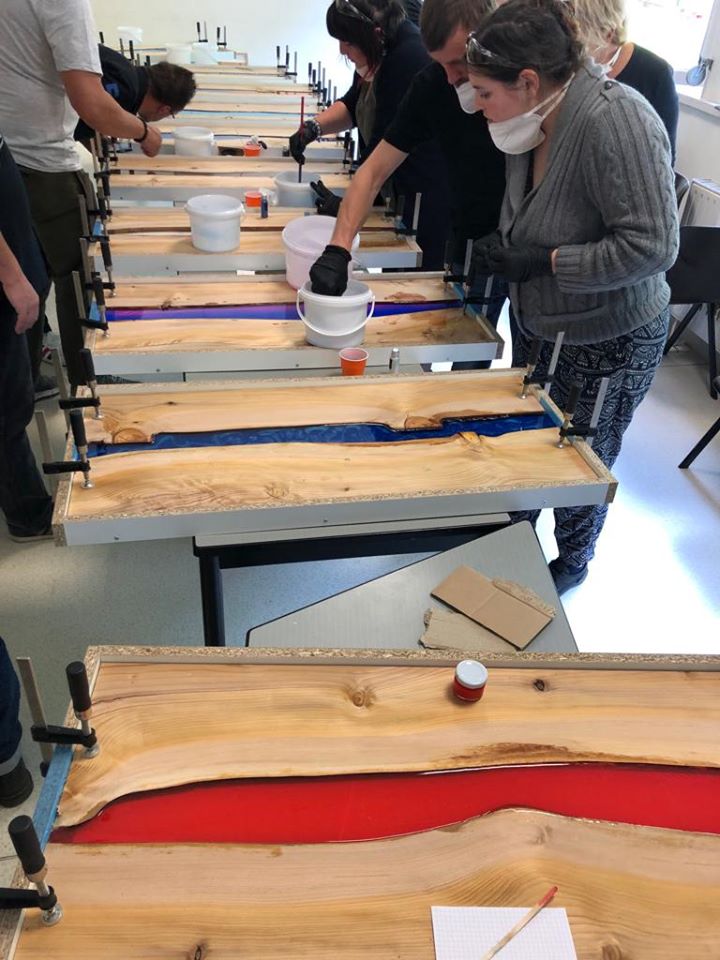
Step 1: Prepare Your Workspace and Materials
Begin by setting up a clean, dust-free workspace. Wearing protective gloves and covering surfaces will make cleanup easier and help prevent debris from sticking to your resin jewellery. Take time to read the instructions provided with your chosen resin and colourants so you’re aware of safe handling practices.
Ensure your moulds are clean and dry before starting. Gather mixing tools, and pre-measure your resin and hardener if required. Never rush the setup, as preparation prevents ruined pieces and wasted materials.
Step 2: Mix the Resin and Choose Your Colour Effect
Mix your clear resin base according to manufacturer directions. Stir thoroughly but gently to minimise bubbles, as trapped air can distort colours in the finished piece. At this stage, decide between a transparent, semi-transparent, or solid effect for your jewellery.
For gemstone-like translucency, select colourants designed specifically for transparent effects such as the “Magic Crystal” – Set of 5 Transparent Colourants or “Magic Crystal” – Transparent Resin Colour 45ml. If you desire deep, vibrant, or opaque results, a pigment paste like the “Colourfun Set” or “Colourfun” – Liquid Epoxy Resin Colourant is more suitable.
Step 3: Colour the Resin and Blend Smoothly
Add your chosen pigment gradually, drop by drop, mixing each time and checking the intensity. Most concentrated colourants are potent—a little goes a long way. Always follow the recommended ratio to avoid affecting the resin’s curing properties, which is typically no more than 5% pigment by mass of your resin mix.
Blend thoroughly to ensure even distribution and eliminate streaks. For custom hues, blend colourants together before adding to the resin. Transparent dyes such as the “Magic Crystal” colours easily mix into resin without clouding. Pigment pastes offer bold, streak-free finishes with high coverage. Work steadily to avoid premature curing while you perfect your shade.
Step 4: Pour and Cure Your Resin Jewellery
Carefully pour your coloured resin into prepared jewellery moulds, taking care not to overfill. For layered or marbled jewellery pieces, pour colours in stages, allowing partial setting as needed between additions. Use a clean stick or toothpick to swirl patterns if desired.
Leave the resin to cure according to your product’s recommended time and conditions. Avoid moving or disturbing the moulds during curing to prevent warping or imperfections in the colour.

Tips, Common Mistakes, and Troubleshooting
Experiment with small test batches before committing to a full piece, especially when combining pigment types or seeking custom shades. Test mixing ensures the colour results and compatibility you want for your design.
Avoid over-pigmenting your resin; excess pigment can interfere with curing, reduce clarity for transparent pieces, or leave residue. Stick to manufacturer guidelines for pigment dosage.
Protect your workspace and yourself. Resin and colourants can be messy. Always use gloves and disposable tools where practical, and check you have enough ventilation.
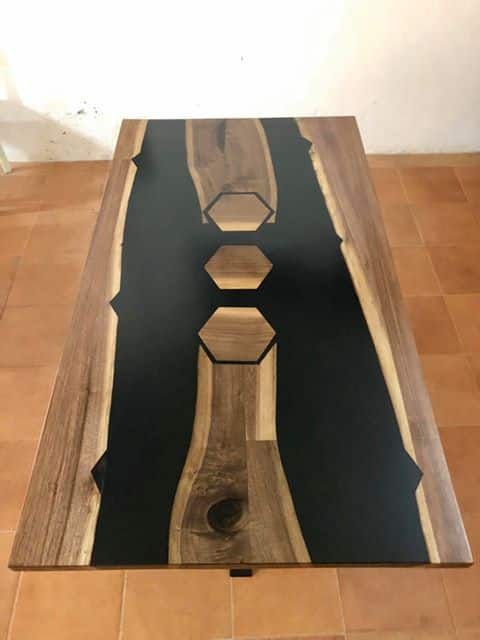
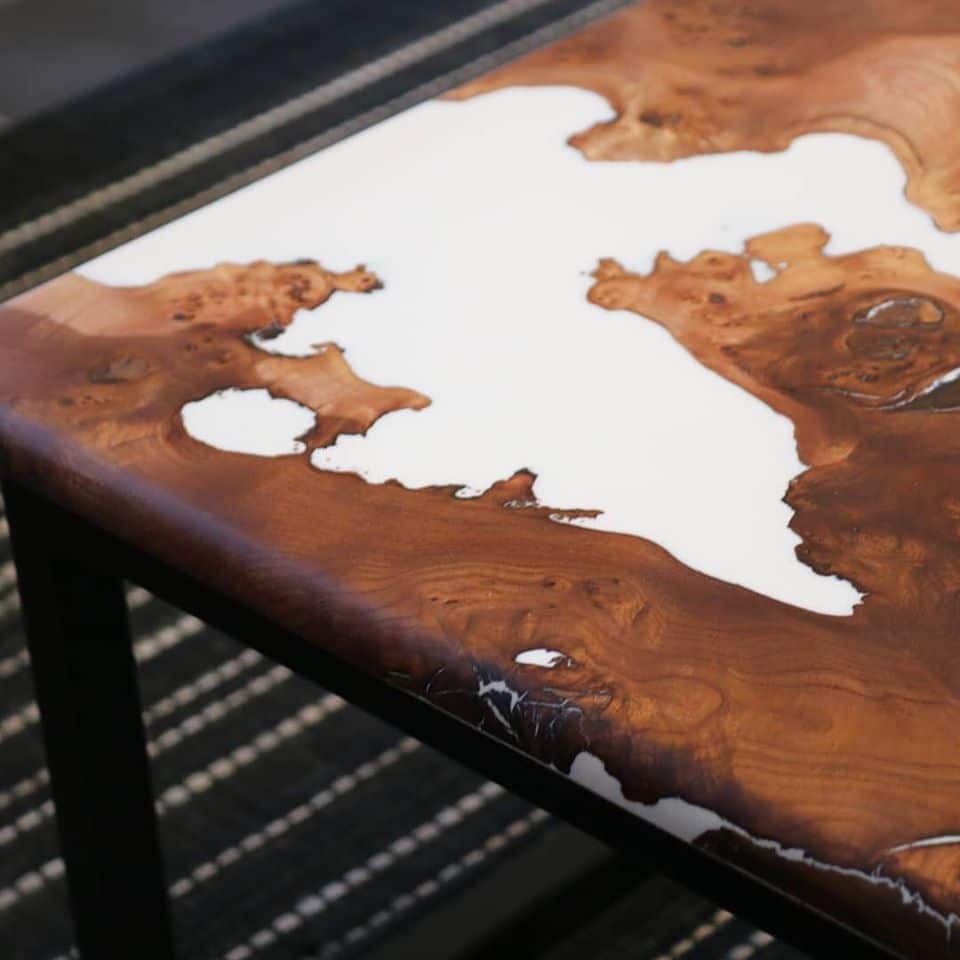
Creative Resin Jewellery Inspiration
Explore finished resin jewellery showcasing both translucent tints and bold, opaque colour effects. Find inspiration for your next unique wearable creation.
- "Colourfun Set" – Liquid Epoxy Resin Colourant Set for Solid Colour EffectsPrice range: £13.45 through £48.15"Colourfun Set" offers intense translucent colours designed for transparent epoxy resin projects like jewellery in the context of colouring resin…
- "Colourfun" – Liquid Epoxy Resin Colourant 25-100ml – High coveragePrice range: £3.65 through £9.85"Colourfun" is a liquid epoxy resin colourant with high concentration suitable for resin art including jewellery making, offering vivid colour…
 "Magic Crystal" – Set of 5 Transparent Colourants, 5 x 45ml£18.85Transparent colourants designed for creating custom crystals with resin, suited to a theme on colouring jewellery.
 "Magic Crystal" – Transparent Resin Colour 45ml£4.65"Magic Crystal" Transparent Resin Colour is designed for use with Resin Pro clear resin to create vibrant, glass-like coloured jewellery effects.
Frequently Asked Questions
Can I mix different colourant types for resin jewellery?
Yes, you can blend compatible pigment pastes and transparent dyes, but test on a small scale first for desired effect and curing compatibility.
How much colourant should I add to resin?
Generally, do not exceed 5% pigment by weight of the resin mix. Over-colouring can hinder proper curing or alter clarity.
Which colourants create transparent resin jewellery?
Transparent dyes—such as the Magic Crystal range—are formulated to produce clear, jewel-like resin effects rather than opaque finishes.
How do I achieve solid colours in resin jewellery?
Use concentrated pigment pastes like Colourfun and add gradually to reach the desired opacity while mixing thoroughly.
Can I use UV resin with these colourants?
Some colourants, including Colourfun, are compatible with both epoxy and UV resins. Always check product details before use.
How can I prevent bubbles in coloured resin jewellery?
Mix resin slowly and gently, avoid over-stirring, and pour into moulds from a low height to reduce air entrapment.
Why did my coloured resin turn cloudy?
Cloudiness can result from over-pigmentation or using pigment not fully compatible with your resin. Use transparent resin dyes for clear results.