 Free shipping on orders over £29,85


How do you colour epoxy putty?
Colouring epoxy putty allows you to create truly unique finishes for your craft, repair, or artwork. Tailoring the colour not only makes projects more personal and appealing, but also helps them blend or stand out as needed. This guide covers the practical steps to tinting epoxy putty safely and effectively—giving you control over the final effect, whether you’re after bold, opaque shades or subtle, translucent tones.
Achieve vibrant and unique finishes in epoxy putty projects


What You’ll Need
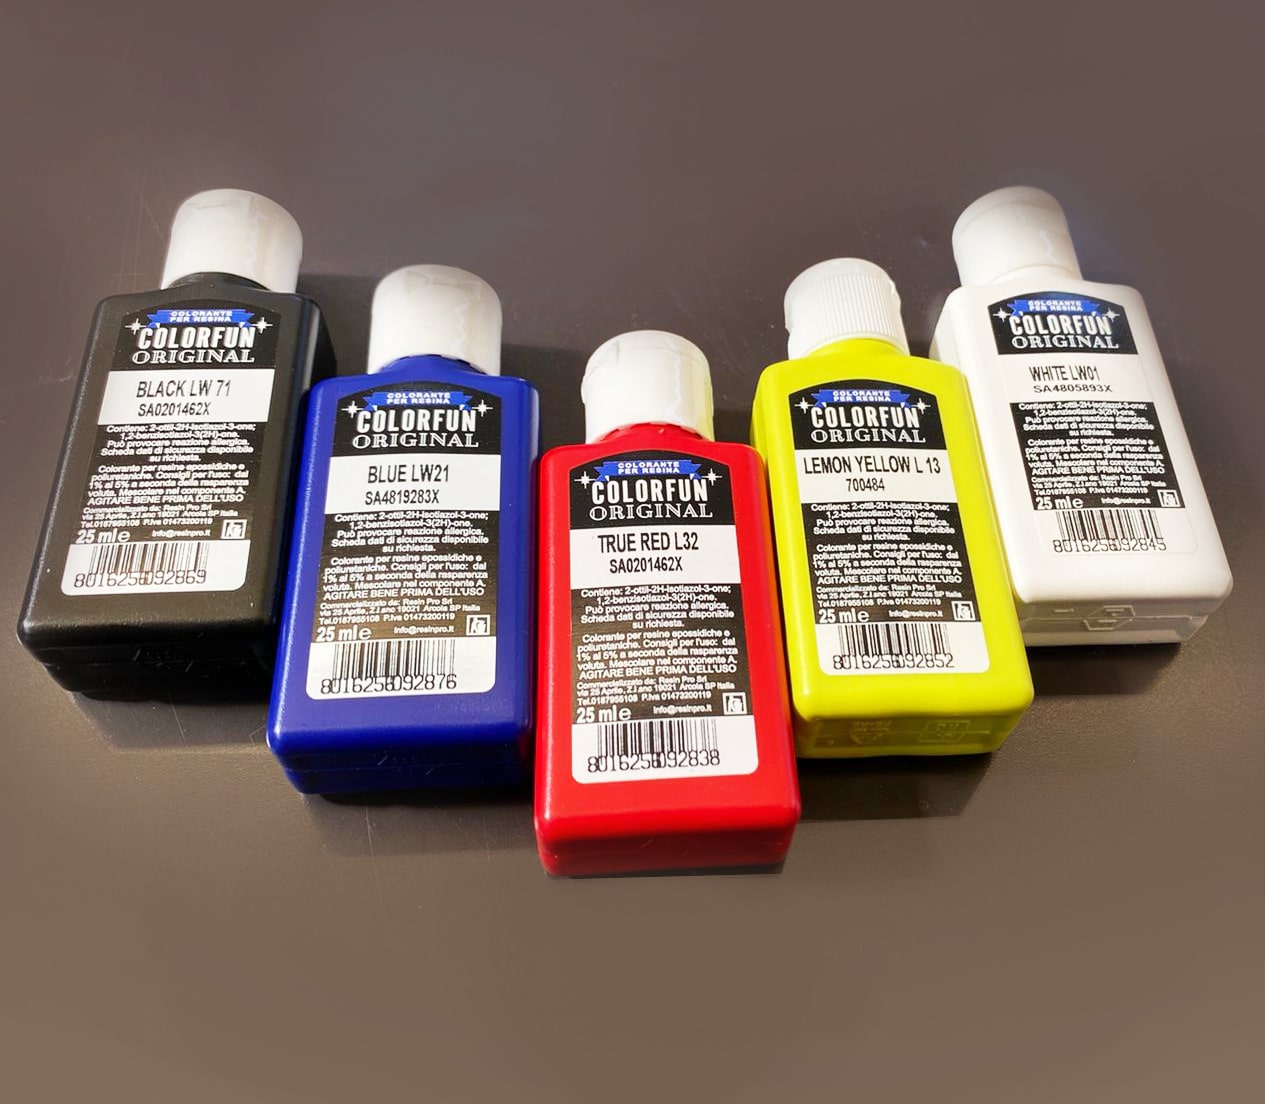
- “Colourfun” – Liquid Epoxy Resin Colourant 25-100ml – High coverage: Liquid pigment for vivid colours and custom shades.
- “Colourfun Set” – Liquid Epoxy Resin Colourant Set for Solid Colour Effects: Blending pastes for both translucent and solid colour creations.
- “Marine Palette” – Set of Dyes for Ocean Art, Epoxy Resin, and Beach Effects: For marine blues and ocean-inspired looks.
- “Renaissance” – Set of Dyes, 4 Colour Palettes: Ideal for artistic marble and multi-tonal effects.
- Clean mixing cups and spatulas
- Gloves and protective clothing
- Epoxy putty (uncoloured)

Visual Inspiration: Coloured Epoxy Putty in Action
Explore a vibrant gallery of finished epoxy putty projects to see the full creative impact of colouration. Notice how different pigments and blending techniques produce either subtle tones or striking, saturated finishes. Visual examples can spark new ideas for your own work and help you visualise possible results before you start.
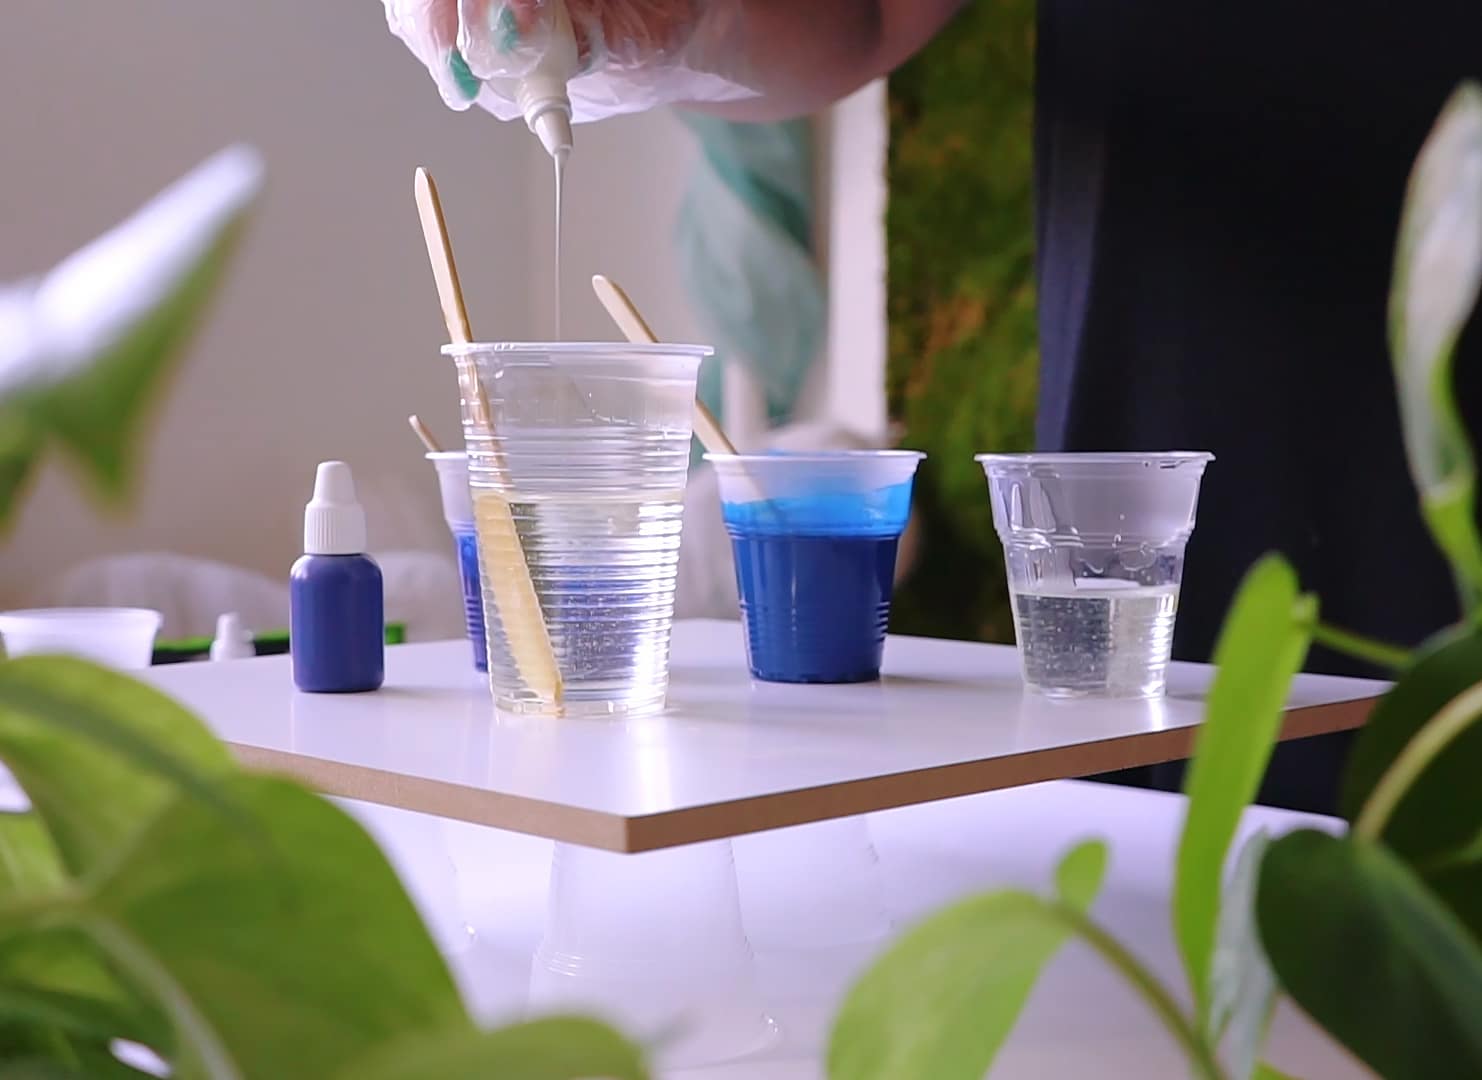
Step 1: Prepare Your Workspace and Materials
Start by setting up a clean, dust-free workspace with good ventilation. Wear gloves to protect your hands, as epoxy putty and pigment can stain and may cause skin irritation. Gather all your chosen colouring agents and mixing tools before you begin. Having everything at hand helps ensure a smooth process and even results.
Use small, disposable containers and spatulas dedicated to mixing, as some pigmentation can be difficult to remove from tools. Work on a surface covered with a protective mat or disposable sheet to catch any accidental spills.
Step 2: Portion and Mix the Epoxy Putty
Cut or measure out the amount of epoxy putty you need for your project, following manufacturer guidelines. If your putty is two-part, pre-mix the components according to instructions just before tinting. Adding colour after pre-mixing prevents interference with curing and gives a more even result.
Knead or stir the putty until the components are uniformly blended, ensuring a base that will accept pigment evenly. Working quickly but thoroughly is key, as the curing process usually begins as soon as the parts are combined.
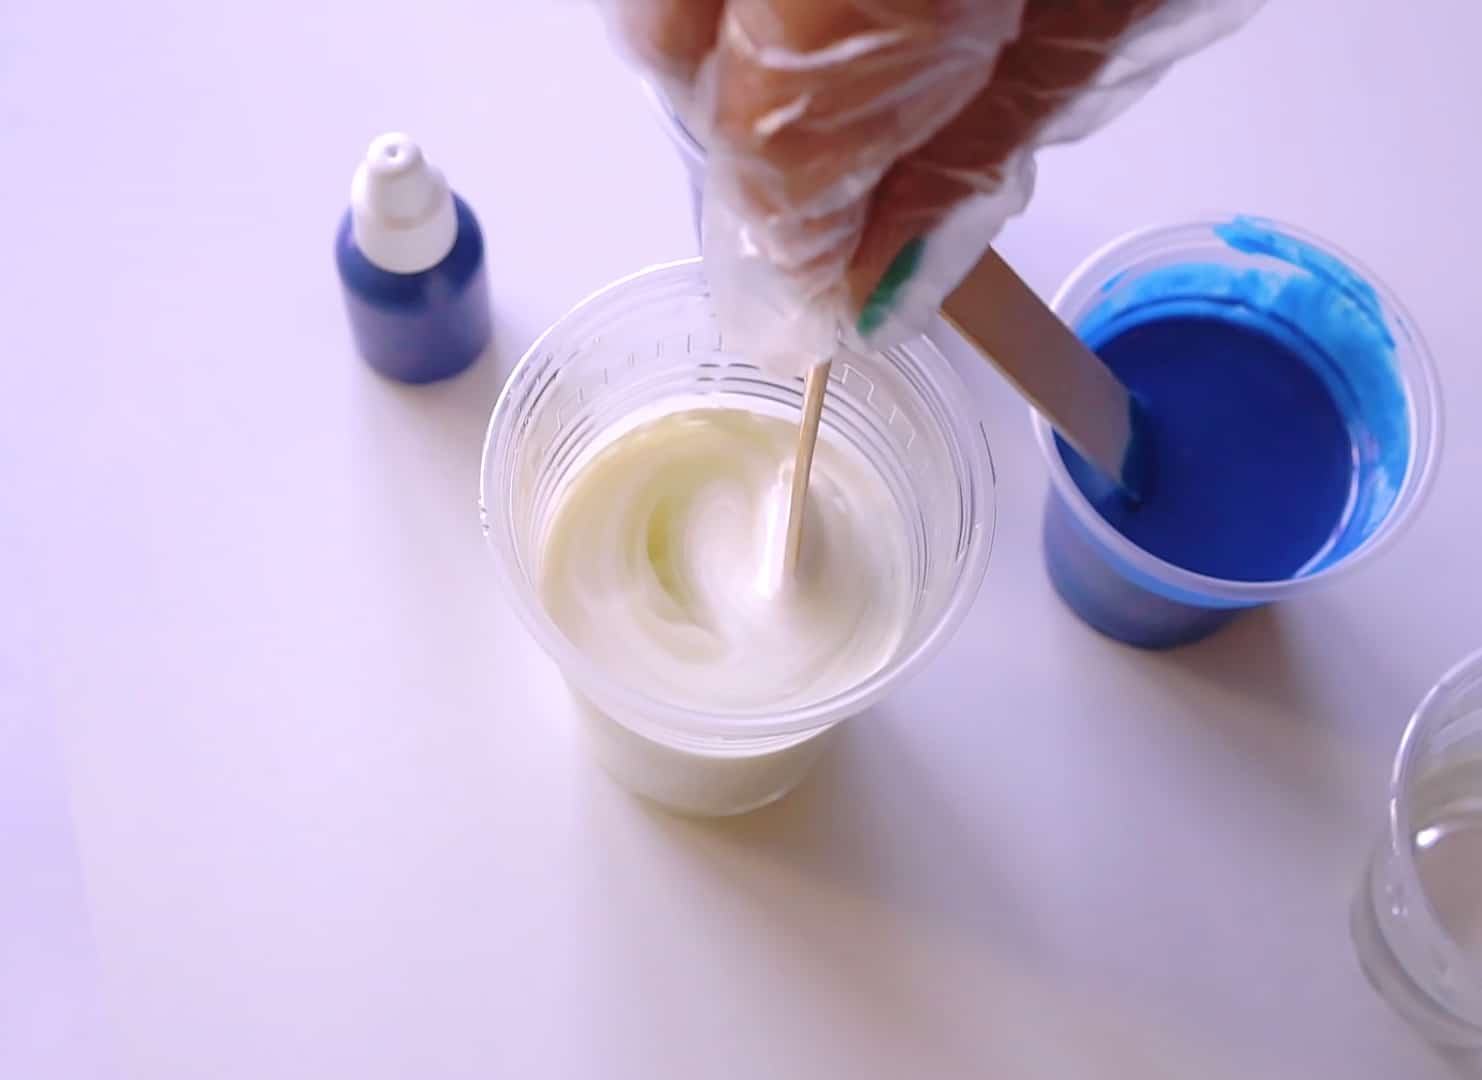
Step 3: Add and Blend in the Colour
Gradually add the colourant of your choice. “Colourfun” – Liquid Epoxy Resin Colourant 25-100ml – High coverage is particularly effective for intense or translucent results; just a small drop goes a long way. For marbled or multi-tone effects, try the “Renaissance” – Set of Dyes, 4 Colour Palettes, allowing you to blend colours gently without overmixing.
Always add colouring agents slowly and mix thoroughly for a consistent finish. Most pigments are highly concentrated—a little truly does go a long way. Be cautious: Do not exceed recommended pigment percentages—typically up to 5% of the total putty mass, to avoid changing curing properties or weakening the set material.
Step 4: Test, Adjust, and Apply
Before using coloured putty on your actual piece, take a small amount and apply it to a test surface or offcut. This helps you check both the final colour and the texture after curing. If the shade is too pale, add more pigment a drop at a time; if too strong, mix in more base putty.
Once satisfied, apply your tinted putty as desired, shaping and smoothing it before it fully sets. Test your tinted putty before starting final pieces to ensure you’re happy with both colour and working time.

Tips and Common Mistakes to Avoid
Store unused dyes and putty away from sunlight and moisture to preserve their quality. Avoid mixing pigments into putty that is already beginning to cure, as this can lead to streaks or uneven colour. Always follow the guidelines for pigment-to-putty ratios—overloading can cause the putty to become sticky, brittle, or slow to harden. For best results, work with small test batches and keep detailed notes on how much of each colourant you use.
Advanced Colour Effects and Clean Finishes
Vary your approach by swirling blends or layering colours before final setting. For seamless joins and neat surfaces, apply your coloured putty with sculpting tools and gently sand after full cure. Experiment with mask or mould techniques for repeatable, professional outcomes.
- "Colourfun" – Liquid Epoxy Resin Colourant 25-100ml – High coveragePrice range: £3.65 through £9.85Liquid colourant delivering vibrant, intense pigments suitable for epoxy resin projects with high coverage and easy blending.
- "Colourfun Set" – Liquid Epoxy Resin Colourant Set for Solid Colour EffectsPrice range: £13.45 through £48.15The Colourfun Set provides intense translucent colours for transparent epoxy resin projects, designed for smooth, even mixes.
 "Marine Palette" – Set of Dyes for Ocean Art, Epoxy Resin, and Beach EffectsPrice range: £10.85 through £16.85The Marine Palette offers a ready-to-use set of marine dyes for ocean-inspired effects in epoxy resin art.
 "Renaissance" – Set of Dyes, 4 Colour Palettes£10.85This dye set is designed to create a marble effect with epoxy resin, suitable for artistic resin projects following the theme.
Frequently Asked Questions
Will colouring epoxy putty make it weaker?
When used correctly and within recommended ratios (up to 5%), quality epoxy-safe pigments should not notably weaken putty.
How much colourant should I add to epoxy putty?
Typically, limit pigment to 1–5% by weight of putty for best curing and vibrant colour.
Can I mix different dye types together?
You can blend compatible epoxy-safe dyes or pastes, but test small batches for colour and curing behaviour first.
What if my coloured putty is too bright?
Dilute with additional uncoloured putty or lighten using a touch of white dye, blending thoroughly.
Which products work best for deep, opaque colours?
Highly concentrated liquid colourants and solid colour pastes, like the Colourfun range, work especially well for deep shades.
Can I paint over cured epoxy putty?
Yes, once fully cured, epoxy putty can be sanded lightly and painted or sealed to adjust colour further.