 Free shipping on orders over £29,85


How to make resin pendants?
A detailed guide for crafting unique resin jewellery pieces.


Crafting your own resin pendants is a rewarding process that allows you to create beautiful, personalised jewellery. Whether you prefer clear, filled, or coloured pendants, learning the right techniques ensures a smooth finish, lasting durability, and unique results. This guide outlines each stage from start to finish, perfect for crafters and jewellery enthusiasts alike.
What You’ll Need
- “Evershine Collection” – Artisan Jewellery Epoxy Resin Kit with 100+ Accessories – All-in-one epoxy kit with clear resin, pigments, moulds, and findings.
- Set of 10 Open Metal Bezels for Jewellery Making and UV Resin Projects – Ideal bezel bases for resin filling and pendant formation.
- “UV–Creation” – Fast Acrylic Resin, 3 Minute UV Cure – Quick-curing resin for small pendants and fast projects.
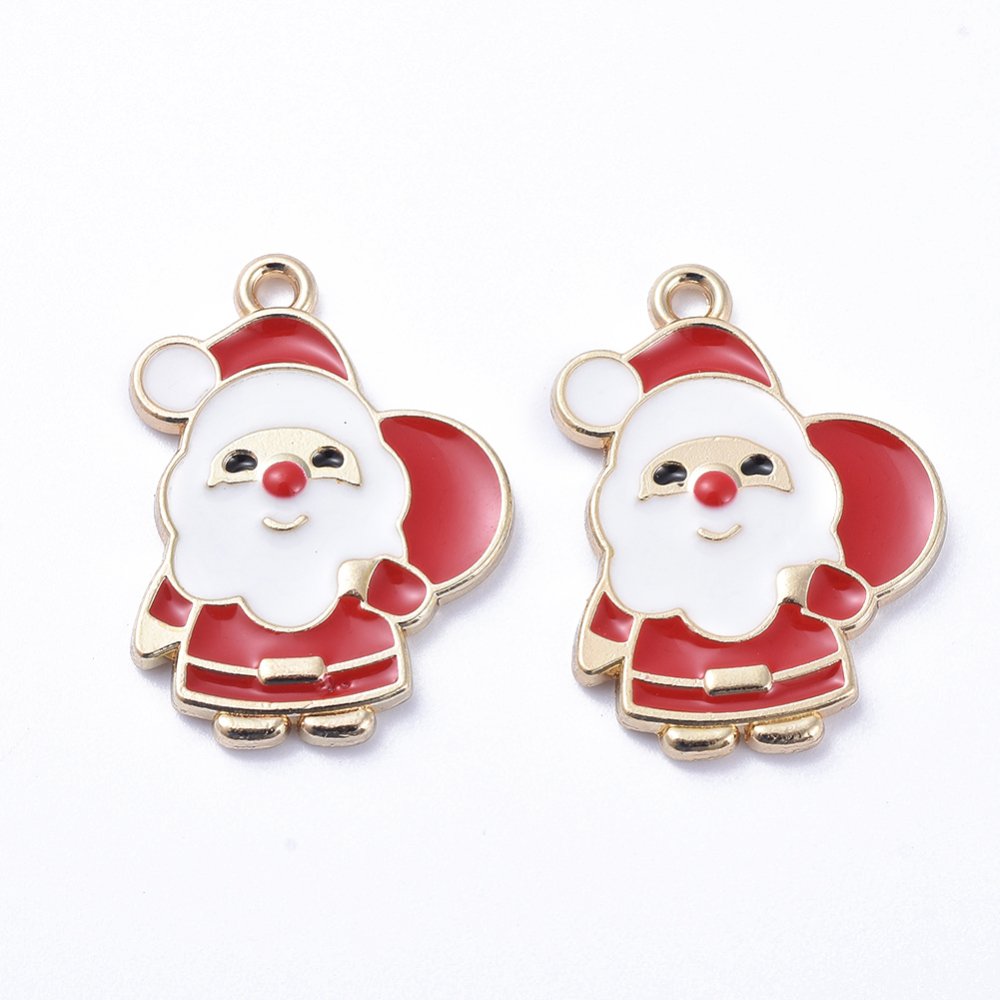
- UV Resin Kit with 5 Christmas Silicone Moulds for Festive Crafting – Convenient kit for themed projects and decorative pendants.
- Silicone or open-back moulds
- UV lamp (if using UV resin)
- Mixing cups and stir sticks
- Protective gloves and apron
- Heat gun or toothpick (for bubble removal)

Resin Pendant Essentials in Action
Discover a variety of resin jewellery projects using vibrant pigments, dried botanicals, and themed moulds. Watch as clear resin transforms into glasslike pendants, with artists layering colours and embedding delicate flowers for truly bespoke effects. Personalised letters, festive shapes and open bezel designs highlight the versatility and creativity you can achieve with the right materials and careful technique.
Step 1: Set Up Your Workspace and Preparation
A tidy, level workspace will help ensure your pendants come out clean and precise. Cover your working area with silicone or plastic sheeting to make spills easy to clean. Wear protective gloves and work in a ventilated area to avoid skin contact and fumes. Lay out your moulds, bezels, and tools for easy access. Prepare decorative inclusions, such as dried flowers or glitter, if desired.
Check if your chosen resin requires a UV lamp or if it cures at room temperature. UV resins such as “UV–Creation” – Fast Acrylic Resin need a UV lamp, while epoxy kits can cure without extra equipment.
Step 2: Mixing and Colouring the Resin
Accurately following the manufacturer’s instructions is crucial for perfect results. If you are using an epoxy kit like the “Evershine Collection” – Artisan Jewellery Epoxy Resin Kit, combine equal parts of resin and hardener (1:1 ratio) in a clean cup. Stir thoroughly for several minutes, ensuring a homogenous mixture. Measure and mix resin with care to avoid soft spots or incomplete curing.
Add pigments, mica powders, or decorative inclusions at this stage, if desired. For UV resin, use compatible pigments or glitters, and stir gently. Avoid alcohol inks unless specified as safe for the resin type.
Step 3: Pouring and Filling the Moulds or Bezels
Carefully transfer the mixed resin into your silicone mould or open bezel. Pour resin slowly and avoid overfilling to keep the pendant surface flat and bubble-free. Use a heat gun, lighter, or fine tool to gently pop any trapped bubbles once poured.
Arrange inclusions like dried flowers, beads, or charms at this stage. Open-backed metal bezels, such as those from the Set of 10 Open Metal Bezels, are perfect for creative designs and layering effects.

Step 4: Curing and De-moulding Your Pendant
Follow the cure time for your chosen product. UV resins require 2–3 minutes under a UV lamp, or longer depending on thickness and transparency. For epoxy resins, allow the pendant to rest flat for the full stated cure time (often 24 hours). Cure thoroughly for a durable finish; avoid moving or handling until completely set.
Once cured, de-mould gently to prevent damage. Carefully flex silicone moulds to release the pendant or pop it out from open bezels. Use a mini drill or file to smooth sharp edges if needed, like the tool included in many complete kits.

Tips, Common Mistakes, and Troubleshooting
Use thin layers when working with UV resin to prevent incomplete curing. Protect your surfaces to avoid stuck pieces, and never rush the demoulding process. If your resin finish is cloudy, it might be under-mixed or trapped bubbles haven’t been removed. Always work in stages—measure carefully, mix patiently, and cure completely for best results.
For intricate designs or inclusions, consider layering small amounts of resin and curing between layers to fix pieces in place and increase clarity.
Finishing Touches and Pendant Inspiration
See finished resin pendants gleaming with clarity and colour, from sparkling Christmas ornaments to statement jewellery pieces. Explore how small sanding tools and clasp findings bring each pendant to completion, ready to wear or gift. Your imagination is the only limit to what you can achieve with resin crafting.

- "Evershine Collection" – Artisan Jewellery Epoxy Resin Kit with 100+ Accessories£20.85Complete epoxy resin kit with 500g clear resin and over 100 accessories, designed for resin pendant making and jewellery crafting.
- Set of 10 Open Metal Bezels for Jewellery Making and UV Resin ProjectsOriginal price was: £8.45.£6.85Current price is: £6.85.Set of 10 open metal bezels suitable for Christmas jewellery and UV resin projects, designed for creative crafters.
- "UV–Creation" – Fast Acrylic Resin, 3 Minute UV CurePrice range: £7.85 through £59.85"UV–Creation" fast acrylic resin cures quickly and offers a clear, glossy finish suitable for pendant crafts.
 UV Resin Kit with 5 Christmas Silicone Moulds for Festive CraftingPrice range: £14.85 through £25.85This UV Resin Kit includes five Christmas silicone moulds and clear fast-curing resin suitable for festive pendant making and decorations.
Frequently Asked Questions
Can I use both UV and epoxy resin for pendants?
Yes, UV resin is excellent for fast results and thin pours, while epoxy resin suits larger and more intricate pendants.
How do I prevent bubbles in resin pendants?
Mix slowly and thoroughly, pour gently, and use a heat gun or torch to remove surface bubbles before curing.
What cure time should I expect for jewellery?
UV resins cure in minutes under a UV lamp; epoxy resins typically require 24 hours for full hardness and clarity.
Can I add inclusions like flowers to pendants?
Yes, make sure inclusions are dry and layer them in resin to prevent floating or trapped bubbles.
How can I get a clear and glossy finish on my pendant?
Use high-transparency resin, mix carefully, remove bubbles, and allow full curing for a glass-like look.
Are resin pendants safe to wear on skin?
Fully cured high-quality resins are safe for jewellery wear, but always follow safety instructions during crafting.
What moulds work best for resin pendants?
Silicone moulds and open-back bezels allow easy release and provide diverse shapes for creative projects.