 Free shipping on orders over £29,85


How to make rings with olive wood and resin on YouTube?
Step-by-step guide for crafting wooden resin rings at home


Making rings with olive wood and resin is a captivating way to blend natural textures with glossy finishes, popularised by YouTube creators. This guide details the entire creative process—from preparing the olive wood and mixing the resin, to finishing your bespoke ring. Designed for both beginners and experienced crafters, these steps will help you achieve a professional look at home.
What You’ll Need
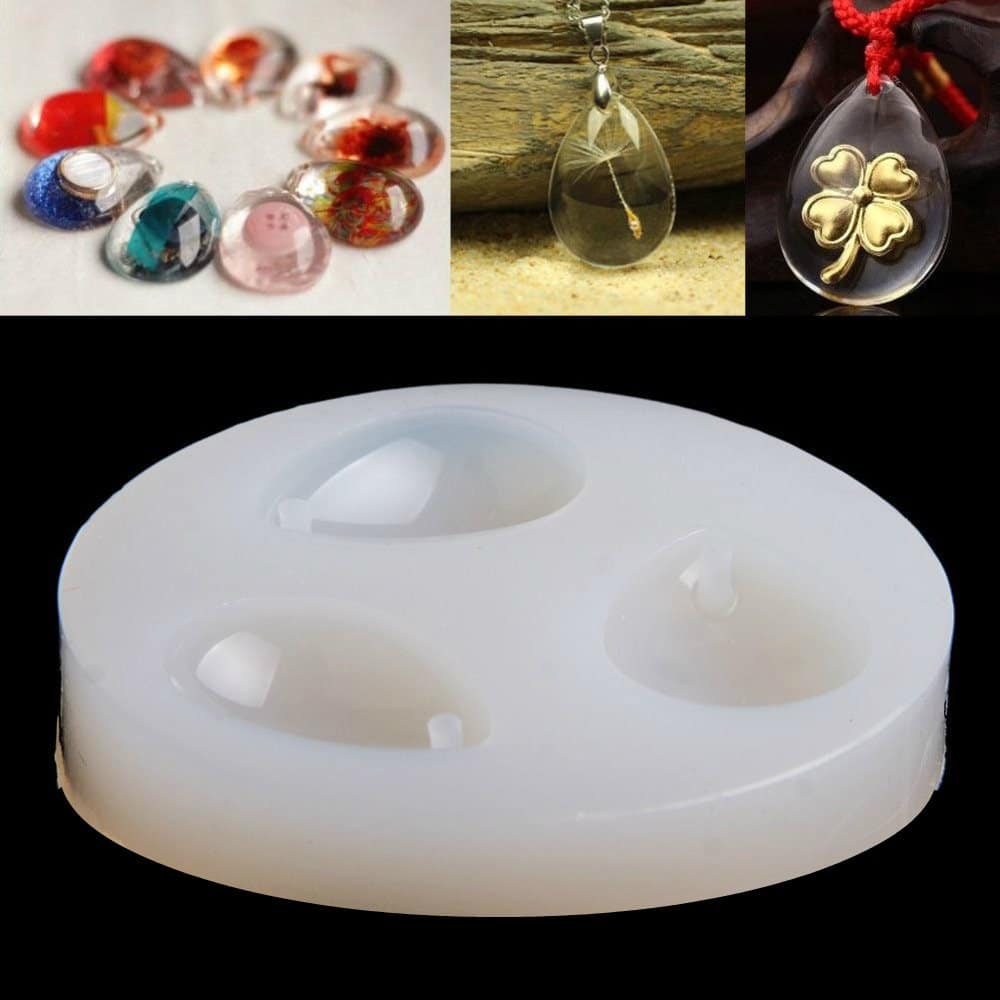
- “Evershine Collection” – Artisan Jewellery Epoxy Resin Kit with 100+ Accessories: For casting the resin component and accessing pigments and accessories.
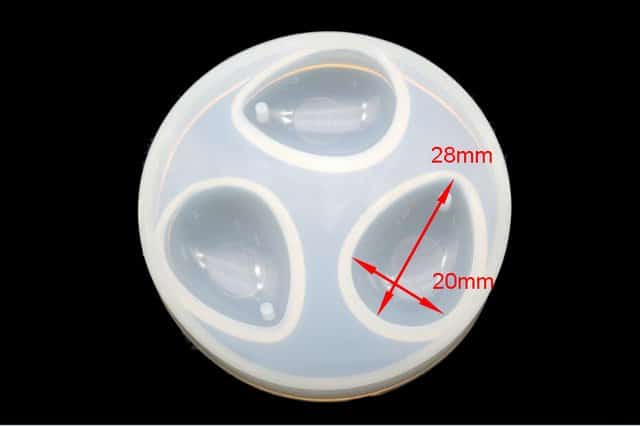
- “Three Drops” – Silicone Mould for Jewellery and Decorations, 28x20mm: For shaping the ring or inlay pieces.
- Natural Wood Slices – 2pcs Set for Decorative and Epoxy Resin Projects: To obtain quality olive wood for the main ring body.
- Sandpaper (various grits), files, or a rotary tool for smoothing and shaping.
- Protective gloves, mixing cups, stirring sticks (often included in starter kits).
- Clamps or rubber bands for holding assembled parts, if required.
- Finishing oil or polish for the final surface.

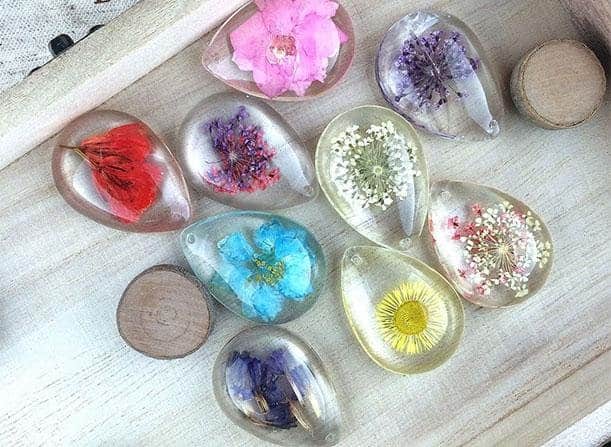
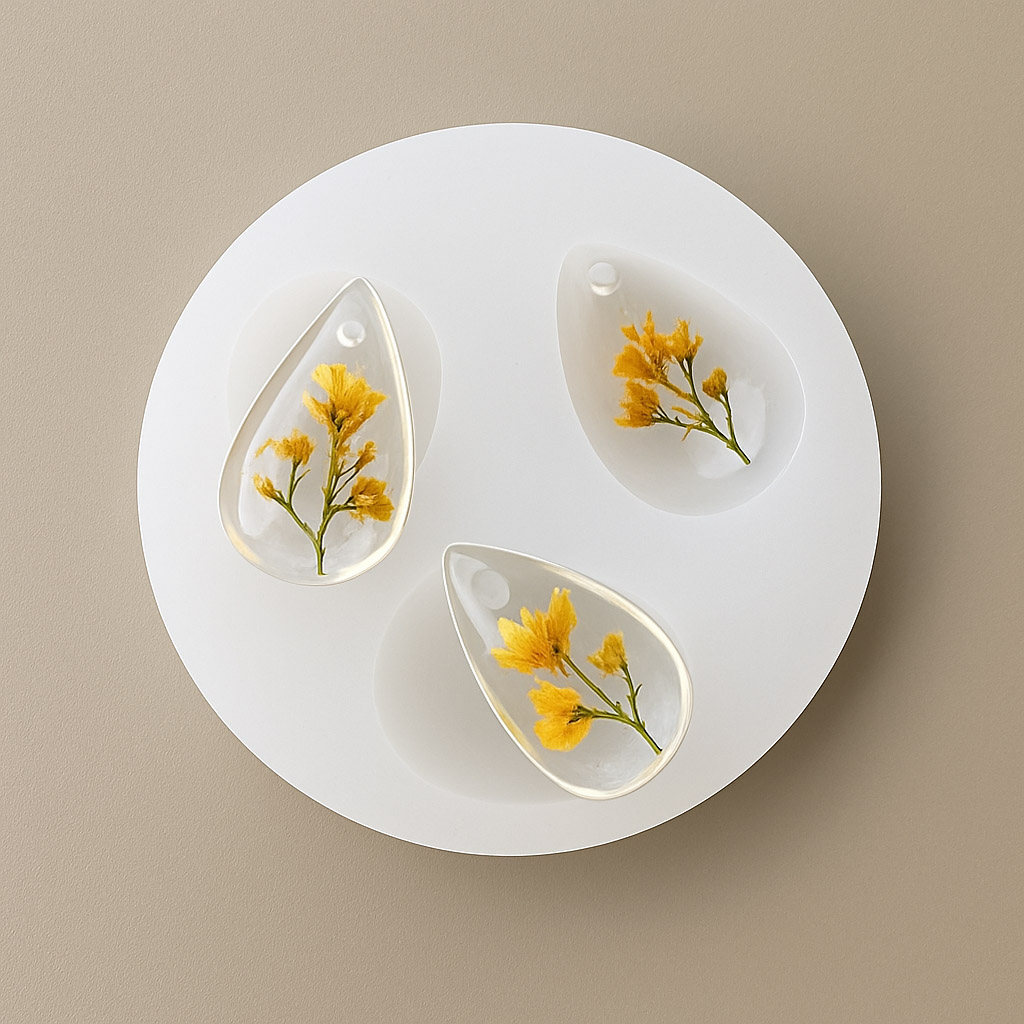
Olive Wood and Resin Ring Inspiration
Watch trending tutorials on YouTube for creative design ideas, step-by-step demonstrations, and finishing techniques for olive wood and resin rings. Pause, rewind, and learn at your own pace as you master each stage of this craft.
Step 1: Prepare the Olive Wood
Start by selecting and cutting your olive wood to the approximate size needed for your ring blank. The wood should be dry and free of defects. Use a saw or rotary tool to shape the piece, aiming for a size slightly larger than the finished ring.
Choose high-quality, dry olive wood to prevent warping or cracking during resin curing. Sand the cut surfaces to remove splinters and rough edges, focusing on areas that will be visible in the final ring.
Step 2: Seal and Position the Wood in the Mould
Apply a thin layer of resin or wood sealant to the olive wood, which helps block bubbles from escaping into the resin once cast. Allow sealing layers to dry completely before moving on.
Next, place the sealed wood into a “Three Drops” – Silicone Mould or another suitable mould that matches your ring’s design. Ensure the wood is positioned securely and won’t shift during casting.
Step 3: Mix and Pour the Epoxy Resin
Using the “Evershine Collection” – Artisan Jewellery Epoxy Resin Kit, carefully measure equal parts of resin and hardener as specified in the instructions. Mix slowly and thoroughly, avoiding the introduction of excess air which may cause bubbles.
If desired, add pigments or decorative inclusions from the kit for unique effects. Gradually pour the mixed resin into the mould, allowing it to envelop the wood and fill any gaps. Use a toothpick or stirring stick to remove trapped bubbles near the wood.
Mix resin thoroughly and avoid over-stirring to ensure an even, glassy cure.
Step 4: Curing and Demoulding
Let the resin cure according to the manufacturer’s time guidelines—typically at least 12–24 hours in a dust-free environment. Avoid moving or disturbing the mould during this period.
Once the resin is fully set, gently remove the ring blank from the mould. If the piece feels soft in places, allow more time to cure before handling. Take care not to force the piece out and risk damaging the edges or surface.
Demould slowly and allow proper curing for best clarity and durability.
Step 5: Shape and Finish the Ring
Trim excess resin or wood using files or a rotary tool. Progress with fine-grit sandpaper to define the ring’s external shape and smooth the surfaces. Aim for a comfortable fit and an even, glossy exterior.
Finish by polishing with a soft cloth or buffing wheel, and apply natural finishing oil or polish to the wood section for added lustre and protection. If you wish, use findings or decorative elements from your resin kit to further personalise the ring.
Tips and Troubleshooting
Seal the wood before casting to reduce microbubbles in the cured resin. Make sure to mix resin in a dust-free, temperature-stable area for a flawless finish.
Patience is key: being hasty at demoulding can leave marks or cause breaks. If the ring sticks, gently flex the mould or use a small release tool. If imperfections occur, additional polishing or a thin resin overcoat can enhance the look.
Showcase Your Finished Pieces
Share your rings online using hashtags on social media and join communities of resin artists. Display your completed olive wood and resin jewellery to inspire other makers and receive feedback on your techniques.
- "Evershine Collection" – Artisan Jewellery Epoxy Resin Kit with 100+ Accessories£20.85"Evershine Collection" offers a high-transparency 1:1 epoxy resin kit with over 100 accessories, designed to support jewellery making on the given…
- "Three Drops" – Silicone Mould for Jewellery and Decorations, 28x20mm£7.45"Three Drops" silicone mould is suitable for making jewellery or decorations using resin or other casting materials.
 Set of 10 Open Metal Bezels for Jewellery Making and UV Resin ProjectsOriginal price was: £8.45.£6.85Current price is: £6.85.Set of 10 open metal bezels for Christmas jewellery making, suitable for resin crafters and DIY enthusiasts in a festive theme.
 Natural Wood Slices – 2pcs Set for Decorative and Epoxy Resin ProjectsPrice range: £9.45 through £10.85Natural Wood Slices are suitable for decorative and epoxy resin projects, offering authentic natural elements for creative work.
Frequently Asked Questions
Do I need special tools or equipment for making olive wood and resin rings?
Basic hand tools, moulds, and a resin kit are usually sufficient. A rotary tool or files help with shaping.
Can I add colours or decorations into the resin when creating a ring?
Yes, pigments and inclusions can be added to resin to personalise your design. Kits often include a selection.
How can I prevent bubbles from forming in the resin?
Seal the wood, mix and pour the resin slowly, and use a toothpick to pop bubbles as they appear.
What should I do if the resin in my ring does not cure properly?
Allow additional curing time in a warm, dry place. Check the resin-to-hardener ratio was correct.
Are olive wood and resin rings strong enough for daily wear?
Yes, a properly cured resin with well-prepared wood makes a durable ring suitable for most everyday activities.