 Free shipping on orders over £29,85


How to Make Resin and Flower Rings
Create unique botanical jewellery using epoxy and dried flowers


Creating resin and flower rings is a rewarding way to blend natural beauty with modern jewellery. This guide will show you how to encase delicate dried flowers inside clear resin, resulting in unique rings to keep or give as gifts. Whether you love working with epoxy or prefer quick-setting UV resin, the process opens up a world of creative possibilities for both beginners and seasoned crafters.
What You’ll Need
- “Evershine Collection” – Artisan Jewellery Epoxy Resin Kit with 100+ Accessories: Complete starter kit for mixing and shaping resin rings.
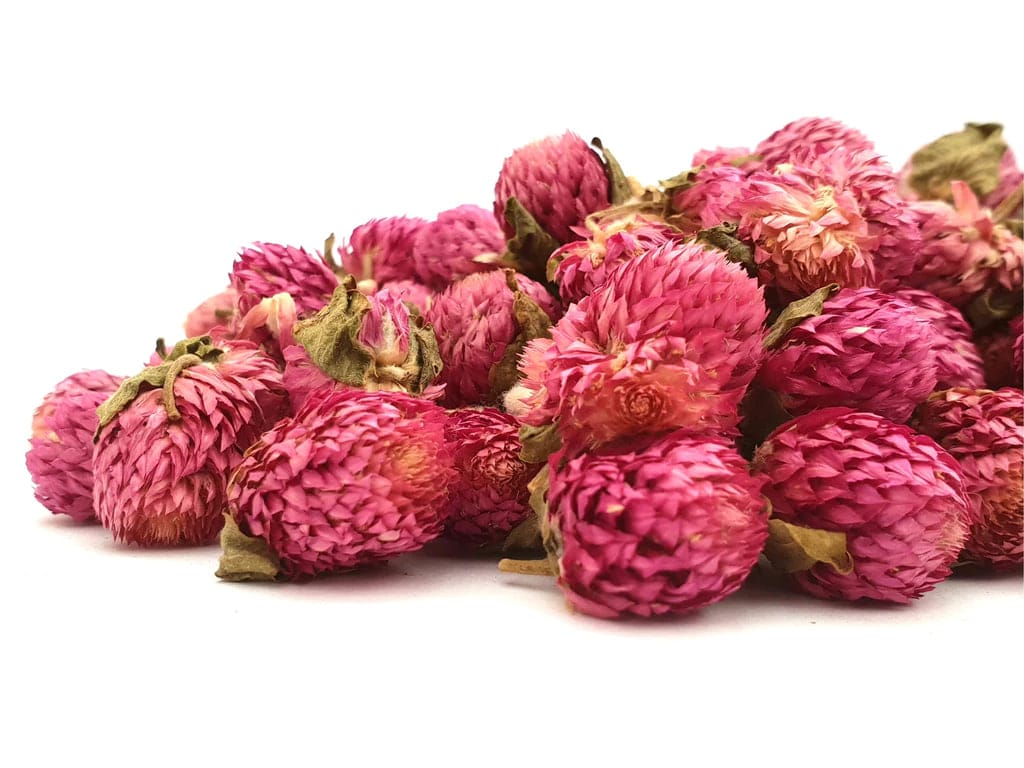
- Natural Dried Flowers for Art Projects and Epoxy Resin Casting: Ready-to-use dried flowers for beautiful inclusions.
- “Fairy Wings” – UV Resin for Volumetric Reliefs, Dual Colour, 30ml: Ideal if you prefer UV resin for thin or fast-curing designs.
- Silicone ring moulds (various sizes for rings)
- Mixing cups, stir sticks, gloves, and a flat workspace
- UV lamp (if using UV resin)

Inspiration for Resin and Flower Rings
Explore endless design ideas by experimenting with different dried flower colours and arrangements. Try combining petals, whole blossoms, or even small leaves for added texture and dimension. Look to nature for seasonal inspiration when planning your next batch of handmade resin rings.

Step 1: Prepare Your Workspace and Materials
Before you begin, gather all your materials and tools in a dust-free, level area. Lay down protective sheets to keep the surface clean and wear gloves to avoid skin contact with resin. Ensure all ring moulds are clean and dry, as dust or residue can cause imperfections in the finished jewellery.
Work in a Clean and Well-Ventilated Space to prevent airborne particles becoming embedded in your ring and to ensure resin fumes disperse safely.
Step 2: Arrange and Place Flowers in the Mould
Decide on your flower arrangement before mixing the resin. Trim the Natural Dried Flowers for Art Projects and Epoxy Resin Casting to size, considering the ring’s width and thickness. Carefully position them inside the mould using tweezers, ensuring they lay flat and won’t be displaced when resin is poured.
Arrange Flowers Creatively and check from all angles, as the floral arrangement will become a permanent feature of your finished piece.
Step 3: Mix and Pour the Resin
Follow the manufacturer’s instructions for mixing epoxy or preparing UV resin. If you’re using the “Evershine Collection” – Artisan Jewellery Epoxy Resin Kit with 100+ Accessories, combine the resin and hardener at a 1:1 ratio until fully blended and clear. For UV resin, such as “Fairy Wings” – UV Resin for Volumetric Reliefs, Dual Colour, 30ml, no mixing is needed.
Pour Resin Slowly and Evenly into the moulds in small increments. Pouring too quickly can trap air bubbles or displace delicate flowers. For epoxy, use a cocktail stick or toothpick to help pop bubbles that rise to the surface. UV resin can be cured in layers, using the lamp between each layer to lock flowers in position.
Step 4: Cure and Demould Your Ring
Allow the poured resin to cure undisturbed. Epoxy resin may require 12 to 24 hours depending on ambient temperature and product instructions. With UV resin, cure each layer under the UV lamp for the specified time until fully set. Once solid, gently flex the silicone mould to remove the ring.
Demould Carefully and Finish Smoothly to avoid damaging the finished jewellery. Use a fine abrasive or nail file to smooth any rough edges if needed.

Tips and Troubleshooting
Small bubbles can sometimes appear around flowers. To minimise them, pre-seal dried flowers with a thin layer of resin, allow it to partially set, and then complete the pour. Always avoid pouring resin in humid or dusty environments. If the ring appears tacky after curing, give it extra time or ensure your UV lamp is powerful enough for the curing depth.
Finishing Touches and Presentation
Polish your finished rings for extra shine using fine abrasive pads or polishing compounds. Consider packaging your rings in clear boxes or gift pouches for a professional, thoughtful touch—perfect for gifting or selling your creations.

- Natural Dried Flowers for Art Projects and Epoxy Resin CastingPrice range: £5.45 through £7.85Natural Dried Flowers suitable for epoxy resin projects and crafts, offering ready-to-use blooms with a natural aesthetic.
- "Evershine Collection" – Artisan Jewellery Epoxy Resin Kit with 100+ Accessories£20.85This kit contains 500g of 1:1 crystal-clear epoxy resin and 100+ accessories suitable for making jewellery and craft items.
 "EpoxyTable 5-Five" – Deep Pour Epoxy Resin for Tables and Large Projects – Up to 5cmPrice range: £16.85 through £1,099.85"EpoxyTable 5-Five" is designed for deep pour projects up to 5cm thick, suitable for creating and coating tables with stable and clear results.
 "Fairy Wings" – UV Resin for Volumetric Reliefs, Dual Colour, 30mlOriginal price was: £15.15.£2.85Current price is: £2.85."Fairy Wings" UV Resin is a ready-to-use acrylic gel designed for detailed 3D reliefs, suitable for artists and crafters.
Frequently Asked Questions
Can I use fresh flowers inside resin rings?
Fresh flowers contain moisture that can cause resin to cloud and disrupt curing. Always use thoroughly dried flowers for best results.
How do I prevent bubbles in resin with flowers?
Seal dried flowers with a thin resin layer before the main pour and pour resin slowly to minimise trapped air.
How long does a resin and flower ring take to cure?
Curing time depends on the resin. Epoxy typically cures in 12–24 hours, while UV resin cures in a few minutes under a strong lamp.
How do I make my resin ring glossy and smooth?
Sand rough edges gently and polish the ring using fine sanding pads or polish for a glass-like finish.
Can I make resin flower rings with UV resin?
Yes, UV resin works well for shallow moulds or thin rings. Cure each layer fully under a UV lamp for best clarity and strength.
What moulds work best for resin rings?
Flexible silicone ring moulds are easiest to use. Ensure they are clean and dry before pouring resin for a flawless result.