 Free shipping on orders over £29,85


How to make flowers in resin
Preserve botanical beauty with easy resin casting techniques


Transforming real flowers into lasting decorative pieces is both rewarding and accessible with resin casting. This guide covers the essential steps to preserve natural beauty in resin, showcasing techniques for flawless, bubble-free results. Whether you’re creating unique jewellery or decorative accents, this guide provides everything you need to succeed with embedded flowers in resin.
What You’ll Need
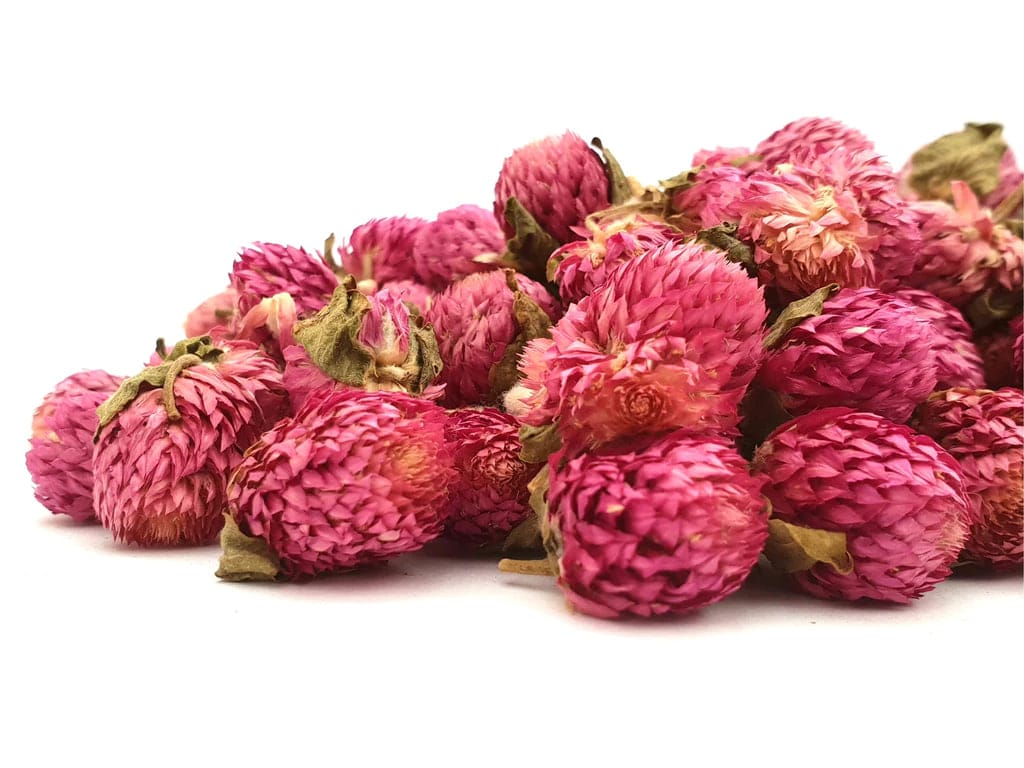
- Natural Dried Flowers for Art Projects and Epoxy Resin Casting: Carefully selected and prepared blooms, ensuring vibrant colour and structure.
- “Evershine Collection” – Artisan Jewellery Epoxy Resin Kit with 100+ Accessories: Provides high-transparency resin, ideal for high-clarity casting and dependable results.
- Flower Shaped Silicone Mould for Candles, Soap & Resin – 6.3×5.7cm: Reusable mould to shape your resin floral pieces.
- Protective gloves and apron
- Mixing cups and sticks
- Tweezers
- Heat gun or torch (optional, for bubble removal)

Inspiration for Floral Resin Creations
Explore how artists use Natural Dried Flowers for Art Projects and Epoxy Resin Casting in their layered resin pendants and decorations. Play with colour arrangements and mould shapes to capture nature’s timeless detail in your own projects.

Step 1: Prepare the Flowers and Mould
Begin by selecting dried flowers that are fully dehydrated and free of moisture—this is crucial to prevent discolouration or cloudiness. Always use dried flowers for resin projects to guarantee longevity and clarity. Arrange the flowers ahead of time to plan your design, and ensure your silicone mould is clean and dry. A flower-shaped mould is ideal for creating decorative pieces such as jewellery pendants or ornaments.
Handle delicate blooms with tweezers to avoid damage. Trim stems and petals if necessary to fit your chosen mould shape without crowding or bending the flowers.
Step 2: Mix the Resin Correctly
Wearing gloves, follow the manufacturer’s instructions to mix your epoxy resin and hardener in the recommended ratio. Mix the resin precisely following the instructions to achieve a clear, hard result. Stir slowly for several minutes to fully blend while minimising air bubbles.
Poorly mixed resin can result in sticky or cloudy finishes. If using an all-in-one kit, like the Evershine Collection, its 1:1 mixing ratio simplifies this step. Allow the mixture to rest briefly after stirring to help bubbles rise to the surface.
Step 3: Pour the Resin and Add Flowers
Start by pouring a thin layer of resin into the bottom of the silicone mould. This creates a base and helps anchor your flowers. After this base partially sets, arrange your dried flowers in the desired pattern. Pour or spoon more resin over the flowers in stages, fully submerging them.
Pour in thin layers to avoid trapping air around the petals and details. Use a heat gun or torch lightly to eliminate surface bubbles if necessary. Gently press flowers down with a stick if they float up. Gradual pouring is key to building up depth, especially for three-dimensional pieces.
Step 4: Cure, Demould and Finish
Allow the filled mould to cure undisturbed as directed on the resin packaging—typically 24 to 48 hours. Keep the casting covered and in a dust-free area. Once fully set, carefully remove the piece from the mould by flexing the silicone gently around the edges.
If desired, sand any rough edges with fine-grit sandpaper once cured. Wipe down with a soft, damp cloth to remove any dust. Finished resin flower pieces can be drilled or fitted with findings for use as jewellery, keyrings, or as unique decorative objects.

Tips, Troubleshooting and Common Mistakes
Always check for trapped air bubbles before final curing; most surface bubbles can be popped with gentle heat. Don’t use fresh flowers—moisture causes resin to cloud or bloooms to decay. For bold, clear results, use high-quality moulds and fully dried botanicals.
If your resin piece remains tacky after the recommended cure time, it’s likely due to inaccurate mixing. Precise measuring and thorough blending are essential at every stage for professional, glassy outcomes.
Expert Finishing Touches
Polish finished castings gently to enhance their clarity, or add metallic findings for a personalised touch. Try experimenting with pigment powders and layered flower placements for truly unique floral designs.

- Natural Dried Flowers for Art Projects and Epoxy Resin CastingPrice range: £5.45 through £7.85Natural dried flowers prepared for use in epoxy resin and art projects, suitable for crafters and DIY enthusiasts.
- "Evershine Collection" – Artisan Jewellery Epoxy Resin Kit with 100+ Accessories£20.85Complete epoxy resin set with 500g high-transparency resin and accessories, suitable for making resin jewellery including floral designs.
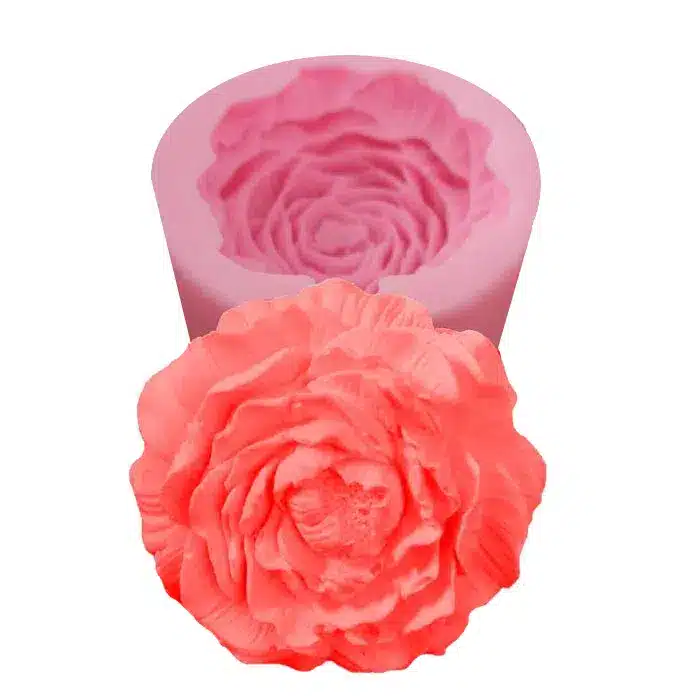 Flower Shaped Silicone Mould for Candles, Soap & Resin – 6.3×5.7cmPrice range: £4.85 through £5.15This silicone flower mould suits resin crafting, soap, and candle making with a reusable and safe design.
Frequently Asked Questions
Can you put fresh flowers in resin?
No—only fully dried flowers should be used in resin casting to prevent moisture-related problems and preserve clarity.
How do you prevent bubbles in resin flowers?
Pour resin in thin layers and use a heat gun or torch lightly to pop any surface bubbles around the flowers.
Do you have to dry flowers before using in resin?
Yes—flowers must be fully dried to avoid trapping moisture, which causes cloudiness and decay inside resin.
How long does resin take to cure?
Cure times vary by product but generally range from 24 to 48 hours for small castings in silicone moulds.
What are the best moulds for resin flowers?
Silicone moulds work best—they are flexible, reusable, and easy to demould without damaging delicate resin flowers.
What if my resin stays tacky?
Tacky resin is usually the result of incorrect mixing ratio or incomplete blending. Measure precisely and mix thoroughly for best results.