 Free shipping on orders over £29,85

How to Make Resin Earrings
Step-by-step guide for crafting unique earrings at home


Transforming raw resin into personalised earrings opens up endless creative possibilities. Whether you are new to crafting or keen to explore unique jewellery techniques, making resin earrings at home gives you full control over colours, inclusions, and style. This guide walks you through the entire process—from preparing your workspace to finishing professional-quality earrings you’ll be proud to wear or gift.
What You’ll Need
- “Evershine Collection” – Artisan Jewellery Epoxy Resin Kit with 100+ Accessories
- “UV–Creation” – Fast Acrylic Resin, 3 Minute UV Cure
- “Fairy Wings” – UV Resin for Volumetric Reliefs, Dual Colour, 30ml
- Stainless Steel Earring Hooks for Jewellery Making – Lead & Nickel Free

Inspiration for Your First Resin Earrings
Experiment with colours, embedded details, and shapes when making earrings—resin jewellery lends itself to endless personalisation. Look to trending designs or create your own by combining dried flowers, metallic flakes, or pigmented swirls. Photograph your creations to track your progress and inspire future pieces.
Step 1: Prepare Your Workspace and Moulds
Begin by selecting a well-ventilated workspace, protecting surfaces with silicone mats or parchment paper. Gather your tools and set out your chosen earring moulds—ensure they are clean and dry to avoid imperfections. Use a clean silicone mould to achieve crisp details and make demoulding effortless. Dust and lint can show in clear resin, so a lint roller or tape can help keep surfaces spotless. Plan your design, considering embedded items such as dried flowers or glitter before mixing resin.

Step 2: Mix and Colour Your Resin
Depending on your choice of resin, prepare the mix as instructed. With classic epoxy kits, like those found in the “Evershine Collection” – Artisan Jewellery Epoxy Resin Kit with 100+ Accessories, measure equal parts resin and hardener. Mix your resin slowly and completely for at least two minutes, scraping the sides to avoid unmixed portions that cause soft spots or cloudiness. For “UV–Creation” – Fast Acrylic Resin, 3 Minute UV Cure or “Fairy Wings” – UV Resin for Volumetric Reliefs, Dual Colour, 30ml, you can use directly from the bottle with no mixing required. Add pigments or dried flowers after mixing but before pouring, checking for bubbles and using a toothpick to release any trapped air.
Step 3: Pour and Cure the Resin
Carefully pour your mixed resin into the mould cavities, working slowly to minimise bubbles. If using UV resin, apply thin layers and cure each under a strong UV lamp for the recommended time. For epoxy resin, leave undisturbed until the resin is fully cured as per the manufacturer’s guidance. Cure fully before demoulding—rushing this can distort your pieces. Inspect each earring before removing; a flexible mould helps to remove castings cleanly with minimal handling.
Step 4: Demould and Finish Your Earrings
Once cured, gently remove the earrings from their moulds. Use fine sandpaper or a nail file to smooth any rough edges or uneven backs. If your design includes additional 3D relief, decorate with “Fairy Wings” – UV Resin for Volumetric Reliefs, Dual Colour, 30ml to add texture or fine embellishments. Wipe each piece clean before assembling—the sparkling finish is best without fingerprints.

Step 5: Attach Hooks and Assemble
Using jump rings or the fixings provided, connect your resin charms to earring hooks. For sensitive ears, always select findings such as Stainless Steel Earring Hooks for Jewellery Making – Lead & Nickel Free. Attach findings securely by ensuring all metal loops are tightly closed. For best results, you may use small pliers meant for jewellery making. Double check the integrity of each earring before wearing or gifting.
Tips and Troubleshooting for Resin Earrings
Work in a dust-free space to keep surfaces pristine. Always mix enough resin for your project as underfilling can leave earrings thin and brittle while overfilling may cause overflow and need extra sanding. Be patient during curing; unmoulding too early can result in warped or sticky pieces. Clean tools thoroughly after use to keep your next batch flawless. Practice with offcuts before trying intricate designs, especially when learning to embed flowers or pigment swirls.
Finishing and Presenting Resin Earrings
Presentation matters—gift your handmade resin earrings in a small box or on a decorative card. For a professional finish, store earrings away from direct sunlight to prevent yellowing and wipe gently with a soft cloth before gifting or wearing.

- "Evershine Collection" – Artisan Jewellery Epoxy Resin Kit with 100+ Accessories£20.85The Evershine Collection is a complete jewellery kit with 500g clear resin and over 100 accessories, suitable for beginners crafting resin jewellery.
- "UV–Creation" – Fast Acrylic Resin, 3 Minute UV CurePrice range: £7.85 through £59.85This UV acrylic resin cures in 3 minutes under UV light for clear, glossy jewellery suited to resin earring crafting.
 "Fairy Wings" – UV Resin for Volumetric Reliefs, Dual Colour, 30mlOriginal price was: £15.15.£2.85Current price is: £2.85."Fairy Wings" UV Resin is a ready-to-use acrylic gel designed for detailed 3D reliefs and decorations, fitting the theme of resin earrings.
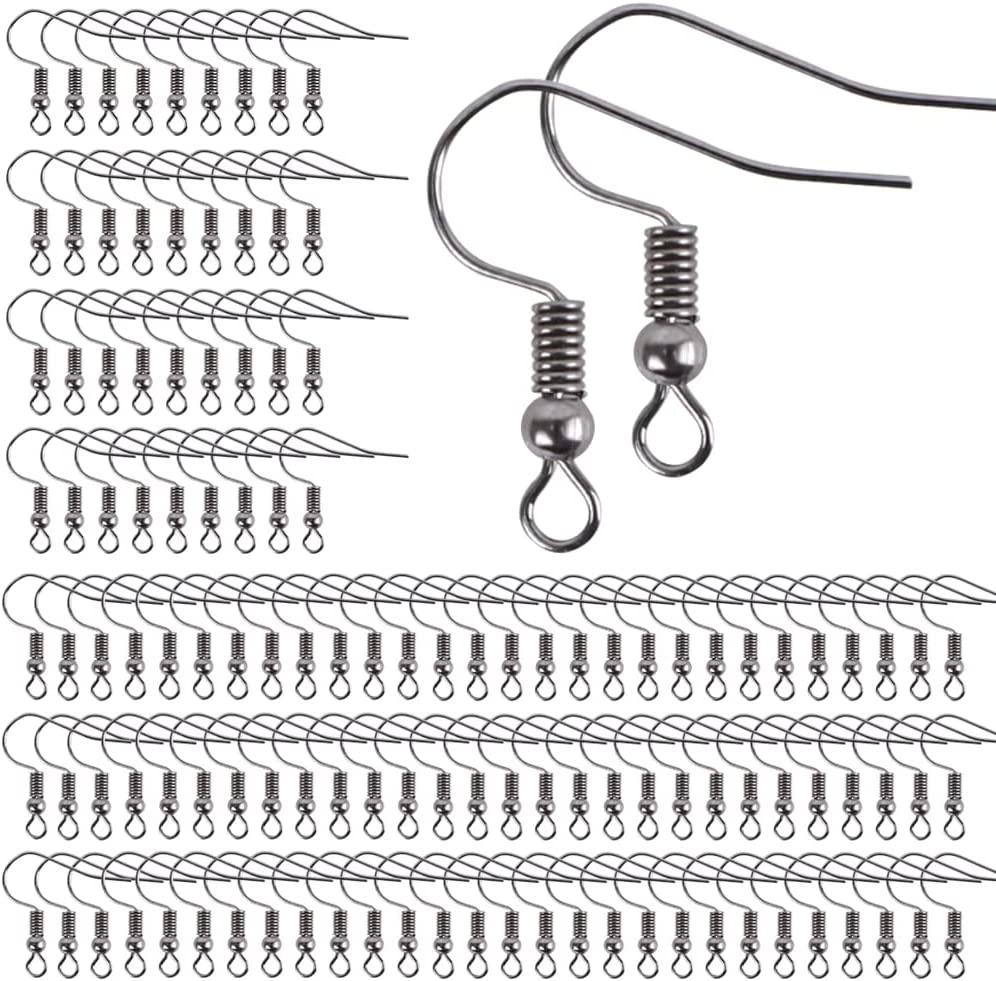 Stainless Steel Earring Hooks for Jewellery Making – Lead & Nickel Free£7.85Stainless Steel Earring Hooks suitable for DIY crafts and jewellery projects for those with sensitive skin.
Frequently Asked Questions
Which resin is best for making jewellery earrings?
Choose UV resin for quick results and epoxy resin kits for larger projects with embedded elements or layered effects.
How do I prevent bubbles when casting resin earrings?
Mix resin slowly, pour carefully, and use a toothpick or torch to release visible bubbles before curing.
Can I embed real flowers or glitter in my resin earrings?
Yes, ensure flowers are fully dried and add them just after mixing resin for best clarity and effect.
How long should I wait before removing resin earrings from the mould?
Wait until resin is completely cured: follow the kit's instructions, allowing extra time if in doubt.
Are stainless steel earring hooks safe for sensitive ears?
Yes, lead and nickel-free stainless steel hooks are suitable for most people with sensitive skin.
What types of pigments or dyes can I use in resin earrings?
Use pigments designed for epoxy or UV resin; avoid water-based colours that may affect curing or clarity.
How do I clean and store resin earrings?
Wipe with a soft, damp cloth to clean and store in a cool, shaded container to prevent discolouration.