 Free shipping on orders over £29,85


How do you embed flowers in resin?
Step-by-step guide to preserving blooms in clear epoxy


Preserving the delicate beauty of flowers in clear resin opens creative possibilities for jewellery, home décor, and personal keepsakes. This guide walks you through every stage of embedding dried flowers in resin, from preparation to the final glossy finish. Whether you’re a beginner or an experienced crafter, mastering these techniques helps ensure lasting clarity and a truly personal result.
What You’ll Need
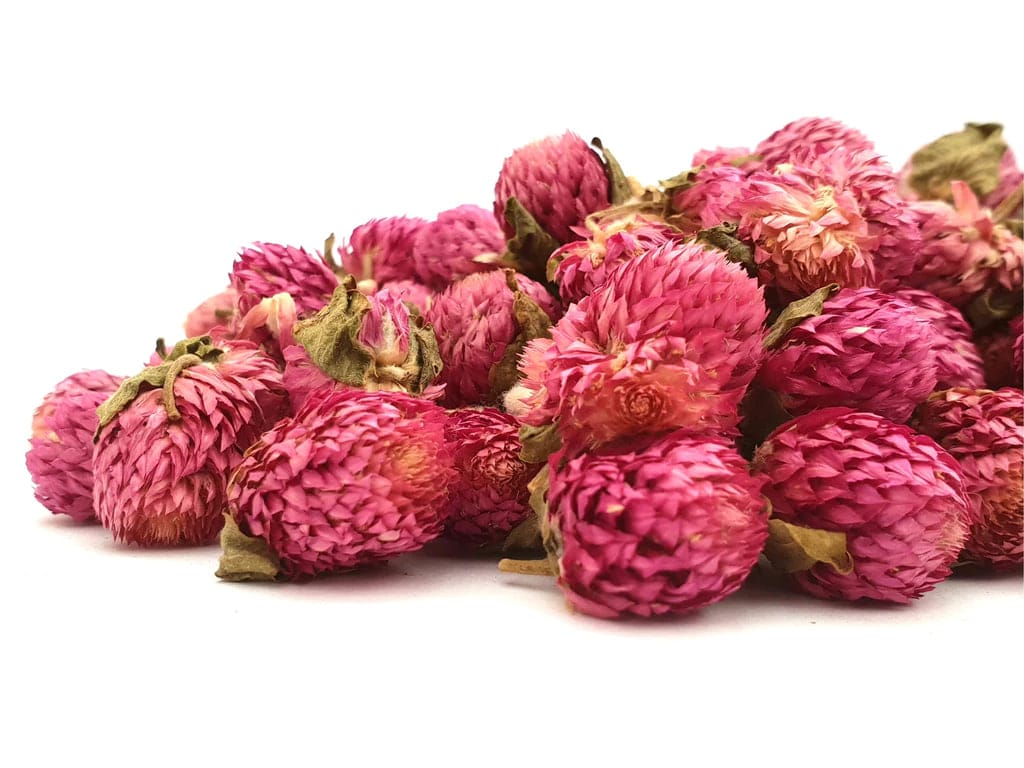
- Natural Dried Flowers for Art Projects and Epoxy Resin Casting: Dried and ready for seamless embedding.
- “Trasparente” – Multipurpose Clear Epoxy Resin for Casting – Up to 2cm: Suited for fine or thin castings and jewellery pieces.
- “EpoxyTable 5-Five” – Deep Pour Epoxy Resin for Tables and Large Projects – Up to 5cm or “Epoxytable 10-Ten” – Deep Pour Epoxy Resin for Tables, Up to 10cm Casting: For thicker castings or large décor.
- Moulds, mixing sticks, gloves, and scales for precise measuring.

Inspiration: Embedded Flower Resin Art
Resin-embedded flowers create stunningly clear jewellery and décor, capturing natural beauty for years to come. Browse our gallery for real-world inspiration and arrangement ideas, from floral coasters to preserved wedding bouquet mementoes.
Step 1: Prepare and Arrange Your Flowers
Select only fully dried flowers for resin embedding, as any moisture can cause cloudiness, discolouration or unwanted reactions during curing. Dry your blooms thoroughly using pressing or air-drying, ensuring all parts are crisp to the touch. Snip stems as needed for your mould and carefully arrange the flowers in your chosen shapes before handling resin—tweezers help with delicate positioning. Plan your layout in advance, as the flowers’ placement determines your piece’s visual impact.

Step 2: Mix and Pour the Epoxy Resin
Measure the required quantity of resin and hardener, following the manufacturer’s recommended ratio exactly to ensure a proper cure. Mix resin thoroughly according to instructions, slowly folding the components to prevent bubbles. For small, shallow projects such as pendants or coasters, “Trasparente” – Multipurpose Clear Epoxy Resin for Casting – Up to 2cm is ideal due to its clarity and self-levelling properties. Always wear gloves and work in a dust-free environment for the best result.
Step 3: Embed Flowers and Pour in Layers if Needed
Pour a thin layer of resin into the mould first, just enough to cover the base. Gently add your arranged flowers, pressing them lightly—they must be fully surrounded by resin. For larger or deeper castings, “EpoxyTable 5-Five” – Deep Pour Epoxy Resin for Tables and Large Projects – Up to 5cm or “Epoxytable 10-Ten” – Deep Pour Epoxy Resin for Tables, Up to 10cm Casting allow you to build up in layers—work in layers if casting thicker projects. Wait for partial curing between pours to avoid overheating or resin clouding, gently popping bubbles with a toothpick or heat tool as you go.
Step 4: Finishing and Curing
Once your final resin layer is poured and flowers are fully embedded, cover the mould to prevent dust contamination. Let the piece cure undisturbed for the full recommended time. Allow ample curing time for lasting clarity—patience is key for excellent results. When fully hardened, remove the piece from the mould and lightly sand any edges if needed. Your resin-embedded flowers are now preserved, ready to become jewellery, ornaments, or showpieces.
Tips, Common Mistakes, and Troubleshooting
Avoid moisture to prevent blooming or cloudiness—ensure flowers and moulds are bone dry before use. Always measure and mix resin precisely, as inaccurate ratios lead to tackiness or soft spots. Remove bubbles as you pour, since trapped air can mar clarity. If pouring in layers, stick to depth guidelines for your chosen resin type to avoid overheating. Dust, humidity and hasty demoulding are frequent pitfalls—take your time and cover projects while curing for optimum appearance.
Showcase: Finishing Touches and Display
After embedding, polish and display your floral resin creations for lasting impact. Display in natural light to highlight preserved colours and clarity.

- Natural Dried Flowers for Art Projects and Epoxy Resin CastingPrice range: £5.45 through £7.85Natural Dried Flowers designed for embedding in resin as well as various art projects with a natural aesthetic.
 "Trasparente" – Multipurpose Clear Epoxy Resin for Casting – Up to 2cmPrice range: £8.45 through £948.85"Trasparente" is a clear epoxy resin suitable for detailed casting and tabletops with up to 2cm thickness, providing a high scratch resistance finish.
- “Epoxytable 10-Ten” – Deep Pour Epoxy Resin for Tables, Up to 10cm CastingPrice range: £33.85 through £334.85“Epoxytable 10-Ten” is suitable for creating tables and artistic projects requiring deep resin casting up to 10cm thickness.
 "EpoxyTable 5-Five" – Deep Pour Epoxy Resin for Tables and Large Projects – Up to 5cmPrice range: £16.85 through £1,099.85"EpoxyTable 5-Five" is suitable for deep pouring projects up to 5cm including tabletops and flower preservation.
Frequently Asked Questions
Can I use fresh flowers when embedding in resin?
No, always use thoroughly dried flowers. Fresh flowers contain moisture that disrupts curing and leads to discolouration or mould.
How do I avoid getting bubbles when embedding flowers?
Mix slowly and pour in layers. Use a heat tool or toothpick to remove surface bubbles before curing.
Which resin should I choose for embedding flowers?
Select clear epoxy resin suitable for your casting depth; thin pieces use "Trasparente", while deeper projects use EpoxyTable resins.
Can I pour all the resin at once for thick flower castings?
For thicker projects, pour in layers and allow curing between layers to avoid overheating or cloudy finishes.
How do I finish and polish a cured flower resin piece?
Allow full curing, demould gently, and sand any sharp edges. Polish for a clear, professional result.
What moulds work best for flower embedding in resin?
Silicone moulds are recommended for easy demoulding and maintaining flower detail. Choose shapes that fit your intended design.