 Free shipping on orders over £29,85


how to sand resin
Achieve professional smoothness with the right sanding approach


Sanding resin is essential to achieve a smooth, professional-grade finish on your jewellery, coasters, casting projects or countertops. Whether you are a beginner or an experienced resin artist, this guide will ensure you master the technique of resin sanding—helping you remove imperfections and prepare your piece for polishing or finishing coat.
What You’ll Need
- A4 Waterproof Sanding Paper Assorted Grits Pack of 4 for Crafting and Woodworking — Assorted grits for progressive sanding techniques
- “Ebonite Abralon” – Sanding Pads 360-4000 Grit for Resin and Wood — Foam-backed pads for even, consistent polishing
- Mirka Sanding Interface Pad 150mm x 10mm – For NET Sanding Discs — Interface pad for gentle surface smoothing (for use with sanding discs or polishers)
- “Epoxy Polish” – Epoxy Resin Polishing System — Final polish for a glossy surface
- Bowl of clean water (for wet sanding)
- Microfibre cloths
- Optional: rotary or orbital sander
- Nitrile gloves, dust mask, and protective eyewear
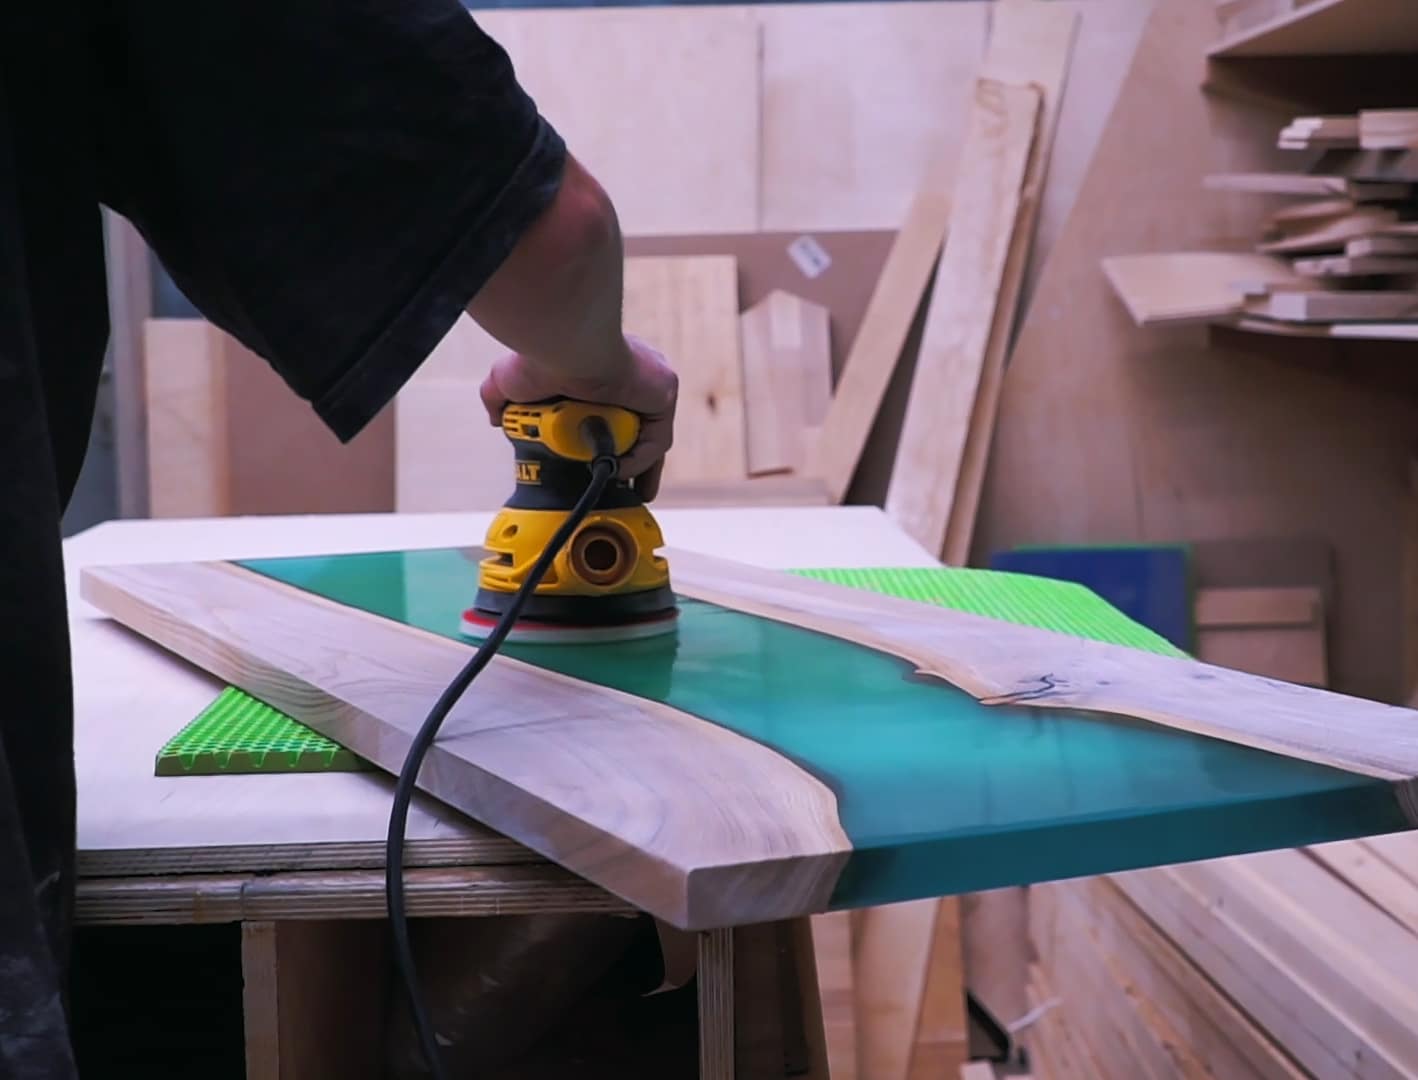
Visual Guide: Sanding and Polishing Resin Surfaces
See how progressive sanding and polishing transforms your resin from a rough state to a flawless, high-gloss finish. Using specialised wet sanding papers and foam-backed pads ensures even pressure and a uniform sheen on both large panels and fine jewellery.
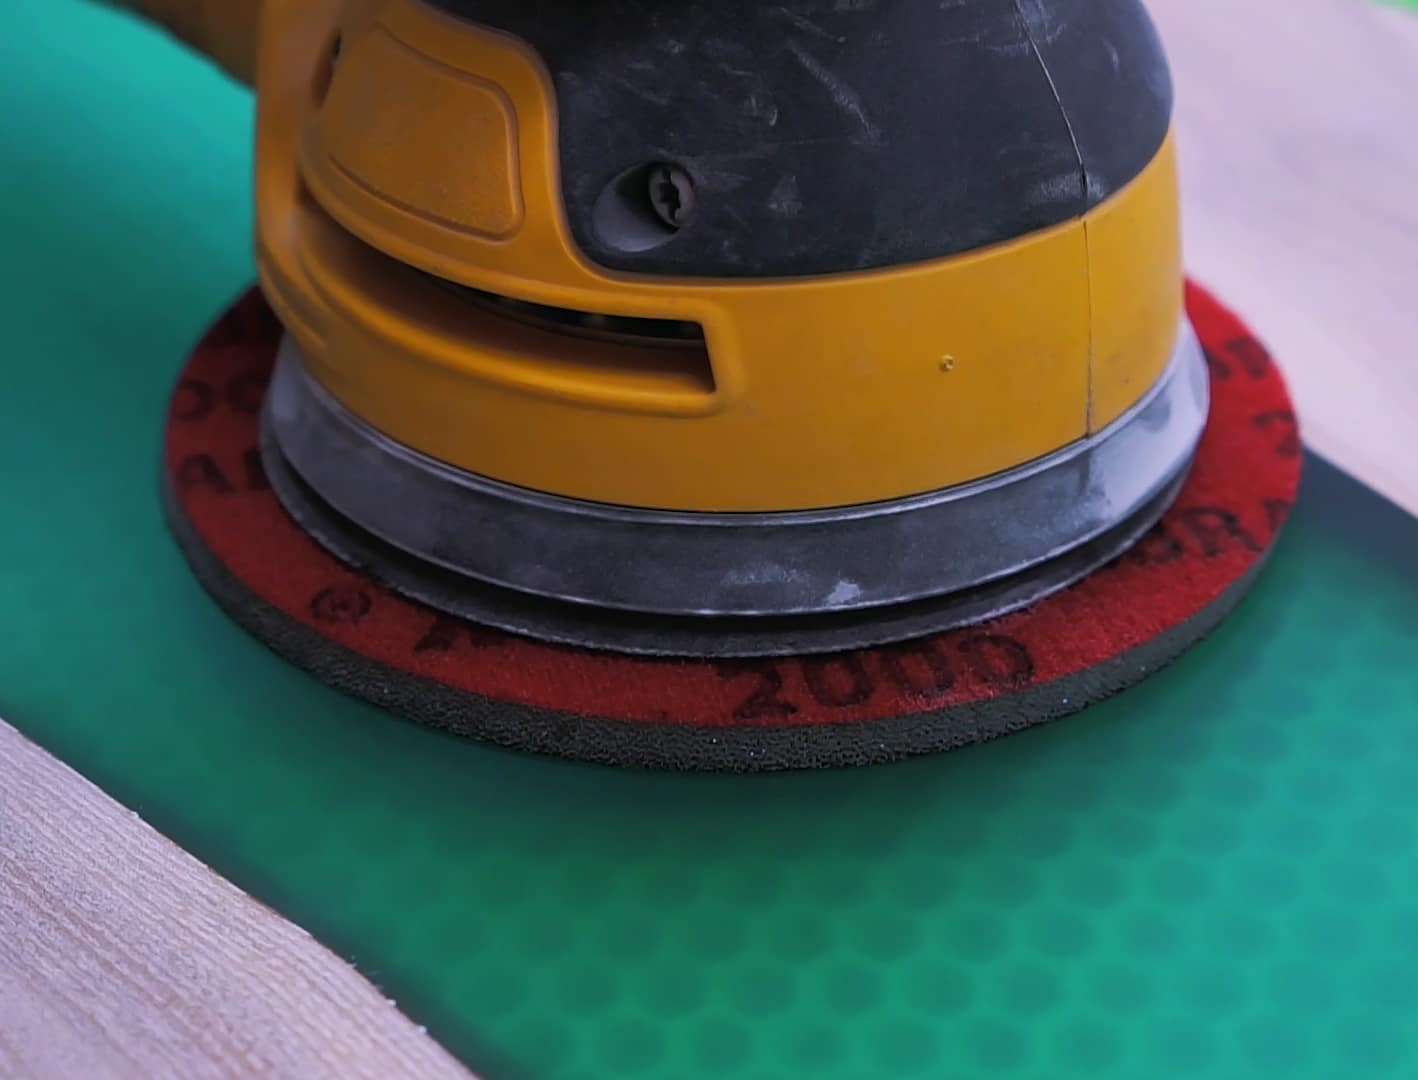
Step 1: Start with the Right Grit
The right starting grit for sanding resin depends on your casting’s surface. For pieces with larger imperfections or rough edges, begin with a coarser grit, such as 320 or 400. For lightly textured or cured resin, you can start at 800 grit. Always sand in a circular motion and check your progress frequently to avoid over-sanding any area.
If you are working on a flat or shaped piece, ensure the surface is properly supported. Wear gloves and eye protection to prevent irritation from resin dust.
When tackling intricate resin items, A4 Waterproof Sanding Paper offers excellent control, while “Ebonite Abralon” Sanding Pads work well on larger, contoured surfaces due to their foam backing.
Step 2: Use Wet Sanding Techniques
Wet sanding is crucial for resin. It softens abrasive action, minimises heat, and reduces dust. Dip your sanding paper or pad into water, ensuring it’s thoroughly moistened but not dripping. Sand the resin gently, rewetting as necessary to keep the abrasion smooth and avoid clogging the grit with resin particles.
Wet sanding helps prevent scratches and delivers a more uniform, stain-free appearance. Always wipe the piece clean with a microfibre cloth between each grit change.
The “Ebonite Abralon” – Sanding Pads are ideal for wet sanding due to their design, allowing efficient water flow and even surface pressure.
Step 3: Work in Stages for Best Results
Patience is key when sanding resin. Move sequentially through the grits—for example: 400, 800, 1200, 2000, up to 4000 as needed for a high-gloss finish. Each time you move to a higher grit, you refine the surface further and remove the previous grit’s micro-scratches.
Change sanding direction slightly for each grit to easily spot areas needing further smoothing. Do not skip grit steps, as this can increase the time and effort to achieve a flawless result.
If you are using a rotary sander, the Mirka Sanding Interface Pad 150mm x 10mm buffers pressure, making sanding safer and more consistent, especially on curved resin objects.
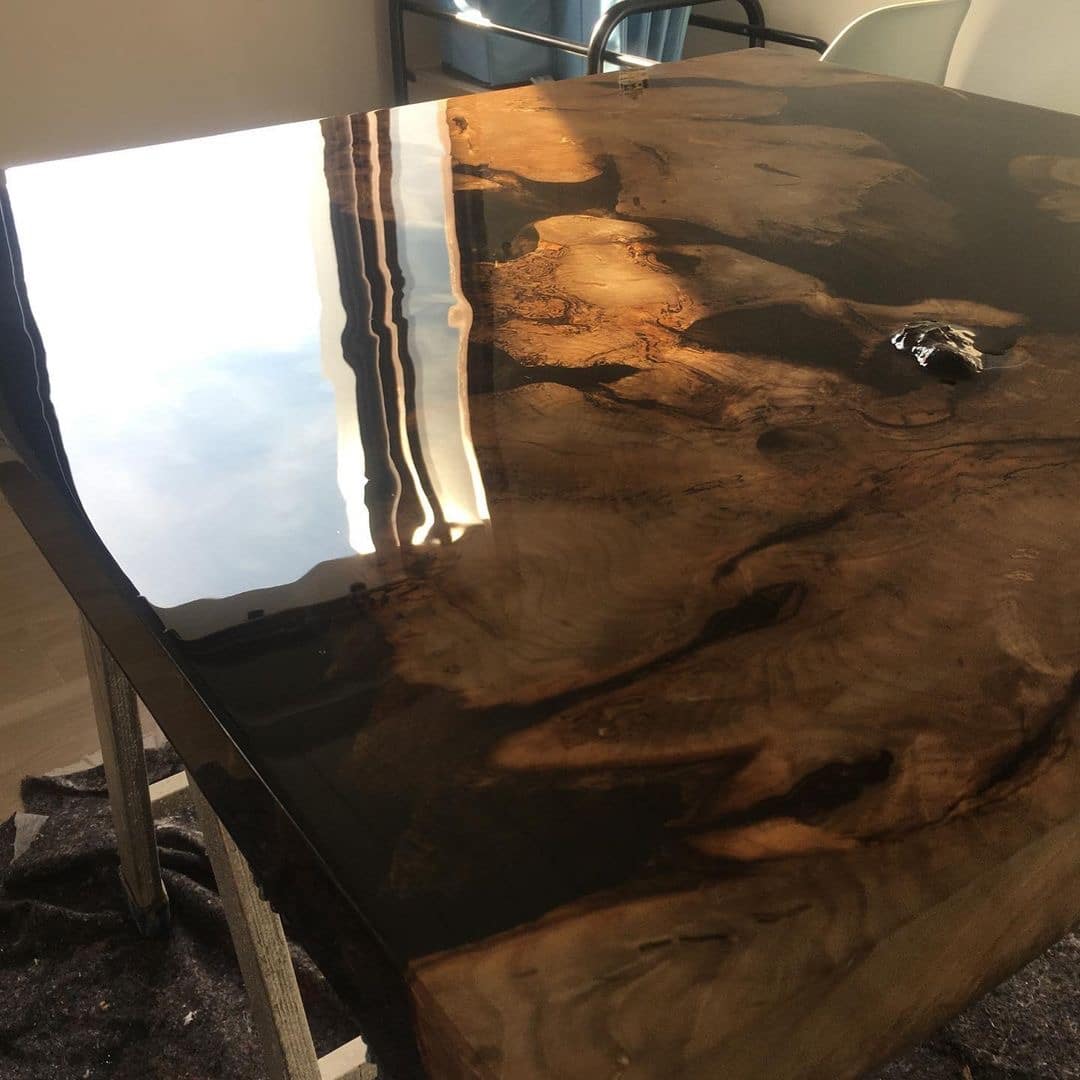
Step 4: Finish with Careful Polishing
After reaching your finest grit, the resin surface should feel satin-smooth but may appear hazy. At this stage, polishing removes micro-scratches and brings out a mirror shine. Apply a dedicated epoxy polish using a microfibre cloth or a soft polishing pad in gentle circular motions.
For a premium finish, use “Epoxy Polish” – Epoxy Resin Polishing System following its instructions. It is compatible with both manual and rotary polishing, delivering a truly glass-like sheen.
Wipe the resin thoroughly after polishing and inspect it under good lighting for any dull spots that may need retouching.

Avoid These Common Resin Sanding Mistakes
- Rushing between grits: Always ensure previous sanding marks are fully removed before progressing to a finer grit.
- Dry sanding only: Dry sanding creates excess dust and increases scratch risk; wet sanding is always recommended.
- Using too much pressure: Let the abrasive do the work—increased pressure causes uneven finish and may damage your piece.
- Neglecting protection: Resin dust can irritate skin and eyes—always wear safety gear.
- Skipping polishing: For a clear, glossy finish, complete the sanding process with a proper resin polish.
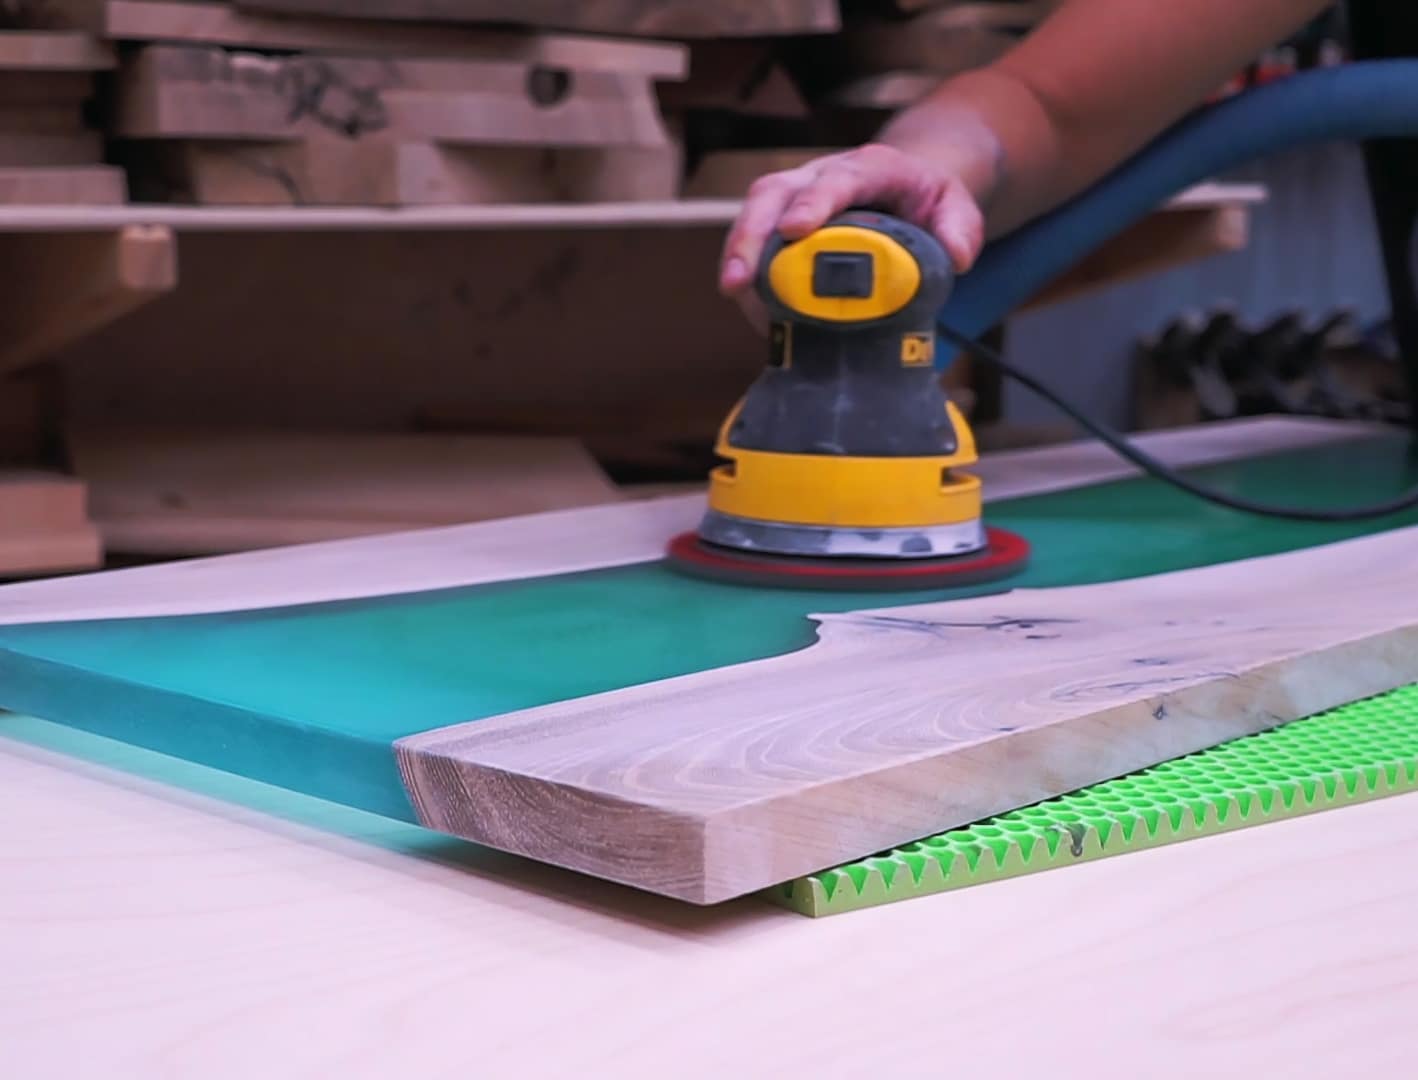
Techniques in Action: Step-by-Step Resin Sanding
Observe the critical points where technique makes the difference—how lightly applied pressure and patient grit progression result in a professional-grade look. Notice the clarity and smoothness achievable with the right combination of sanding tools and polish.
- "Ebonite Abralon" – Sanding Pads 360-4000 Grit for Resin and Wood£3.95Sanding pads designed for detailed finishing on epoxy resin and wood, suitable for wet or dry use in sanding and polishing.
- "Epoxy Polish" – Epoxy Resin Polishing SystemPrice range: £17.85 through £44.85"Epoxy Polish" is designed for achieving a glossy finish on resin projects, suitable for professionals and hobbyists following 'how to sand resin'…
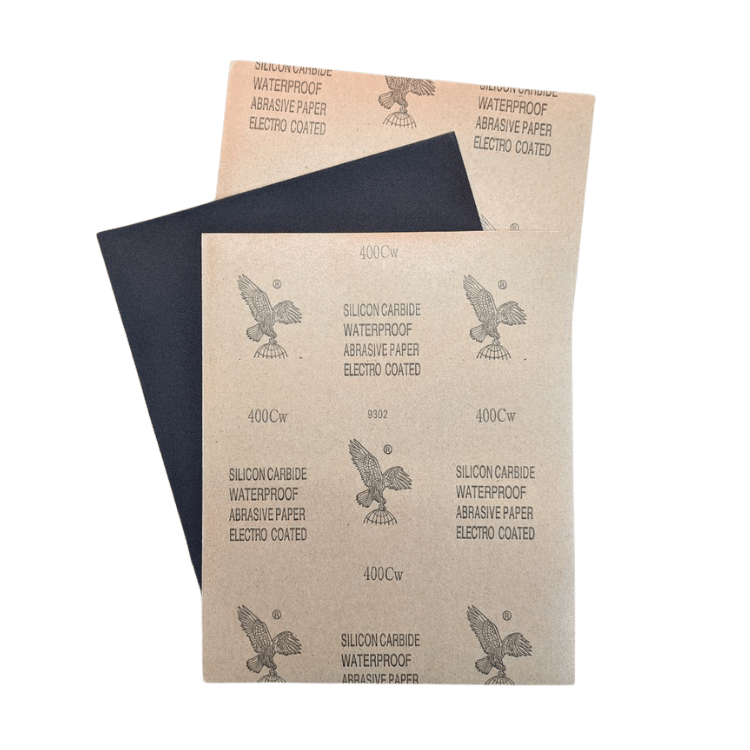 A4 Waterproof Sanding Paper Assorted Grits Pack of 4 for Crafting and Woodworking£6.85A4 Waterproof Sanding Paper is suitable for sanding resin and woodworking, offering versatile grits and waterproof design.
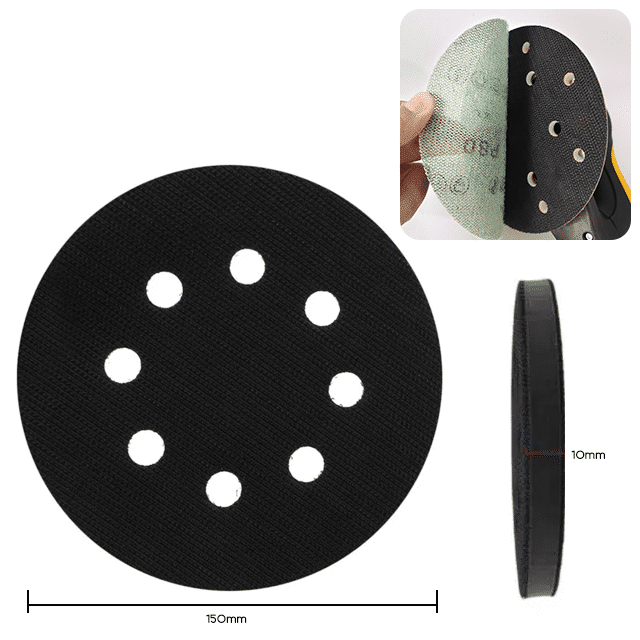 Mirka Sanding Interface Pad 150mm x 10mm – For NET Sanding Discs£5.85The Mirka 150mm sanding interface pad is designed for resin and other materials, supporting smoothing in sanding and polishing tasks.
Frequently Asked Questions
Do I need to wet sand epoxy resin?
Wet sanding is recommended for epoxy resin as it reduces heat, minimises dust, and creates a finer, even finish.
Which grit should I use first for sanding resin?
Start with 320–400 grit for major imperfections, or 800 grit for minor surface defects, progressing to finer grits for best results.
Can I use any sanding paper on resin?
Use waterproof sanding papers for resin projects, as these are suitable for both wet and dry sanding and prevent scratching.
How do I polish resin after sanding?
Use a resin-specific polishing system with a soft cloth or polishing pad to achieve a glossy, clear finish after finishing your sanding sequence.
Why does my sanded resin look cloudy?
A cloudy appearance often means sanding marks remain or the polish hasn't been worked in fully. Repeat fine sanding and polish thoroughly.
Is a rotary sander necessary for resin?
No, sanding can be done by hand, but a rotary or orbital sander saves time and offers a more uniform result on larger pieces.
Should I wear protection while sanding resin?
Yes, always use gloves, a dust mask, and safety eyewear when sanding resin to prevent skin and airway irritation.