 Free shipping on orders over £29,85


How do you polish sanded resin?
Step-by-step guide for restoring clarity and smoothness to resin


Polishing sanded resin is essential for achieving a clear, smooth and professional finish on your creative or restoration projects. Whether you are working on resin art, jewellery, functional objects or epoxy-coated wood, restoring gloss after sanding ensures your work looks its absolute best and is protected for long-term use. This guide will walk you through each stage, from preparing your resin all the way to the final gleaming polish, highlighting the necessary techniques and tools for beautiful, scratch-free results.
What You’ll Need
- “Ebonite Abralon” – Sanding Pads 360-4000 Grit for Resin and Wood: For wet or dry manual or machine sanding, offering a range of grit options ideal for resin.
- “Epoxy Polish” – Epoxy Resin Polishing System: For removing micro-scratches and achieving a stunning, glossy finish on sanded resin surfaces.
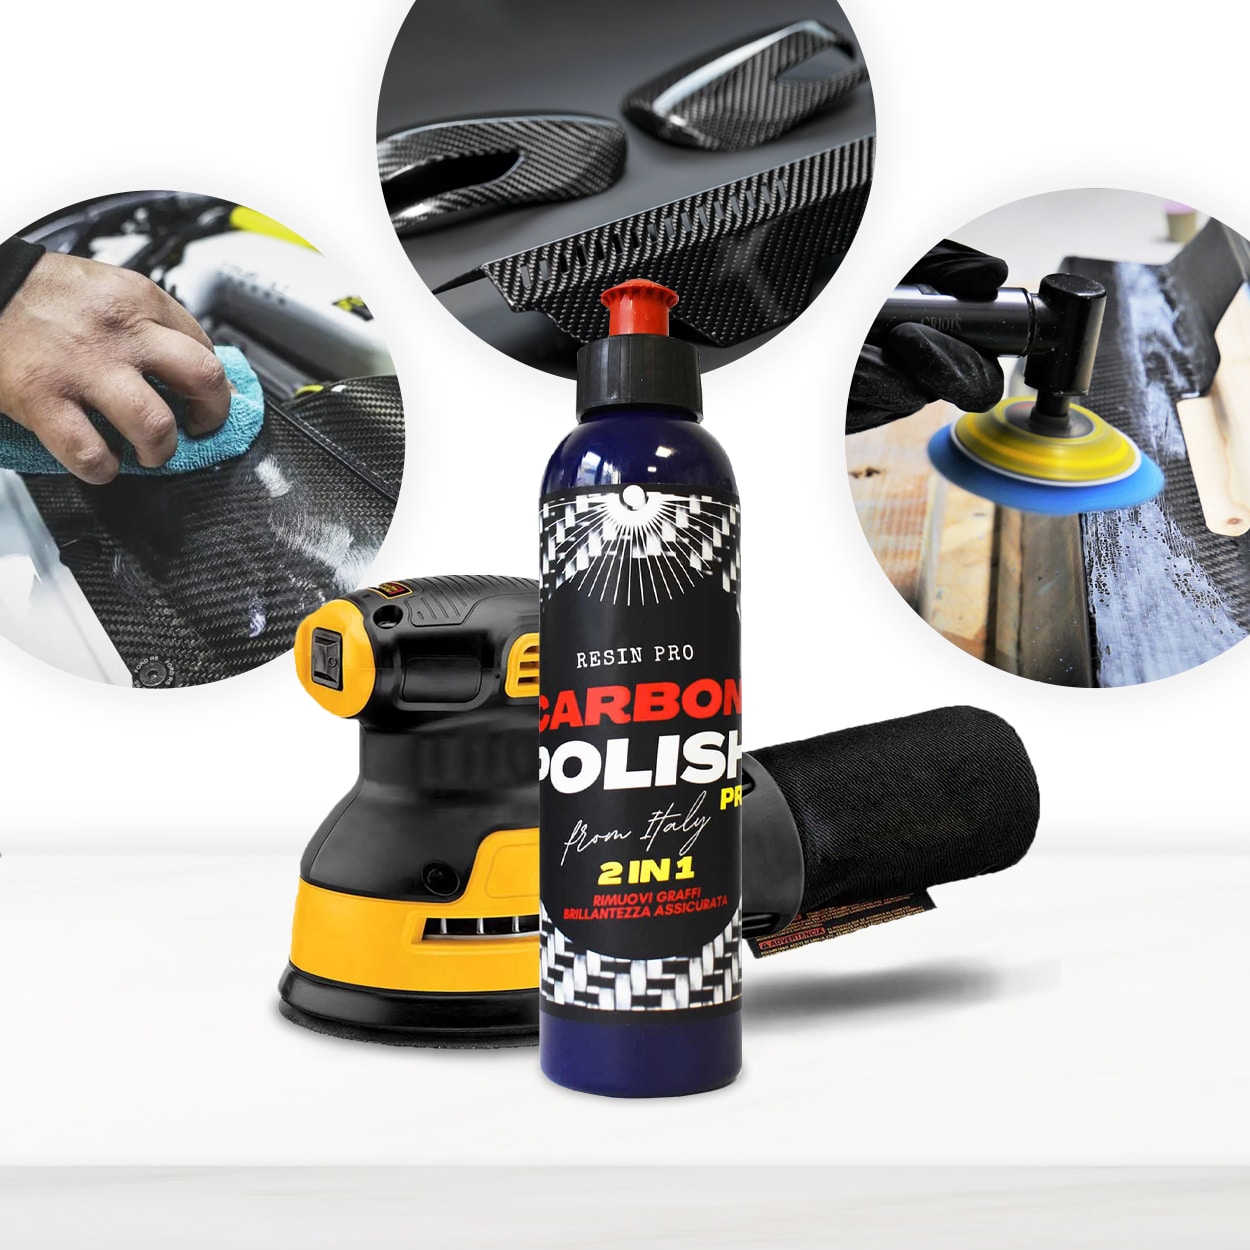
- “Carbon Polish” – Polishing System for Dark and Black Surfaces, 250ml: Specially formulated for dark or black resin where avoiding white residue is essential.
- 1200W Polisher for Sanding and Buffing – Variable Speed, D-Handle: For efficient, professional buffing and variable-speed control if machine polishing is required.
- Microfibre cloths, clean water, and protective gloves

See Your Resin Shine: Project Gallery
Be inspired by real resin polishing transformations! View before-and-after examples showing how sanded resin surfaces can be restored to clarity and gloss with proper sanding and polishing techniques. These real-world projects highlight the dramatic difference achieved using dedicated resin polishing systems.

Step 1: Thoroughly Clean and Inspect the Sanded Resin
Thoroughly clean and inspect the sanded resin before starting to polish. Remove all sanding dust and residue by rinsing the surface under clean water or wiping with a damp, lint-free cloth. Any leftover particles may scratch the resin when polish is applied and can dull your final finish. Allow the resin to dry completely, then check the piece under good lighting for remaining scratches or uneven spots.
At this stage, focus on cleanliness and be patient; perfect preparation is the foundation of a mirror-like shine. If scratches from coarse sanding are still visible, consider additional sanding before moving on.
Step 2: Sand Until Smooth Using Graduated Pads
Quality polishing starts with a well-prepared surface. Progress through sanding grits to refine the surface, starting from a lower grit (such as 360 or 500) and steadily working up to a high grit like 4000. This step is vital for removing deep scratches and providing the level base necessary for high-gloss polishing. Work in gentle, even strokes, keeping the surface and pad lightly damp if possible to minimise dust and heat build-up.
The “Ebonite Abralon” – Sanding Pads 360-4000 Grit for Resin and Wood make this process easier thanks to their range of grit and adaptability for both wet and dry techniques.
After each grit, wipe down the resin and examine for remaining matte areas or scratches, repeating as needed before advancing to finer pads.
Step 3: Polish the Resin for a Crystal-Clear Finish
Once the resin is evenly sanded and feels smooth, the next step is to apply a suitable resin polish and buff to a glossy finish. Use a microfibre cloth for small projects, or a variable-speed polisher for larger surfaces and best results. Apply a small amount of polish and work it in circular motions, maintaining moderate and even pressure.
The “Epoxy Polish” – Epoxy Resin Polishing System is ideal for standard and coloured resin, delivering an effective scratch-removal and mirror-like shine. For dark or carbon-effect surfaces, “Carbon Polish” – Polishing System for Dark and Black Surfaces, 250ml prevents the appearance of white marks, ensuring deep gloss without residue.
Working in manageable sections, buff until the polish begins to clear and a glossy reflection becomes visible. Remove excess polish with a clean microfibre cloth.

Step 4: Optional – Achieve Professional Results with a Polisher
If you are polishing a large piece or desire a flawless finish with minimal effort, consider using a specialist tool like the 1200W Polisher for Sanding and Buffing – Variable Speed, D-Handle. This tool provides even pressure and customisable speed settings to produce a swirl-free, high-gloss finish.
Control pressure and speed to avoid overheating or leaving hologram marks. Use a compatible polishing pad as per product recommendations and take breaks if the resin becomes warm. Professional tools enable both sanding and polishing for consistent and impressive results.

Tips, Common Mistakes and Troubleshooting
When polishing resin, patience and attention to detail yield the best outcomes. Always clean between sanding stages to prevent abrasive contamination. Choose the right product for your resin’s colour and type, especially if working with dark or black pieces that require a non-whitening polish.
If you notice cloudiness after polishing, work the polish longer with appropriate pads or switch to a finer grit and repeat the polishing process. Rushing through sanding or skipping grades is the most common mistake, often resulting in an uneven final finish.
Expert Polishing: Detailed Techniques in Action
Watch advanced polishing techniques and learn how professionals approach sanded resin finishing. Videos and step-by-step visuals demonstrate sanding, buffing, and polishing on a range of resin surfaces to help you master the perfect result every time.

- "Epoxy Polish" – Epoxy Resin Polishing SystemPrice range: £17.85 through £44.85"Epoxy Polish" is a resin polishing system designed for a glossy finish and scratch removal suitable for resin and similar materials.
- 1200W Polisher for Sanding and Buffing – Variable Speed, D-Handle£85.95The 1200W Polisher is designed for sanding and polishing epoxy resin with variable speed and a sturdy grip.
 "Carbon Polish" – Polishing System for Dark and Black Surfaces, 250mlPrice range: £17.85 through £44.85"Carbon Polish" is designed for polishing dark and black surfaces, suitable for epoxy resin projects under the theme How do you polish sanded resin?
 "Ebonite Abralon" – Sanding Pads 360-4000 Grit for Resin and Wood£3.95Ebonite Abralon Sanding Pads offer a traction-designed solution for polishing resin and wood, suitable for detailed finishing tasks.
Frequently Asked Questions
Can I polish sanded resin by hand or machine?
Both methods are possible. Polishing by machine is faster and often achieves a higher sheen, but careful hand polishing works well on small items.
What polish should I use on dark or black resin?
Use a dedicated formula such as Carbon Polish to avoid white streaks or residue on dark surfaces.
Why does my polished resin look cloudy or dull?
This usually means sanding scratches remain or the polish wasn't sufficiently worked in. Use finer grits and polish again until clear.
Is wet or dry sanding better for resin polishing?
Wet sanding often gives a smoother finish and reduces heat or dust, but both methods can work depending on the project.
How long does polished resin retain its gloss?
If cared for properly, polished resin keeps its gloss for years. Avoid abrasive cleaners and protect surfaces from strong UV exposure.
Do I need special pads or polish for epoxy resin?
For best results, use abrasive pads and polishes designed for resin to prevent damage and achieve a superior finish.
Can I restore older or scratched resin surfaces?
Yes. Sand to remove scratches, then polish with a dedicated resin polish to revive clarity and gloss.