 Free shipping on orders over £29,85


How do you put flowers in resin?
Preserve beautiful blooms with clear resin for timeless crafts.
Preserving flowers in resin enables you to create unique jewellery, coasters, art pieces and keepsakes that highlight the natural beauty of blooms. This guide walks you through the essential steps to embed flowers in resin, helping you avoid common pitfalls and achieve crystal-clear results, whether for gifts or personal projects.
What You’ll Need
- “Evershine Collection” – Artisan Jewellery Epoxy Resin Kit with 100+ Accessories or any suitable clear casting resin.
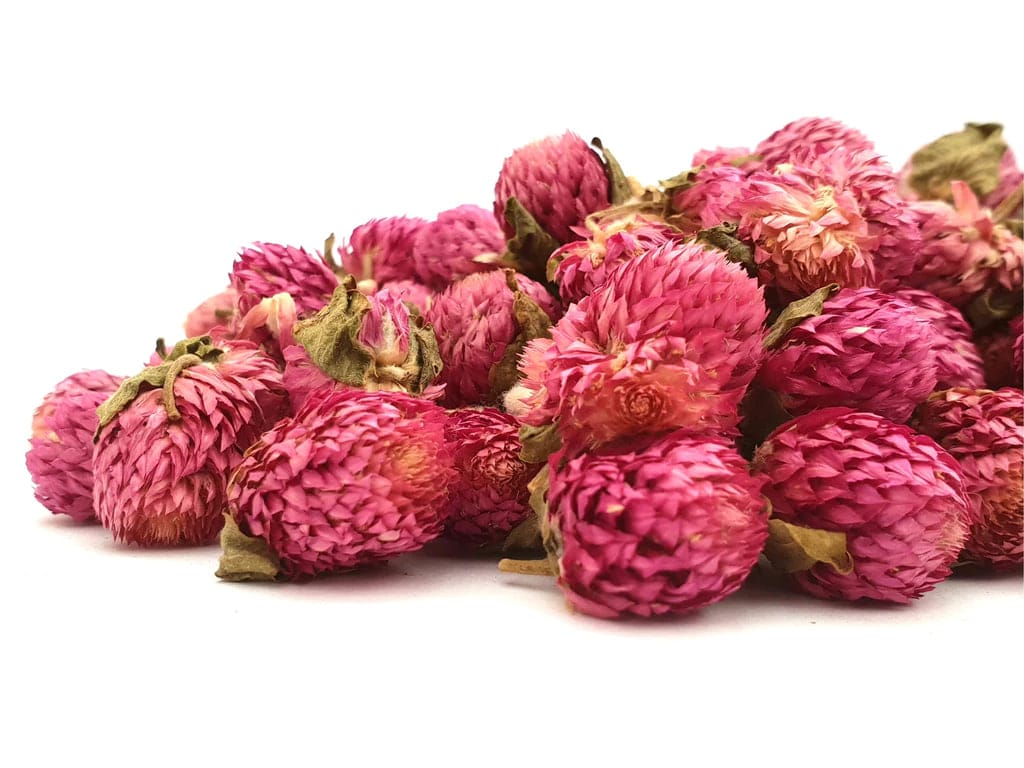
- Natural Dried Flowers for Art Projects and Epoxy Resin Casting
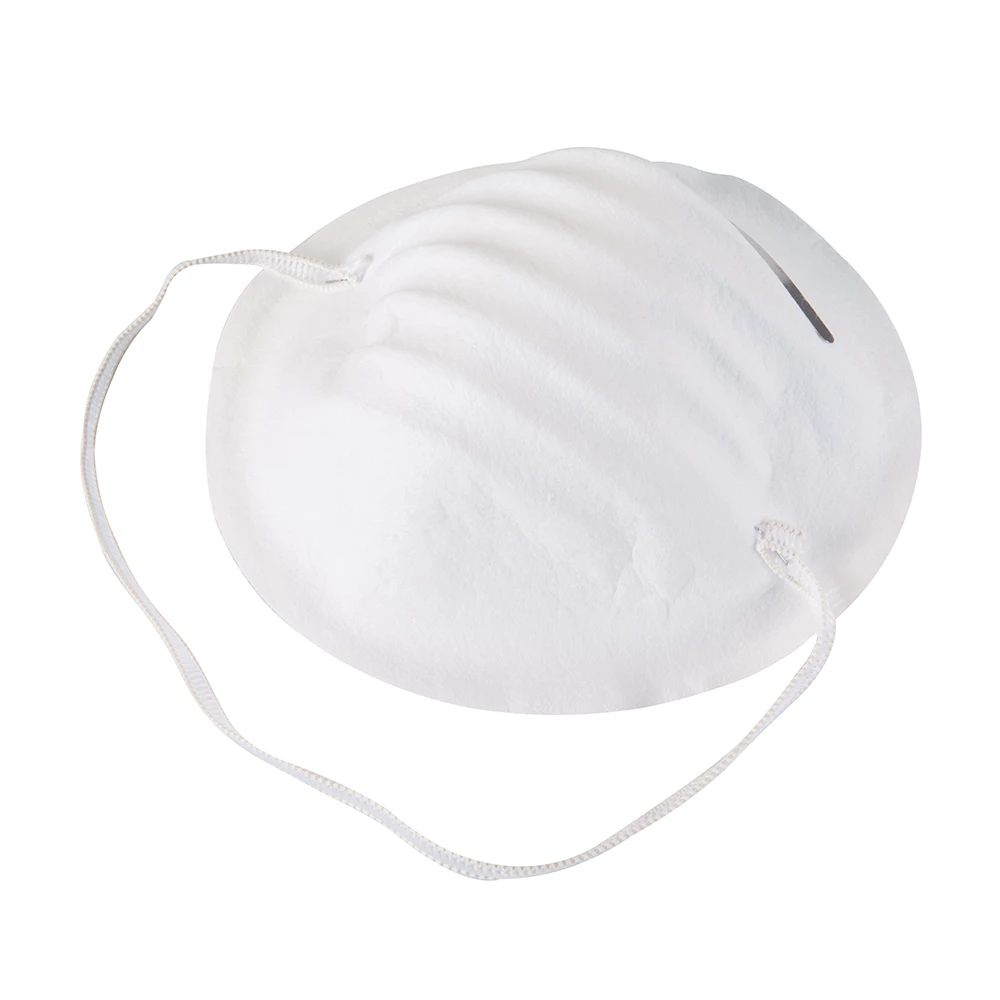
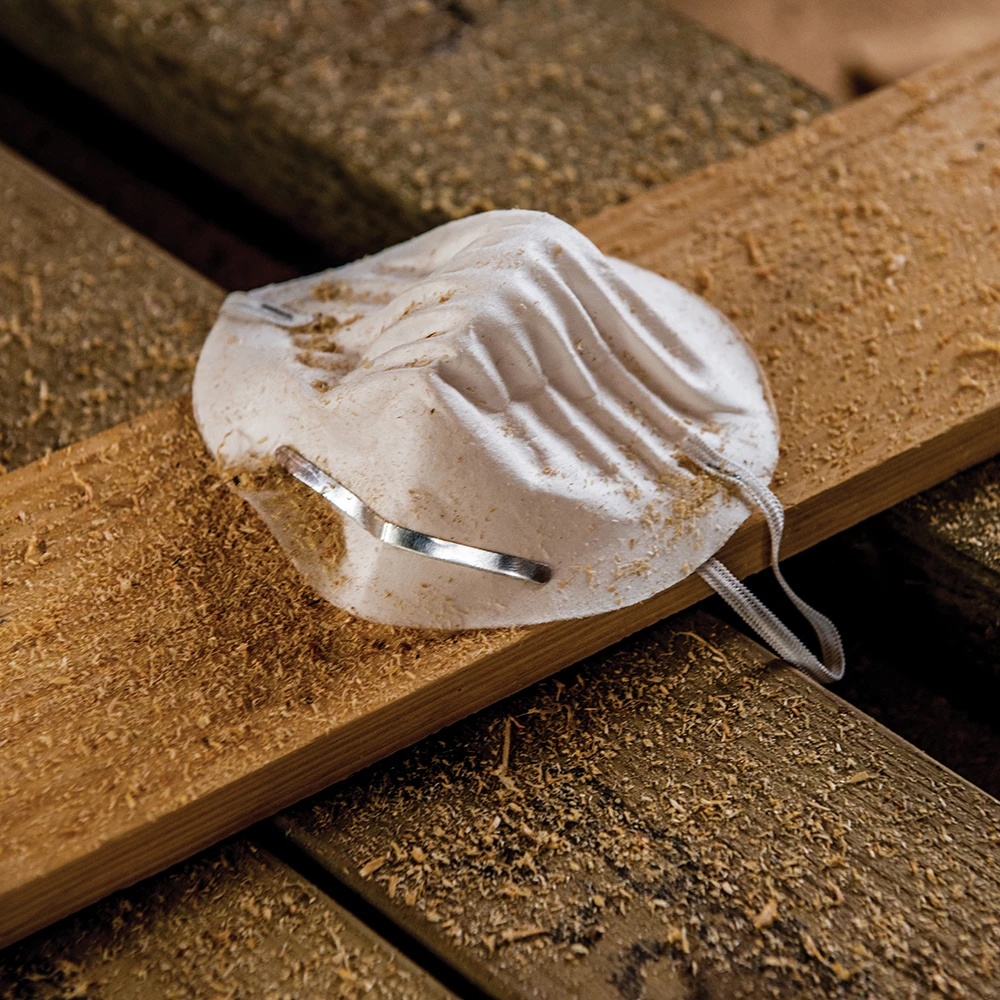
- Dust Masks for Resins – Disposable Cup Masks for Light Dust Protection
- Mixing cups and stirrers
- Moulds (jewellery, coasters, or desired shape)
- Nitrile gloves
- Optional: tweezers for precise placement

Essential Materials for Flower Resin Projects
Having the right dried flowers, high-clarity epoxy resin, and protective equipment sets the stage for flawless results. Organise your tools and work in a tidy area for best outcomes. A resin starter kit with diverse moulds and accessories makes exploring creative options far easier.

Step 1: Prepare Your Workspace and Safety Gear
Begin by arranging all tools and materials within reach in a clean, well-ventilated space. Protect your surfaces with disposable coverings. Always wear gloves to avoid skin contact with resin. Always wear a dust mask if sanding cured resin. This minimises inhalation of fine particles and ensures a safer crafting process, especially during any post-curing adjustments.
Step 2: Select and Prepare Your Flowers
The quality of your result depends largely on the flowers you choose. Select only thoroughly dried flowers to prevent moisture damage. Dried flowers are far less likely to cloud or cause imperfections in the resin. Arrange your flowers in the desired composition before mixing your resin, as preparation can affect the final visual impact. If petals or leaves overlap, consider trimming or flattening them for best results. Handle delicate blooms gently, as they can become brittle when dried.
Step 3: Mix and Pour the Resin
Mix your resin according to the kit instructions, paying particular attention to the ratio; the “Evershine Collection” – Artisan Jewellery Epoxy Resin Kit uses a simple 1:1 ratio, making it ideal for both beginners and hobbyists. Stir the resin slowly to minimise bubbles.
Once fully incorporated, pour a thin initial layer into your mould. Use tweezers to carefully place the dried flowers on this base. Pour resin slowly to avoid trapping air bubbles. After positioning, gently pour more resin to fully cover and encapsulate the flowers, ensuring they remain submerged without shifting. Patience is key—avoid pouring too quickly or overfilling at once.
Step 4: Cure and Finish Your Flower Resin Project
Allow the resin to cure as recommended (typically 24–48 hours, depending on room temperature and resin type). If using deep moulds, such as for paperweights or table inlays, a deep-pour resin may be necessary. Once fully hardened, demould gently. Sand the edges only if required, and wear a dust mask like Dust Masks for Resins – Disposable Cup Masks to protect from fine resin particles.
Polishing with a soft cloth can enhance the shine. Inspect the final piece for any surface tackiness—leaving it to cure slightly longer helps if needed.

Tips and Mistakes to Avoid
To ensure a successful result, keep these points in mind:
- Humidity can introduce moisture, clouding the resin—work in a dry environment.
- Double-check resin measurements; incorrect ratios lead to sticky or cloudy casts.
- Layering resin and flowers in two stages allows better control and reduces bubble trapping.
- Be patient: rushing curing or demoulding can cause surface defects or damage to embedded flowers.
Finishing Touches and Creative Inspiration
Experiment with layering, pigment powders, and different flower arrangements to craft truly bespoke pieces. Take your time with curing and enjoy the unique beauty of each creation. Thoughtful details make every floral resin project distinct and meaningful.

- Natural Dried Flowers for Art Projects and Epoxy Resin CastingPrice range: £5.45 through £7.85Natural Dried Flowers suited for resin art add a natural aesthetic to your projects within the theme of putting flowers in resin.
- Dust Masks for Resins – Disposable Cup Masks for Light Dust ProtectionPrice range: £4.15 through £20.15Disposable cup masks designed for light dust protection during resin crafting and sanding.
 “Epoxytable 10-Ten” – Deep Pour Epoxy Resin for Tables, Up to 10cm CastingPrice range: £33.85 through £334.85“Epoxytable 10-Ten” is designed for deep pour resin projects up to 10cm thickness, suitable for table creations and clear castings.
 "Evershine Collection" – Artisan Jewellery Epoxy Resin Kit with 100+ Accessories£20.85Crystal-clear resin kit designed for jewellery making with included dried flowers and pigments. Suitable for creative beginners and hobbyists.
Frequently Asked Questions
Should you use fresh or dried flowers in resin?
Dried flowers are recommended because moisture from fresh blooms can cause resin to cloud or fail to cure properly.
How do you prevent bubbles when embedding flowers?
Pour resin slowly, use dried flowers, and place flowers onto a thin resin layer before topping up to reduce trapped air.
How long does resin take to cure with flowers?
Curing time depends on resin type and temperature—typically 24–48 hours for jewellery projects. Deeper pours may take longer.
Can you sand or polish flower resin casts?
Yes, you can sand cured resin for a smooth edge and polish for shine, but always wear a dust mask to avoid inhaling dust.
Why did my resin turn cloudy with flowers?
Cloudiness is often caused by moisture in the flowers or incorrect resin measurements. Use only fully dried blooms and precise ratios.
What shape moulds are best for flower resin casting?
Silicone moulds of any shape can be used, but transparent or flexible ones make demoulding easier and reduce the risk of breakage.