 Free shipping on orders over £29,85


How do you install a resin shower tray?
Step-by-step instructions for a watertight, level fit


Installing a resin shower tray correctly is crucial to ensuring a durable, watertight, and safe shower enclosure. Whether you’re updating your bathroom or fitting a new space, following the right process from preparation to sealing will help you achieve a clean, professional result that lasts.
What You’ll Need
- Spirit level
- Waterproof silicone sealant gun
- Shower waste kit (compatible with tray)
- Pencil and tape measure
- Protective gloves and safety goggles
- Mixing stick or plastic spatula
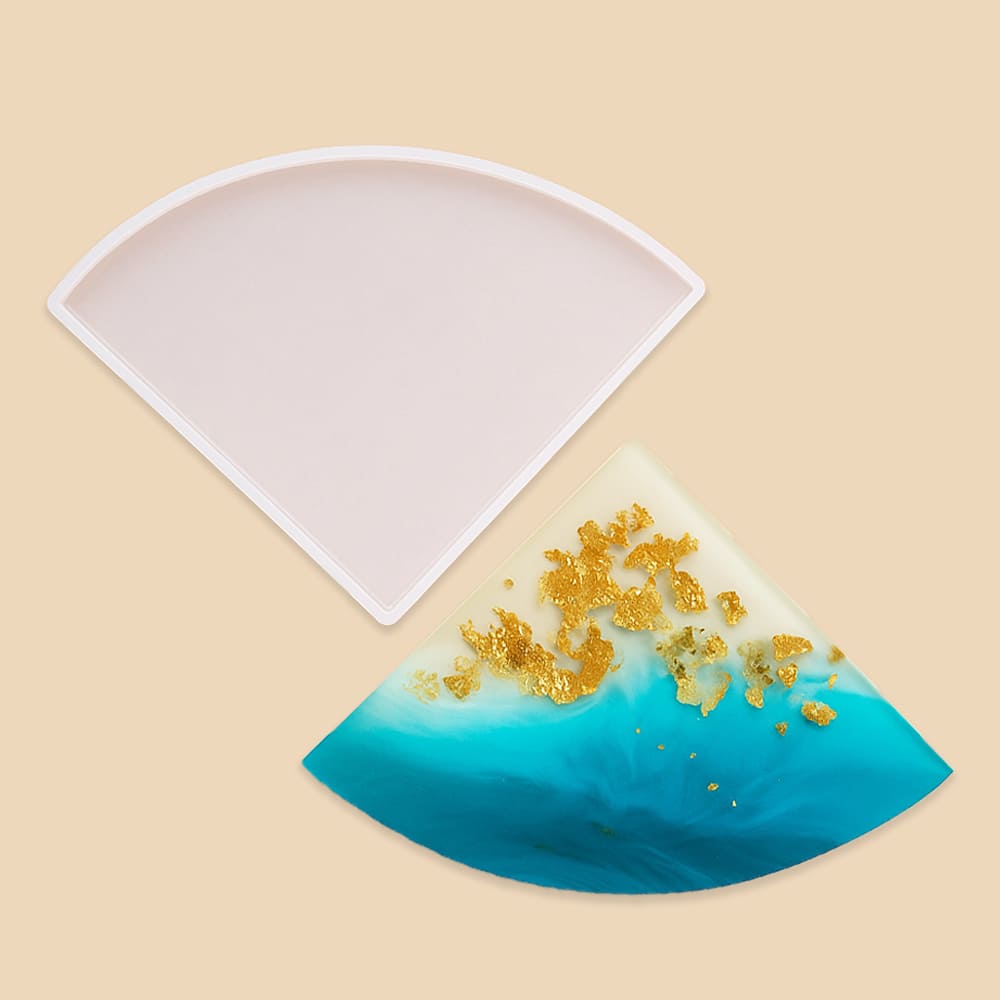
- “Tray” – Complete Resin Tray Kit with Silicone Mould and Colour Dyes for creating a custom shower tray or decorative accent
- Wooden Tray for Epoxy Resin Art Projects – Customisable Craft Surface for craft or accent features
- Triangle Tray Silicone Mould – 32x22x1cm for unique corner detailing or accent pieces
- Hexagonal Wooden Tray for Resin Art, 20x18x4cm for geometric insets or décor
Essential Tools and Creative Accessories
Gather all your materials before starting the installation. Specialty resin kits and moulds, such as the “Tray” – Complete Resin Tray Kit with Silicone Mould and Colour Dyes, make it easy to customise your shower tray or add functional accessories. For extra design flair, consider silicone moulds or custom wooden tray bases for matching décor.

Step 1: Prepare the Area and Check the Subfloor
Start by removing any old tray, flooring, or debris from the installation site. Inspect the subfloor carefully. It must be dry, level, and structurally sound to support the resin tray without flexing or movement. Always ensure your subfloor is level and strong to prevent tray cracks or leaks in the future. If uneven, sand down high spots, fill low spots with a suitable floor levelling compound, and allow to dry completely before proceeding.
Step 2: Position and Test Fit the Tray
Place the resin shower tray into position to check fit and ensure it sits level in all directions using a spirit level. Identify the waste outlet location and mark it on the floor to align the plumbing. Remove the tray and adjust the floor or waste pipe as needed for a precise, flush connection. Consider dry-fitting the waste kit to confirm correct positioning.
Step 3: Secure the Tray in Place
Apply a generous bead of flexible, waterproof adhesive or mortar to the marked area where the tray will sit—do not use expanding foam, as it can distort the tray shape. Carefully lower the tray into position, ensuring it aligns with the waste outlet. Gently press down, and immediately check with a spirit level to confirm it remains flat and true. Attach the shower waste to the tray following the waste kit instructions, ensuring a tight, waterproof seal.
For those handcrafting or customising a shower base or accent, the “Tray” – Complete Resin Tray Kit with Silicone Mould and Colour Dyes allows you to pour and finish a bespoke resin tray as part of your installation, matching your desired style.

Step 4: Seal the Edges and Make Final Checks
Once the tray is fixed and the waste kit attached, run a continuous, thick bead of waterproof silicone sealant around all edges where the tray meets the walls and floor. Smooth with a wet finger or sealant finishing tool for a neat, even finish. Use waterproof silicone sealant around all tray edges for lasting protection against water ingress. Allow the sealant and any adhesive beneath the tray to cure per manufacturer’s advice before using the shower or installing wall panels/doors.

Step 5: Test and Finish the Installation
With all sealant and adhesives fully cured, run water into the shower tray to check for leaks at the waste and edges. Correct any issues before fitting enclosure panels or tiles. Test for leaks before final enclosure installation—this ensures peace of mind and prevents expensive repairs later.
Tips and Troubleshooting for Resin Shower Tray Installation
Work slowly and carefully when handling heavy resin trays; two people may be needed. Always double-check the level, as even a slight slope can cause pooling or drainage issues. Never use the shower until all adhesives and sealants are cured. In case of minor chips or surface imperfections, fine sandpaper can be used to smooth the area before sealing. When crafting custom accents with resin and moulds, follow all safety instructions and curing times for optimal results.
Aftercare and Maintenance for Your Resin Tray
Leaving the tray undisturbed as it cures is vital for stability and waterproofing. Clean your tray with non-abrasive cleaners and avoid harsh chemicals or solvents. Periodically inspect the silicon seal, especially in high-moisture environments, to prolong the life and appearance of your resin shower tray.

- "Tray" – Complete Resin Tray Kit with Silicone Mould and Colour Dyes£54.85"Tray" kit includes resin, silicone mould, handles, and colour dyes for creating personalised trays with dyed effects.
- Wooden Tray for Epoxy Resin Art Projects – Customisable Craft SurfaceOriginal price was: £6.90.£4.85Current price is: £4.85.Customisable wooden tray suitable for displaying epoxy resin art and decorative projects.
- Triangle Tray Silicone Mould – 32x22x1cmOriginal price was: £12.00.£10.85Current price is: £10.85.Silicone mould designed for crafts, suitable for making coasters with a professional finish using heat-resistant resin.
- Hexagonal Wooden Tray for Resin Art, 20x18x4cmOriginal price was: £6.90.£4.85Current price is: £4.85.A hexagonal wooden tray designed for epoxy resin art and crafting projects in this themed context.
Frequently Asked Questions
Can I make my own custom resin shower tray?
Yes, with suitable moulds and quality resin kits, you can create a custom tray, but it must be completely waterproof and properly installed.
Do I need a special waste kit for resin trays?
You need a waste kit compatible with your tray's waste hole size and style, ensuring a watertight fit for safe drainage.
How long before I can use my shower after installing the tray?
Always follow adhesive and sealant manufacturer instructions, but it's typical to wait 24–48 hours before use.
How can I ensure my resin shower tray is level?
Use a spirit level during dry-fitting and after installation, checking in multiple directions before final fixing.
What sealant should I use around the tray edges?
Use a high-quality waterproof silicone sealant designed for bathrooms to ensure a durable seal.
Can I add resin-moulded accents to my tray or tiles?
Yes, decorative resin features can be installed as accents or borders for a bespoke look if properly sealed.